
Zipper Tab Tutorial – 2 Types, 4 Methods
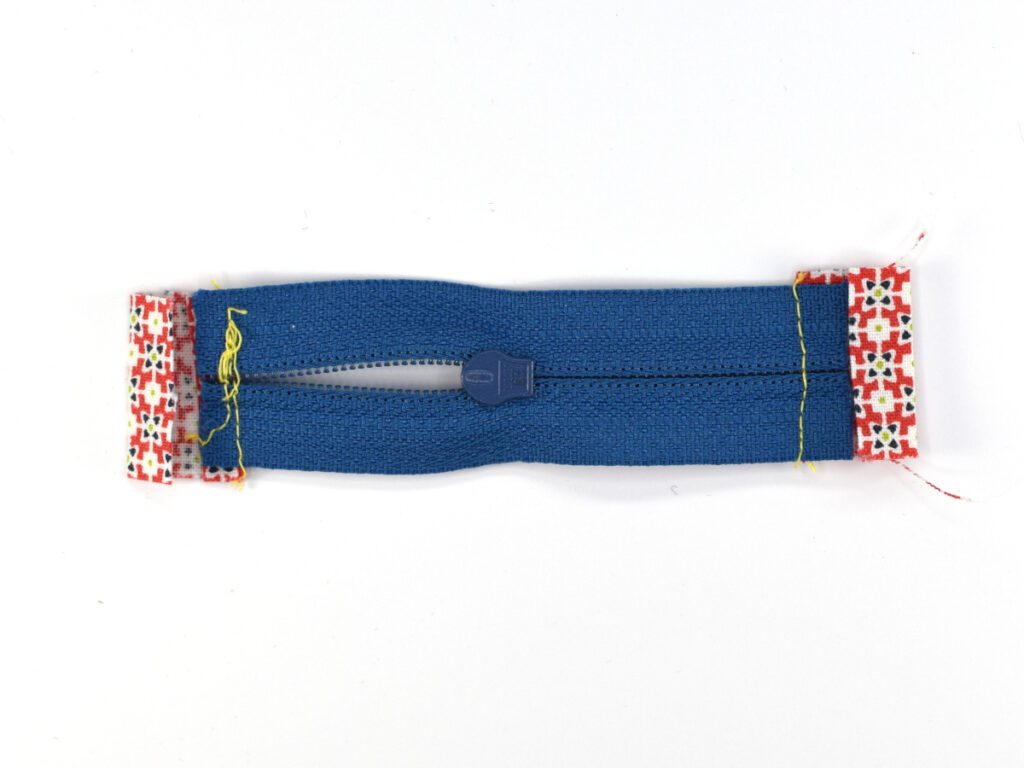
Have you ever had this happen to you?
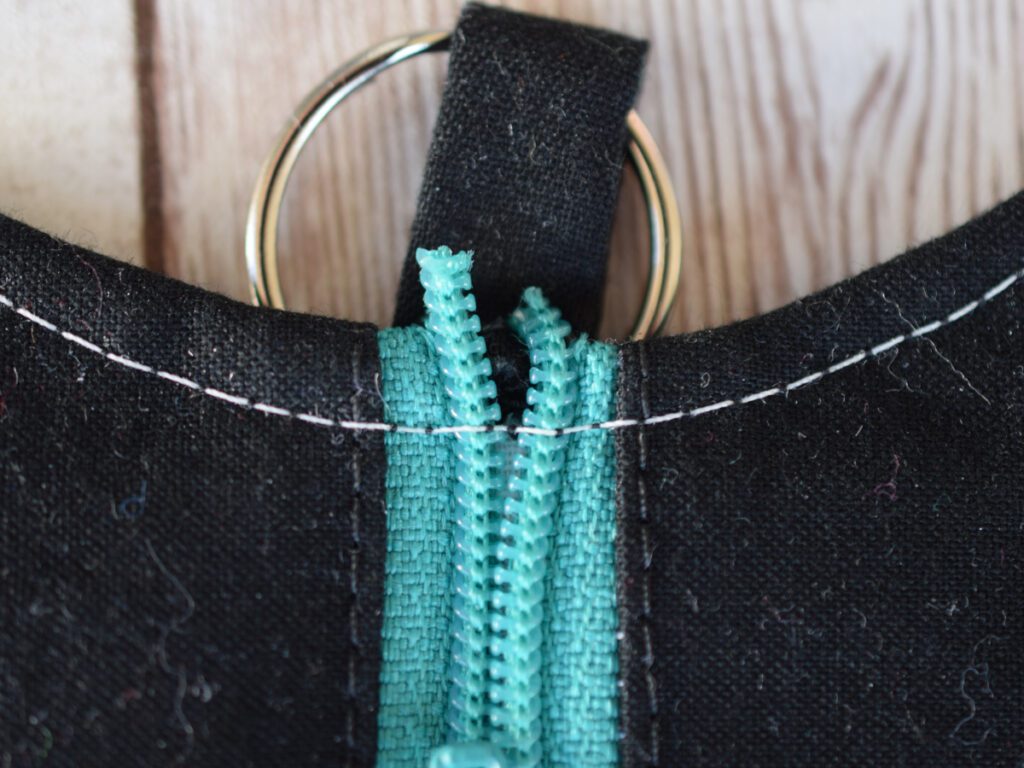
(I’m not just talking about the fact that I forgot to change the bobbin thread.)
Or this?
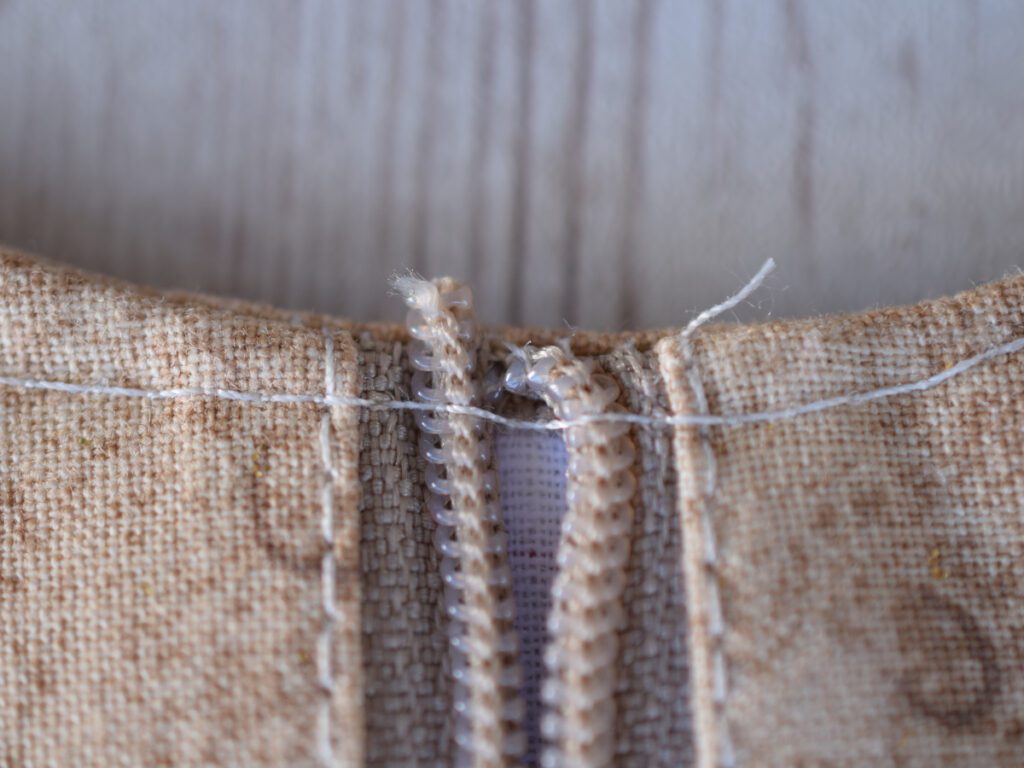
Or maybe your zippers just look like this and you wish they could look a little neater.
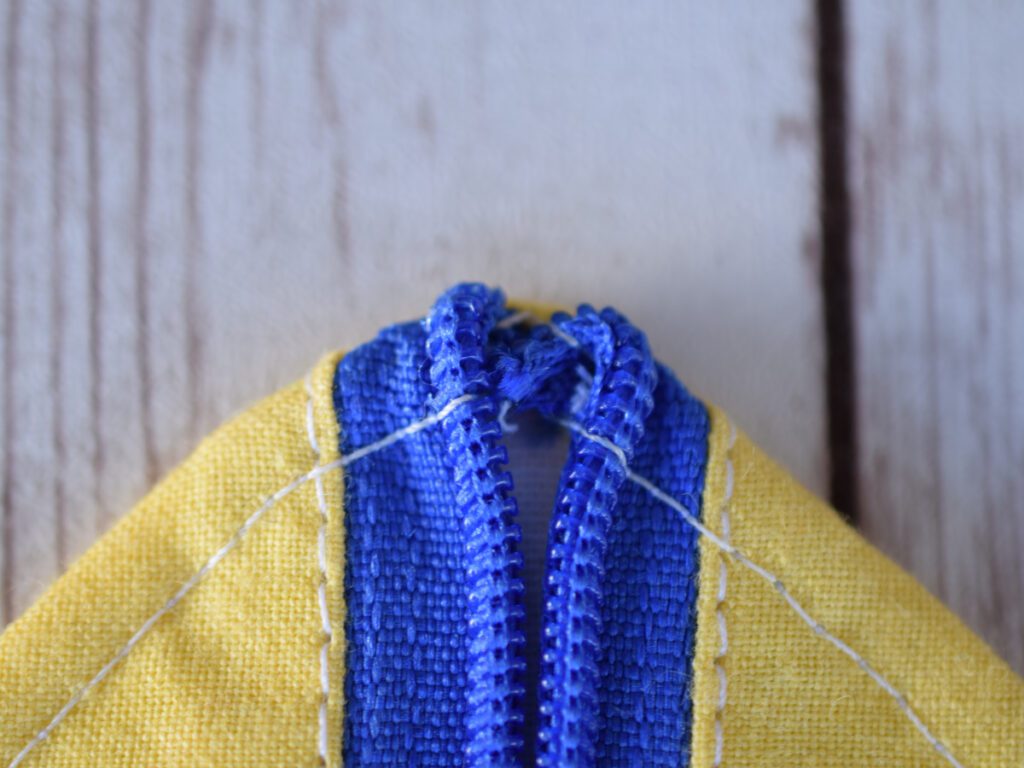
The answer, my friends, is zipper end tabs. In this post, I am going to show you several different ways to finish off your zipper ends to make your projects look a little neater.
There are a couple of different ways to finish zipper ends and create the tabs. You can either wrap the fabric around the end of the zipper or you can leave fabric tabs off the end that will be sewn into the project. Either can be used for projects like zipper pouches and pockets. I’m going to show you two different ways to do each of these methods.
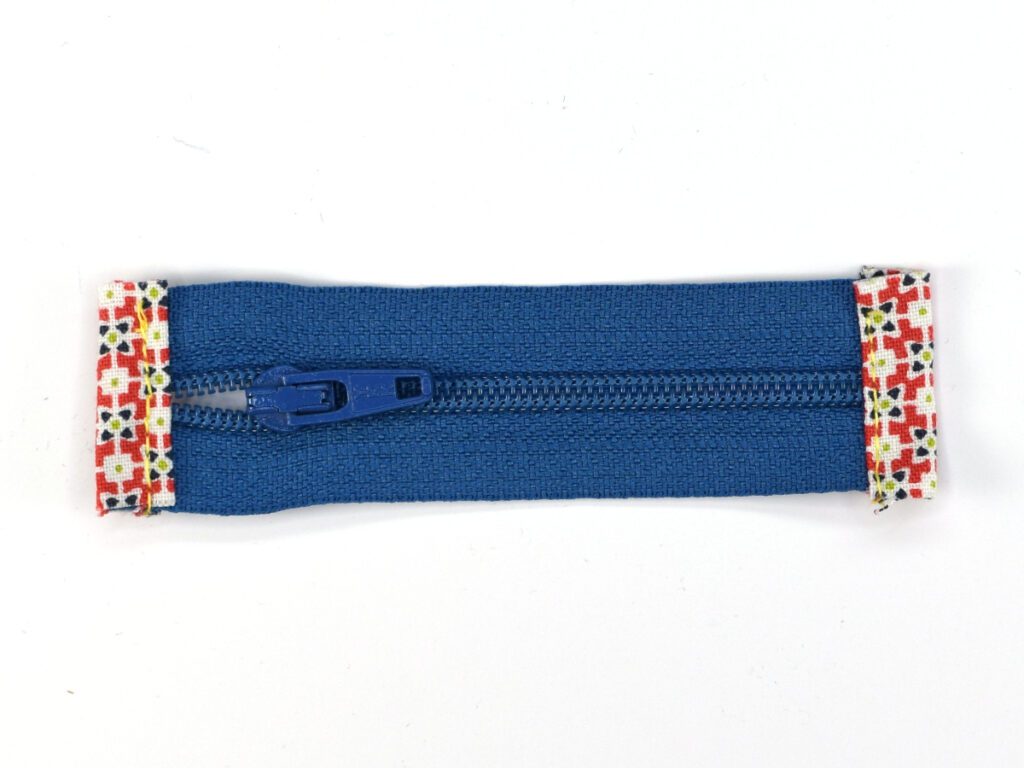
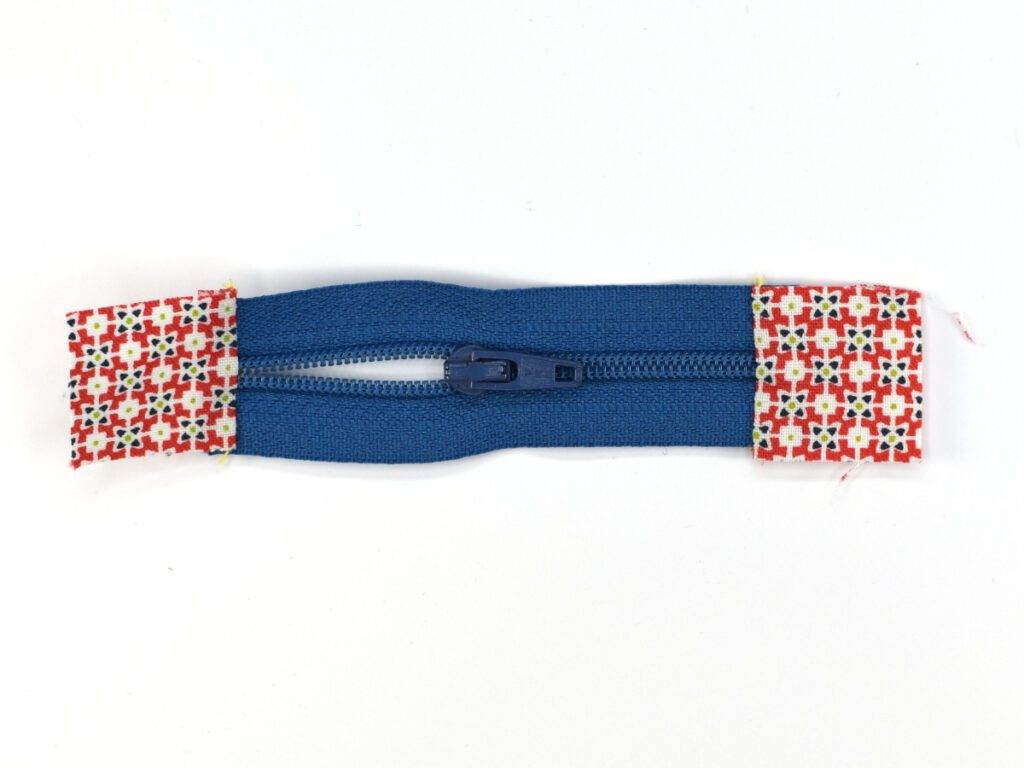
Fold Over Tabs
As the name implies, the fabric is folded over the zipper ends. The zipper ends are not sewn into the project reducing bulk and creating a clean, neat finish.
Method 1
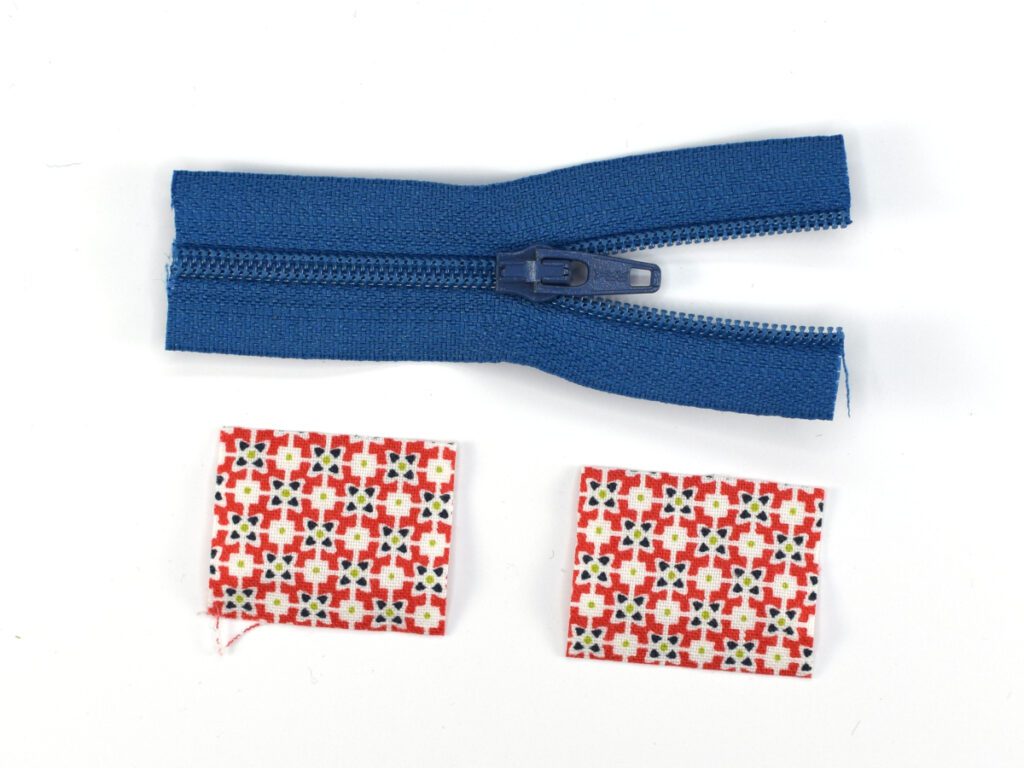
1. Trim the zipper 1/4″ shorter than the finished project. If you are making a 4″ zipper pouch then you will trim the zipper to a length of 3 3/4″
2. It’s helpful to sew the ends of the zipper to keep it closed
3. Cut 2 pieces of fabric 1 1/4″ long by the width of the zipper tape. So if your zipper tape is 1″ the pieces will be 1 1/4″ x 1″
4. Fold the piece in half at the length (1 1/4″ folded in half = 5/8″). Press
5. Fold each end to the center.
6. Fold back in half. Press
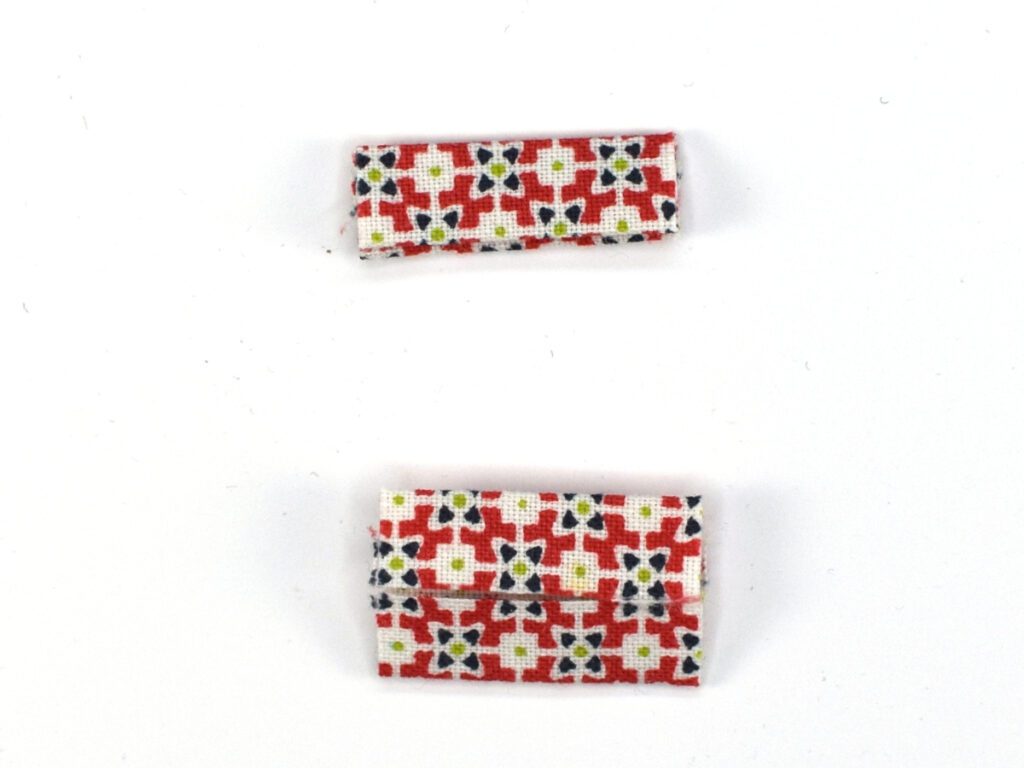
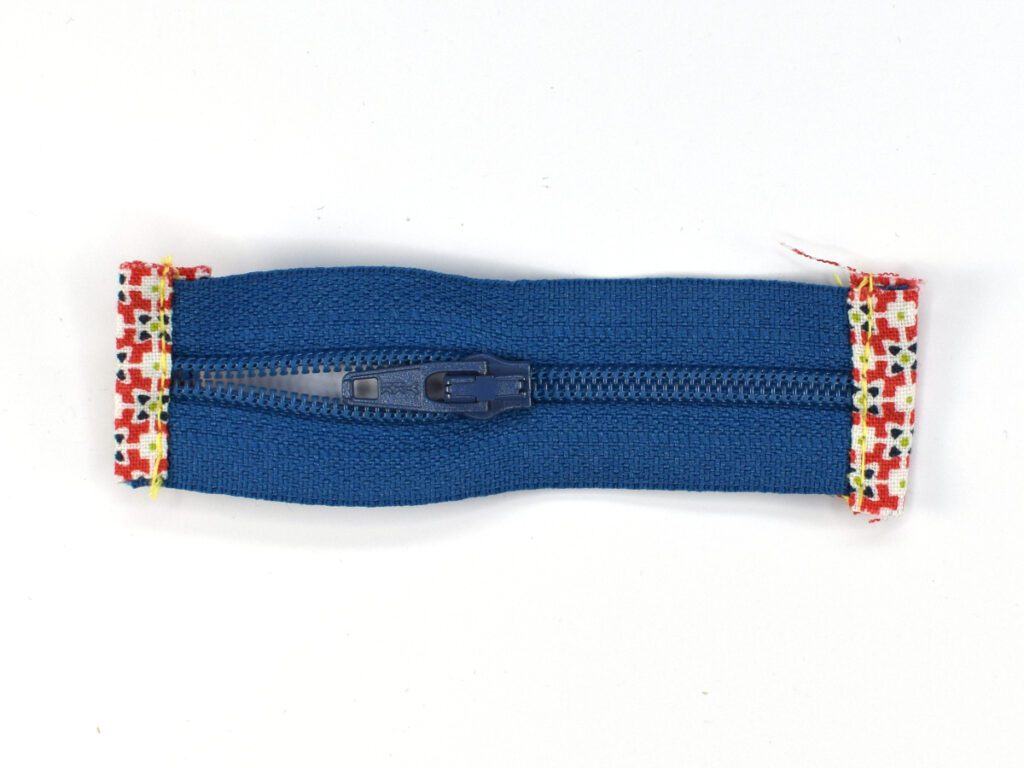
7. Sew the folded tab to the end of the zipper using a narrow hem stitch.
8. Repeat for the other end of the zipper
TIP: Instead of folding each tab separately try cutting a single piece of fabric double the width of the zipper tape and then cut it in half after pressing and folding.
Method 2
(Steps 1 – 3 are the same as Method 1)
1. Trim the zipper 1/4″ shorter than the finished project. If you are making a 4″ zipper pouch then you will trim the zipper to a length of 3 3/4″
2. It’s helpful to sew the ends of the zipper to keep it closed
3. Cut 2 pieces of fabric 1 1/4″ long by the width of the zipper tape. So if your zipper tape is 1″ the pieces will be 1 1/4″ x 1″

4. Using a 1/4″ seam allowance, sew the fabric to the end of the zipper with the wrong sides facing.
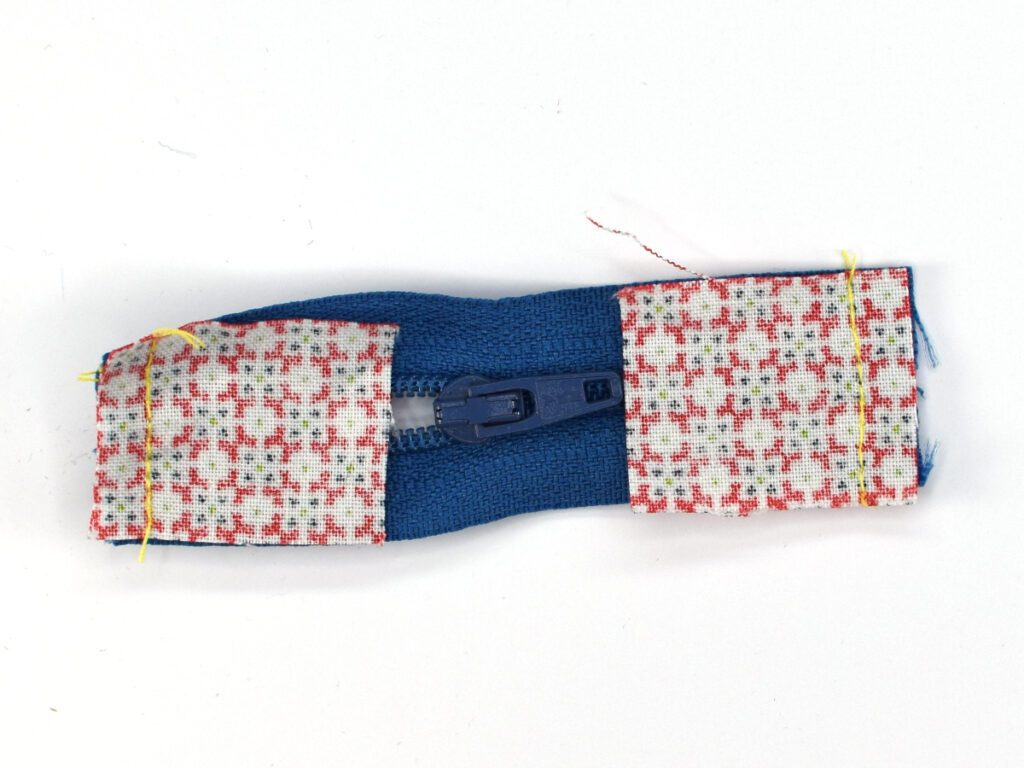
5. Fold the fabric tab out from the zipper, over the stitching
6. Fold the end of the tab so it touches the zipper tape.
7. Fold over again so the zipper end is encased in the fabric

8. Sew the tab using a narrow hem stitch
9. Repeat for the other end of the zipper
Either method is fine and the result will be about the same. I prefer Method 2 because I find it a little easier when working with such small pieces of fabric. I also find that I don’t really need to do any pressing saving my fingers from burns.
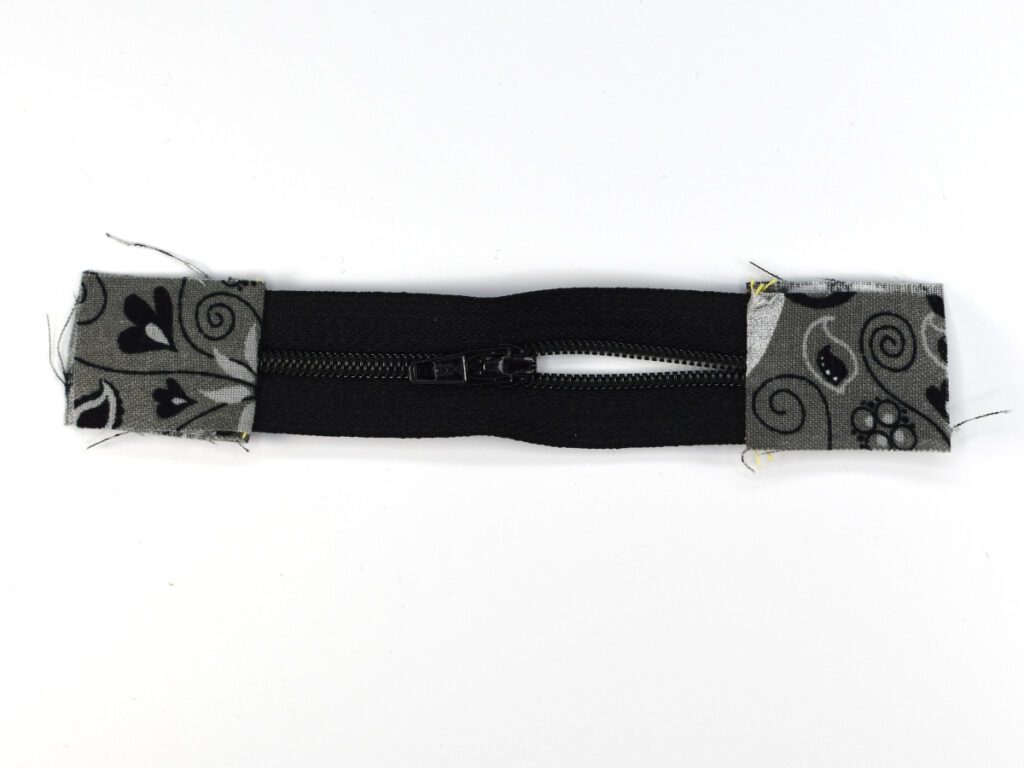
Sew In Tabs
Sew-in tabs are an extension of the zipper that gets sewn into the seam allowance. You could sew the ends of the zipper into the seam but using fabric tabs helps reduce bulk.
Method 1
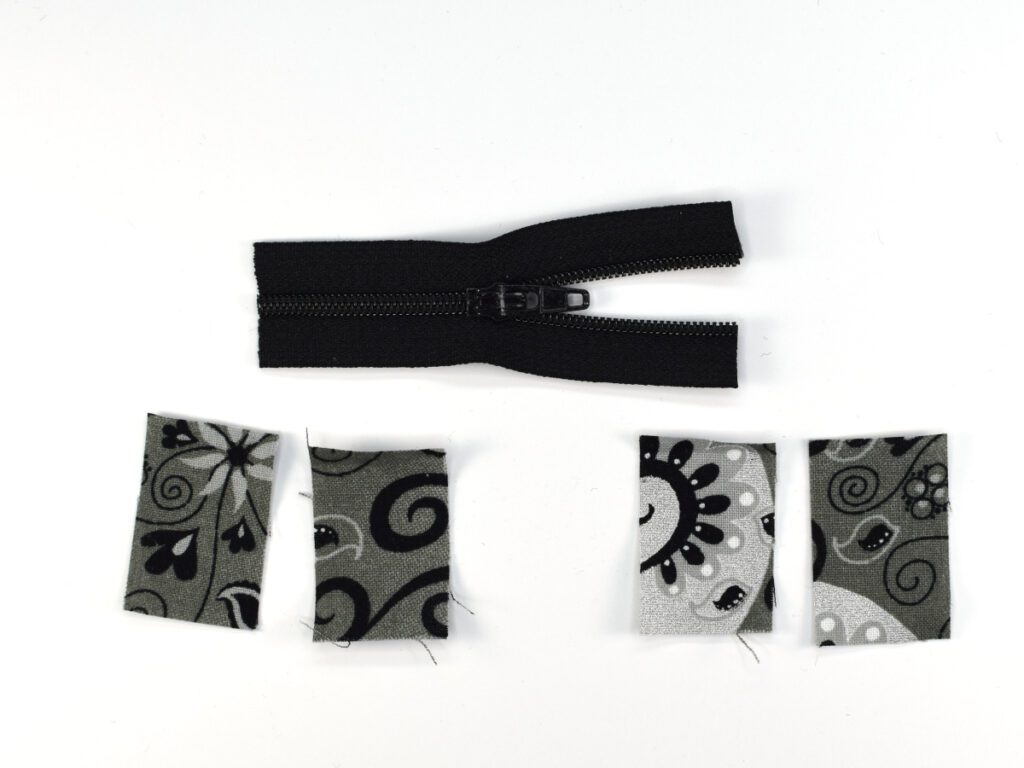
1. Trim the zipper 1/4″ shorter than the finished project. If you are making a 4″ zipper pouch then you will trim the zipper to a length of 3 3/4″
2. It’s helpful to sew the ends of the zipper to keep it closed
3. Cut 4 pieces of fabric the same width as the zipper tape. The length should be long enough to reach the side seam or slightly longer plus a 1/4″ seam allowance for sewing to the zipper.
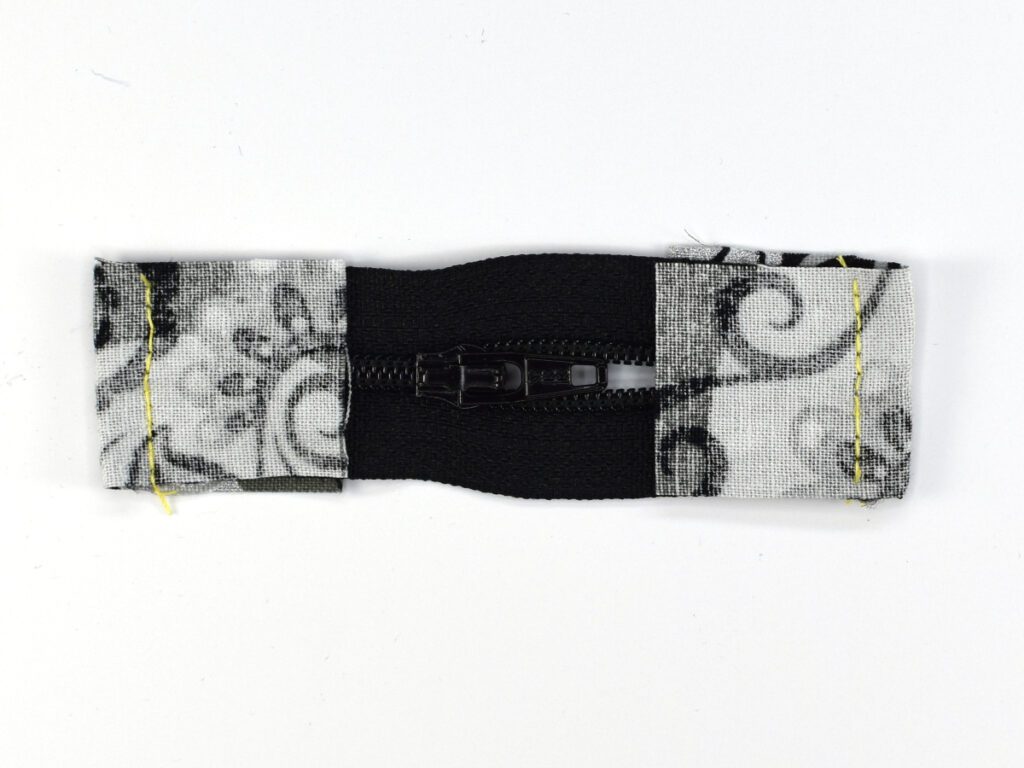
4. Sandwich the zipper between the fabric pieces lining up the ends. The fabric should be right sides together. Sew using a 1/4″ seam allowance.

5. Fold the fabric tabs out from the zipper, over the stitching, and press if needed.
6. Repeat on the other end of the zipper
7. OPTIONAL: At this point, the zipper should be ready to use but you can topstitch if desired.
Method 2
(This method is fairly new to me. I learned about it from Apple Green Cottage. You can check out her tutorial here.)

1. Trim the zipper 1/4″ shorter than the finished project. If you are making a 4″ zipper pouch then you will trim the zipper to a length of 3 3/4″
2. It’s helpful to sew the ends of the zipper to keep it closed
3. Cut 2 pieces of fabric the same width as the zipper tape. The length should be long enough to reach the side seam or slightly longer plus a 1/2″ seam allowance for sewing to the zipper.

4. Fold the fabric in half right sides together matching the short ends together.
5. Place the folded tab over the end of the zipper and sew using a 1/4″ seam allowance.
6. Fold the fabric tab out from the zipper, over the stitching, and press if needed.
7. Repeat on the other end of the zipper
8. OPTIONAL: At this point, the zipper should be ready to use but you can topstitch if desired.
So what do you think?
Do you have a favorite method for zipper tabs? If so please feel free to share!
If you would like to see other tips check out these posts:
Unconventional Tools: Sewing Beyond the Ordinary
Essential Tools for Every Beginner Sewist
Good Luck with your sewing adventures!
Kelly