Learn How to Draft and Sew a Bandanna-Style Headband
Hello, Snazzie Friends!
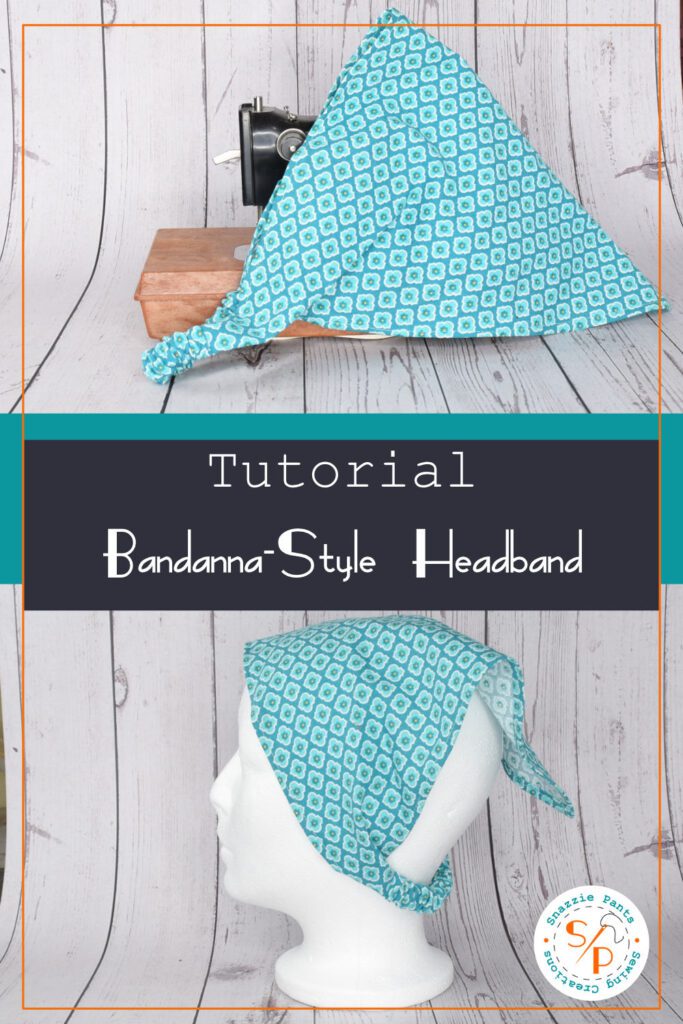
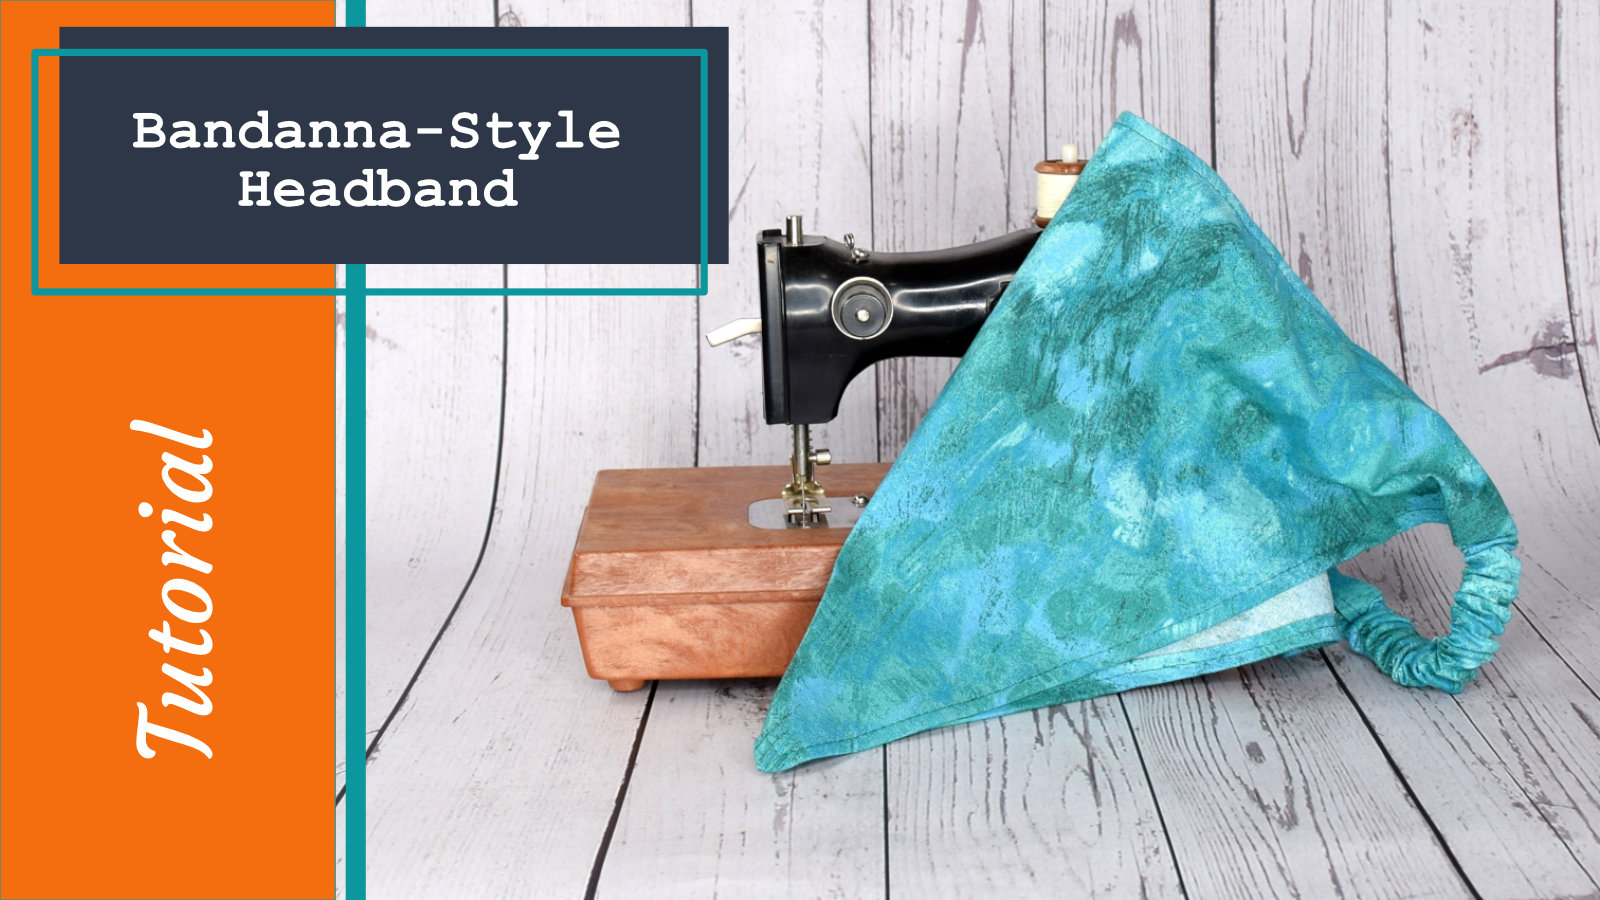
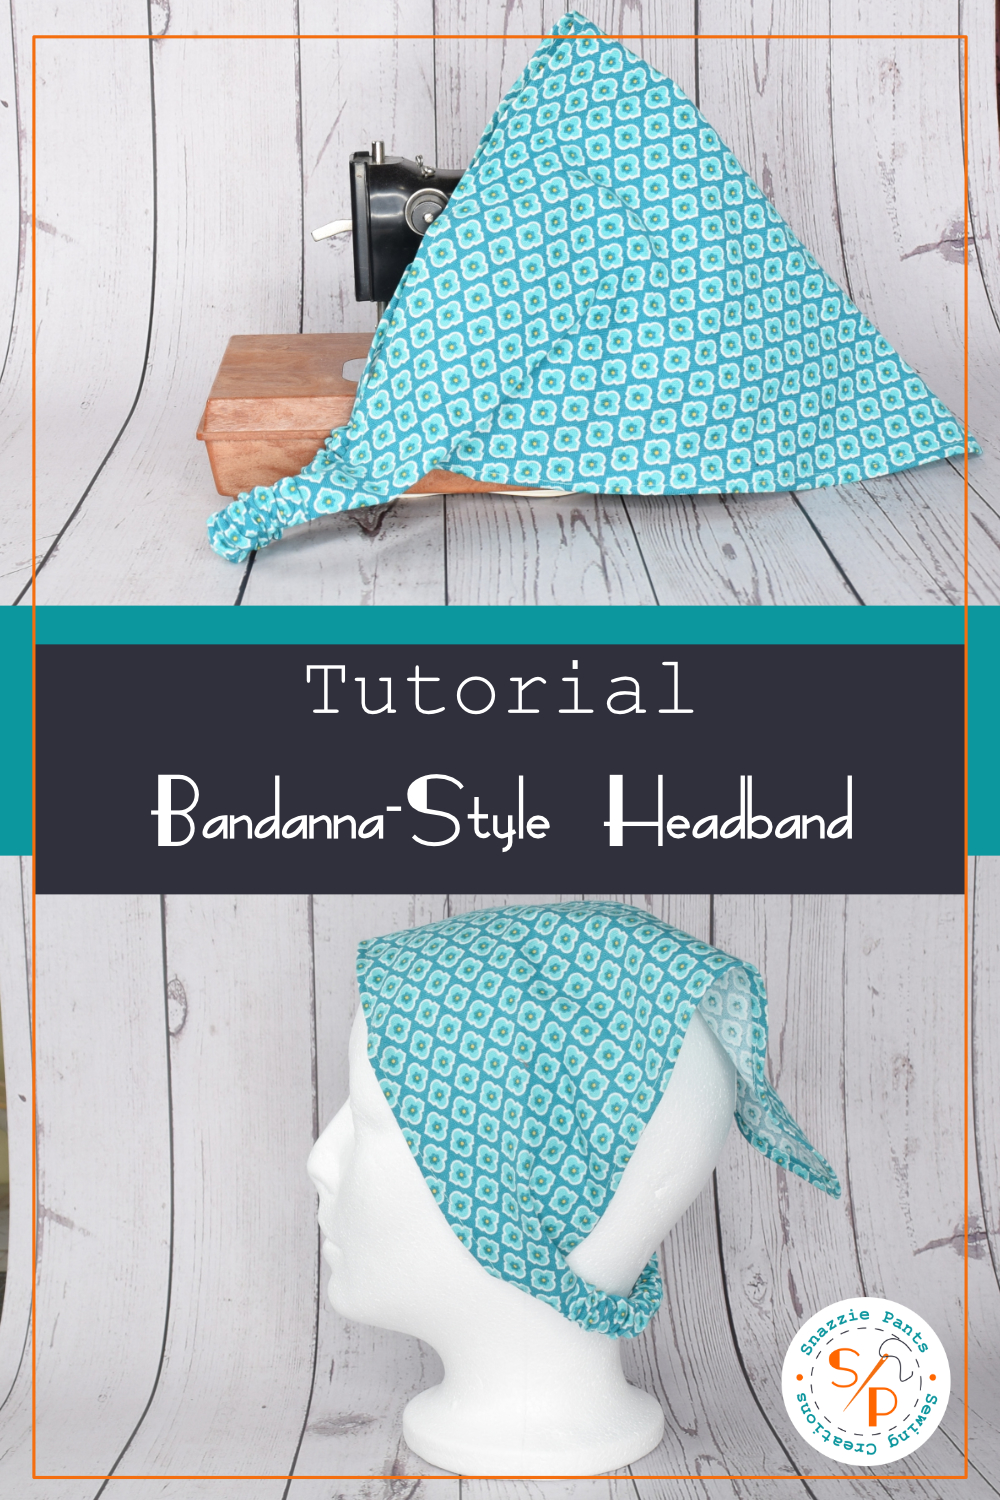
In this post, I will show you how to draft and sew a bandanna-style headband.
A bandanna-style headband (or 10) is a great addition to any wardrobe. Not only is it a practical solution for keeping hair neatly in place, but it also adds a touch of personality and flair to any outfit. You can use it to keep your hair back during hot summer days and look cool wearing it. Making your own allows you to customize the fabric, colors, and patterns to match your personal style and mood. Additionally, it’s a quick and satisfying sewing project that requires minimal materials and time, making it ideal for beginners and experienced sewists alike. Whether you are making them for yourself or as a gift, you can ensure a perfect fit and enjoy the satisfaction of wearing something handmade and unique.
Let’s get started!
Materials/Tools:
- Paper
- Woven Fabric such as quilting cotton
- Elastic – 3/8″ wide x 5.5″ ~ 6.5″ long
- Thread
- Pencil
- Fabric Marking Tool, such as chalk or a Frixion marker
- Ruler
- Scissors / Rotary Cutter
- Sewing Machine
- Iron
We are going to draft only half of the bandanna pattern. This way, you can cut it on the fold of the fabric.
Note: I’m using a marker to make the lines visible on the camera, but I recommend using a pencil.
Drafting the Head Cover
(These measurements are for the adult size.)
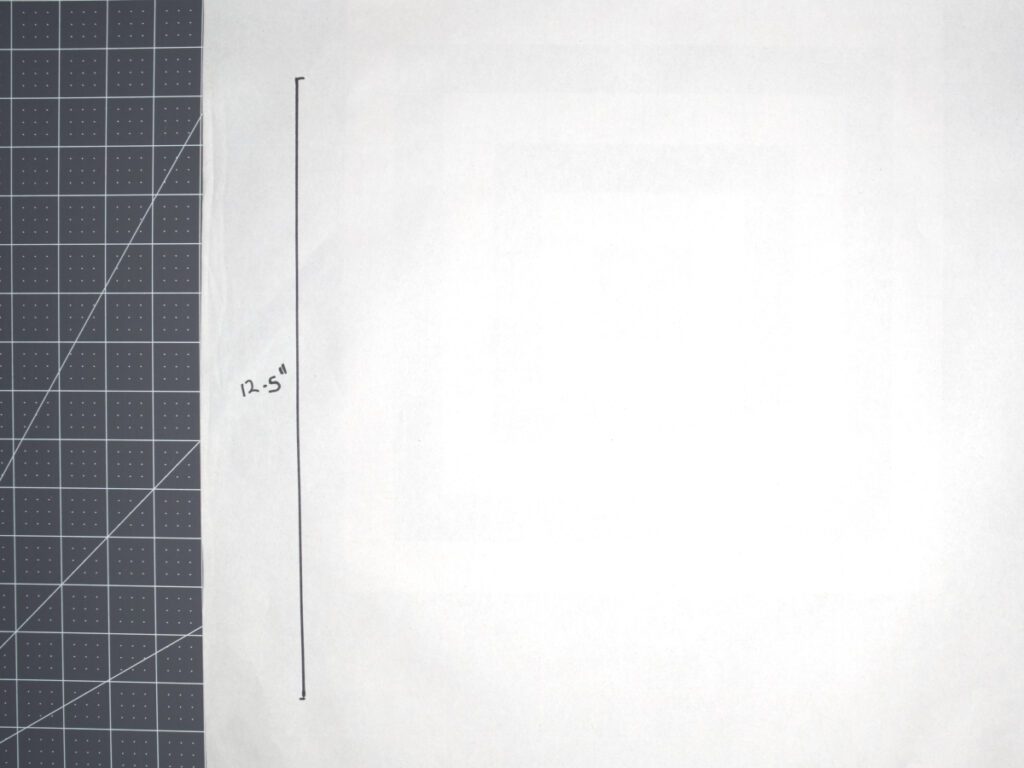
Step 1: Draw a 12.5″ line up and down.
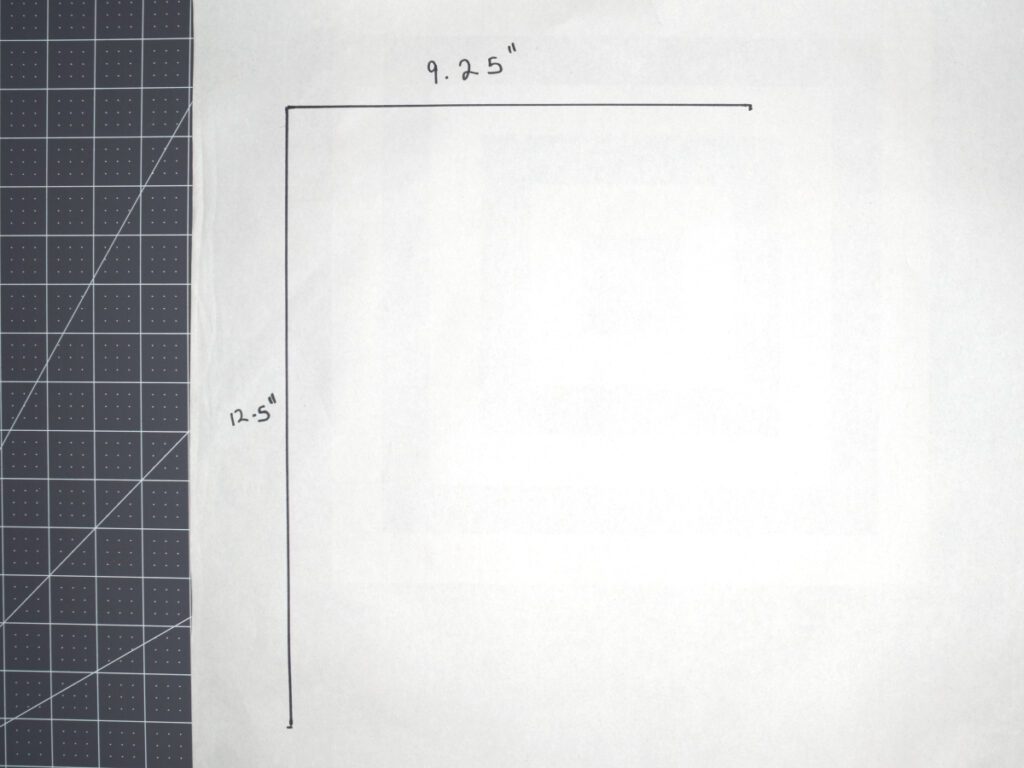
Step 2: From the top of the first line, draw a perpendicular line 9.25″ across
Step 3:.Starting at the end of the top line draw a line down, parallel from the first line, 3″ long.
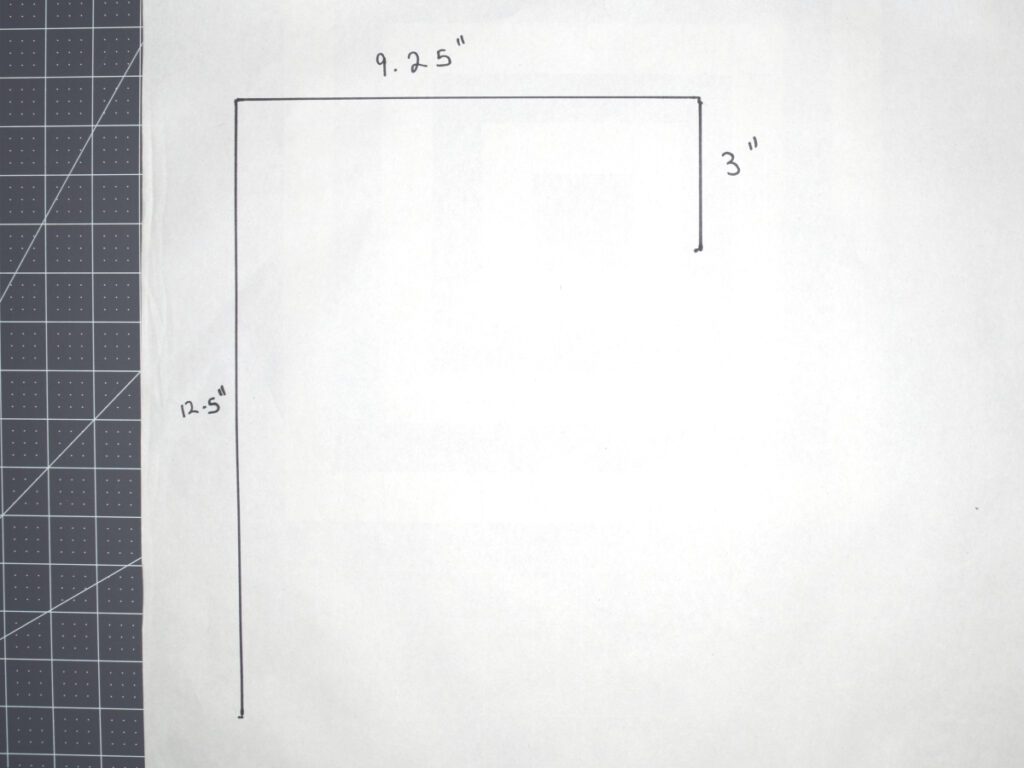
Step 4: Connect the end of the third line to the bottom of the first line.
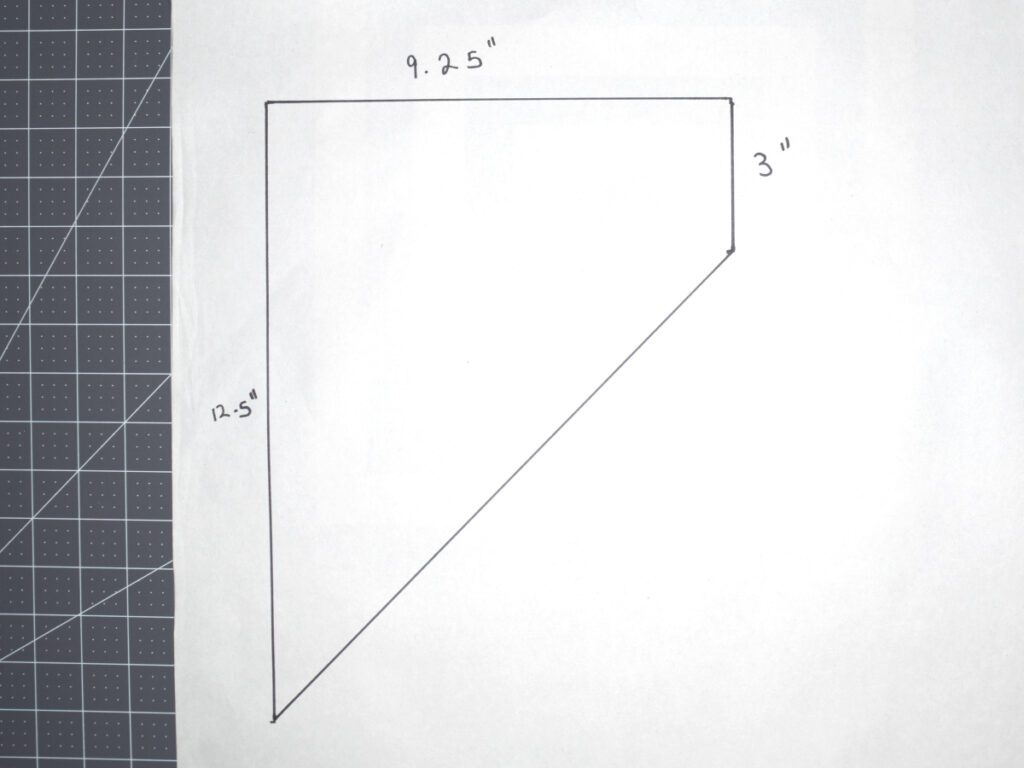
That’s it, the head cover pattern is drafted!
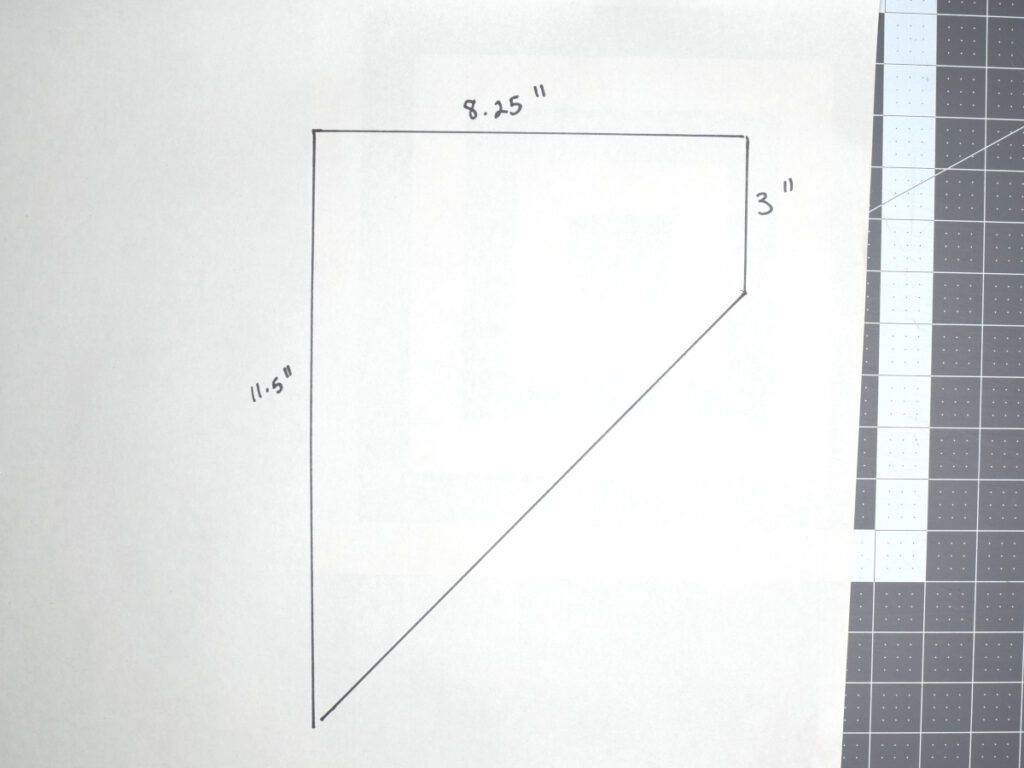
Here is a picture of the child size pattern with the measurements.
Drafting the Elastic Casing
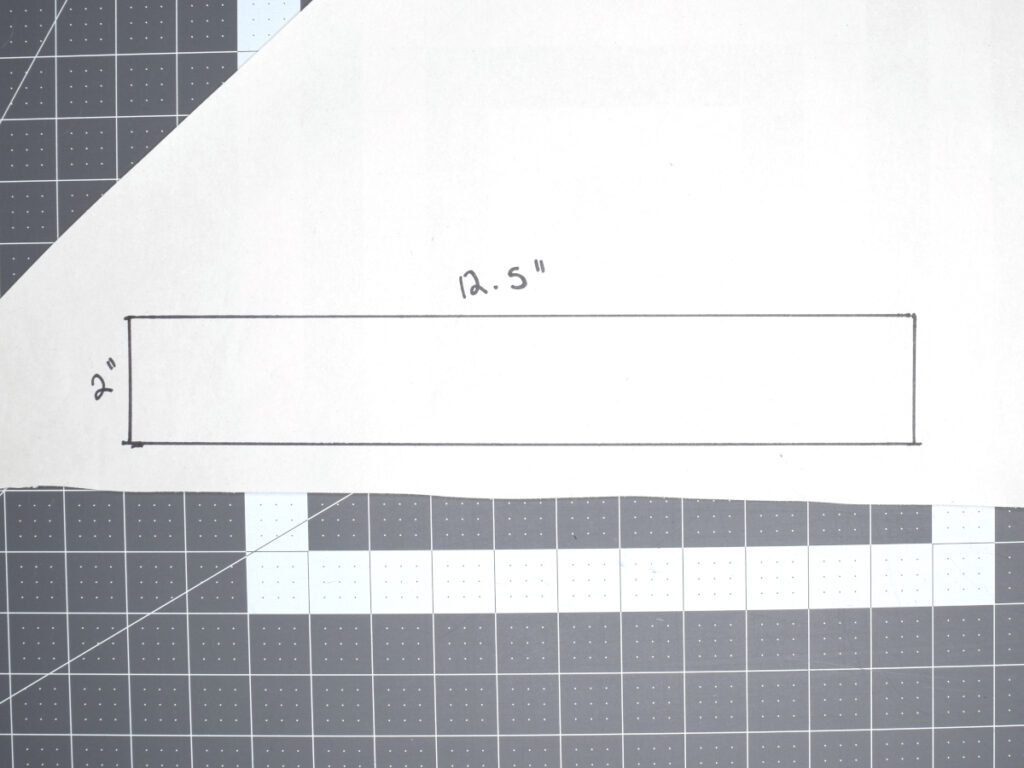
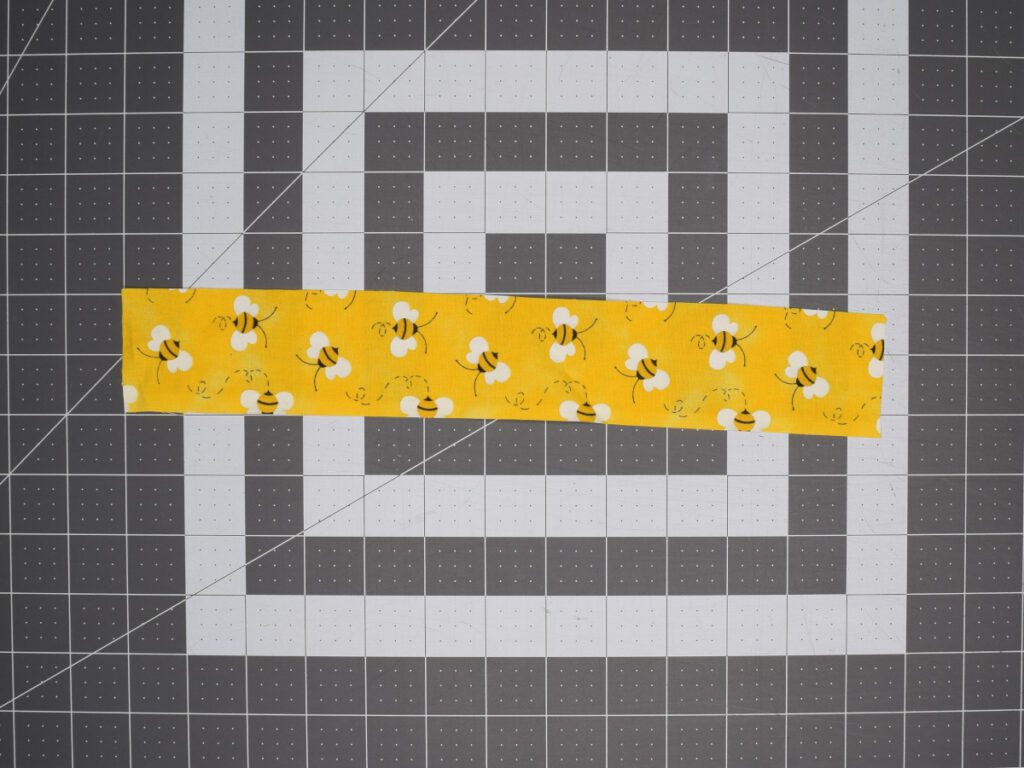
I won’t go step by step, but the casing will be a 12.5″ by 2″ rectangle. This is the same for both the adult and child bandanna.
Cutting the Pattern Pieces
Cut out both the head cover and casing pattern pieces.
Cutting Out the Fabric and Elastic
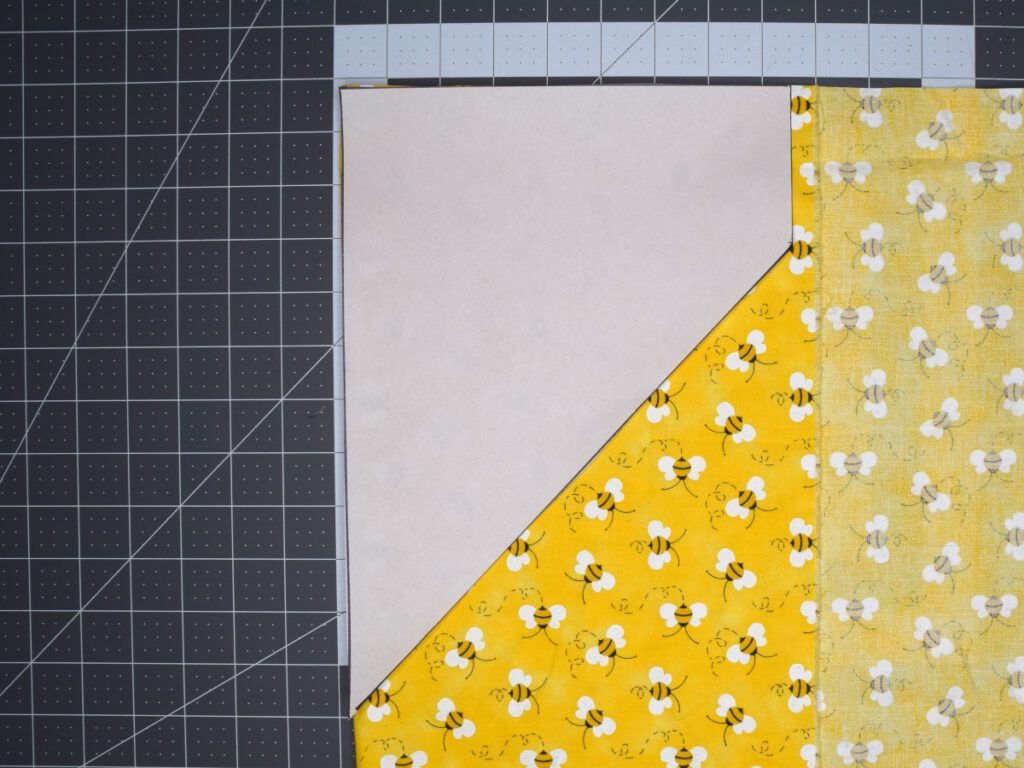
Step 1: Lay the Head Cover pattern piece on the fold of the fabric and cut 1 piece
Step 2: Cut 1 piece of the fabric casing
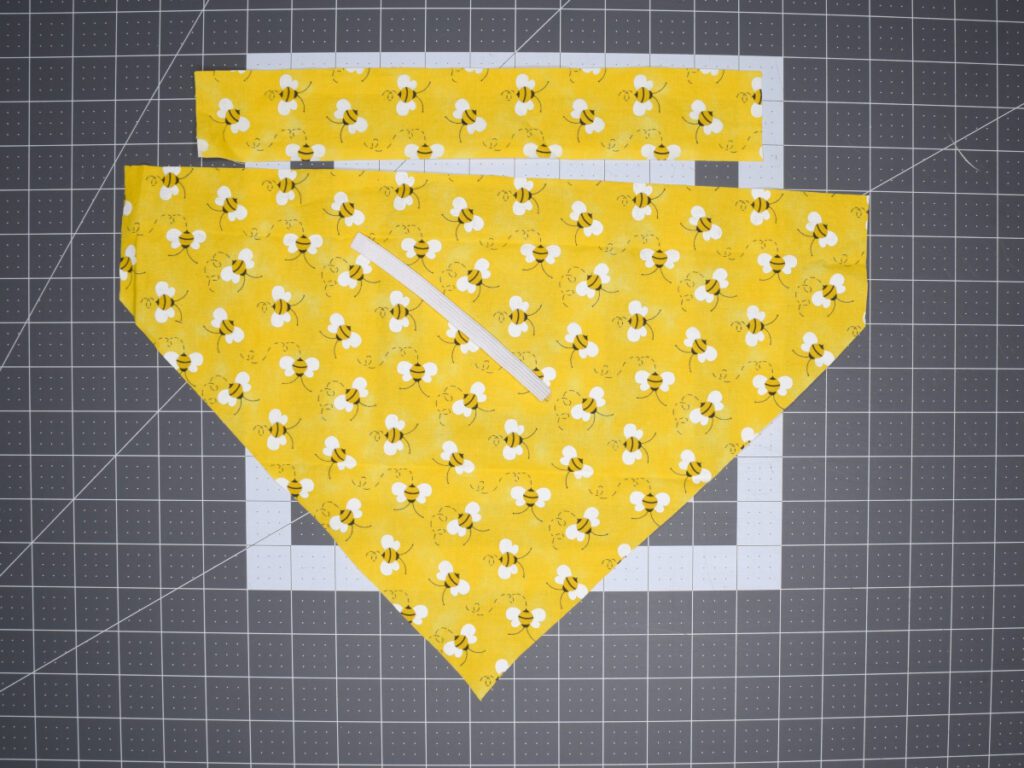
Step 3: Cut 1 strip of 3/8″ elastic between 5 1/2″ to 6 1/2″ long.
The length of the elastic will depend on the size of your head and the stretch of the elastic. In my case, my elastic is pretty soft and stretchy so I’m cutting it to 5 1/2″
Note: If you don’t have 3/8″ elastic you can use a smaller width but you don’t want to use anything wider as it will be harder to feed through the casing.
Sewing the Casing and Elastic
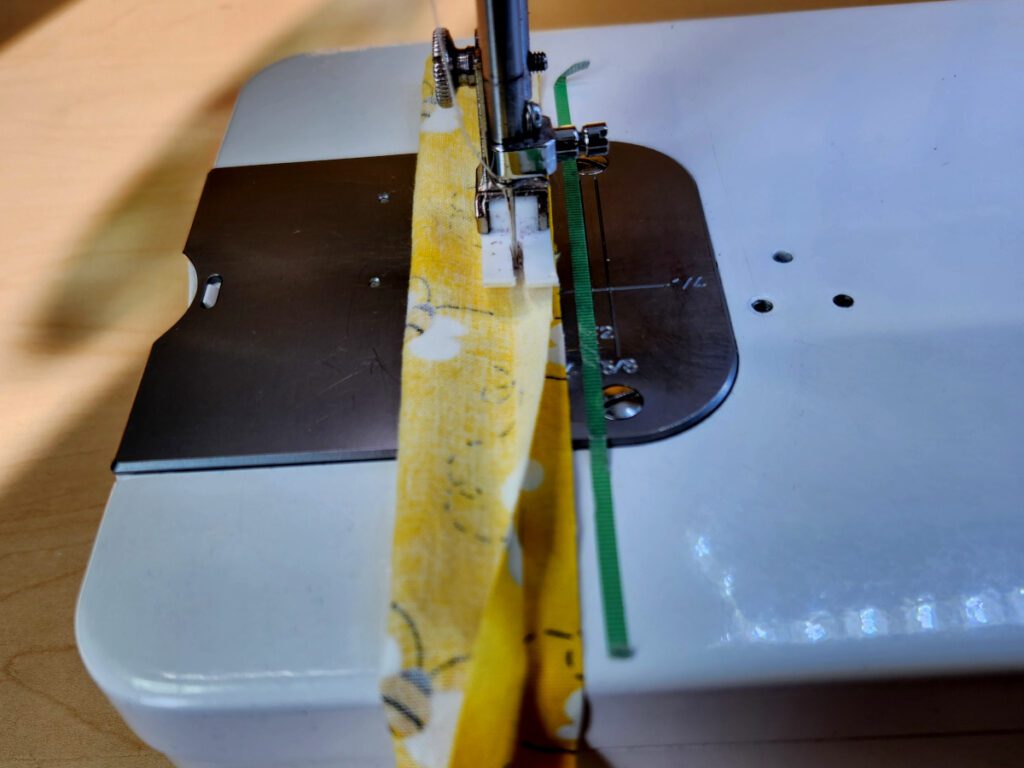
With the right sides together, sew along the long side of the casing with a 1/4″ seam allowance.
Turn the casing right side out.
Note: There are many methods for turning tubes right side out. One of the most popular is a safety pin, but I thought I would show you another method I like to use – a large bobby pin.
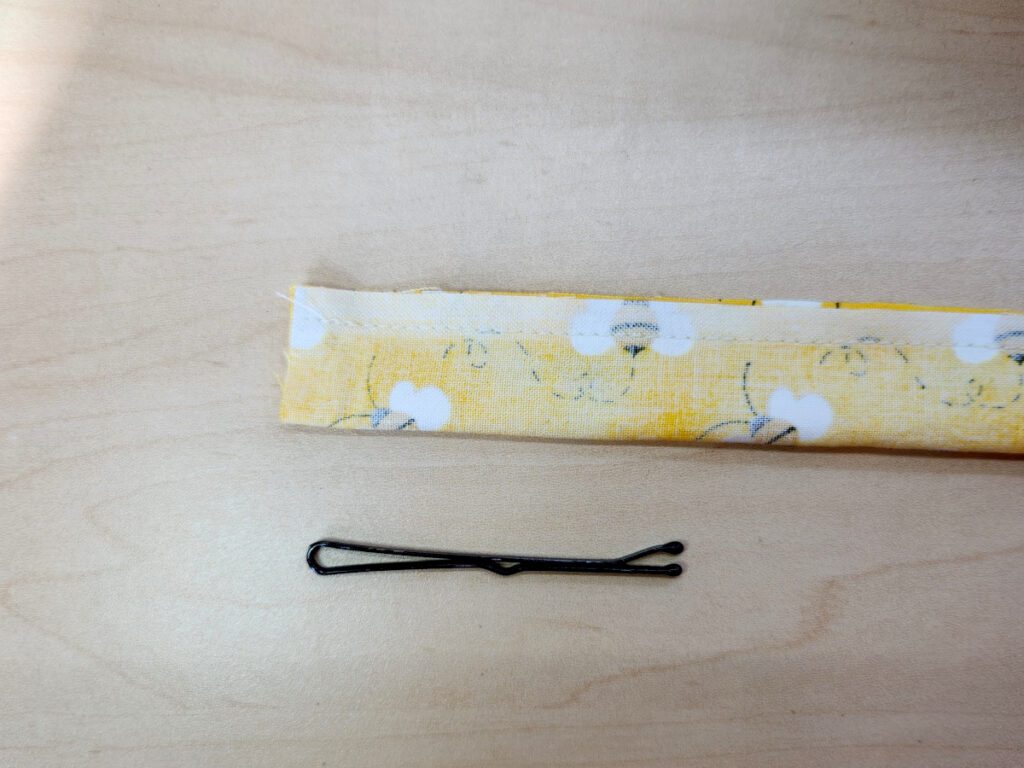
Just clip a little hole in one end of the tube and slide the bobby pin into the hole. Now turn the tube right side out just like you would with any other turning tool.
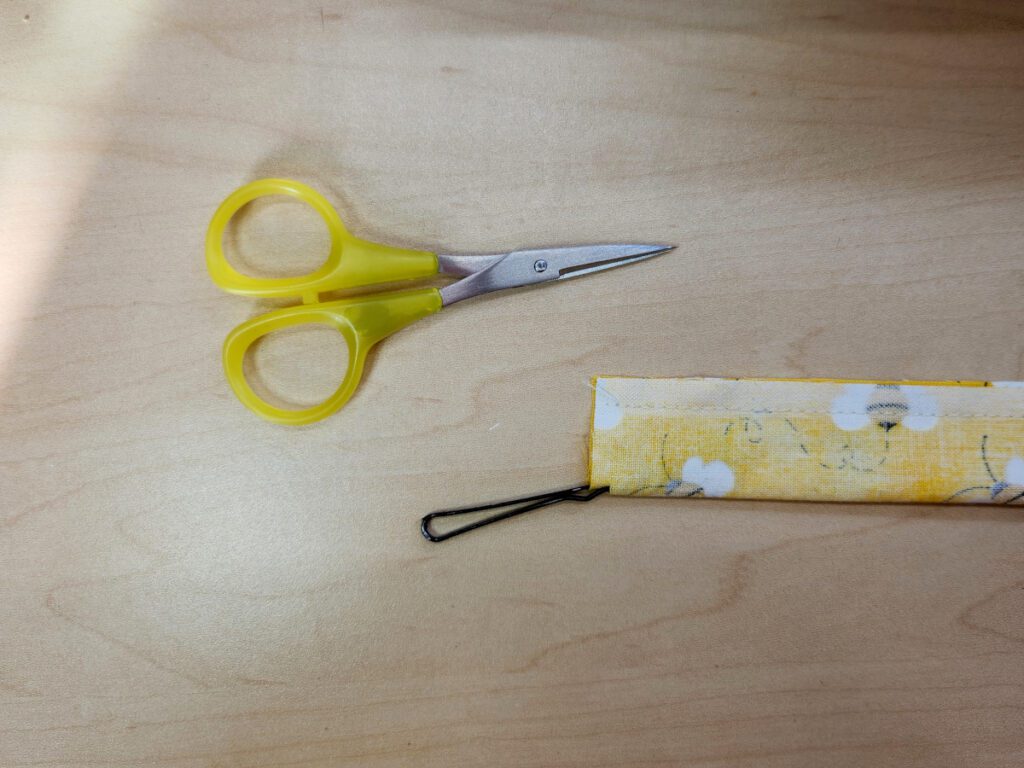
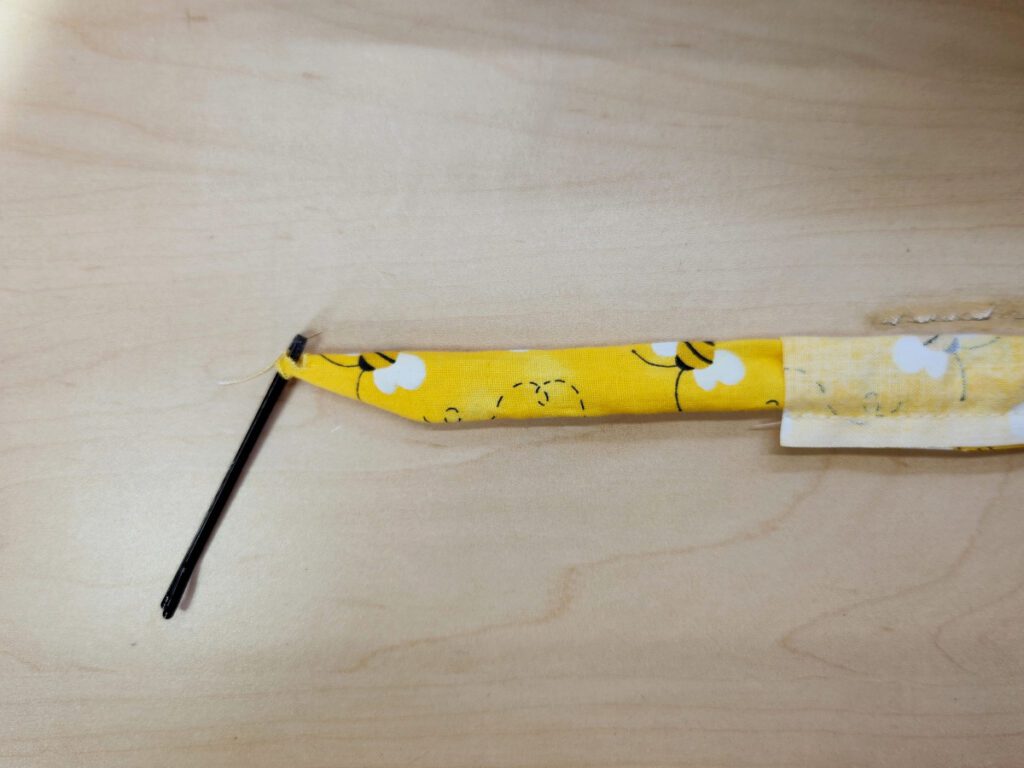
The advantage of the bobby pin over a safety pin is that safety pins can come open while feeding through a tube. The disadvantage of the bobby pin is that you do have to cut a small hole into the tube. You need to ensure you are clipping within the seam allowance, and clipping too close to the edge can cause the fabric to rip.
Press the casing so that the seam is centered on one side. This will be the “wrong” or non-facing side. In other words, this will be the side against the head
Just like tube turning, there are many methods of feeding elastic. For this tutorial, I’m just using a large safety pin.
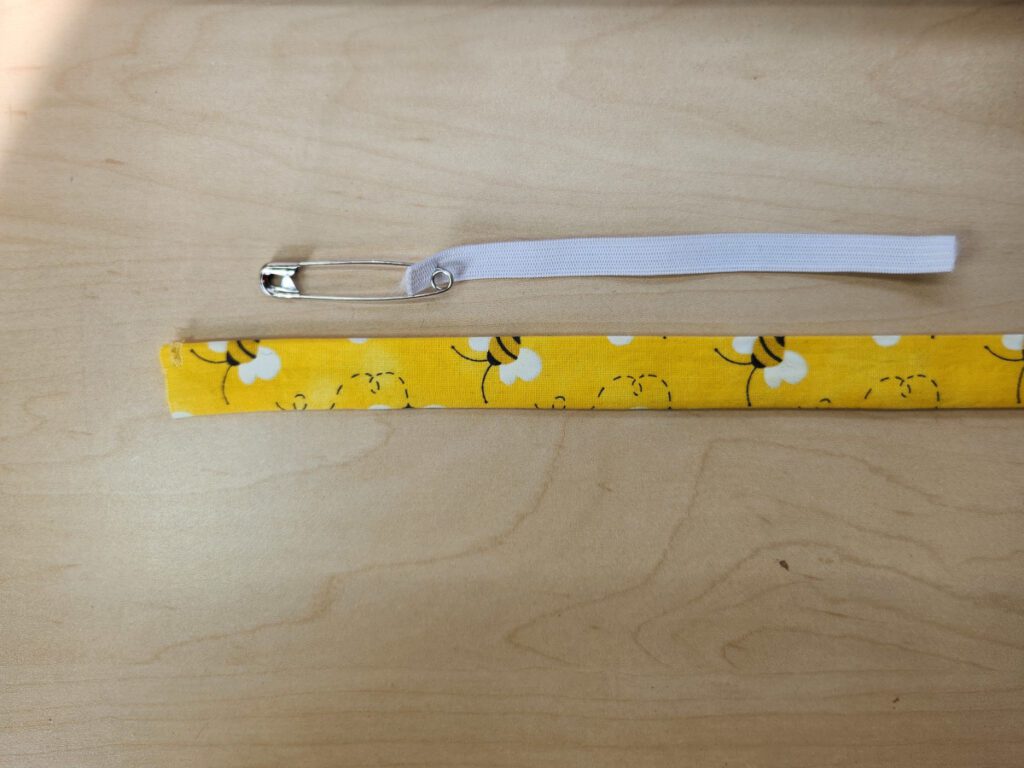
Feed the elastic through the casing until just the end of the elastic is showing. Secure with a clip or pin.
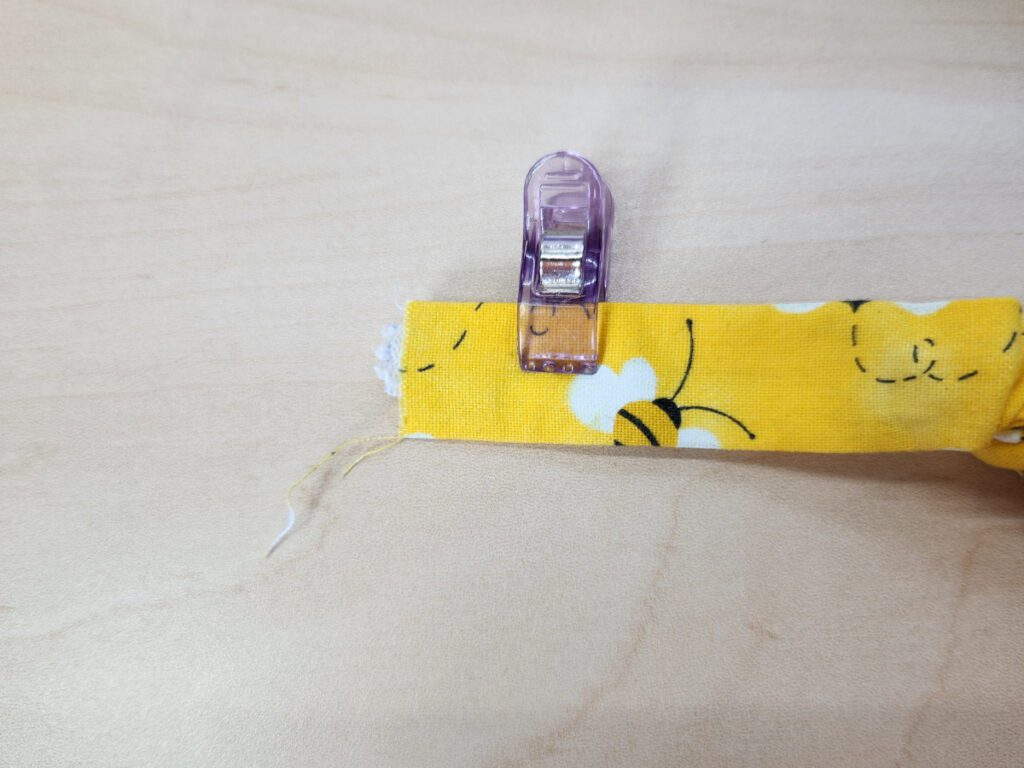
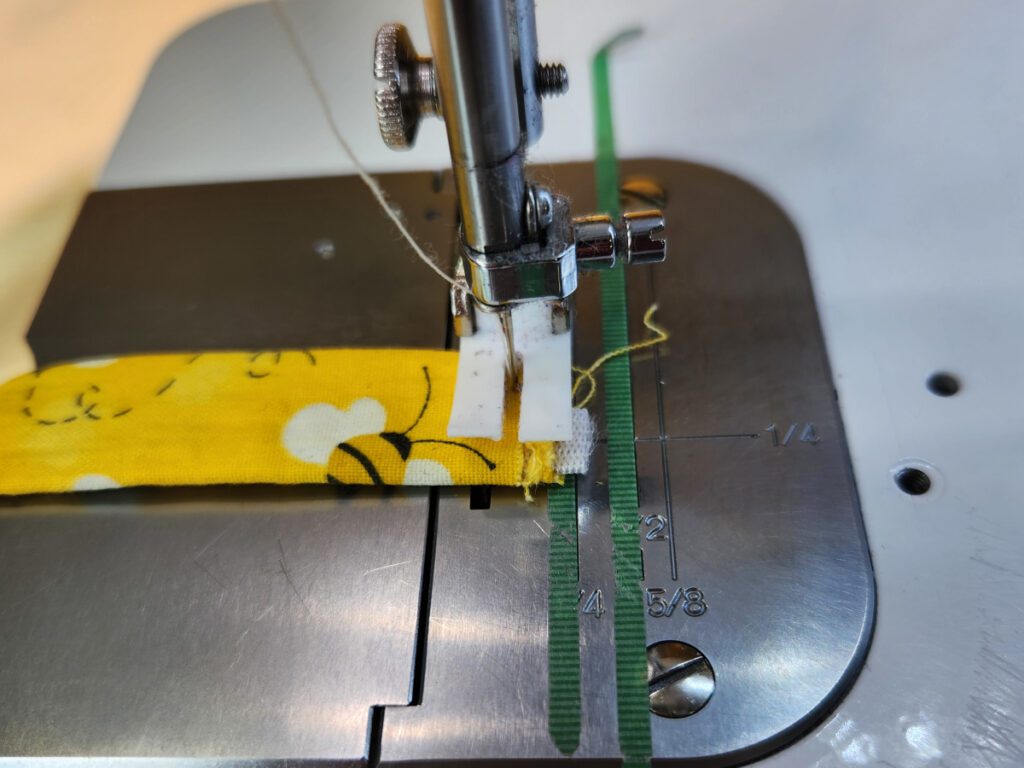
Baste the end of the elastic in place to secure it.
Continue feeding the elastic through the casing to the other end.
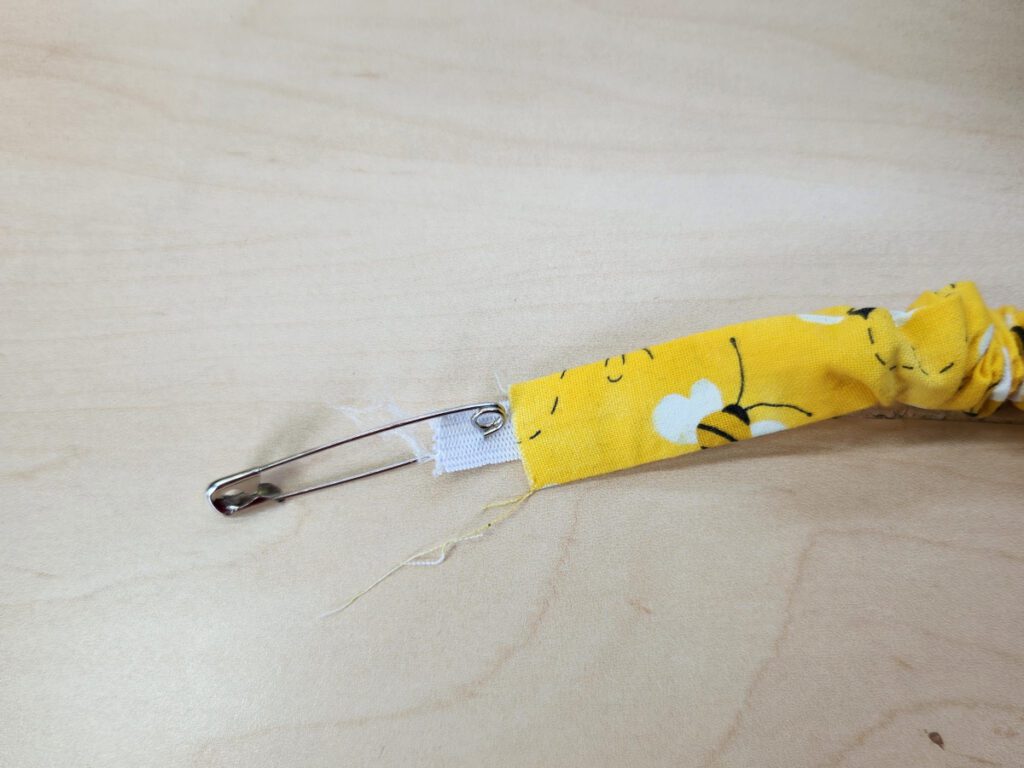
Secure the elastic in place with a clip or pin and carefully remove the safety pin.
Baste the end of the elastic in place.
Adjust the casing so the gathers are even.
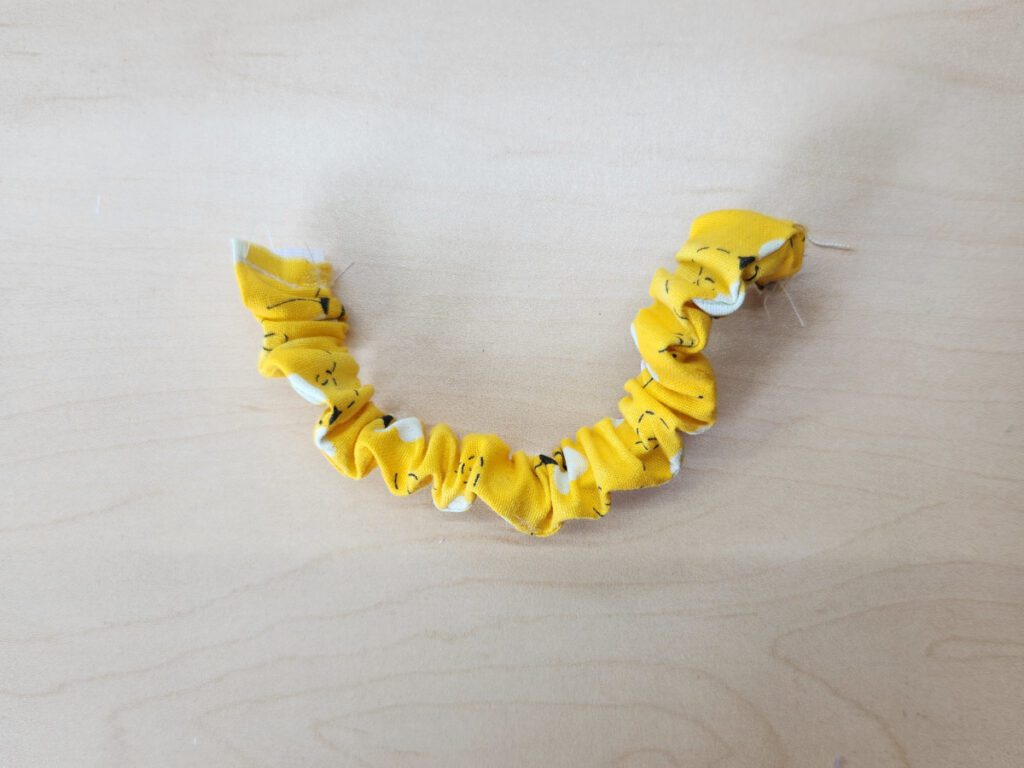
Set the casing aside for now.
Sewing The Head Cover
Let’s start with the top/front of the head cover.
Fold the seam 1/2″ toward the wrong side of the fabric and press.
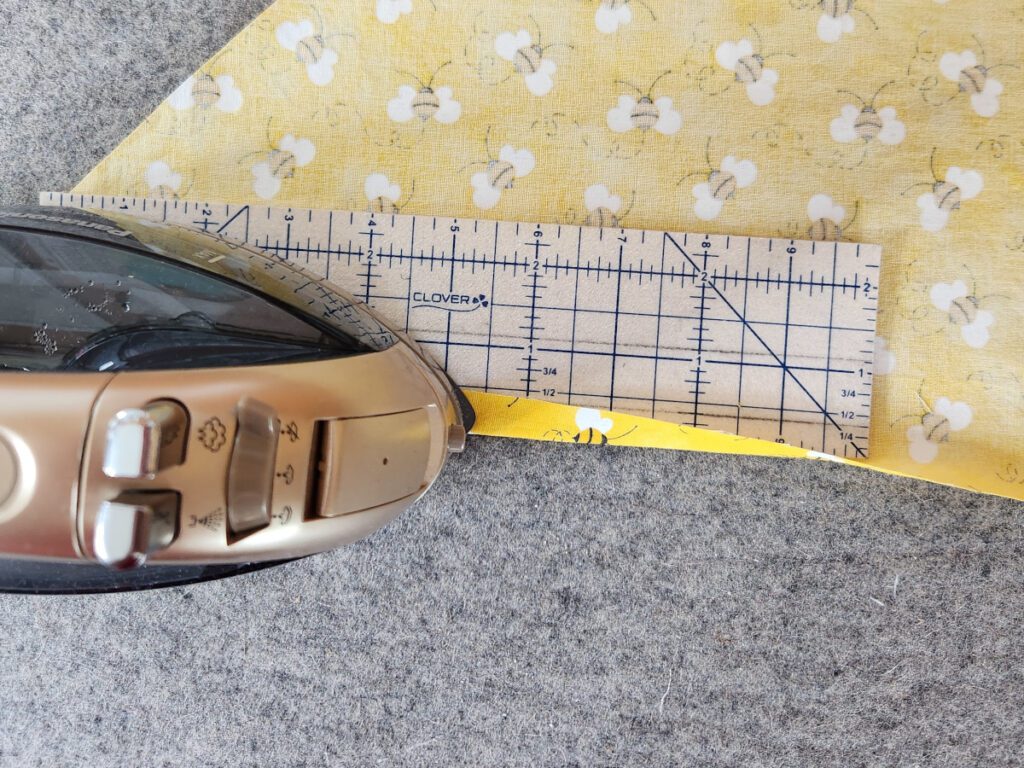
Now fold the seam under so the raw edge touches the first fold. This will give you a double-folded 1/4″ narrow hem. Press again
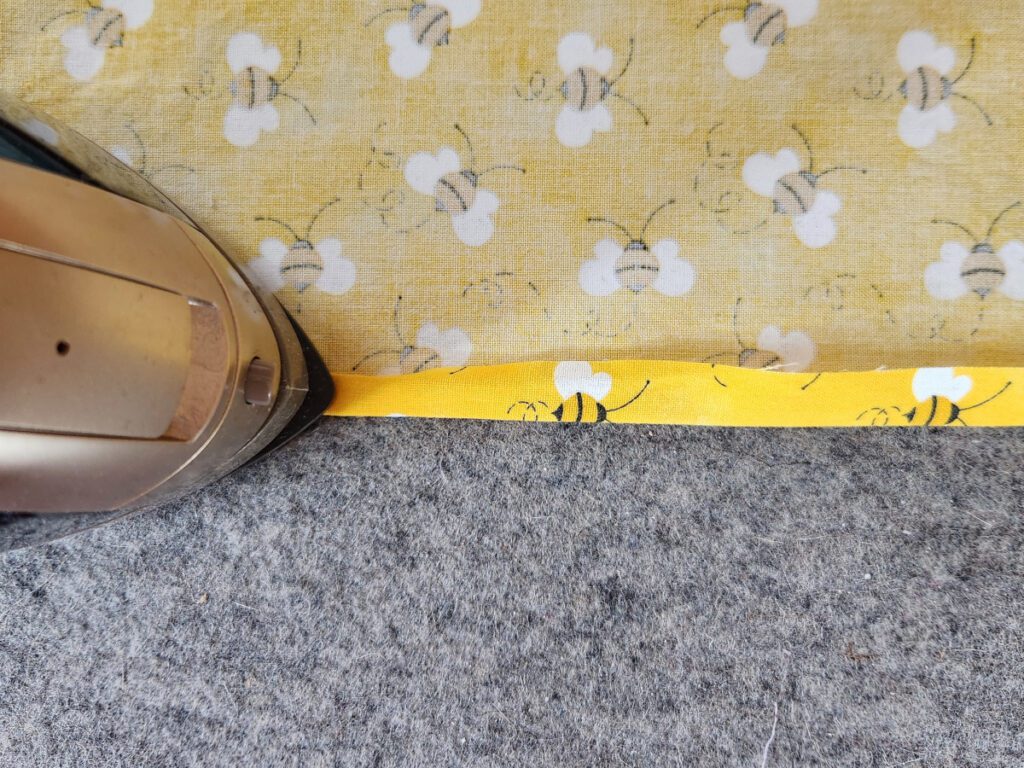
Sew the hem using a scant 1/4″ seam allowance.
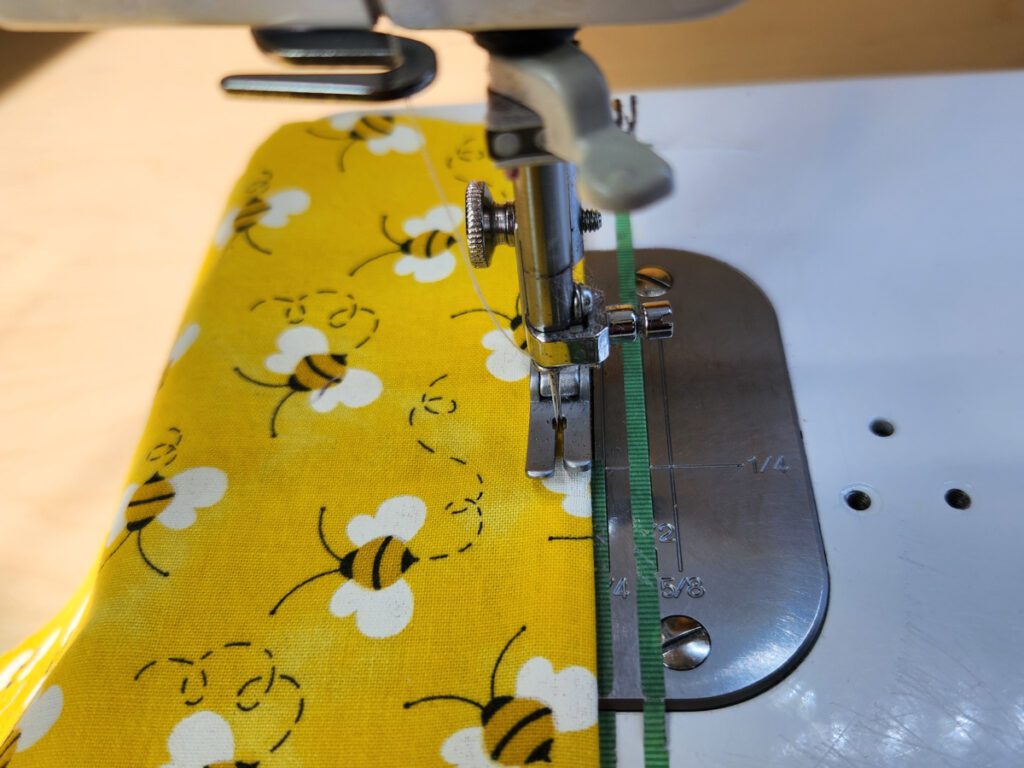
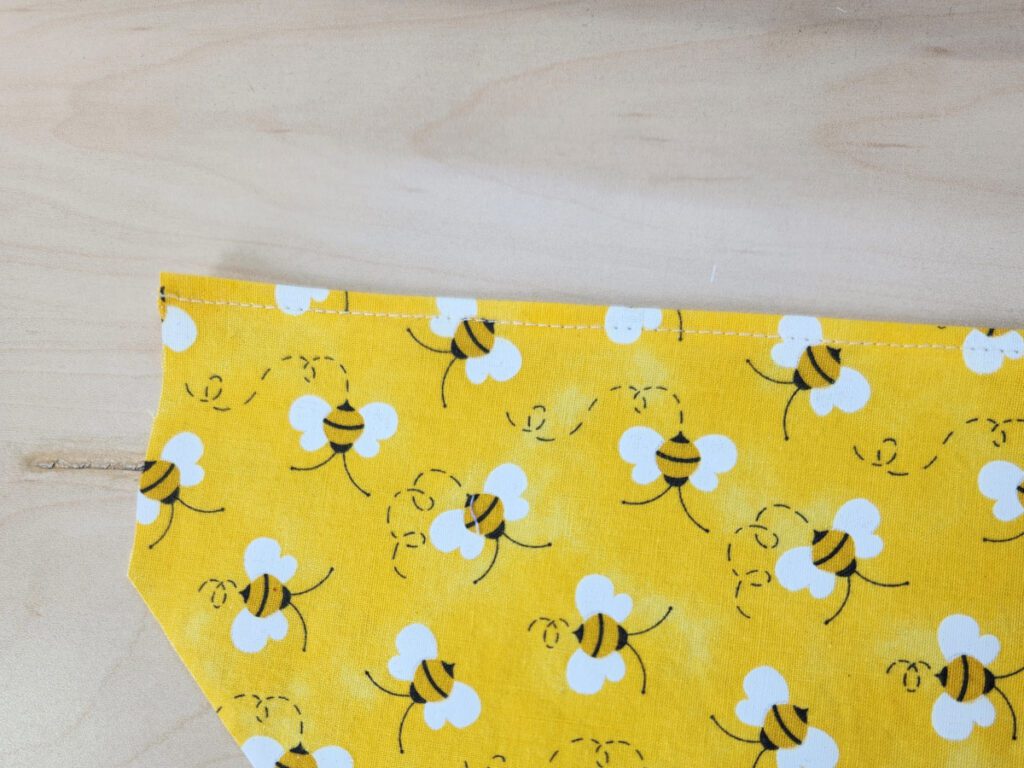
Using the same method as the top press the long diagonal side seams but don’t stitch them yet.
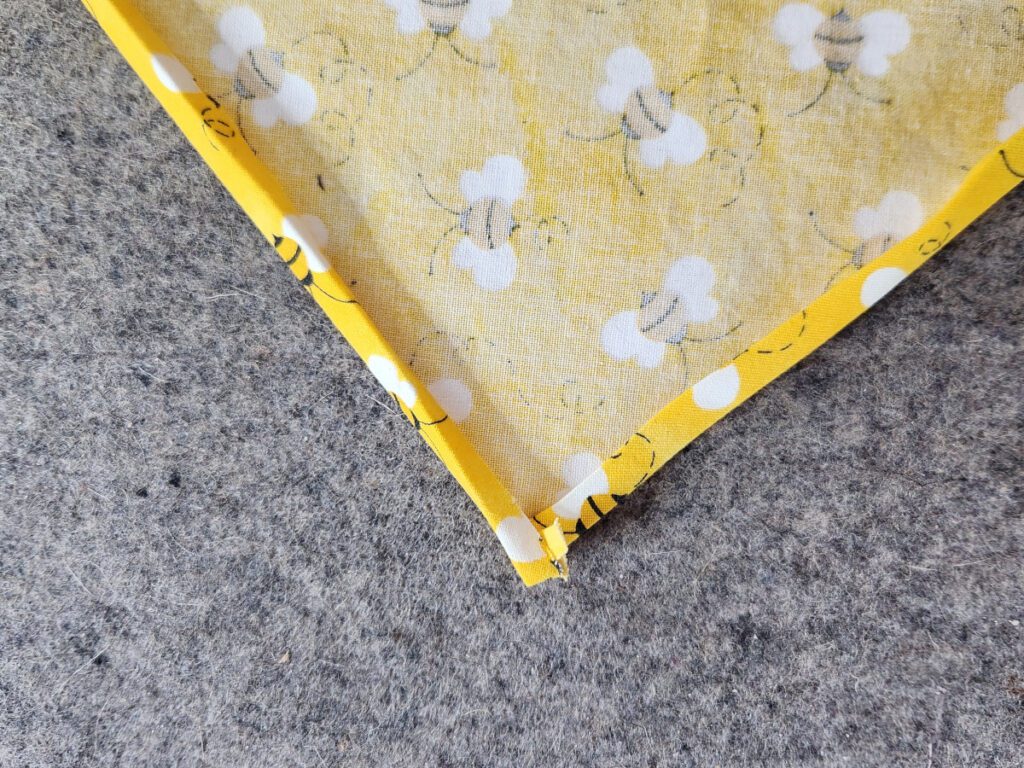
At the bottom corner fold the pressed seams out 1/4″ (one of the folds)
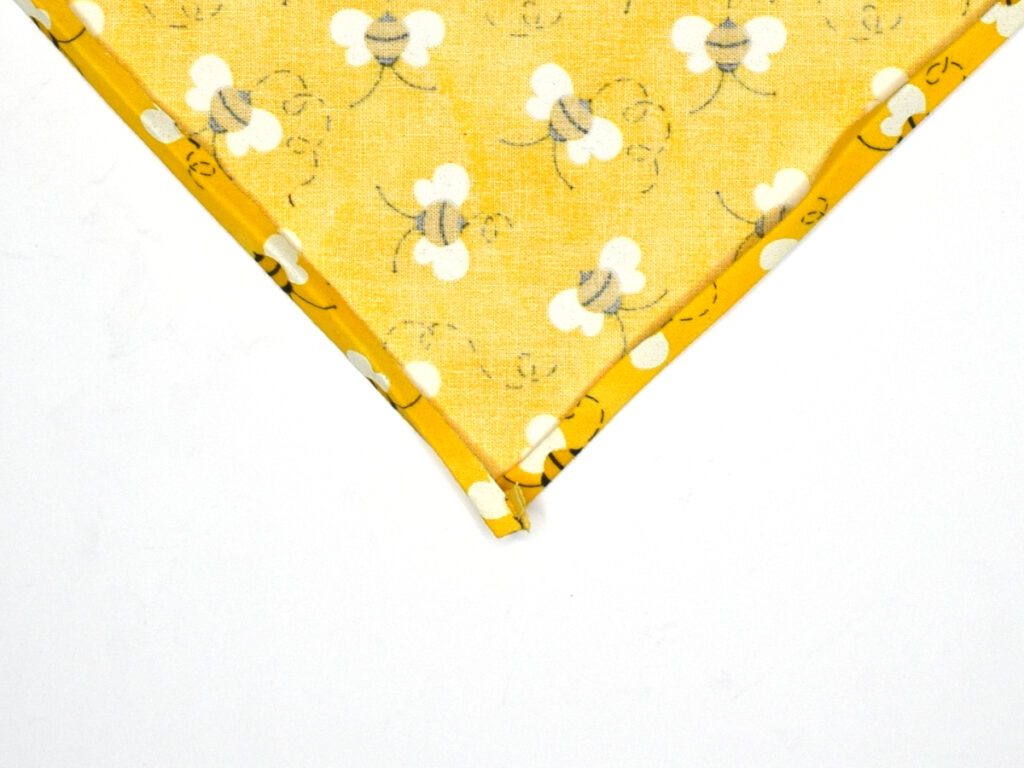
Using a fabric marking tool and a ruler make 1/2″ from the seam, as shown
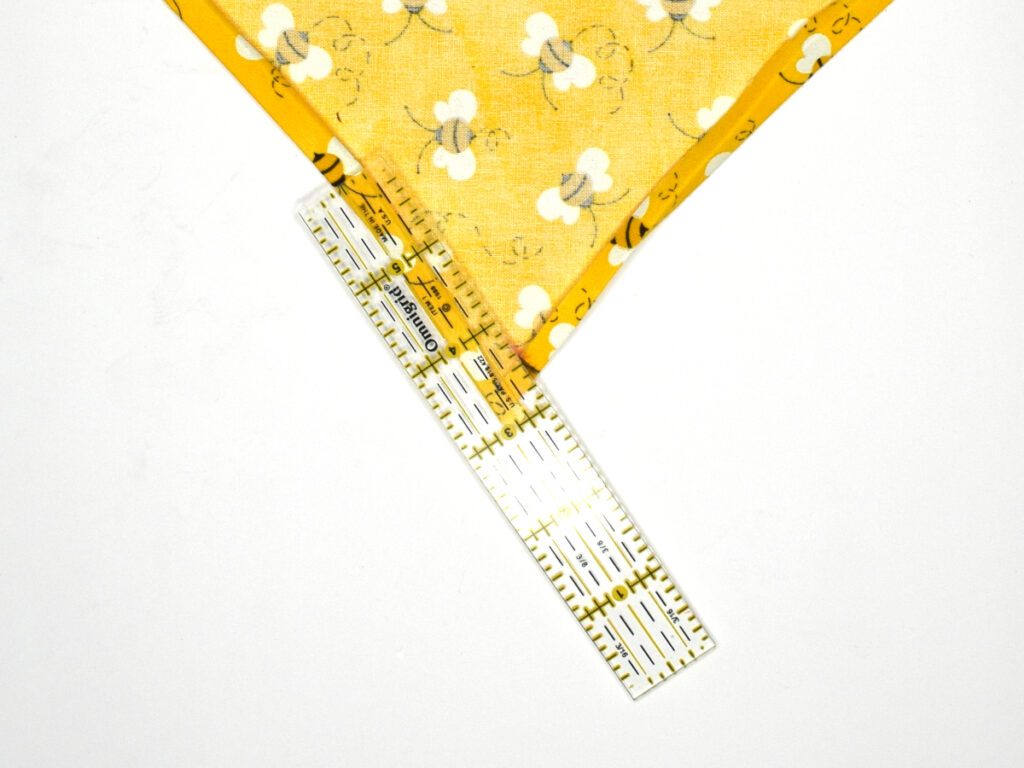
Repeat for the other side.
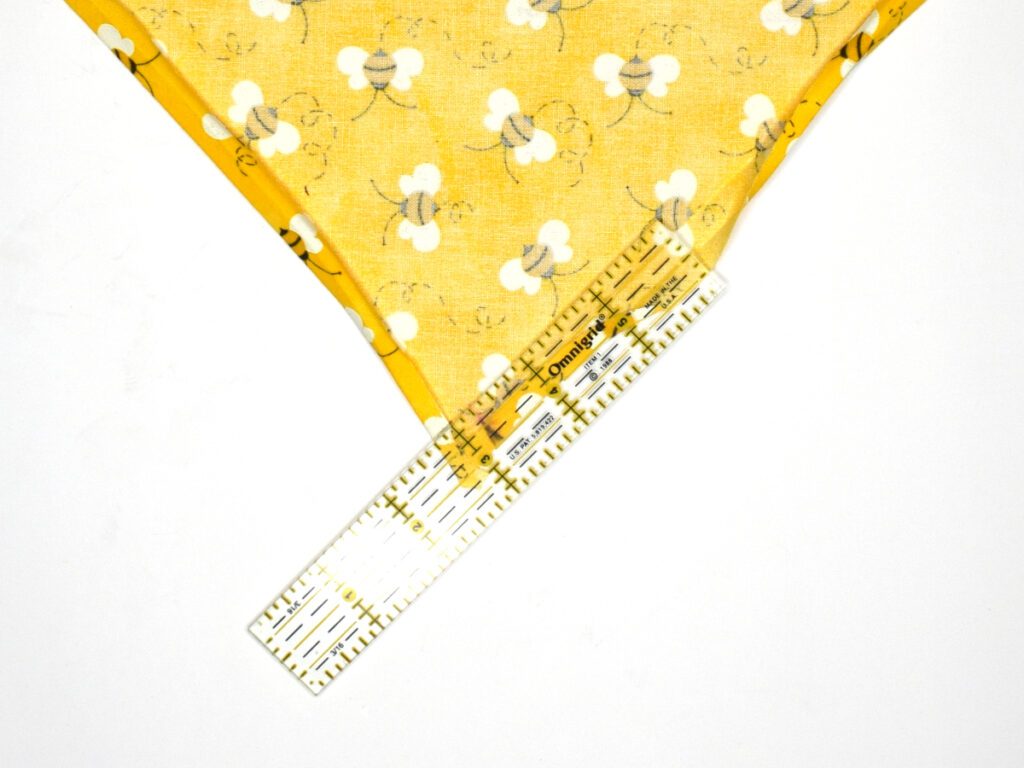
Connect the two marks with a straight line as shown. This will be your stitching line.
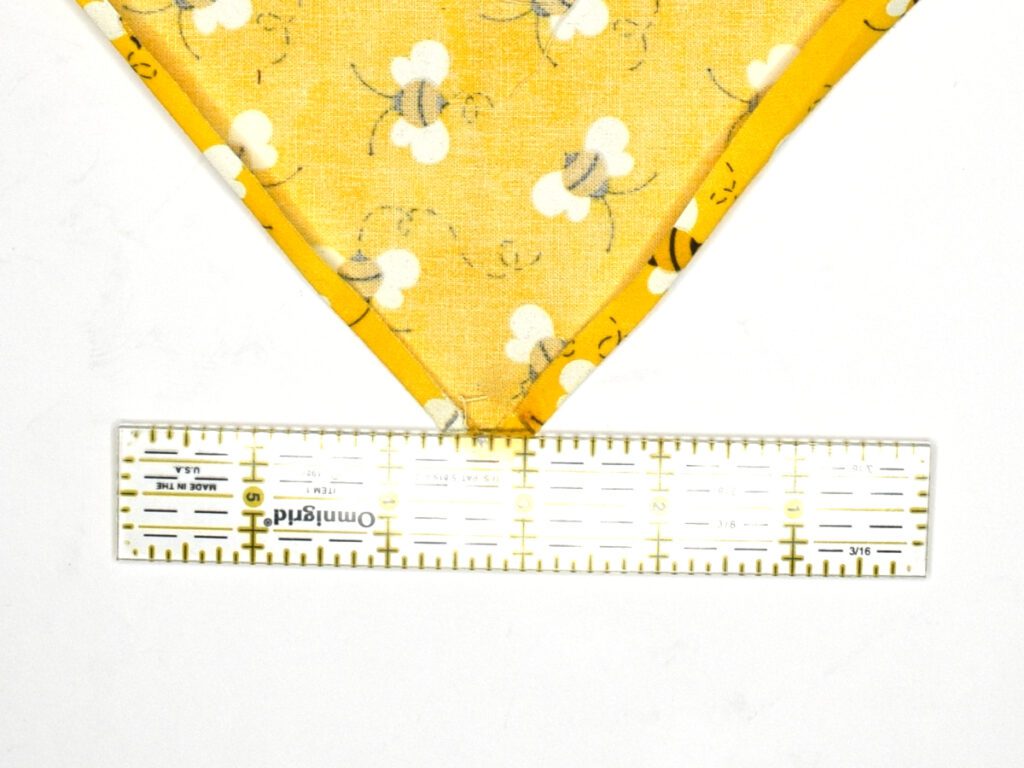
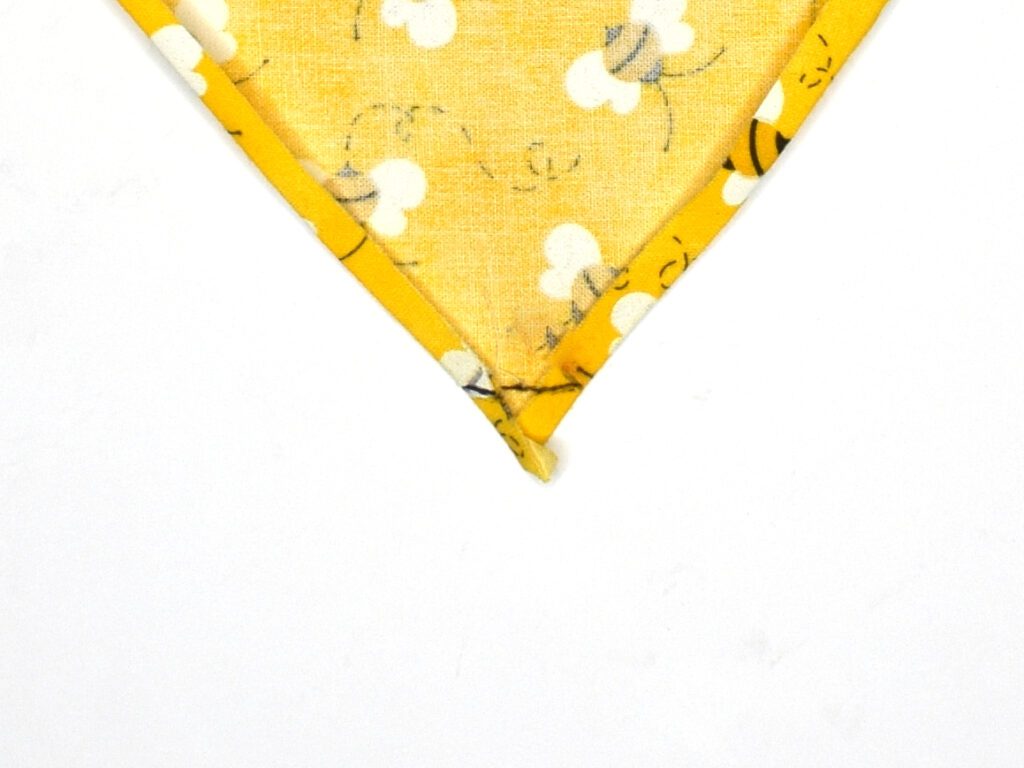
Fold the head cover in half, with the right sides together, matching the marks.
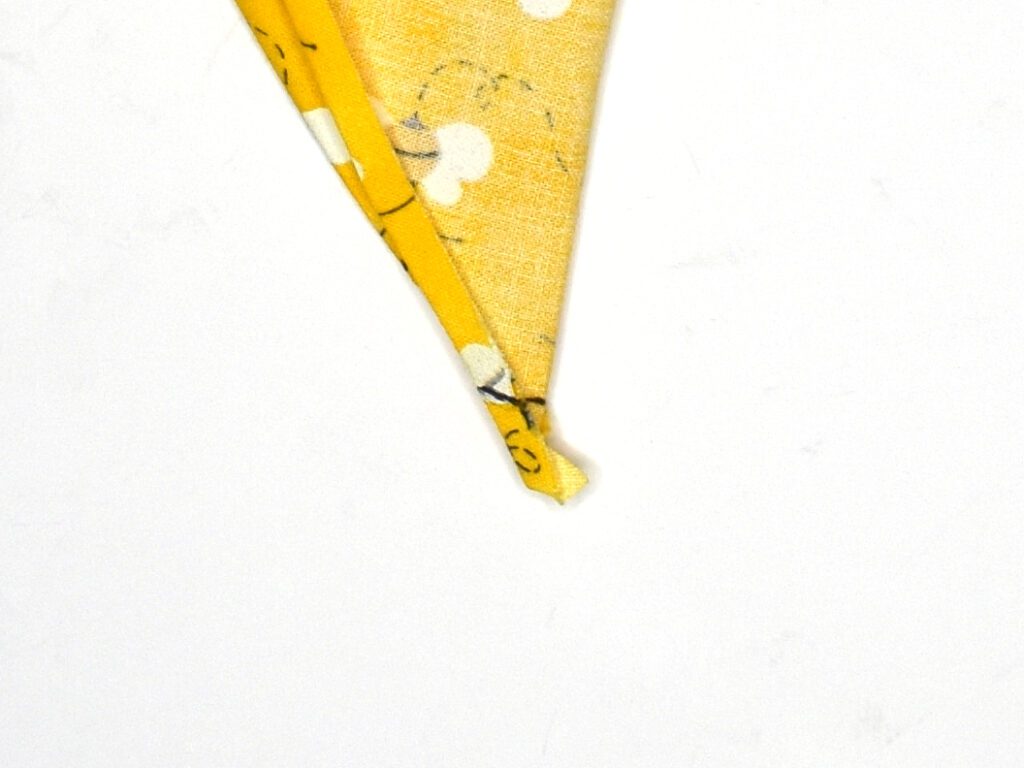
Stitch along the stitching line.
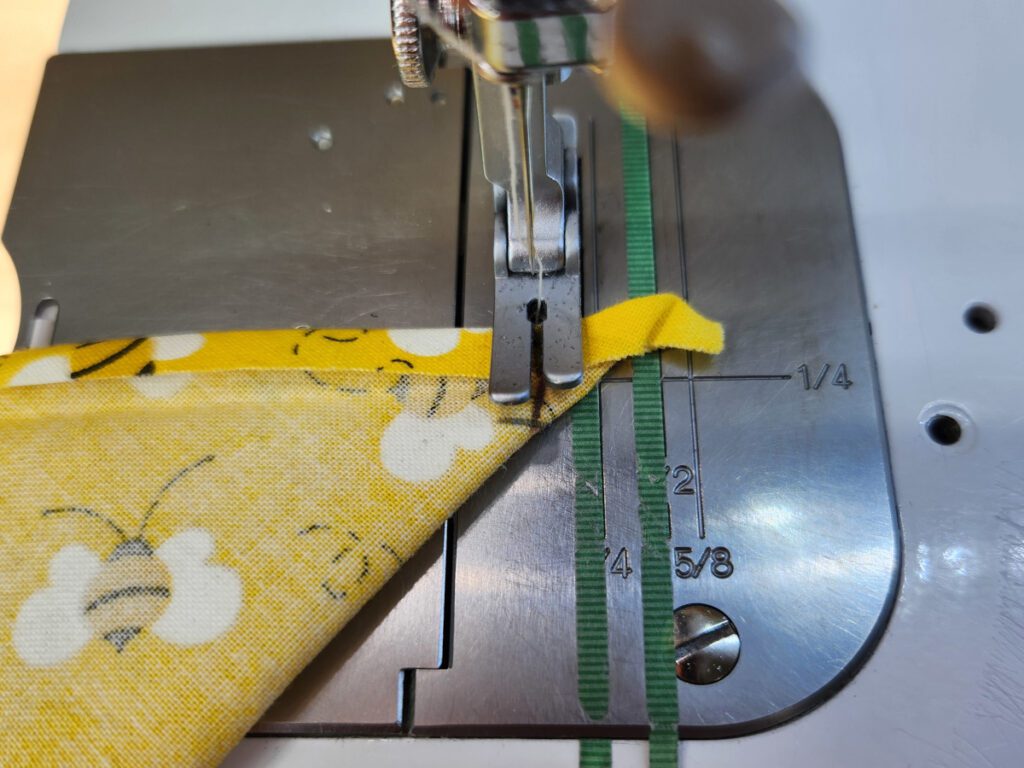
Trim the excess fabric off the corner.
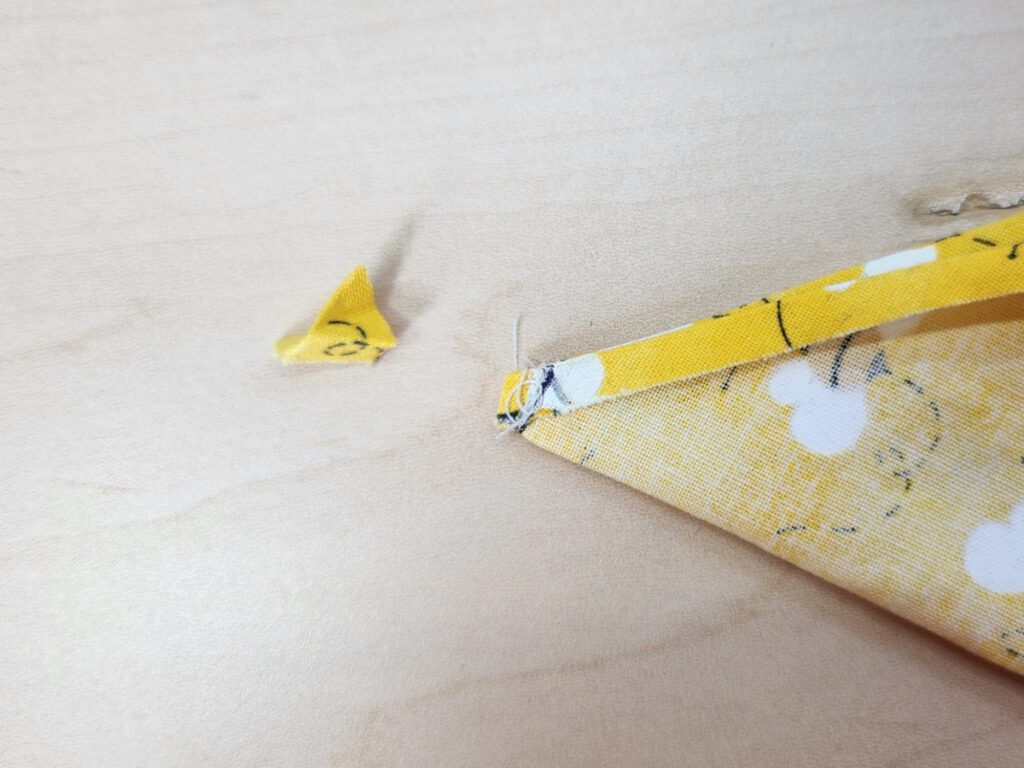
Fold the seams under so you have a 1/4″ seam allowance like we did with the top/front.
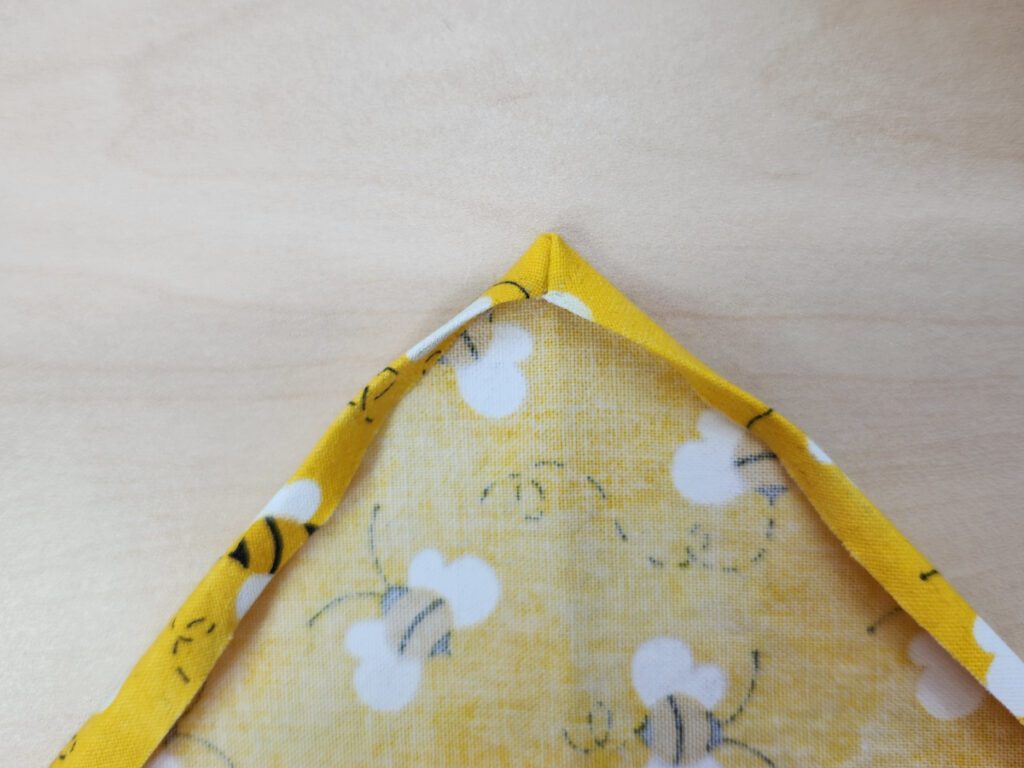
Press and stitch.
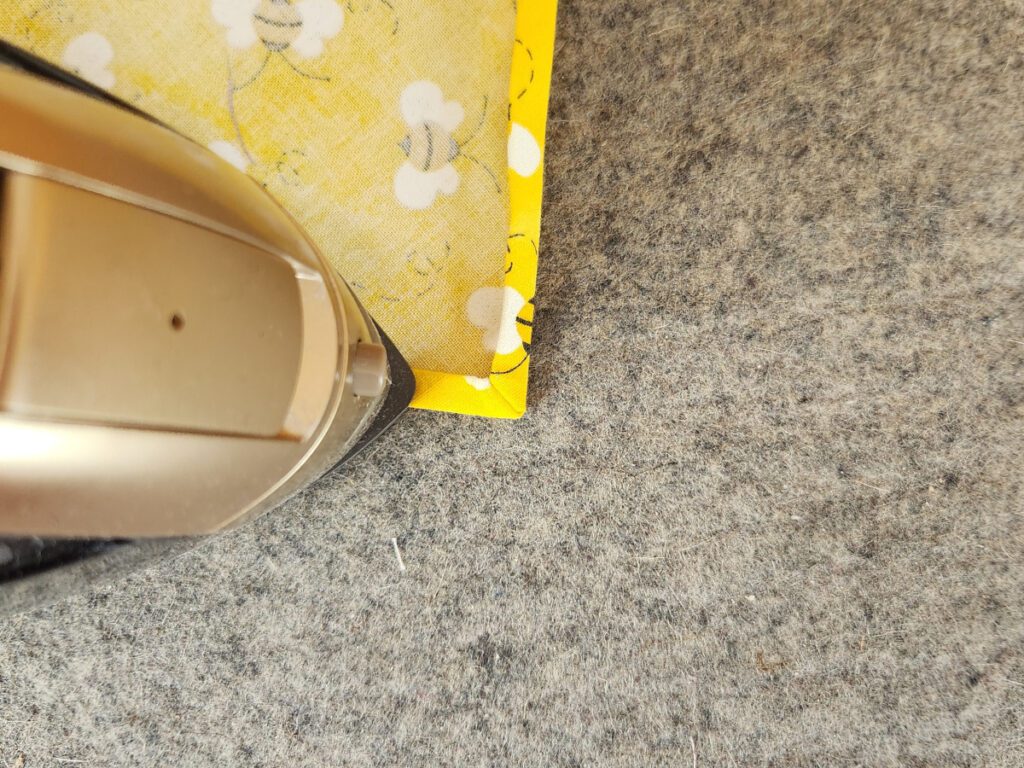
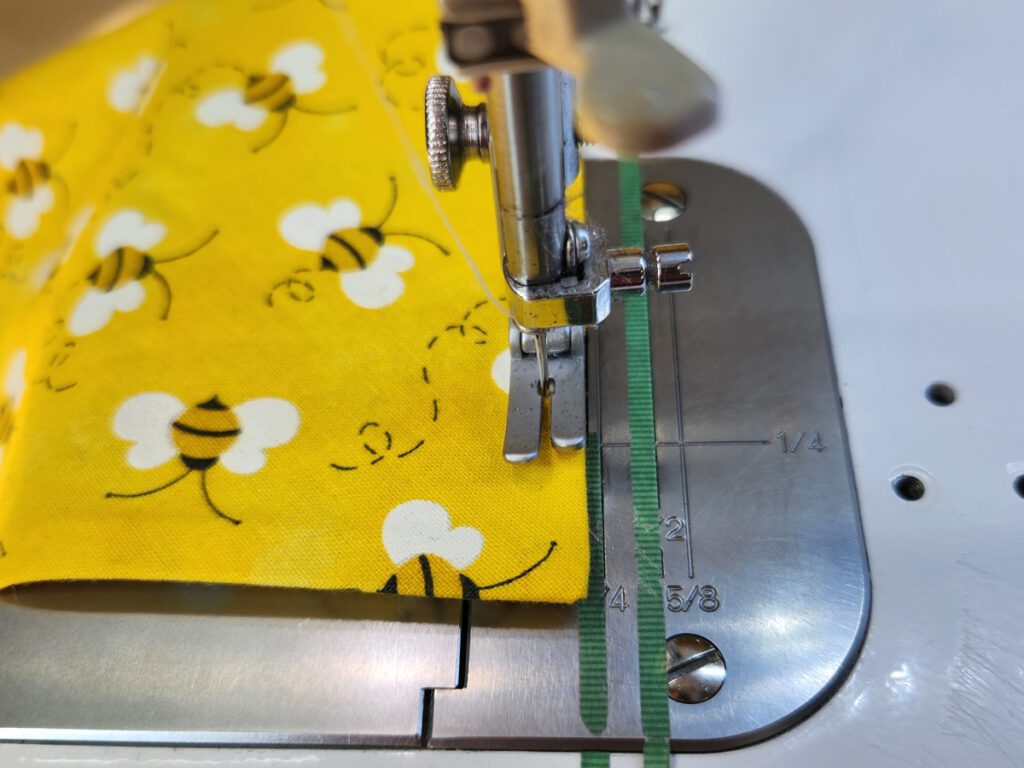
Look at the beautiful, sharp corner!
Adding the Elastic Casing
With the right sides together (for the elastic casing, the right side is the side without the seam line), center the casing on one of the short, un-stitched sides.
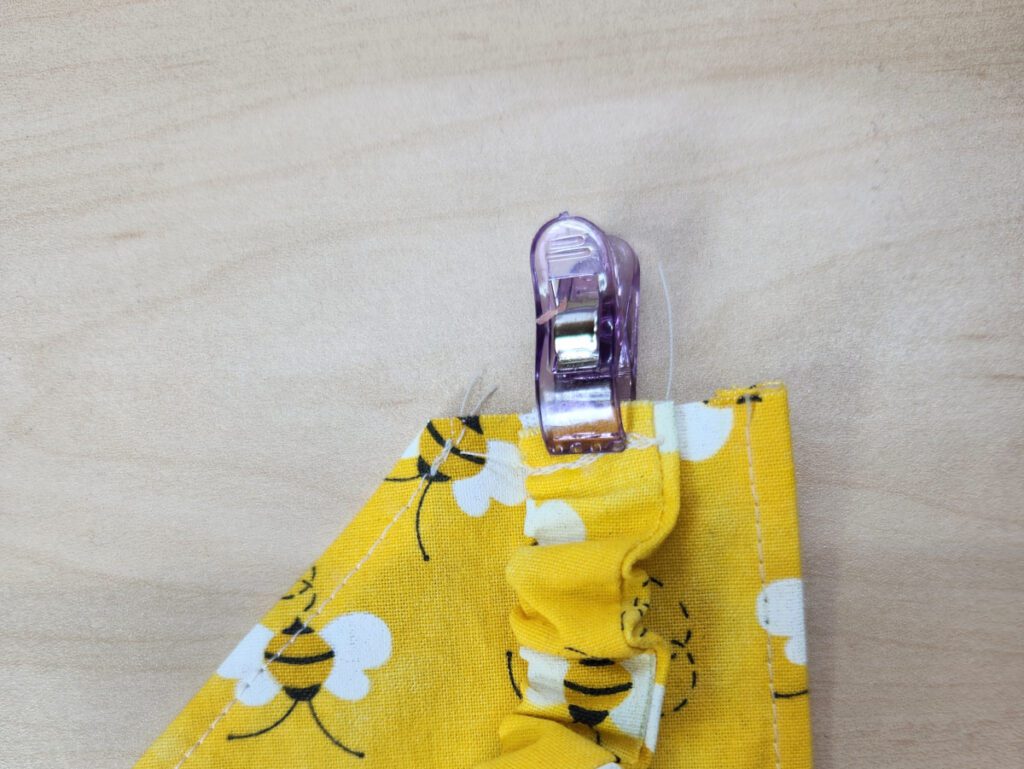
Fold the bottom/diagonal side over the casing as shown
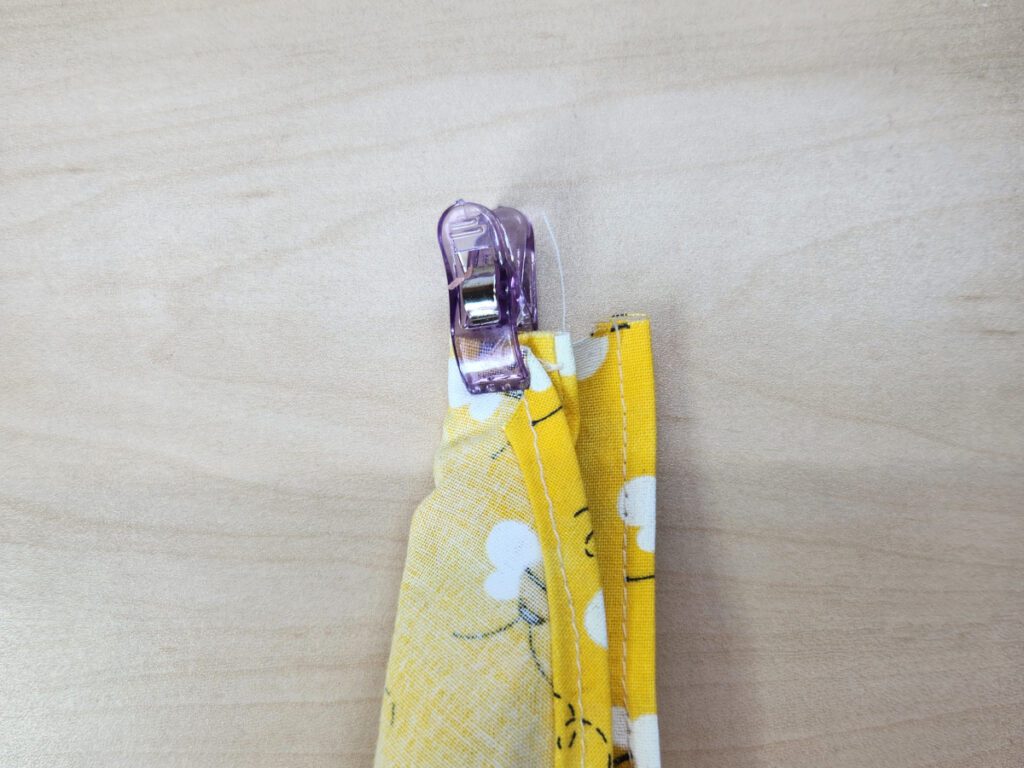
Fold the top side over as shown.
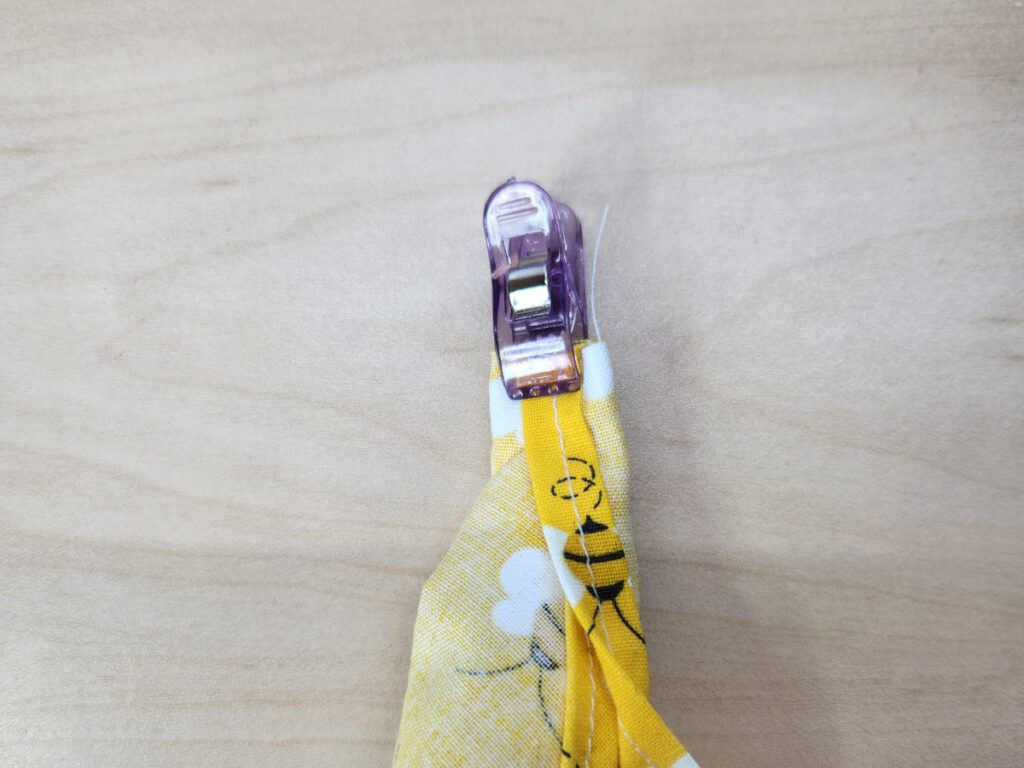
Secure with a clip or pin.
Using a 3/8″ seam allowance stitch into place.
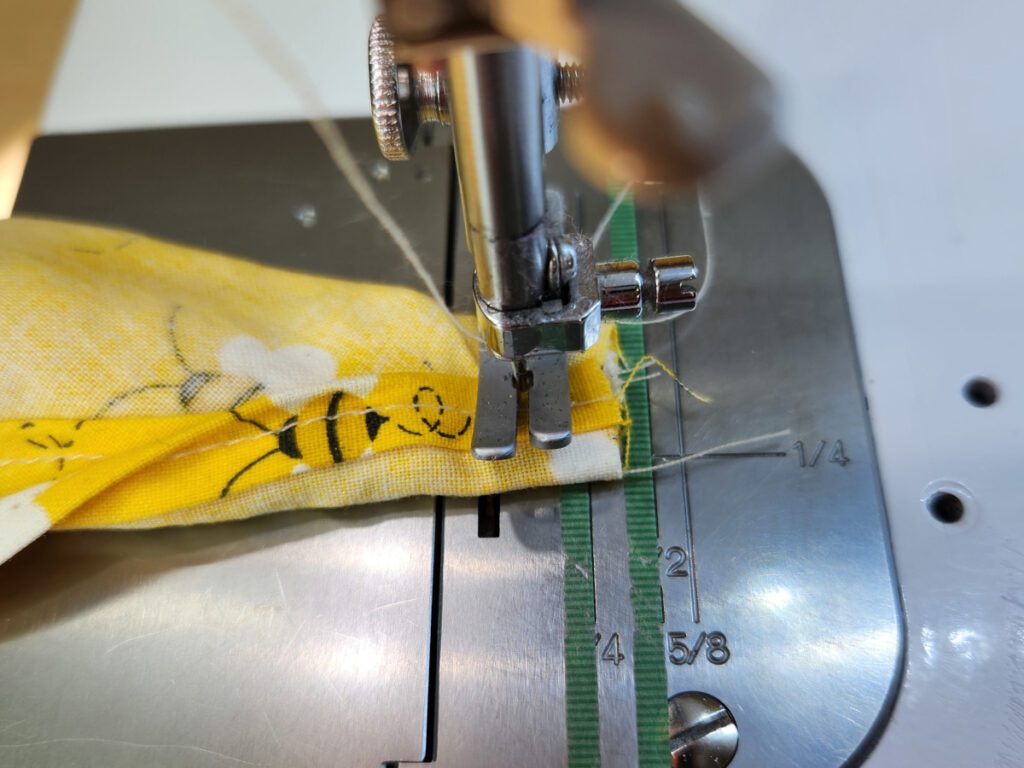
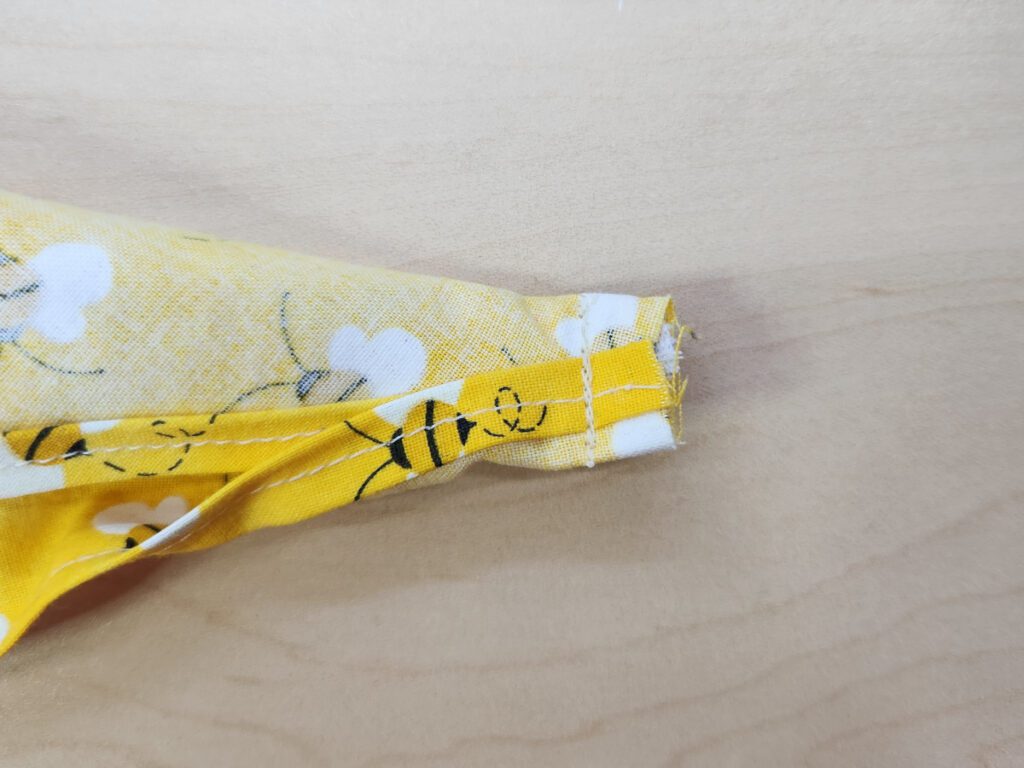
Repeat for the other side.
Turn the handkerchief headband right side out and lightly tug so that the elastic casing seam allowance is encased on the inside of the head cover.
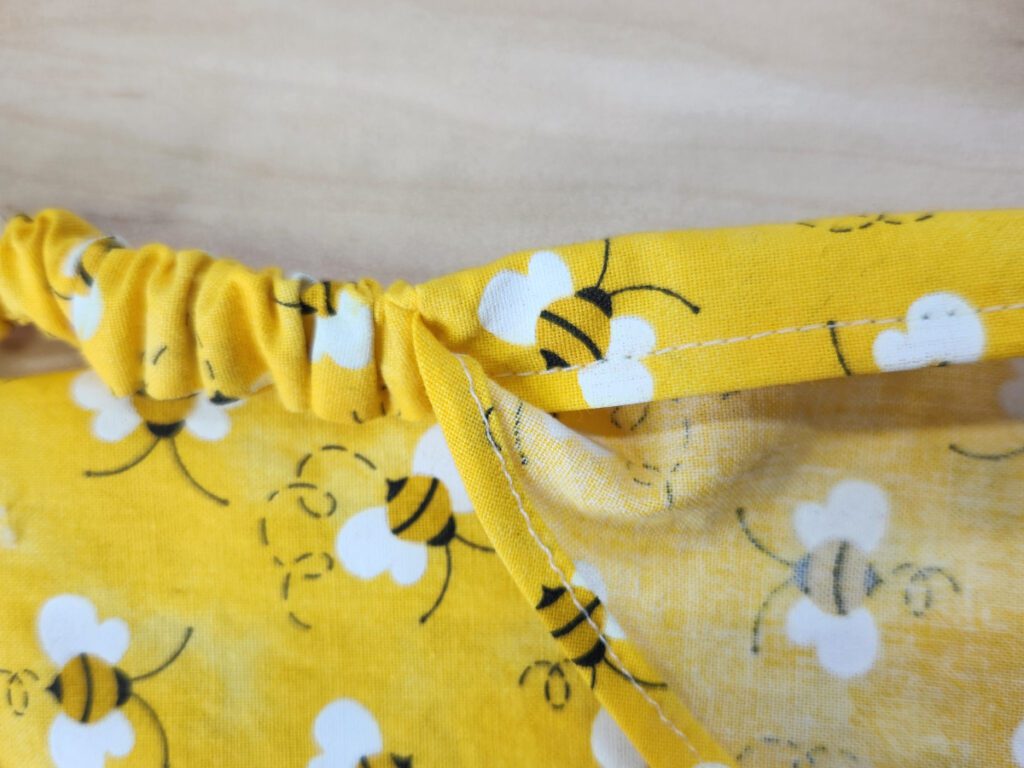
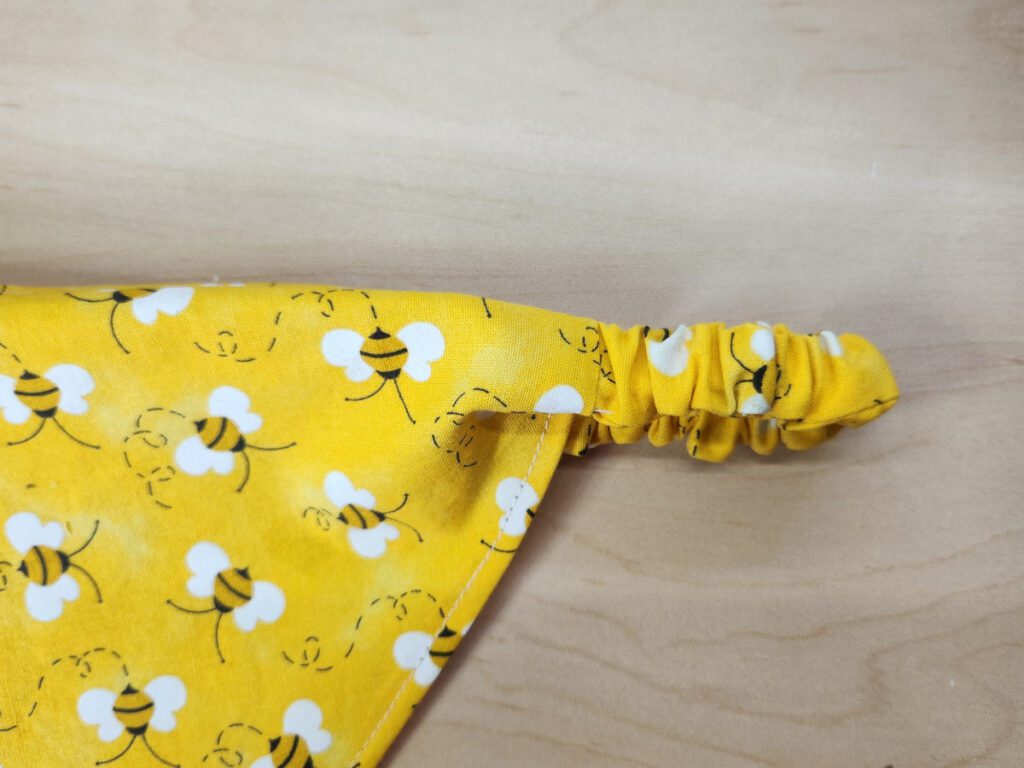
That’s It! You now have a cute handkerchief headband!
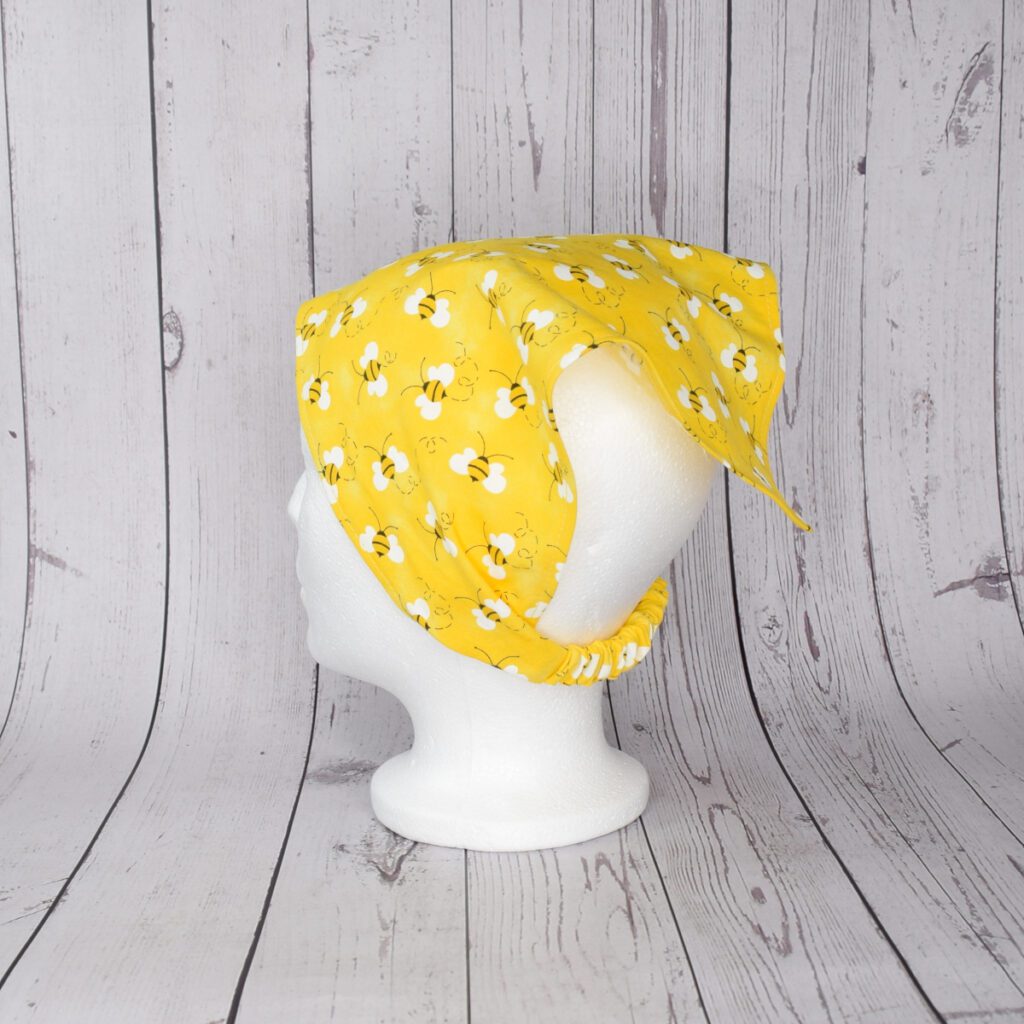
So what do you think? Are you going to make this project?
What’s your favorite hair accessory?
Need another tutorial? Check out Easy Bird Zipper Pouch Coin Purse Tutorial – Free Pattern
Please share or save for later on Pinterest
