Zipper Rescue: Learn How to Reinstall Zipper Pulls Using a Simple Fork
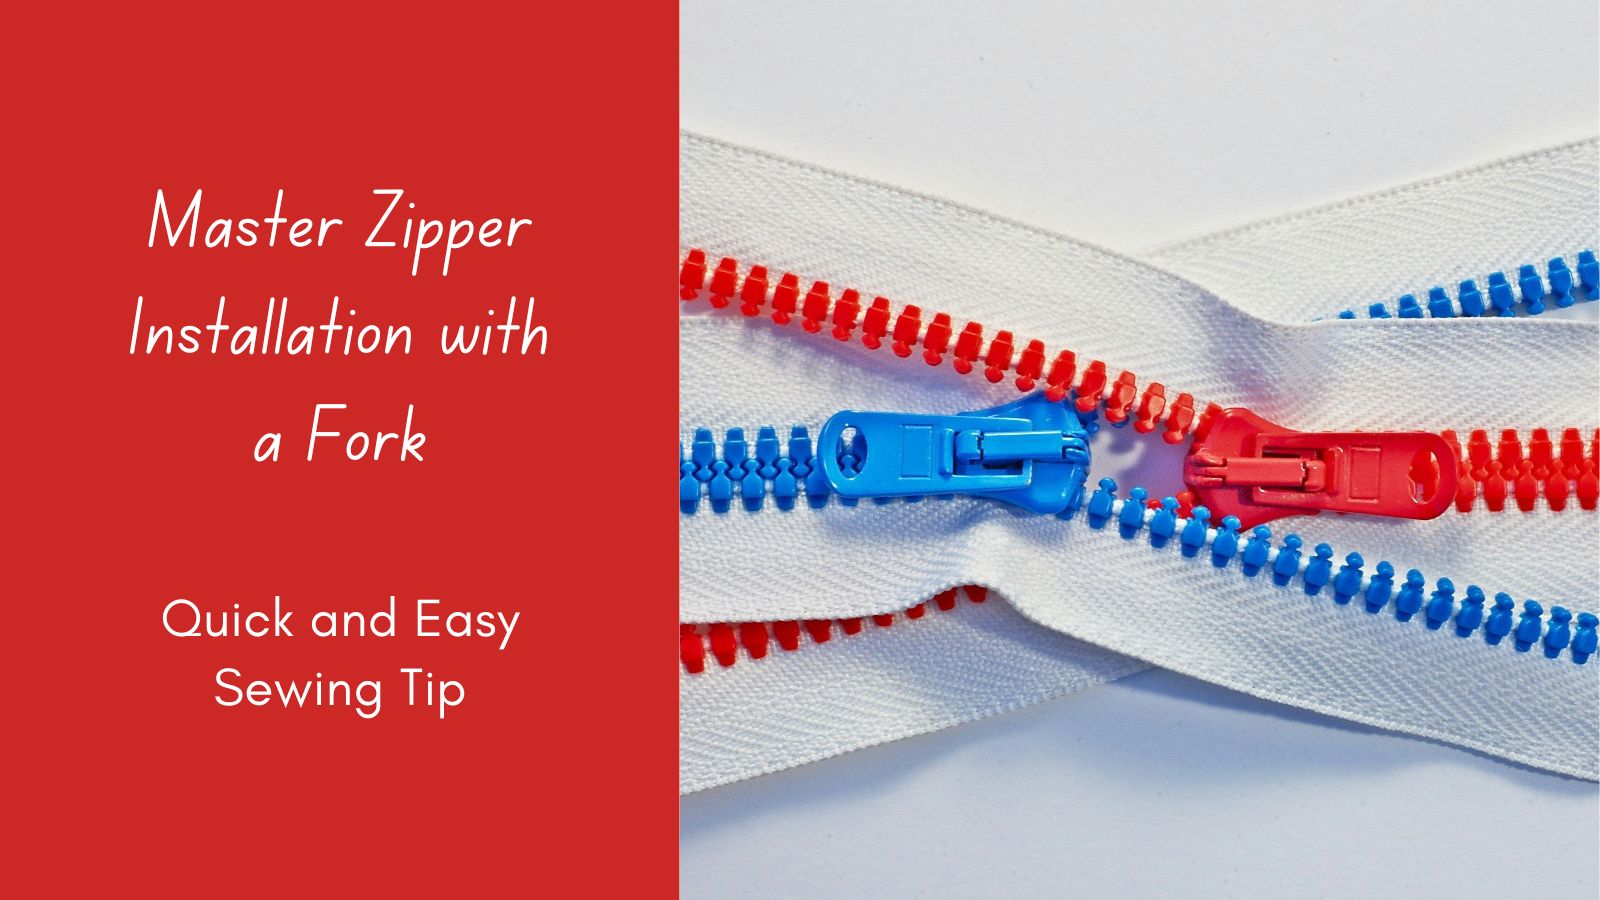
Did you know you could use an old fork to install a zipper-pull?
Have you ever worked with a zipper that you trimmed down and accidentally pulled the zipper pull right off? Or maybe you trimmed a zipper for a project and want to use the excess tape but don’t know how to reinstall a zipper pull.
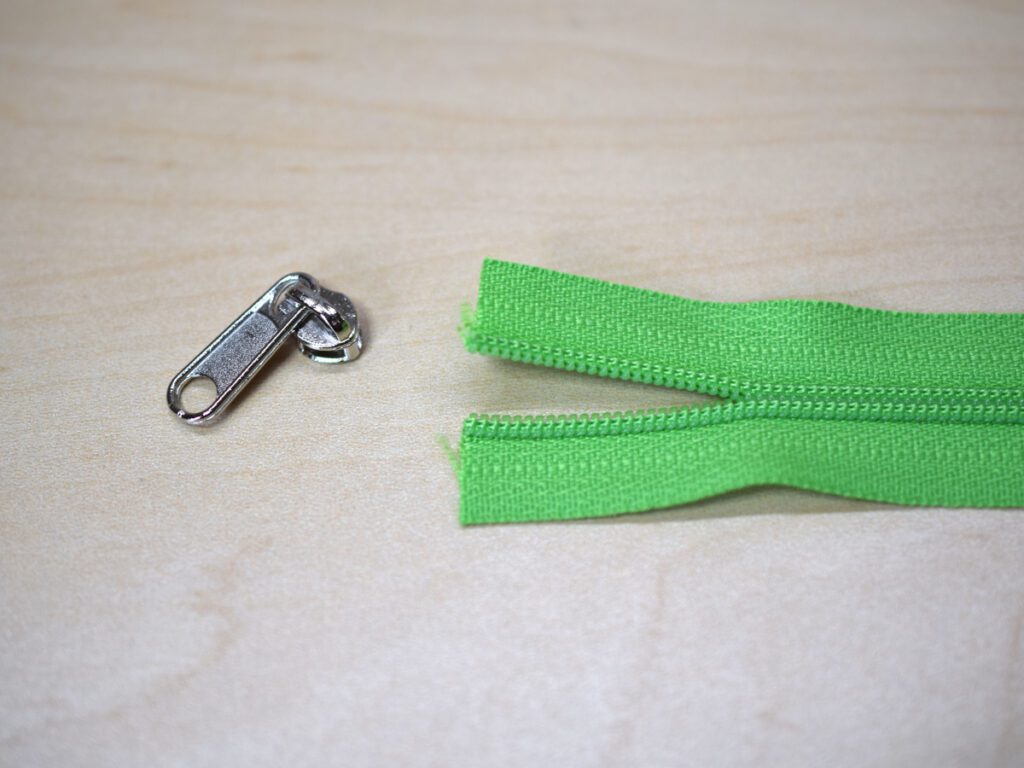
You go online and watch a video on how to add a zipper pull, only to come away even more confused because the video made it look effortless.
Perhaps you have seen tools made specifically for installing zipper-pulls but you’re not quite sure how they work. What if I told you that you can achieve the same results with just an old fork?

You may have already seen this technique in blogs and videos but if you’re like I was, you may still be confused about how to make it work. In this post, I’ll show you how I used an old fork to install zipper pulls onto zipper tape.
Over the years, I have found that it can be more economical to buy longer zippers and cut them down to size as needed rather than buying smaller zippers to fit my projects.
I also make sure to keep all the zipper pulls from upcycled and failed projects.
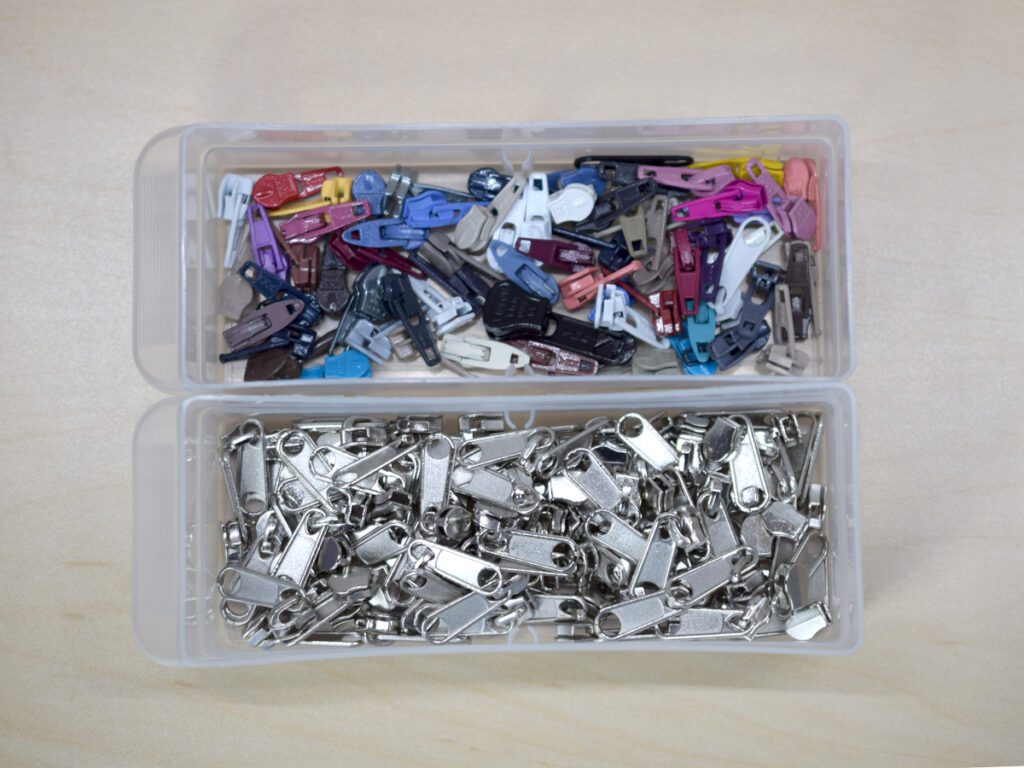
I also have some backup zipper pulls for when I don’t have a good color match. If you are interested in these zipper pulls you can get them at Amazon (not affiliated)
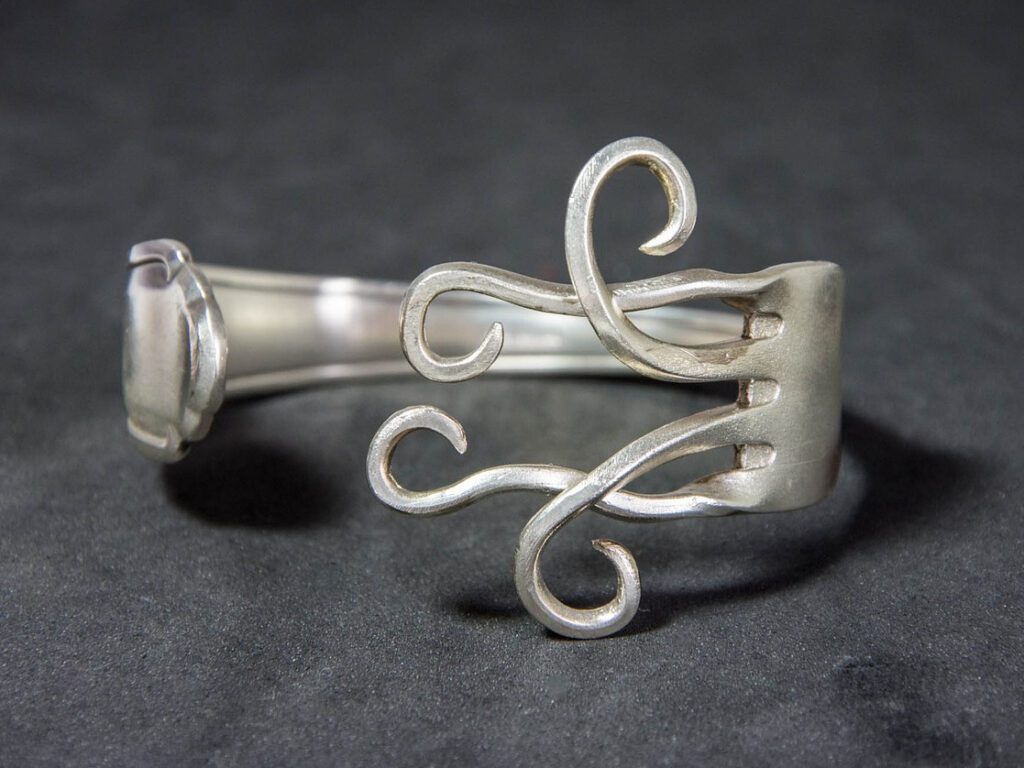
Here’s the fork I use. I bent down the outside tines to keep them out of the way but they also make great stoppers if you want to slide the fork under something for leverage.
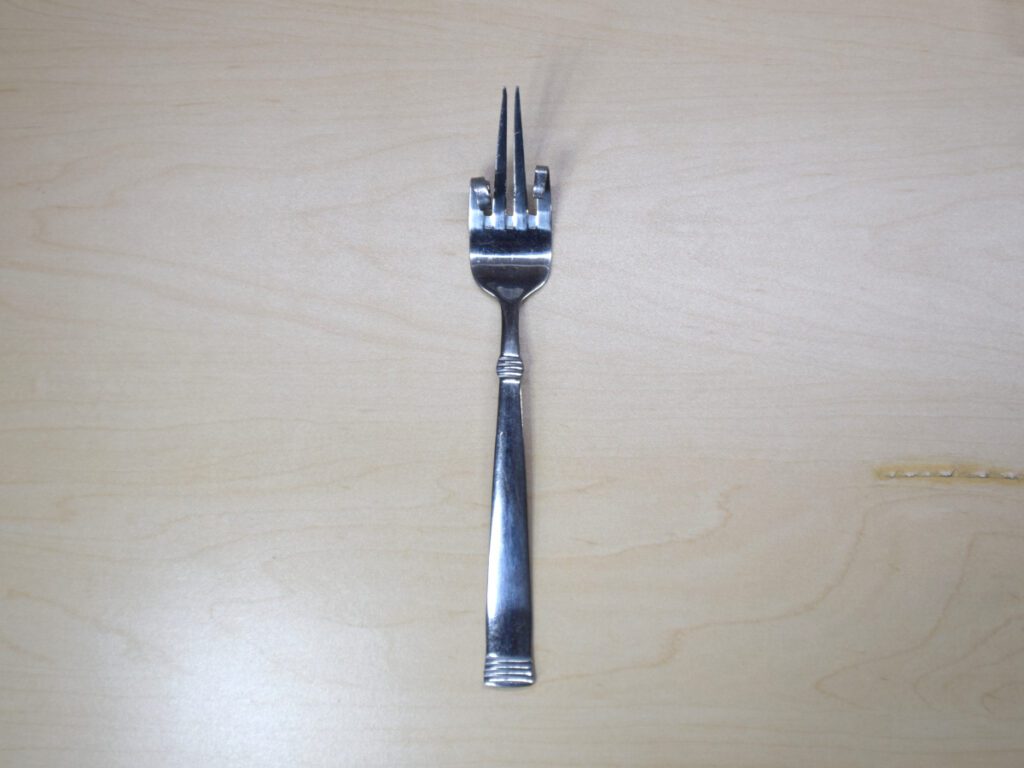
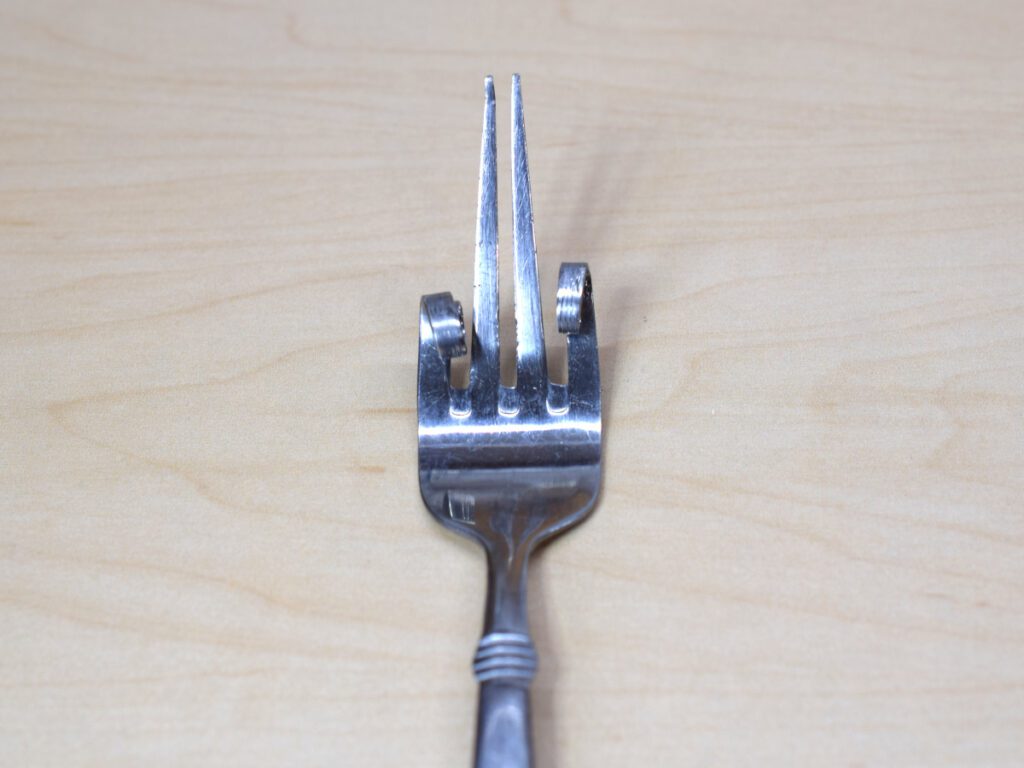
These days I just use a clamp to secure the fork to my sewing table.
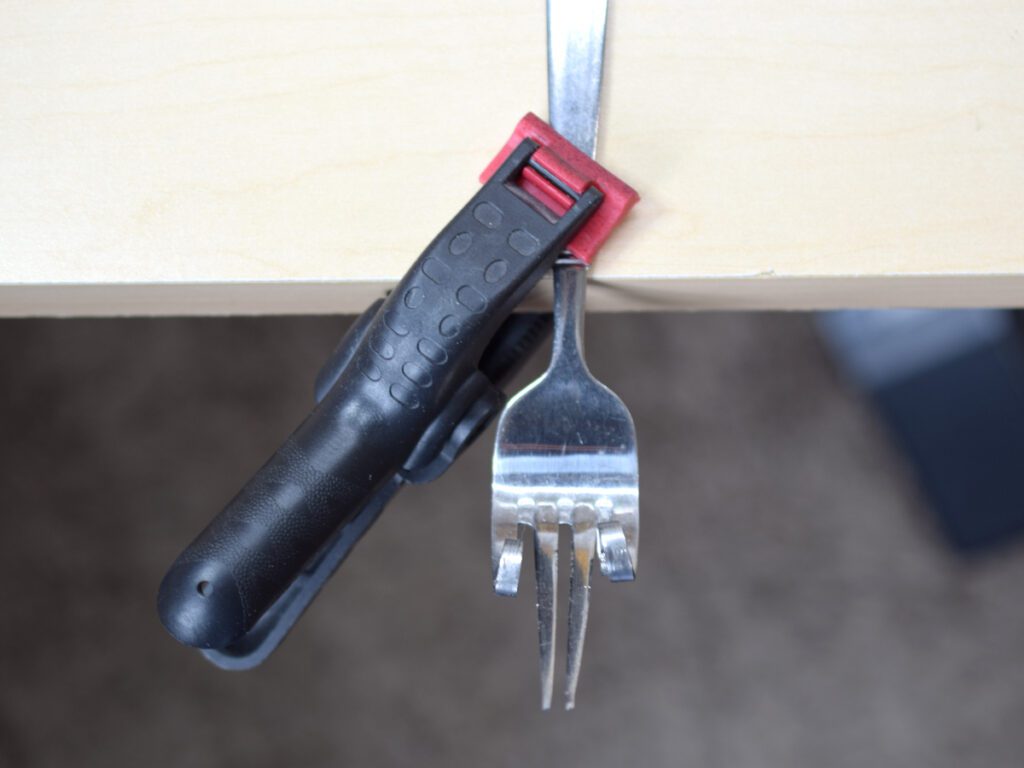
Here’s the part that confused me for a long time, or maybe this is obvious and I’m the idiot here.
When I first tried this technique I thought you were supposed to put the tines into the zipper pull where the tape would go. Naturally, this never worked because then there was no room for the zipper tape.
Instead, you want to slide the fork tines between the zipper tab and the zipper pull with the top of the zipper facing toward you.
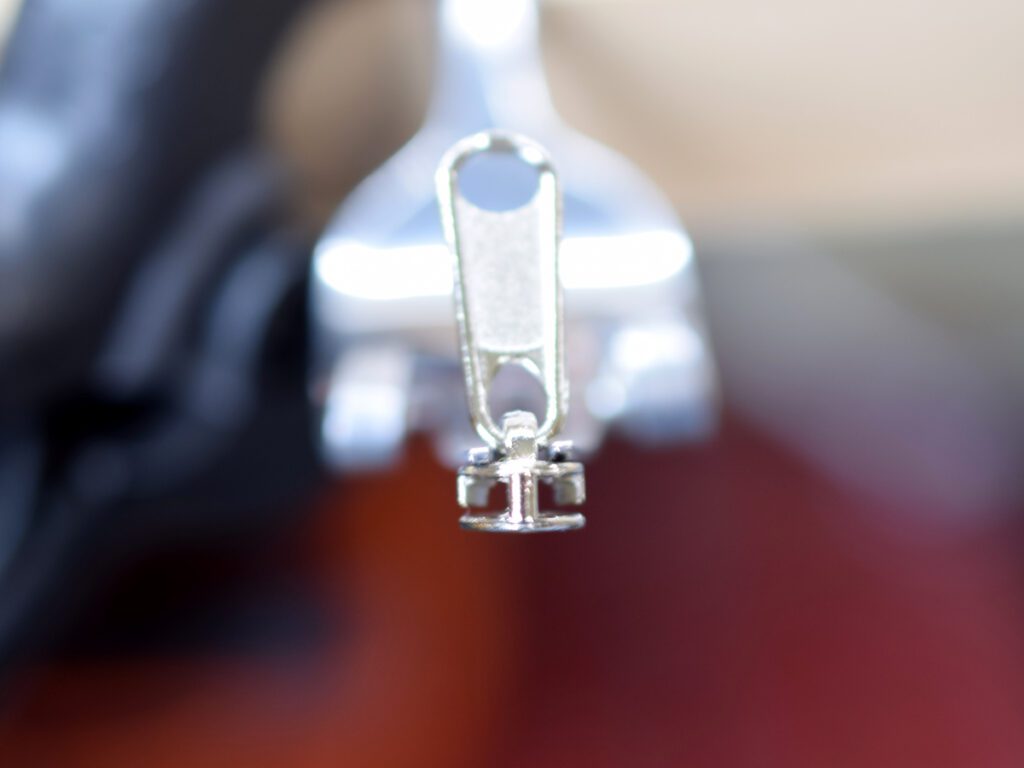
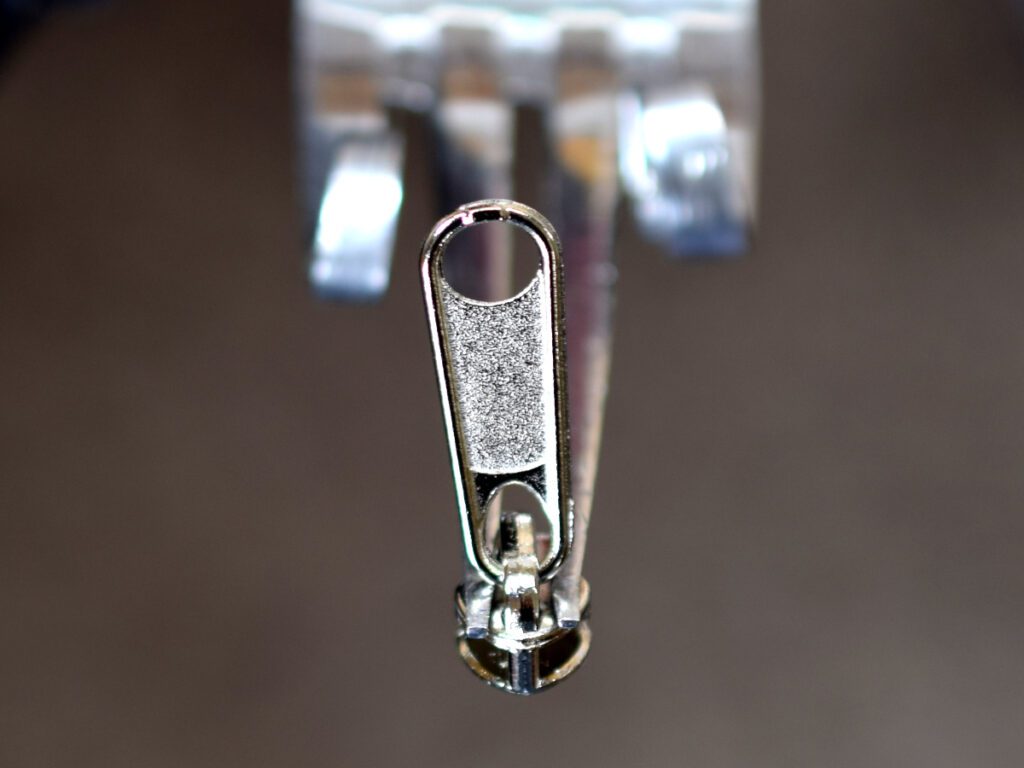
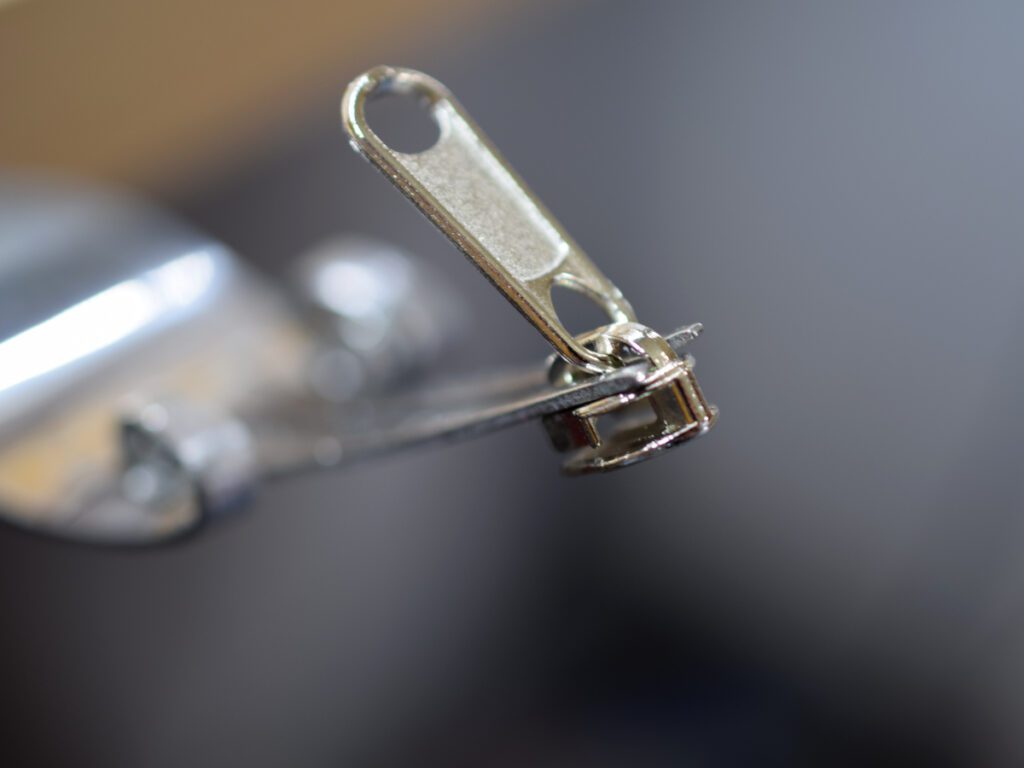
Now open your zipper tape enough so you can slide each end into the zipper pull. This part is tricky and it takes some practice.
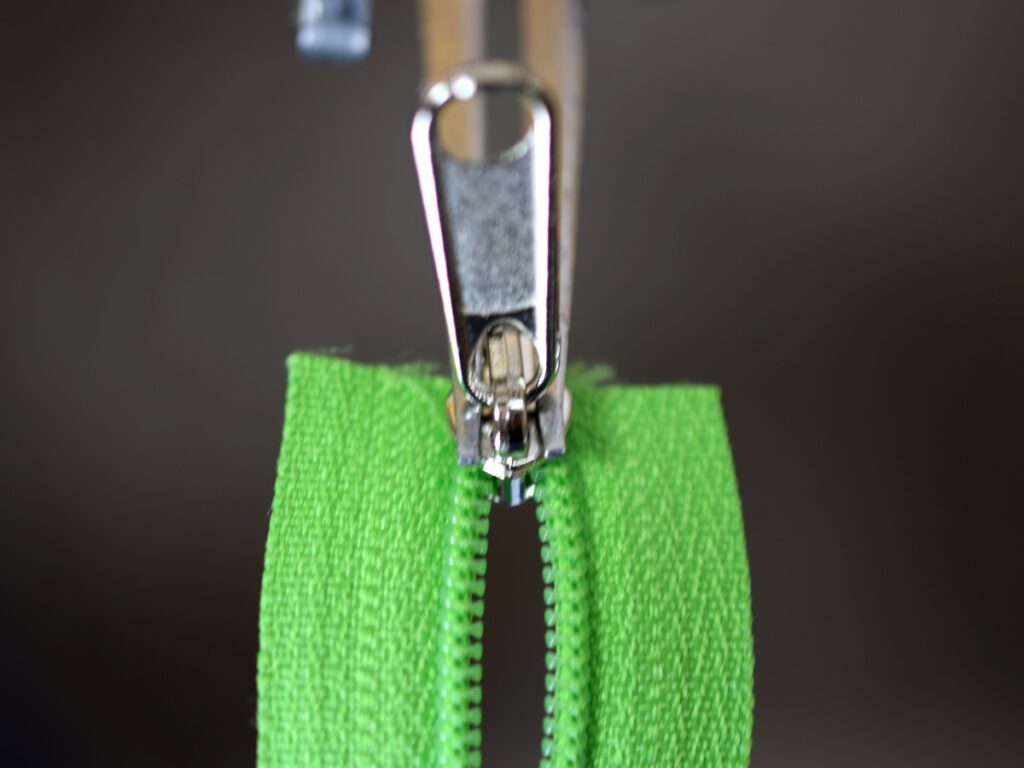
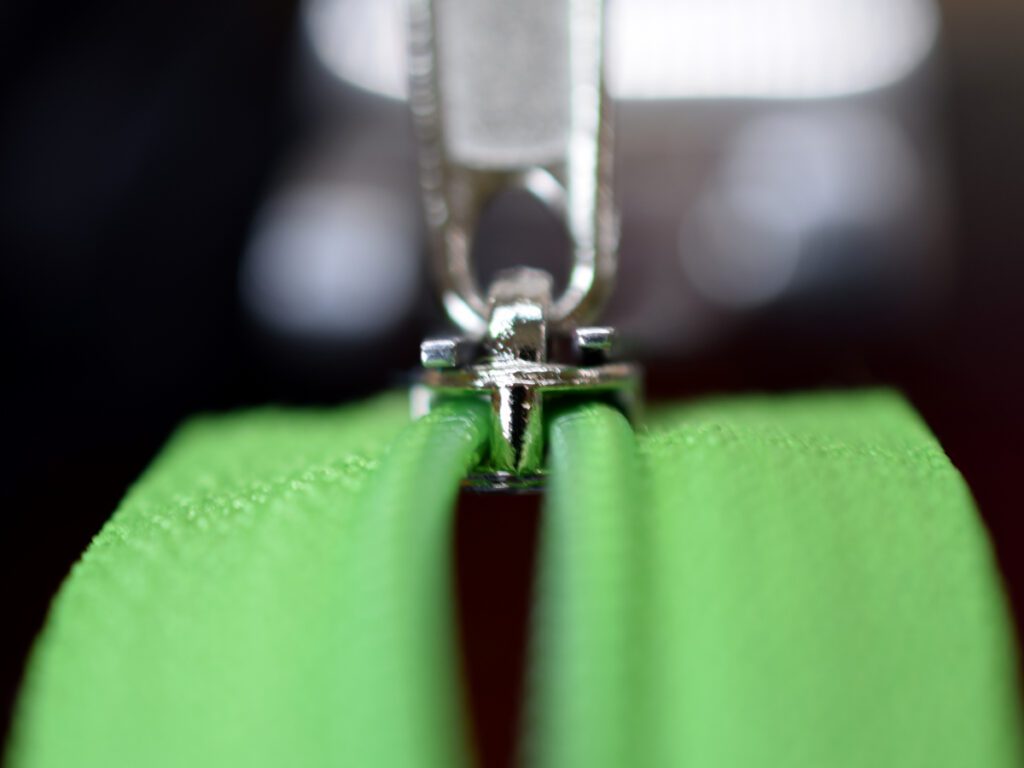
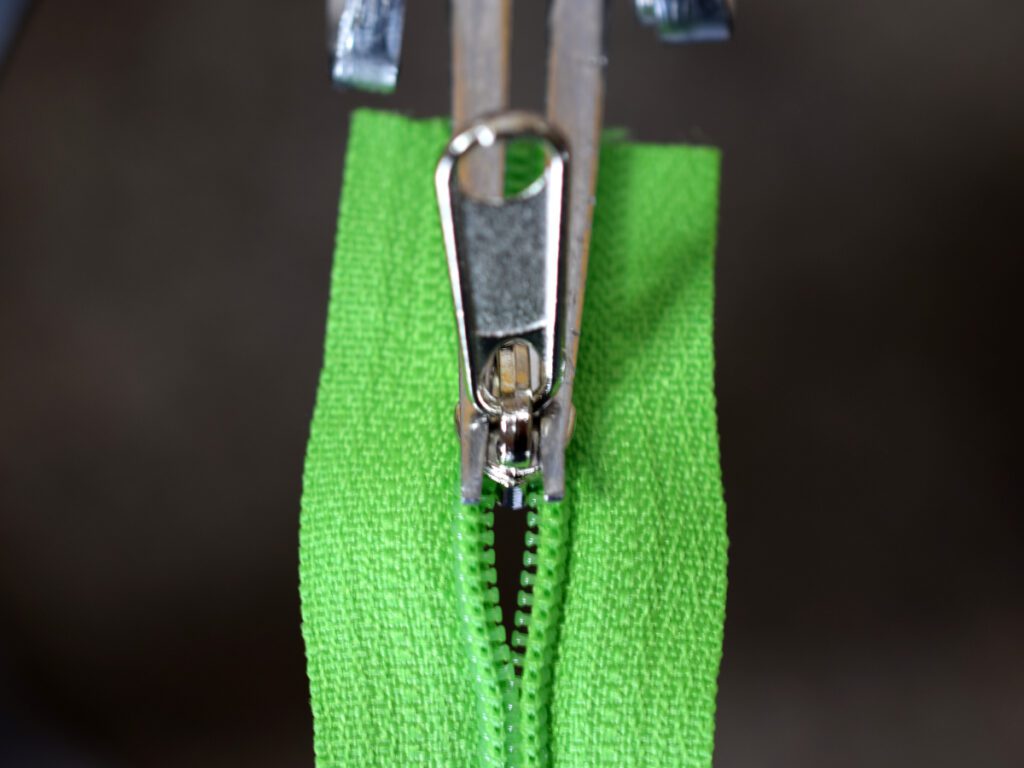
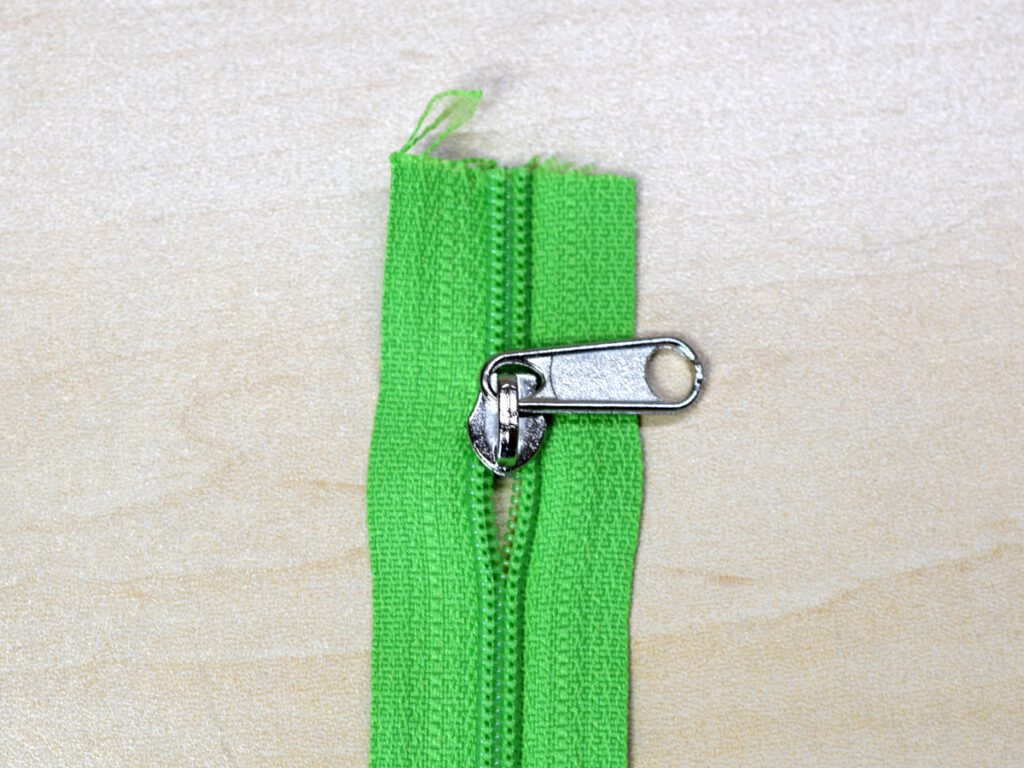
You want to make sure both sides go into the zipper pull evenly or you will end up with an uneven zipper as seen here. Can you see how one side of the tape is slightly bulged out and the other is straight? This means the zipper is a little off-center.
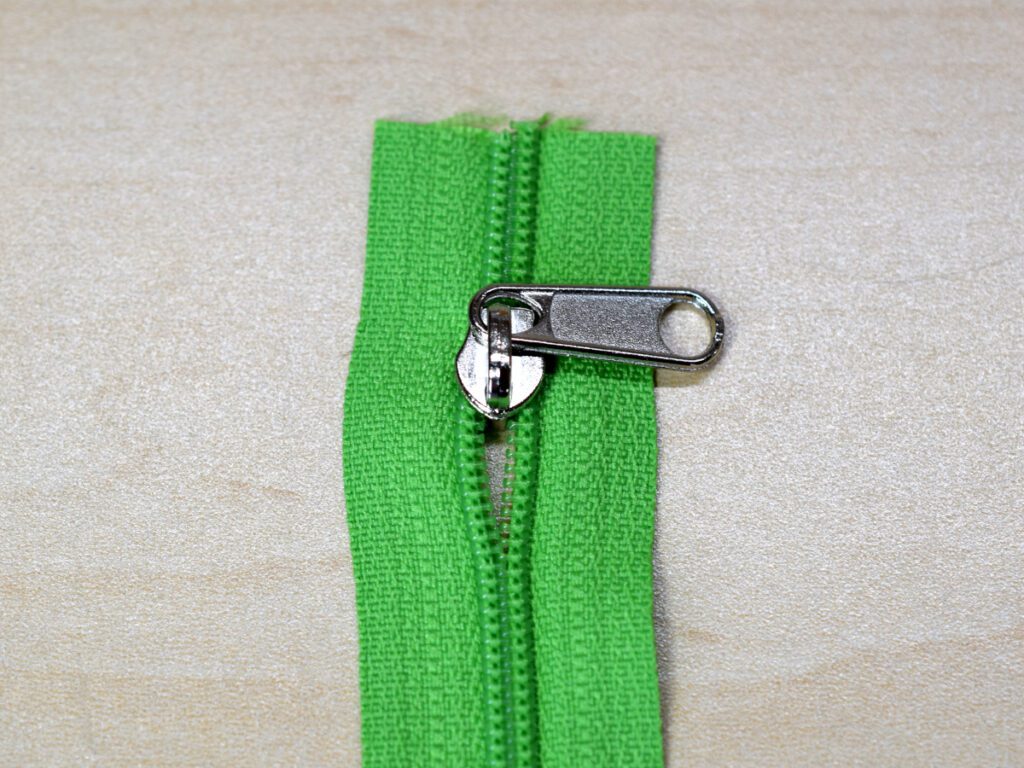
If you mess up you can just pull it out and try again. After a while, you will be a pro. This is my second try and it’s much better.
So what do you think? Are you going to try this method? Have you tried this method or do you use any other tools? Or maybe you are just a pro and installing zipper pulls and you have some tips you would like to share in the comments.
If you would like to use your new found zipper skills on a sewing project check out these patterns:

