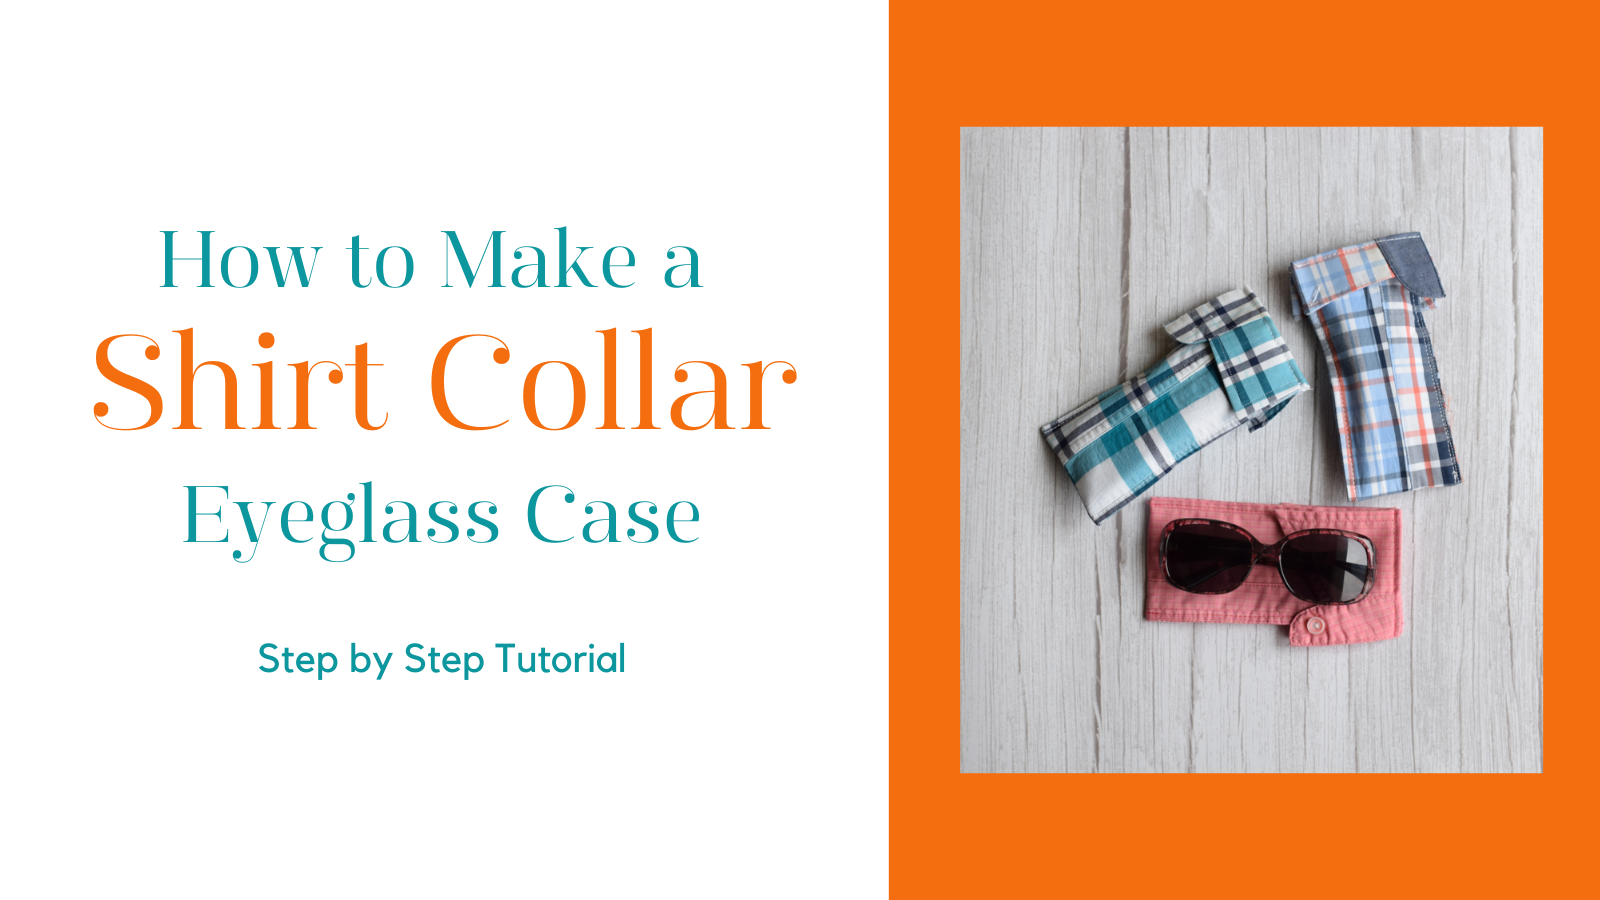
Visionary Upcycling – Shirt Collar Eyeglass Case Tutorial
Welcome to the world of creative upcycling! In this tutorial, we’ll embark on a journey to transform an old shirt collar into a stylish and functional eyeglass case. Don’t worry; your dad’s favorite shirt is safe – we’ll focus on repurposing those collars that have seen better days. This project not only breathes new life into forgotten garments but also offers a unique way to showcase the distinct character of a well-worn collar. So, gather your supplies, and let’s dive into the art of turning fashion remnants into a practical accessory!
If you would like to learn more about upcycling check out my post: From Rags to Bags: The Art of Upcycled Accessories
Step 1: Obtain a Collard Shirt
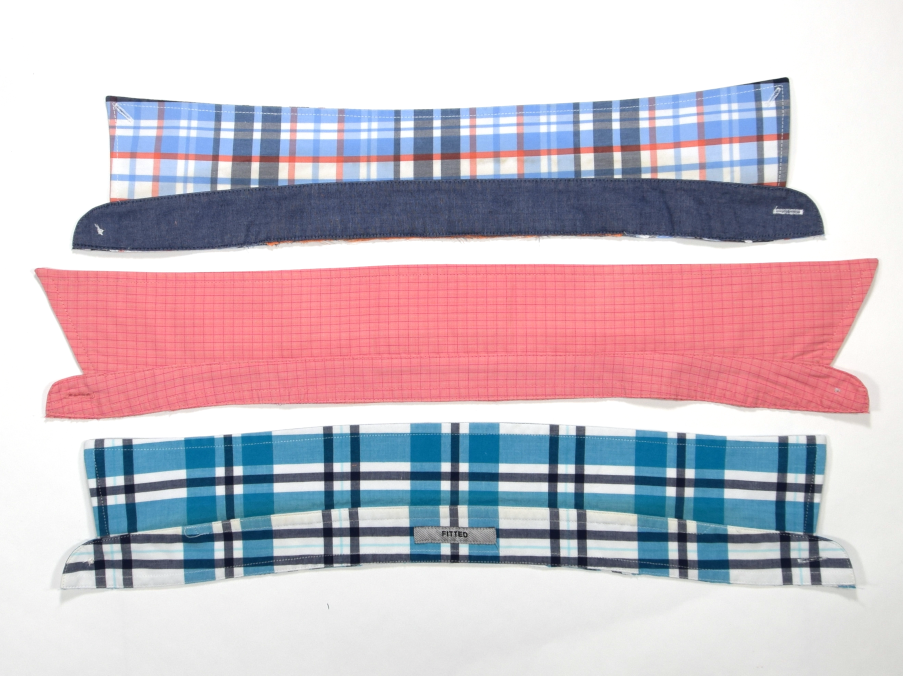
You will want to use a shirt collar from a button-up shirt that has both a collar stand and collar as shown here.
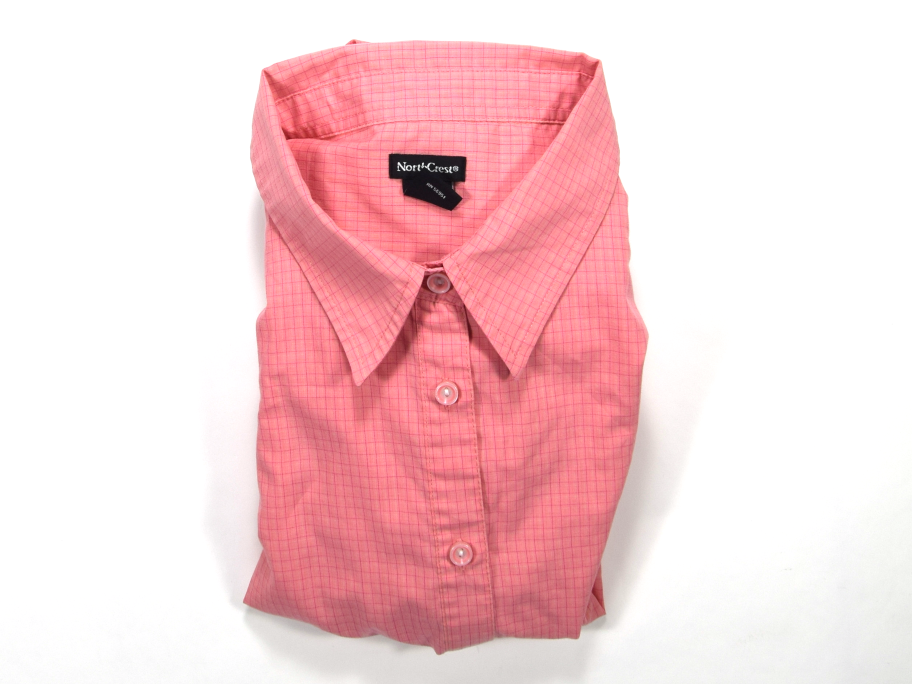
The size of the shirt doesn’t matter as long as it is an adult size. You can use either a men’s or women’s shirt. The biggest difference will be what side to collar button is on.
It is best to use a shirt that is no longer being worn by somebody. I would hate to find out you cut up your dad’s favorite shirt for the sake of this tutorial.

This project is perfect for a shirt that is stained or ripped but you will want to make sure there are no stains on the collar, especially the inside of the collar because that will be the side that is showing when you finish your eyeglass case.
If you do have a collar that is stained you can work around it by simply folding the collar so the stain is on the inside. The button detail will also be on the inside of the flap but, if that bothers you, you can simply remove the button.
Step 2: Cut the Collar Off the Shirt
Try to cut as close to the collar stand seam line.
Sometimes there might be tags and labels attached to the collar. You can either remove them by carefully unpicking the stitches with a seam ripper or you can leave the label on the collar keeping in mind that this will show on the finished eyeglass case, which could be a nice touch.
Step 3: Prepping the Collar
Double-check that there are no loose threads or stains that may show. If everything looks good, then press the collar so it’s nice and flat.
Step 4: Fold in Half and Press
Fold the collar in half making sure the inside facing is on the outside. The inside facing is the part of the collar that touches the neck. This is also the part that can get stained. This is why you want to ensure your collar is clean and stain-free.
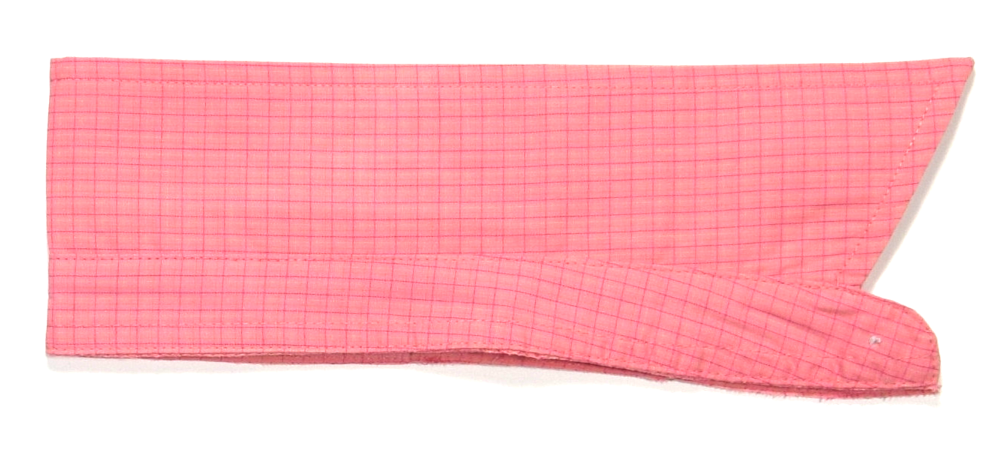
The button will be on the inside of the fold but don’t worry, we’ll change that in the next step.
Press the fold flat
Step 5: Press Out The Collar Ends
For this step, you will need to know how deep you are going to want your eyeglass case to be. I have found that 6.5” seems to be a good length to hold both reading glasses and chunky sunglasses.
Measure 6.5” from the bottom fold up and then fold the collar end down and press. I like to use a pressing ruler. These are made specifically for placing under fabric while pressing to get a clean
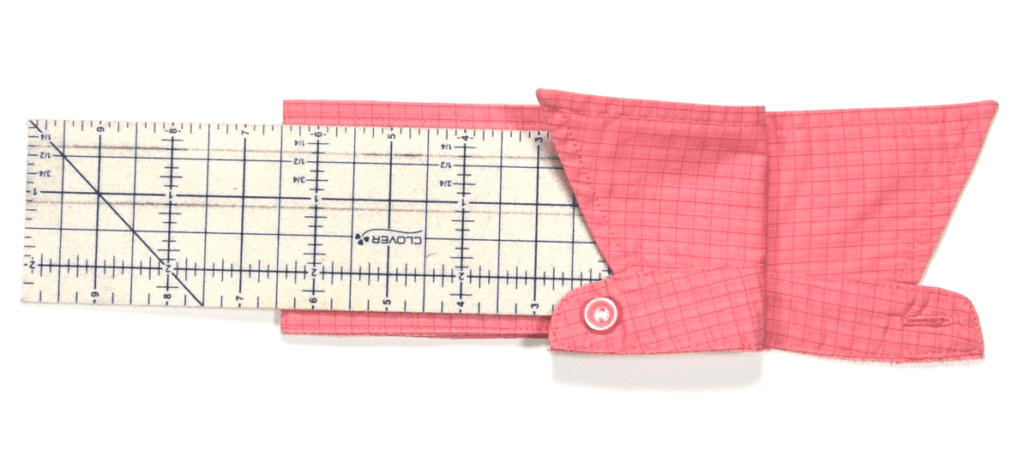
Repeat for the other side.
*Tip: If you don’t have a pressing ruler or you want a template that fits the specific length you are going to press you can simply cut a thin piece of cardboard to size and use that. Poster board or cereal boxes are perfect for this.
Step 6: Sewing the Tops
Secure to the tops of the eyeglass case by stitching a narrow seam from the top fold. You will want to stitch ¼” or less from the fold.
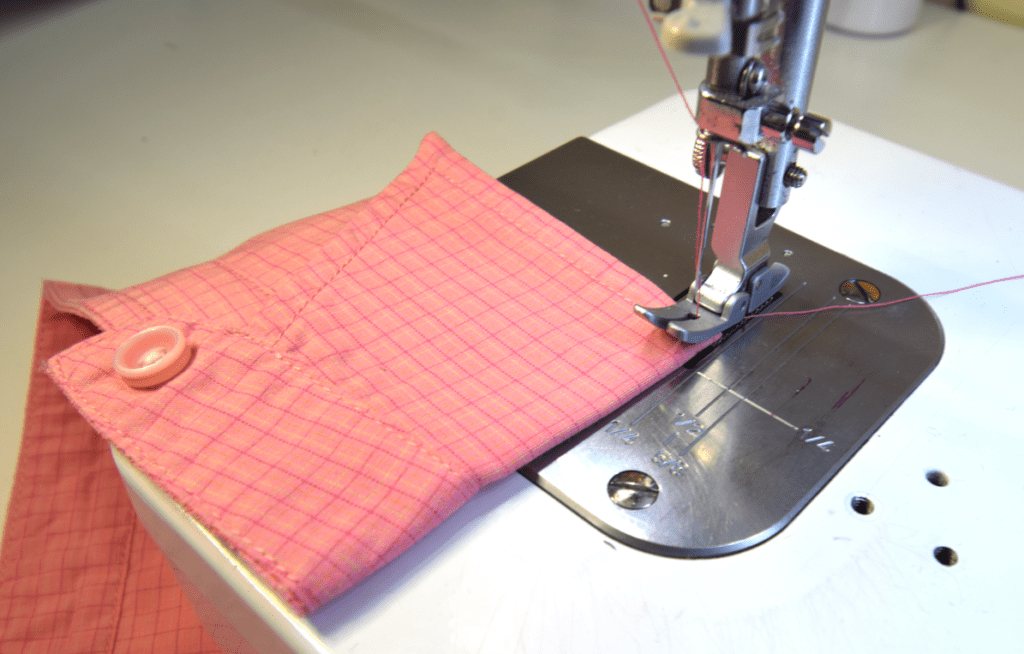
If you have a narrow seam presser foot, it would be perfect to use here to help guide your stitches.
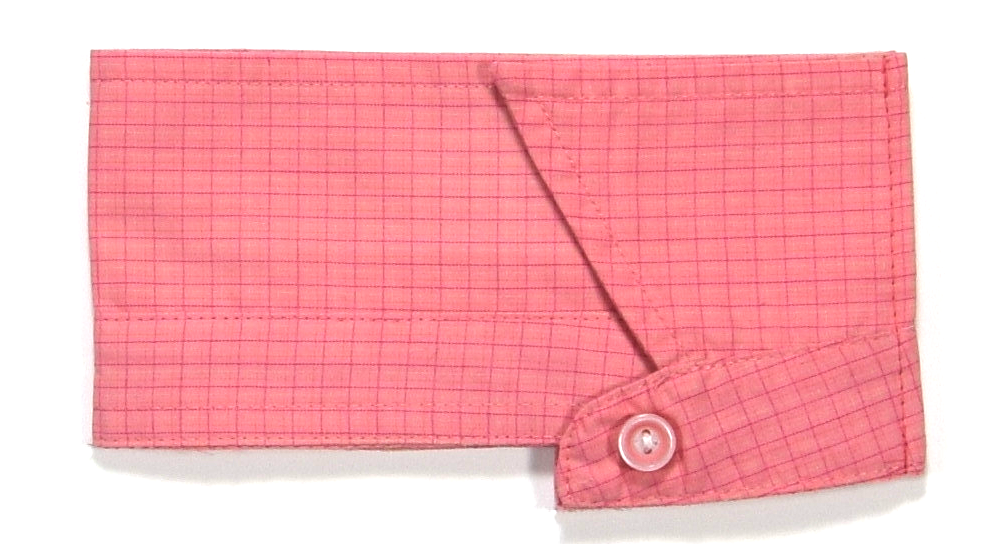
Repeat for the other side.
Step 7 Stitching the Sides
*Tip: you may need to secure the sides to ensure the fabric doesn’t shift and become uneven when sewing. Since this fabric is rather thick you will probably want to use clips instead of pins.
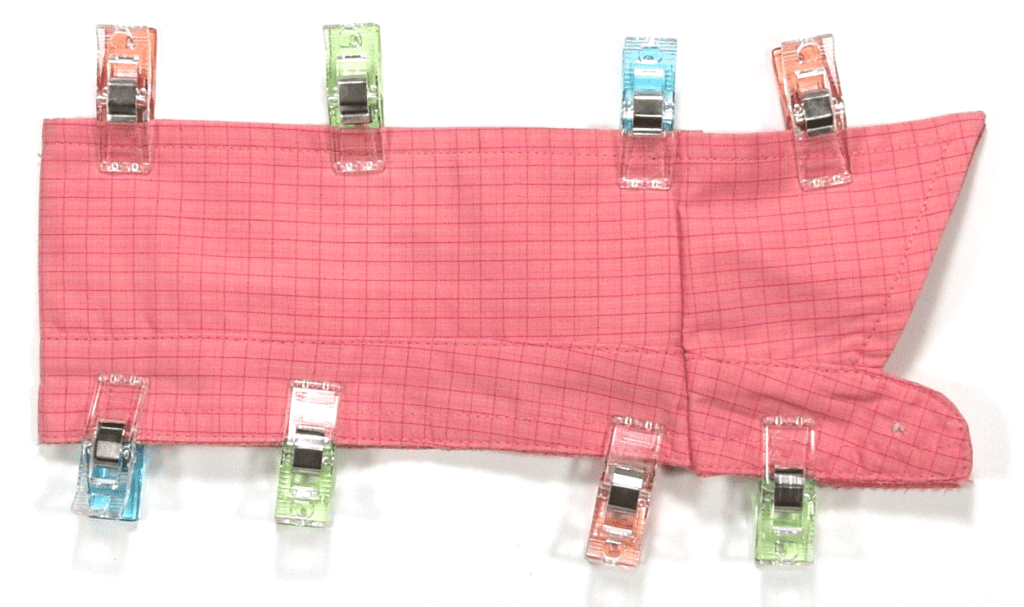
Keeping the top flaps out of the way, stitch the sides using a narrow seam allowance of ¼” or less. Start from the bottom of the eyeglass case and stitch as close to the top as you can, do not stitch past the fold.
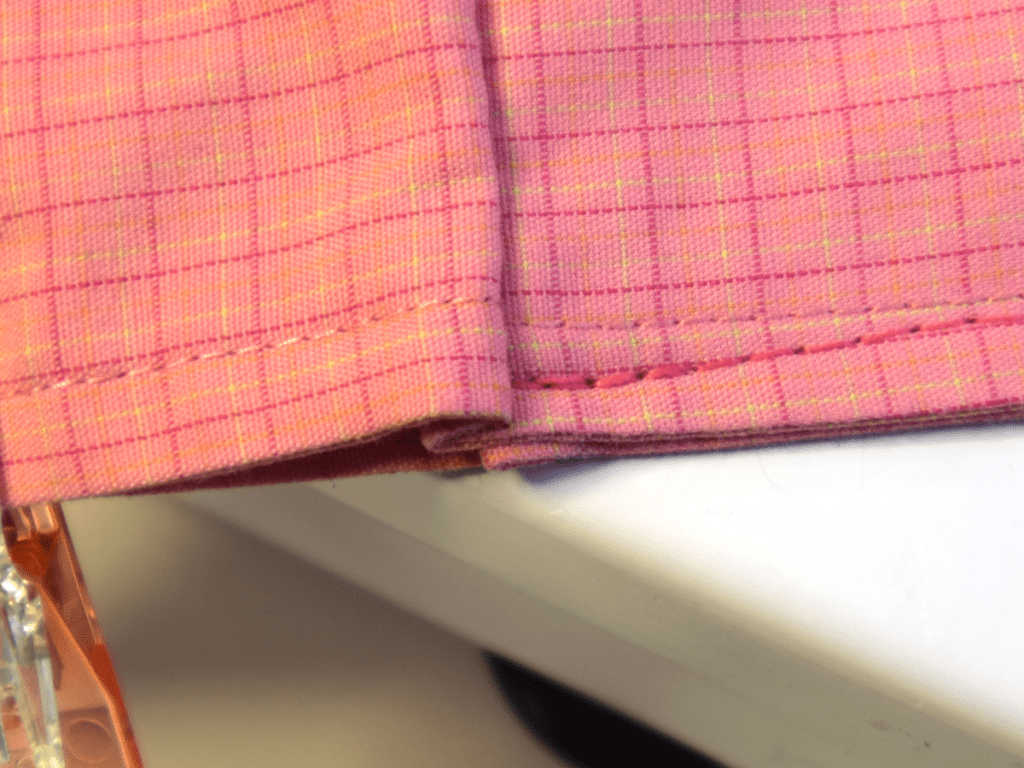
Repeat for the other side
Step 8: Final Press
It’s a good idea to give your eyeglass case a final press.
Final: You did it! Congratulations!
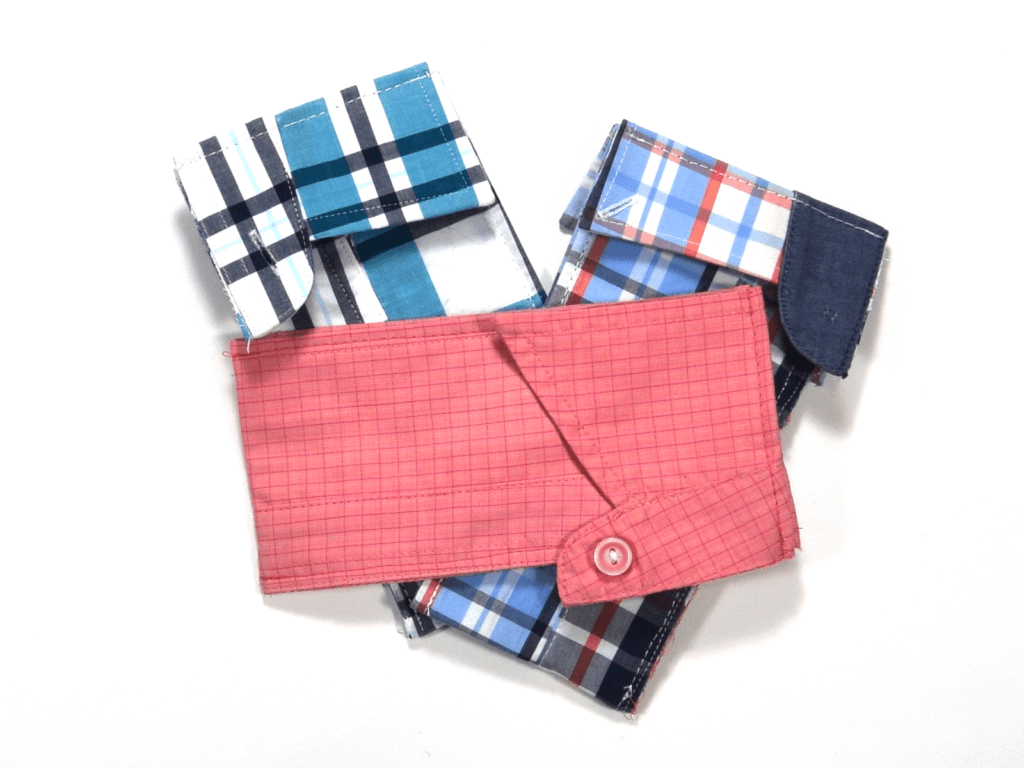
Congratulations on completing this delightful sewing adventure! You’ve successfully repurposed a shirt collar into a trendy eyeglass case, proving that creativity knows no bounds. Whether you’re showcasing sentimental fabric or exploring eco-friendly alternatives, this project encapsulates the essence of mindful crafting. Share your experiences and innovative ideas in the comments below, and let’s continue to inspire each other on our sewing journeys.
Are you going to try this project?
Did your dad get mad when you cut up his favorite shirt?
Do you have other ideas for repurposing shirt collars?
Good luck with your sewing adventures!
Don’t forget to check out my post From Rags to Bags: The Art of Upcycled Accessories for more upcycling ideas.
Kelly

