Upcycled Tote Bag With Button Placket Top – Sewing Project
Hello, Snazzie People!
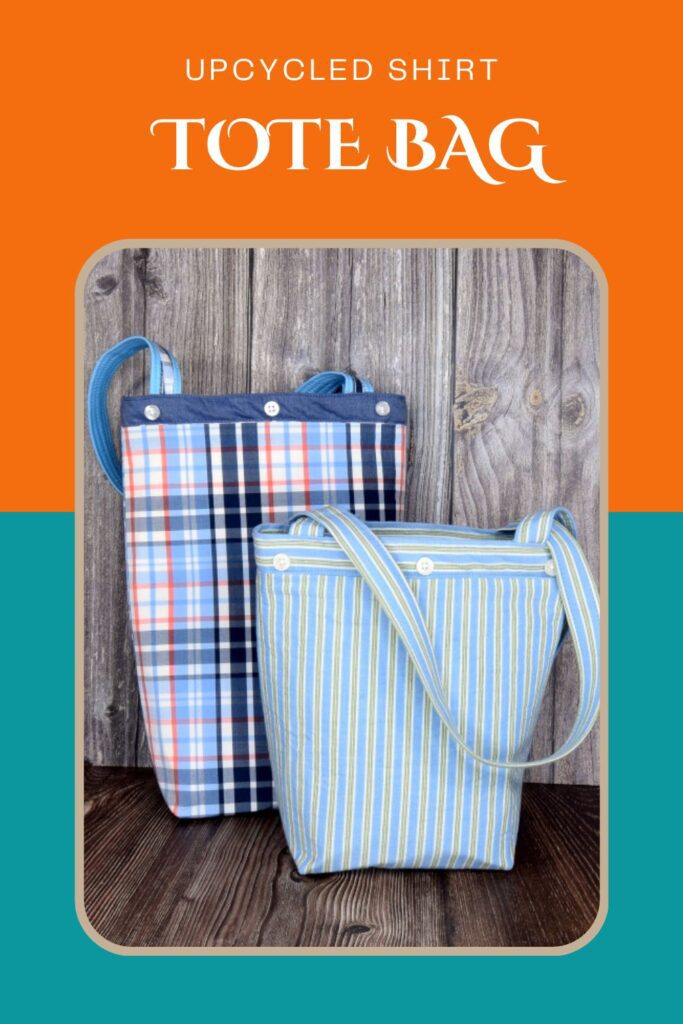
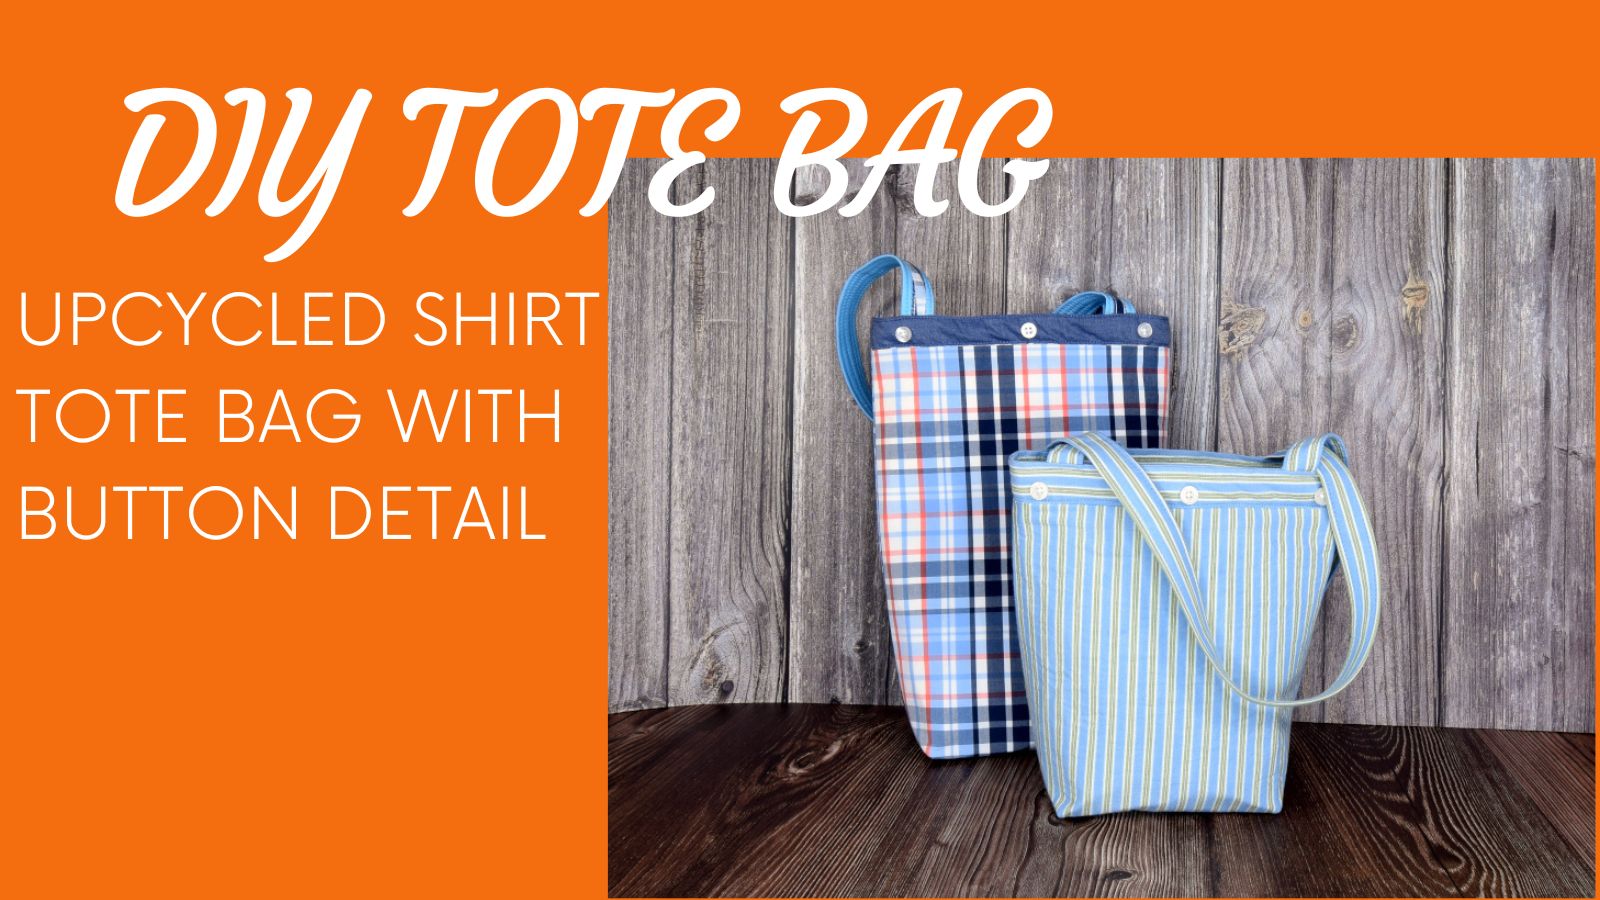
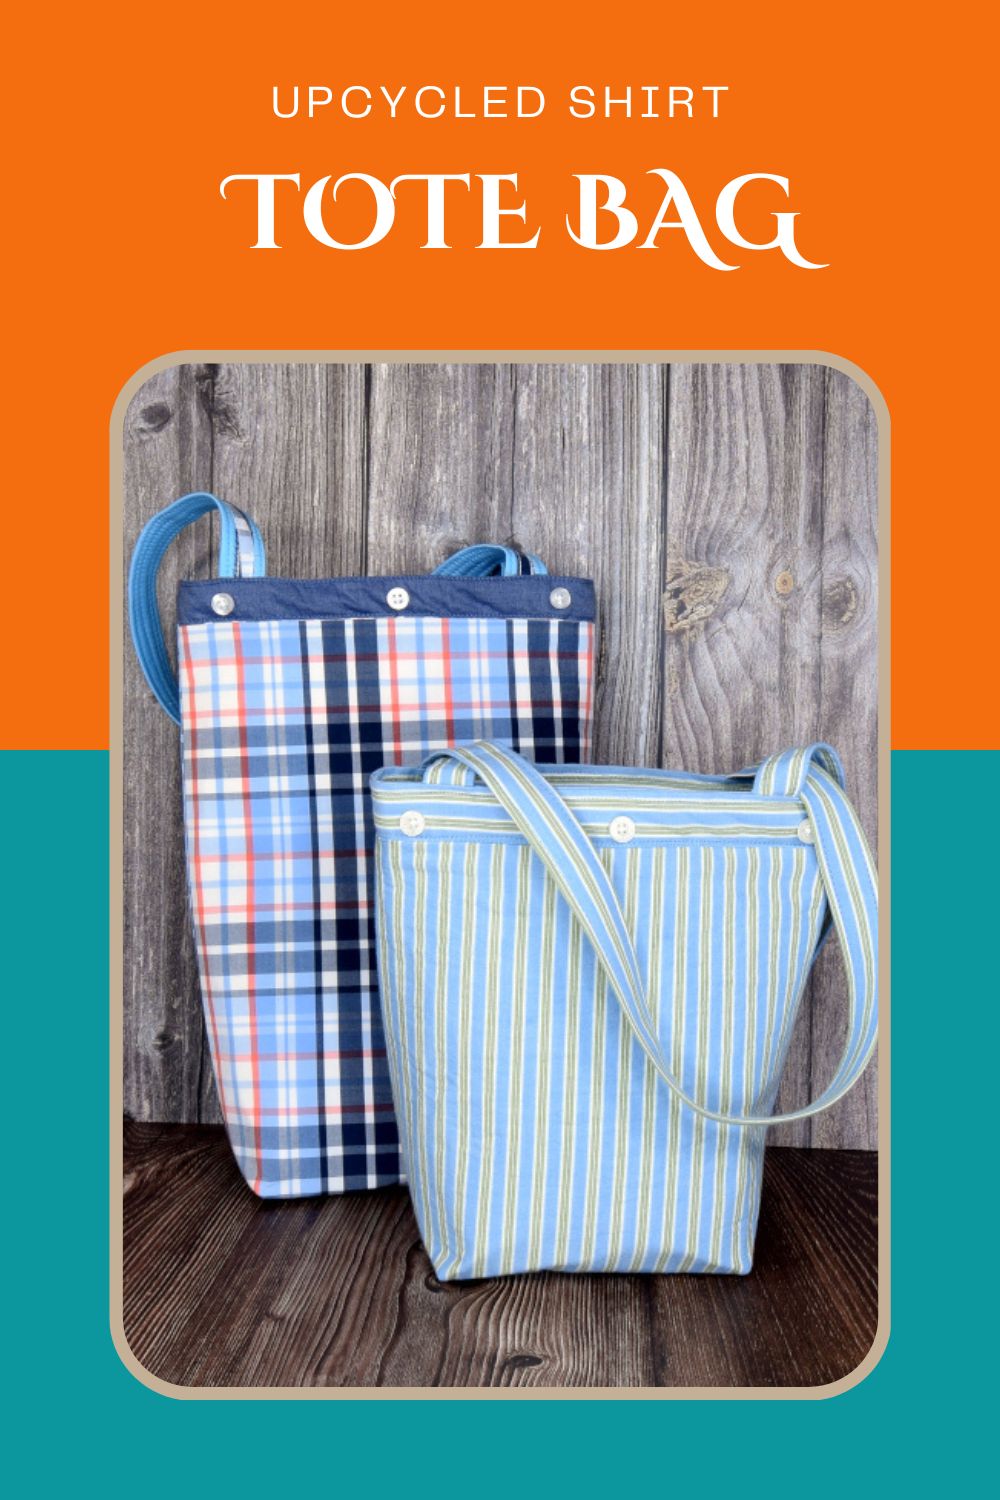
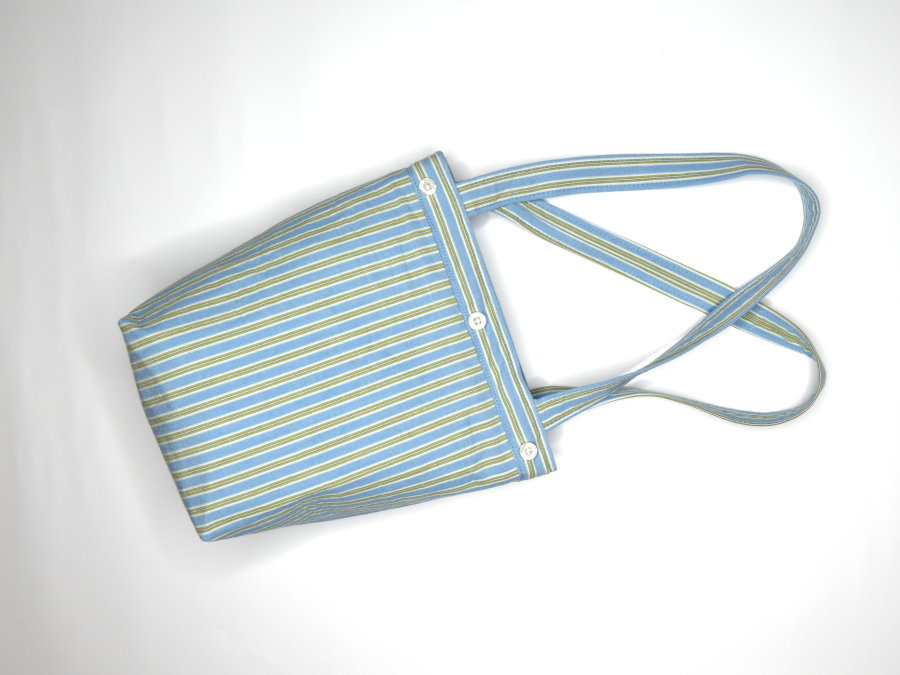
In this post, I’ll walk you through how I upcycled a men’s button-up shirt and turned it into a small tote bag. What makes this bag unique is the detail on top. I used the button plackets to give the top a neat button detail.
About the Shirt
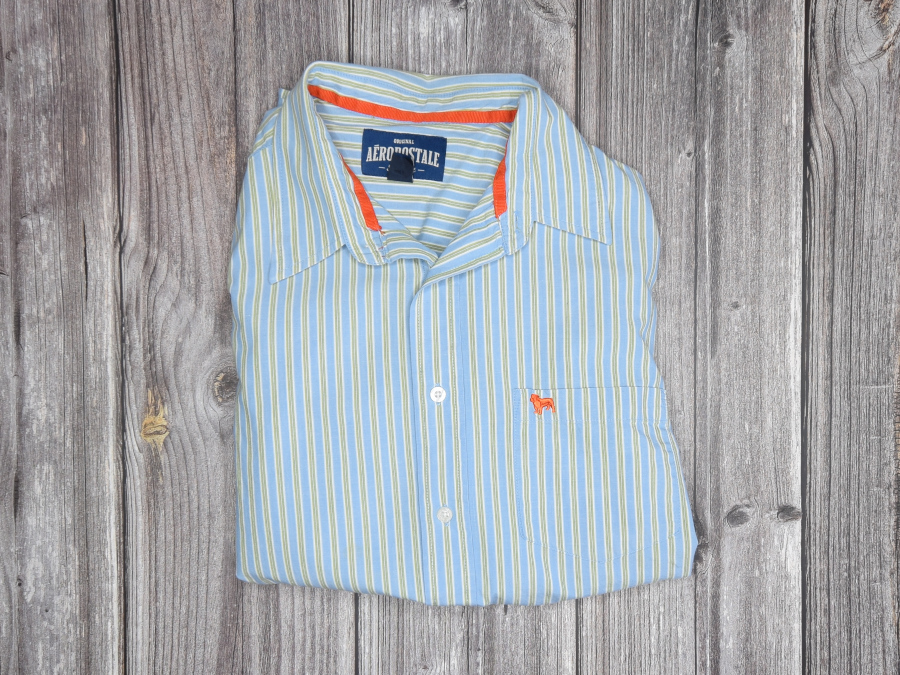
I got this shirt at my local Goodwill. I picked this shirt for this project because I wanted to use the stripes to accentuate the button placket detail with the top and body stripes going in opposite directions.
Measuring
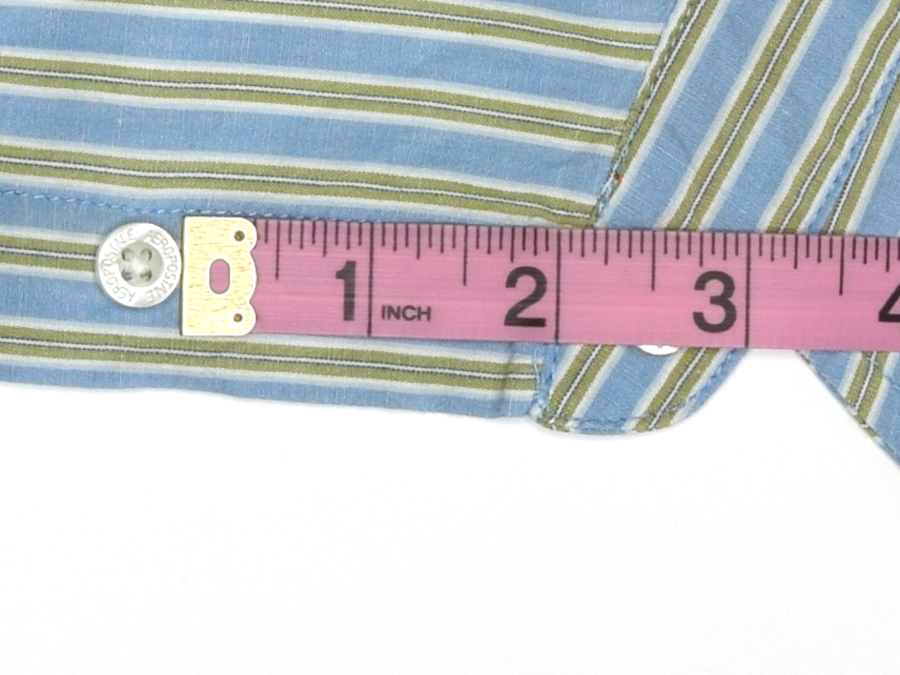
I measured the distance between the button and the top of the placket. My measurement was 2″
I then marked the same distance from the last button towards the end.
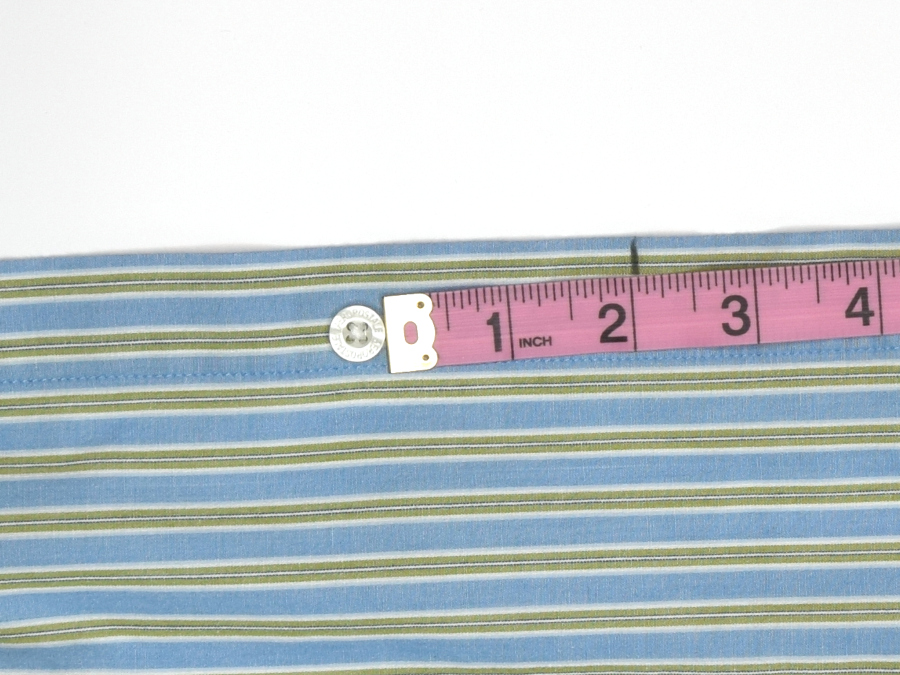
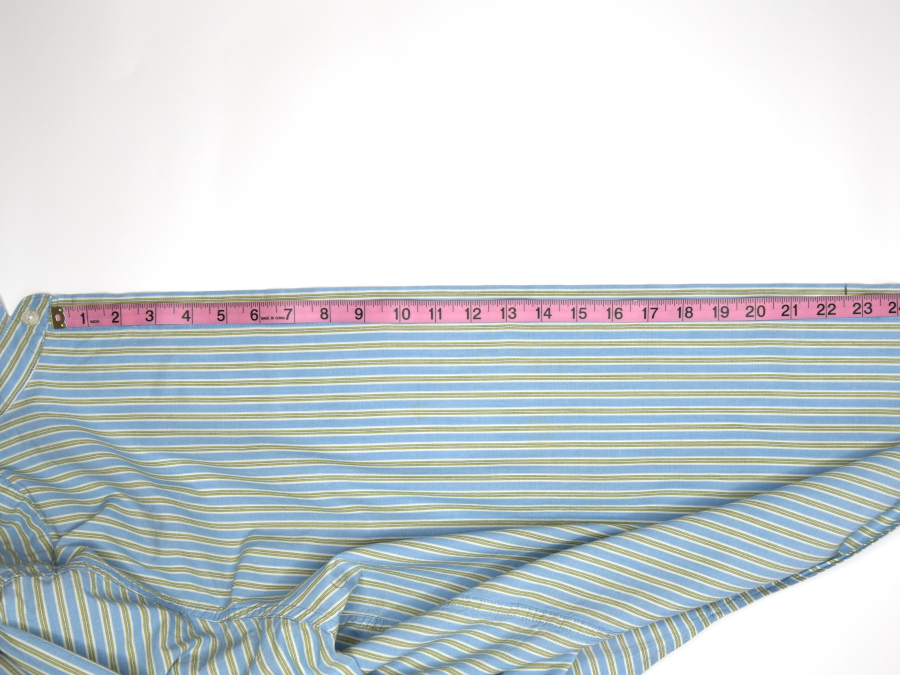
I measured the total distance from the top to the mark and got 22.5″
I then measured across the back of the back of the shirt around the waist area at the narrowest part.
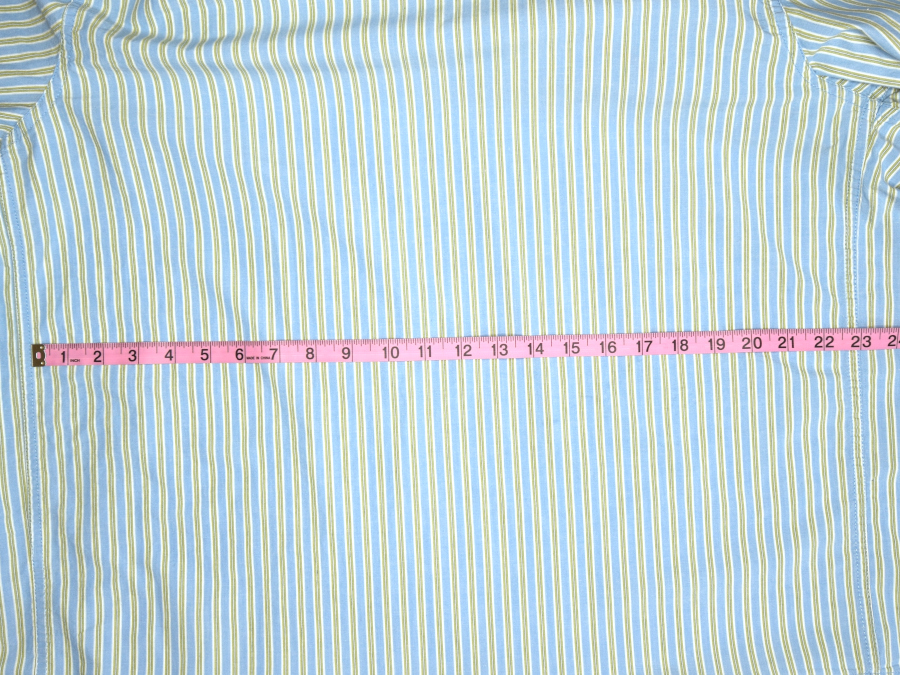
I did this because I wanted to make sure the shirt would be wide enough to make the bag body. The measurement was 22.5″
In this case, the measurement was the same as my placket measurement but I wanted a little wiggle room so I reduced the placket measurement by .75″ on each end.
Dissembling the Shirt
I cut apart every piece of the shirt. I like to cut off side seams and the bottom hem and use them as ribbons for other projects.
Using a seam ripper I removed the shirt pocket because I plan to use it as a pocket inside the bag.
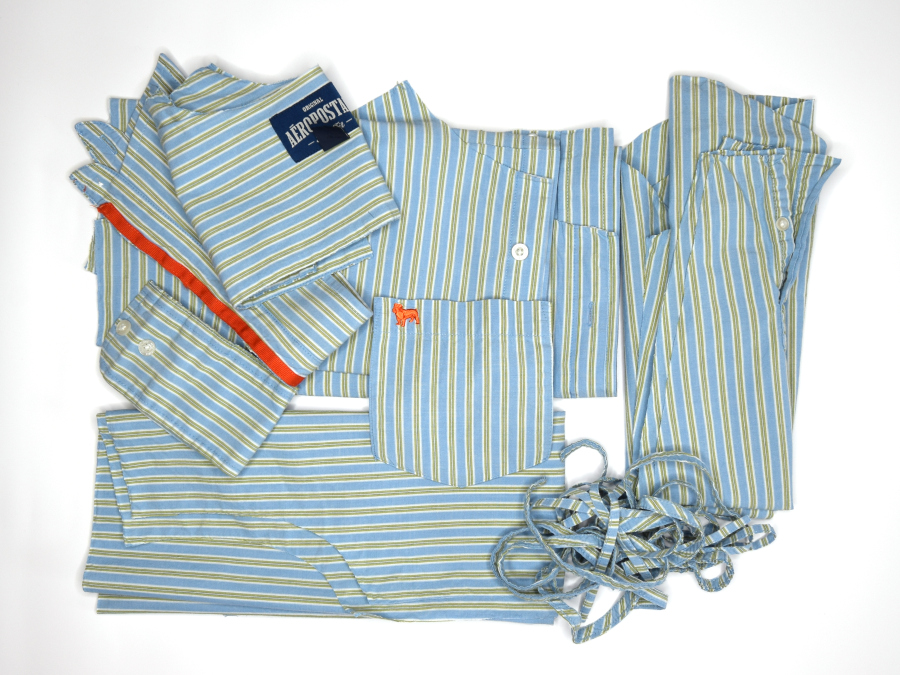
I’m only using the front and back pieces as well as the pocket so I set everything else aside for other projects.
Cutting the Placket
I cut off the length of the placket with a .5″ seam allowance. I used a .5″ wide acrylic ruler that I could easily just butt up against the placket and cut with a rotary cutter. I did this for both the button placket and the buttonhole placket.
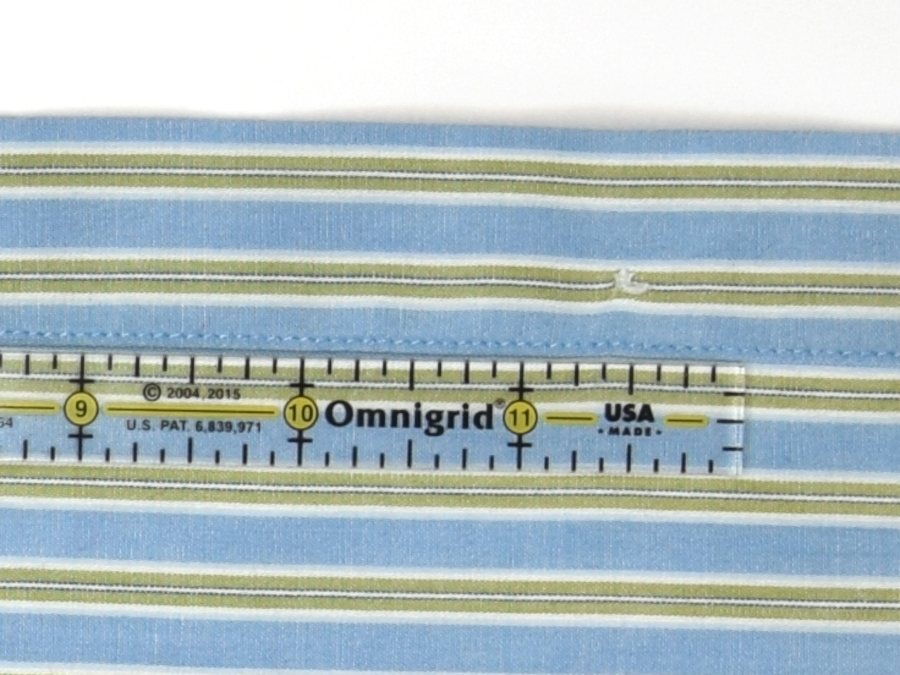
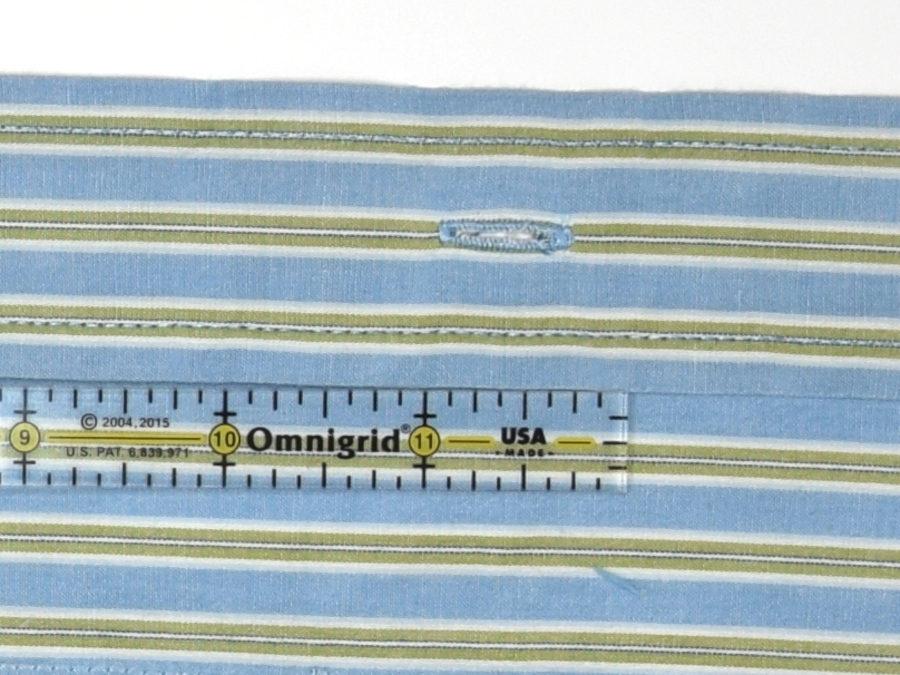
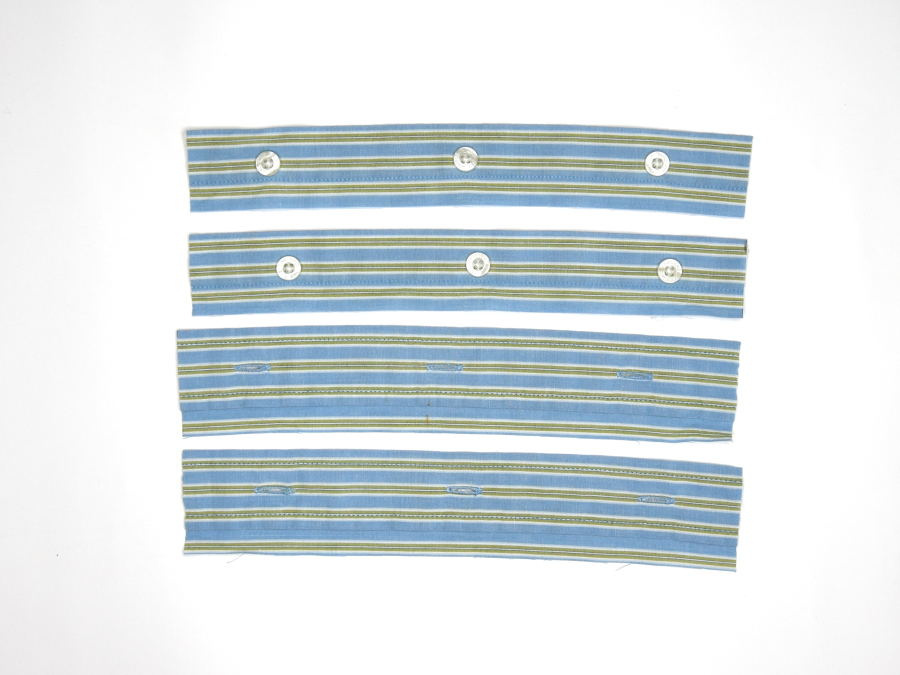
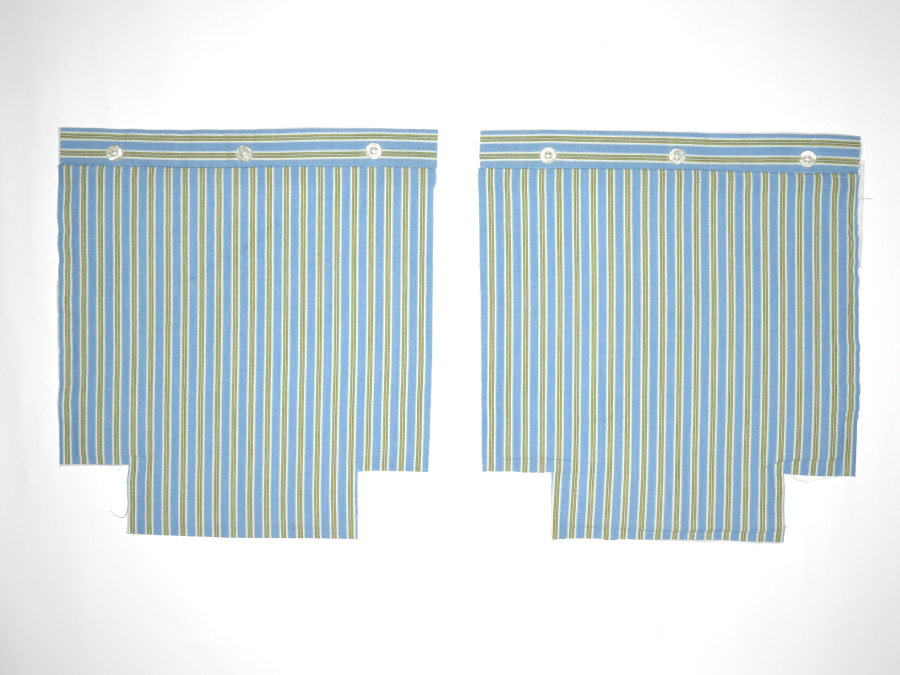
I then cut each piece in half. These will be the tops of the front and back of the bag. The buttons will be on the outside and the buttonholes will be on the inside.
Cutting out the Body
Outside Pieces
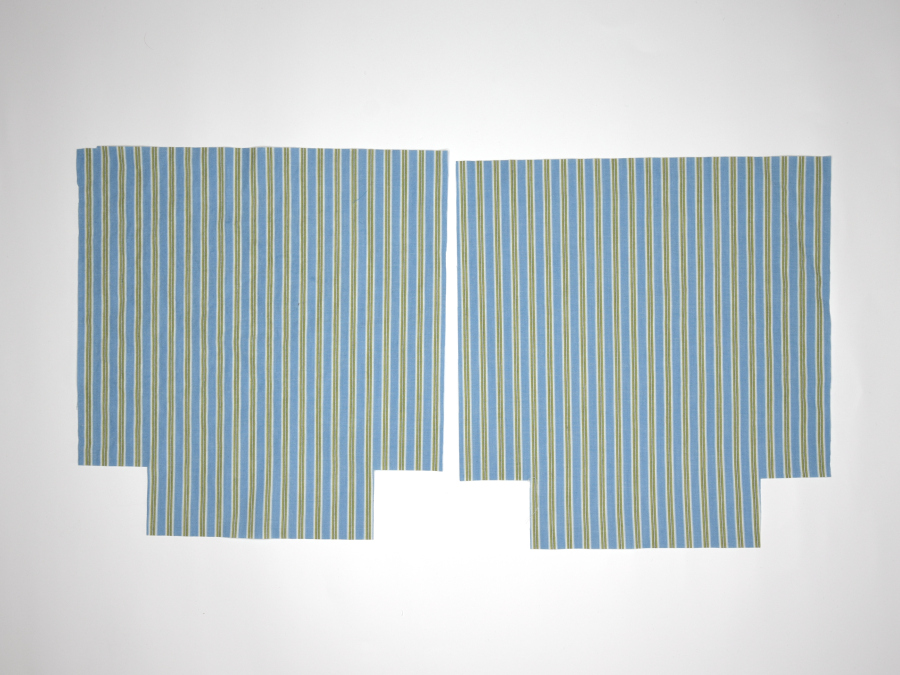
I knew wanted a boxed bottom tote. I decided to make my body pieces 10.5″ x 11″ This would give me a bag that is around 9.5″ x 8: with a 4″ bottom.
I cut out 2″ squares on each side of the bottoms. Some people like to cut these after interfacing or even after the bag is sewn but find that to be a waste of fabric. In my opinion those 2″ squares can be used later.
Lining Pieces
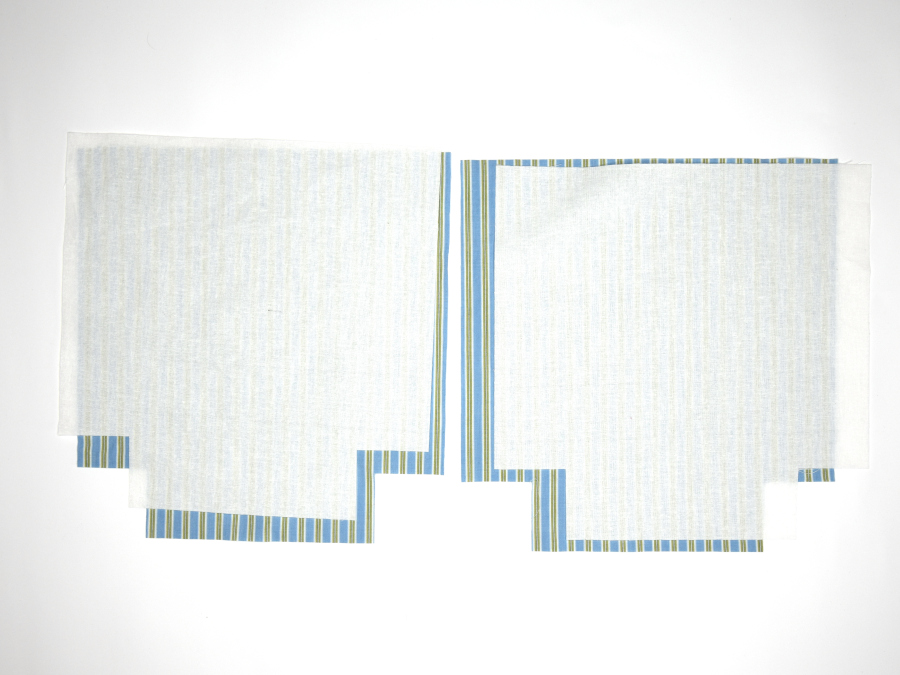
The buttonhole placket is usually a little wider than the button placket so I had to measure them and figure out the difference. In this case, it was .5″. This means when I cut out the lining pieces I needed to cut them .5″ shorter than the outside pieces.
Straps
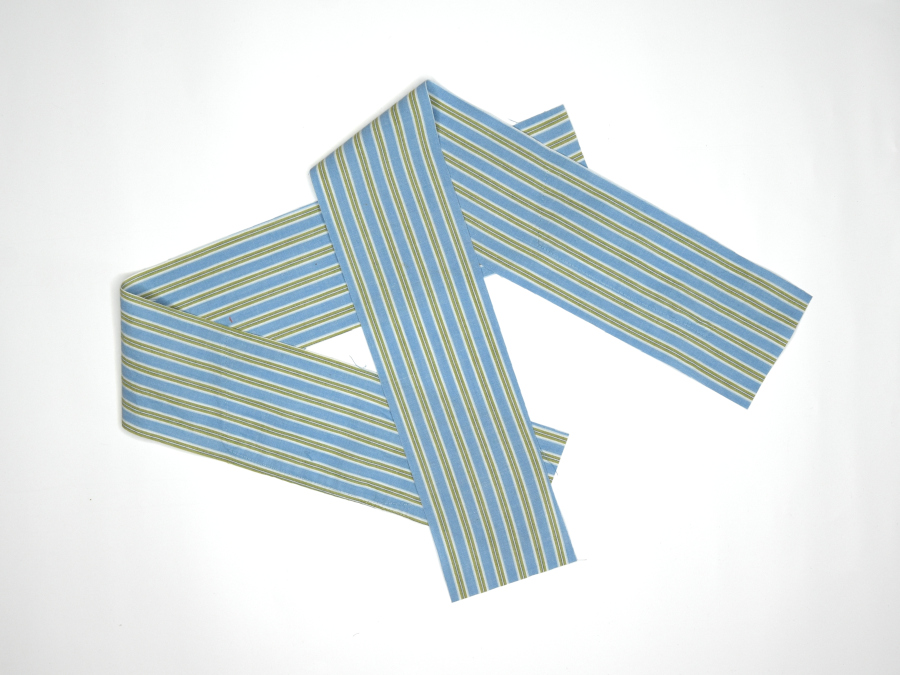
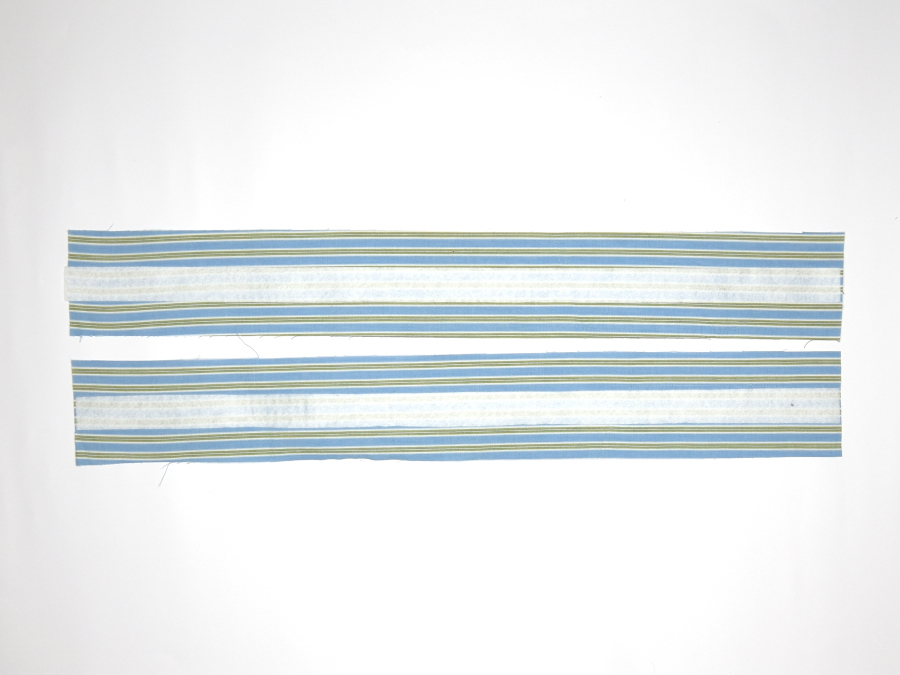
I cut two 3″ x 22″ strips from one of the front shirt pieces. My straps will be 1″ wide and 20″ long. but I like to insert 1″ of the strap ends into the bag for extra stability.
Sewing the Tops
I sewed the button placket pieces to the body and lining pieces with right sides together using a .5″ seam allowance. I then pressed the seams down toward the bottom.
Interfacing
I used Pellon SF100 Woven Fusible Interfacing for the lining pieces. I cut the pieces the same size as the lining pieces. I also cut 2″ squares out of the bottom sides.
For the body pieces, I used Pellen 809 and Pellon Fusible Fleece. I cut the 809 the same size as the body pieces. I cut the fusible fleece 1″ smaller in both length and width than the body pieces. Again I cut out 2″ square on all the pieces.
I fused all the interfacing to their pieces. On the outer body pieces, I added the fleece first and then fused the 809 on top, sandwiching the fusible fleece between the 809 and the fabric.
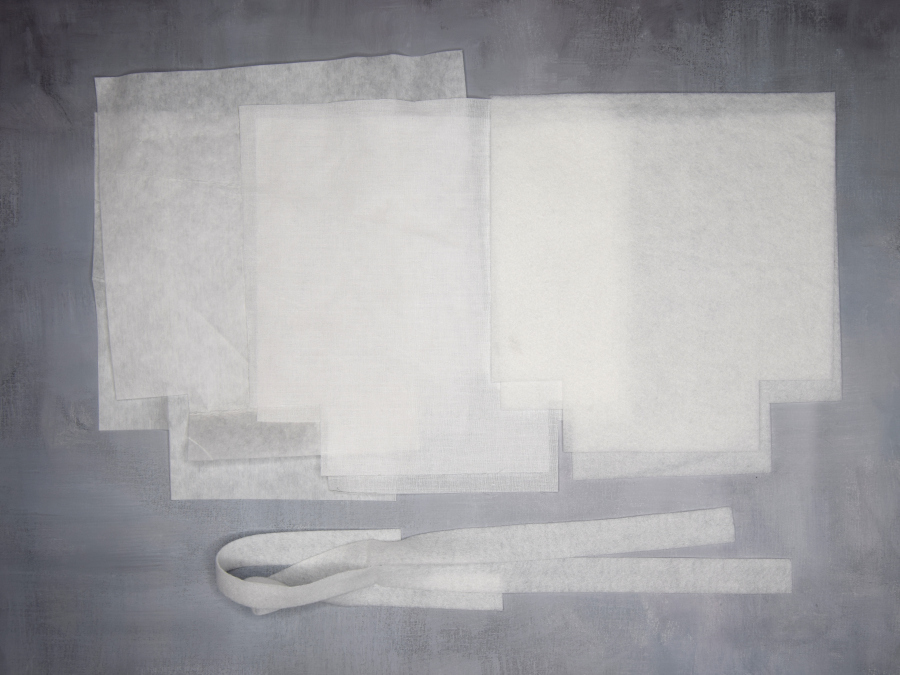
I also cut two 1″ x 22″ strips of fusible fleece for the straps. I fused these right down the middle of the strap pieces.
Pockets
On one lining piece, I sewed on the shirt pocket. I positioned it at the center and about 2″ down.
On the other lining piece, I added a zipper pocket.
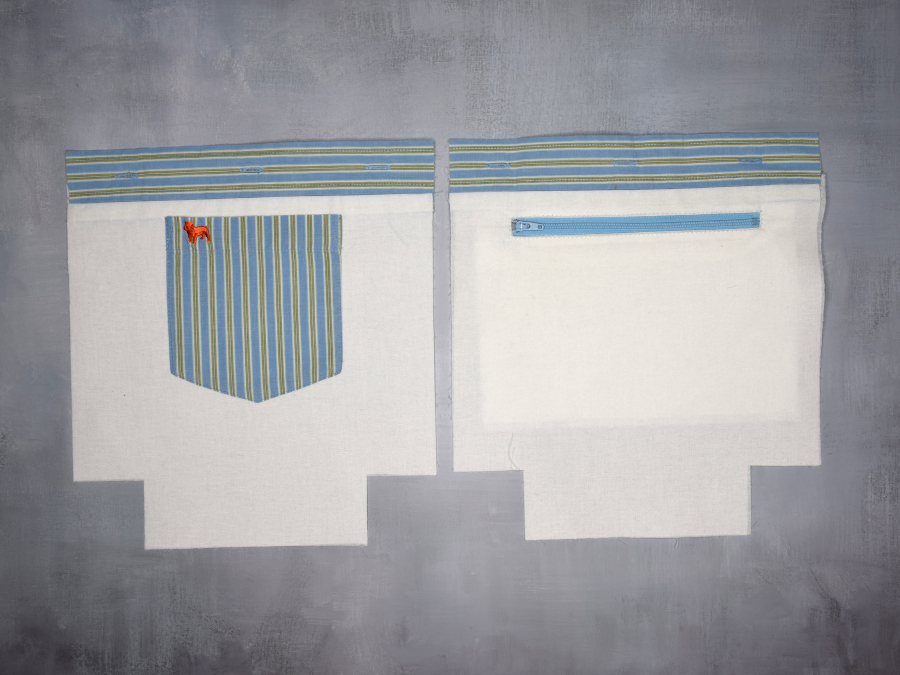
If you would like to see my tutorial on how I make zipper pockets you can check it out here: Zipper Pocket A Better Way – Tutorial
Sewing The Pieces
I sewed the straps lengthwise into tubes using a .5″ seam allowance. After turning the tubes right side out I pressed them flat ensuring the seam was on the bottom. This was easy to do with the fleece attached guiding the shape. I used a narrow hem foot and top stitched on each side of the straps.
I sewed the outer pieces sides and bottoms together and sewed the boxed ends. I did the same for the lining pieces.
I marked 1″ up on each end of the straps. I placed them into the bag, getting them lined up where I liked them, and secured them with pins.
This bag is designed to use a drop-in lining so I just dropped the lining into the bag and using a narrow hem foot I sewed around the top. I did a second round of stitching on the other side of the button placket.
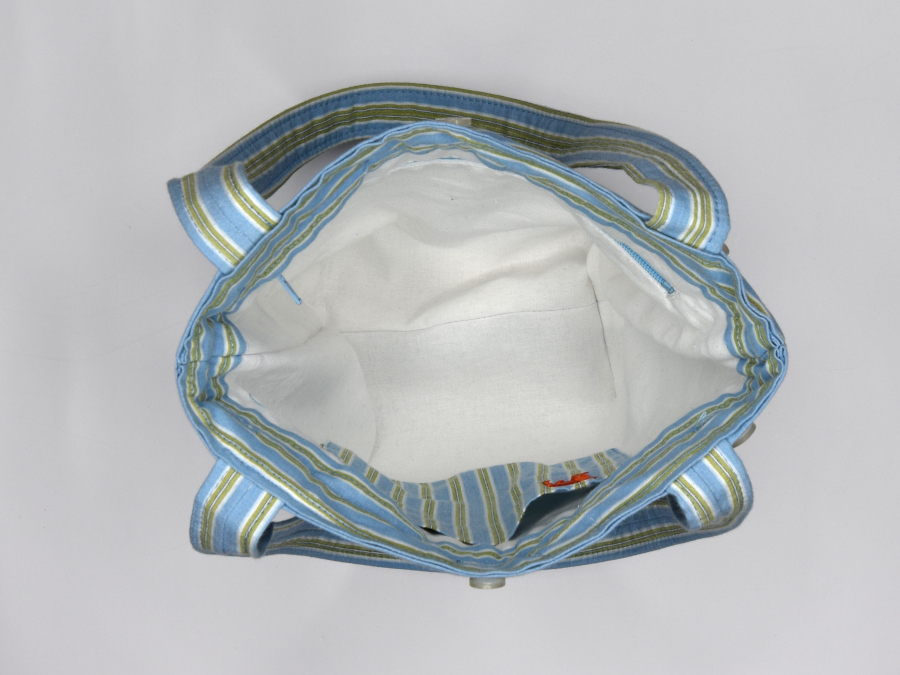
Thats it! I now have a cute tote bag with an interesting button detail.
Other Bags
Here are a few others that I made.
Deep Light Blue Plaid Tote Bag
For this bag, I decided to use as much of the length of the shirt as I could for the body. I think it’s a little too deep and narrow but maybe it would be a good gift bag for wine.
I like that the button placket is actually a different color than the rest of the shirt.

For the straps I used the side seams I cut off the shirt to add some interesting detail.

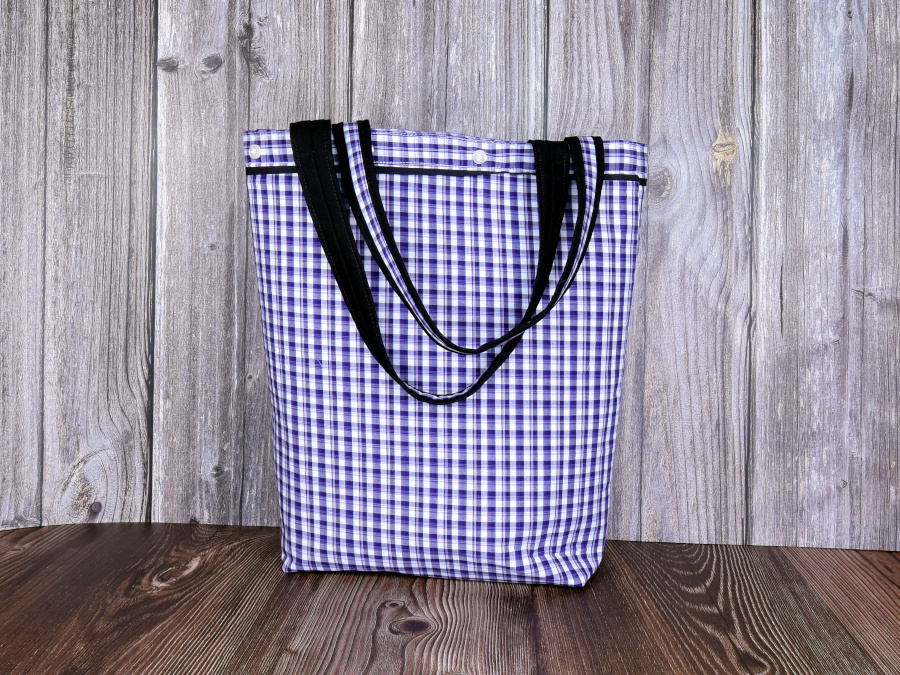
Large Purple Plaid Tote Bag
This bag was made with a larger shirt. Since the shirt was longer I was able to make a wider top but I learned my lesson and didn’t make it as deep as I could have but it is as deep as the first bag.
I used black fabric for the lining so I wanted to add some black detail to the outside. I used a couple of strips of 1.5″ fabric folded in half and sewed in when I sewed the tops to the bag pieces.
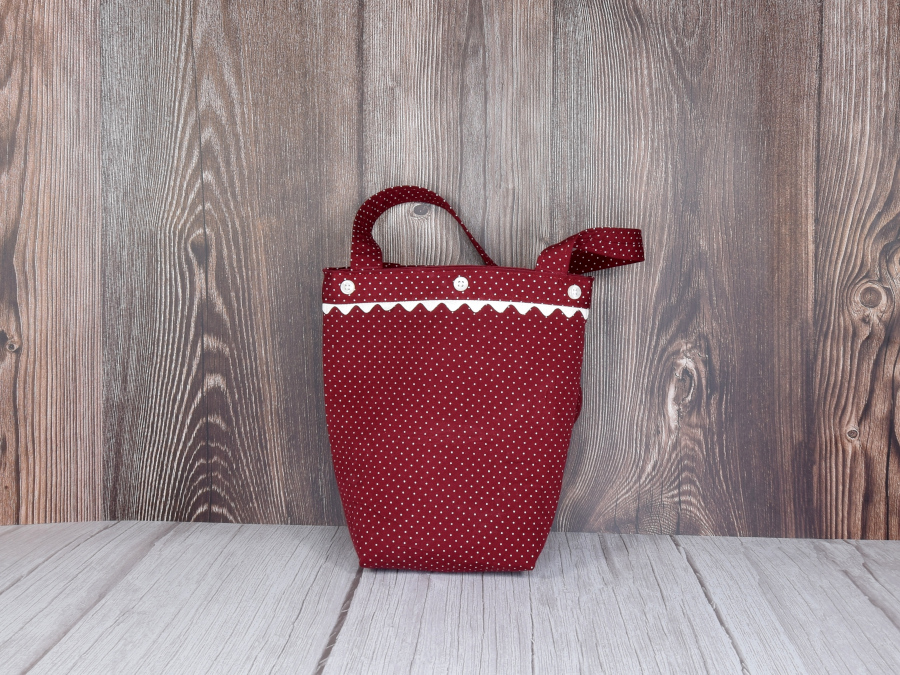
Dark Red Polka-dot Tote Bag
This bag was made with a slim-fit shirt so the waist was noticeably smaller. It ended up being about the same size as the striped bag. I sewed in some ivory-colored ric rac to the top seam and used some muslin from my stash for the lining.
I love how all these bags turned out. Using this method limits the size of the bag you can make but the placket detail gives a little hint of upcycling without being over the top.
What kinds of things have you made with upcycled shirts?
Happy Sewing!
Kelly
Please save for later on Pinterest
