Upcycled Shirt Cuff Notebook Pencil Holder – Tutorial
Hello Snazzie People!
If you are into using upcycled materials you will know that a men’s button-up shirt can be a treasure trove of fabric but it’s not as easy to utilize the collars or cuffs.
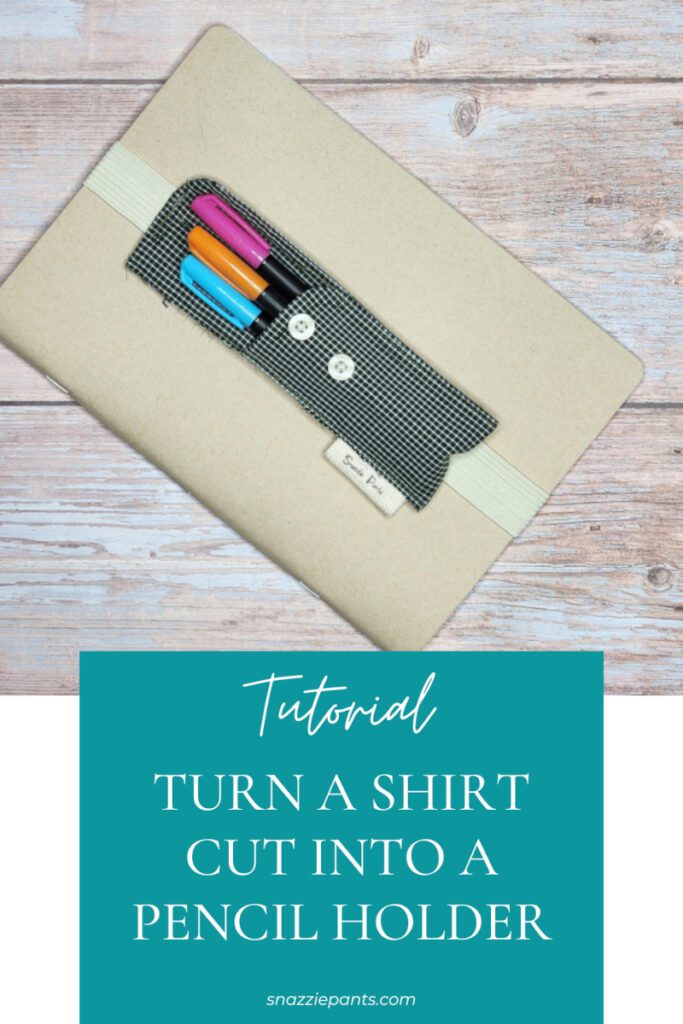
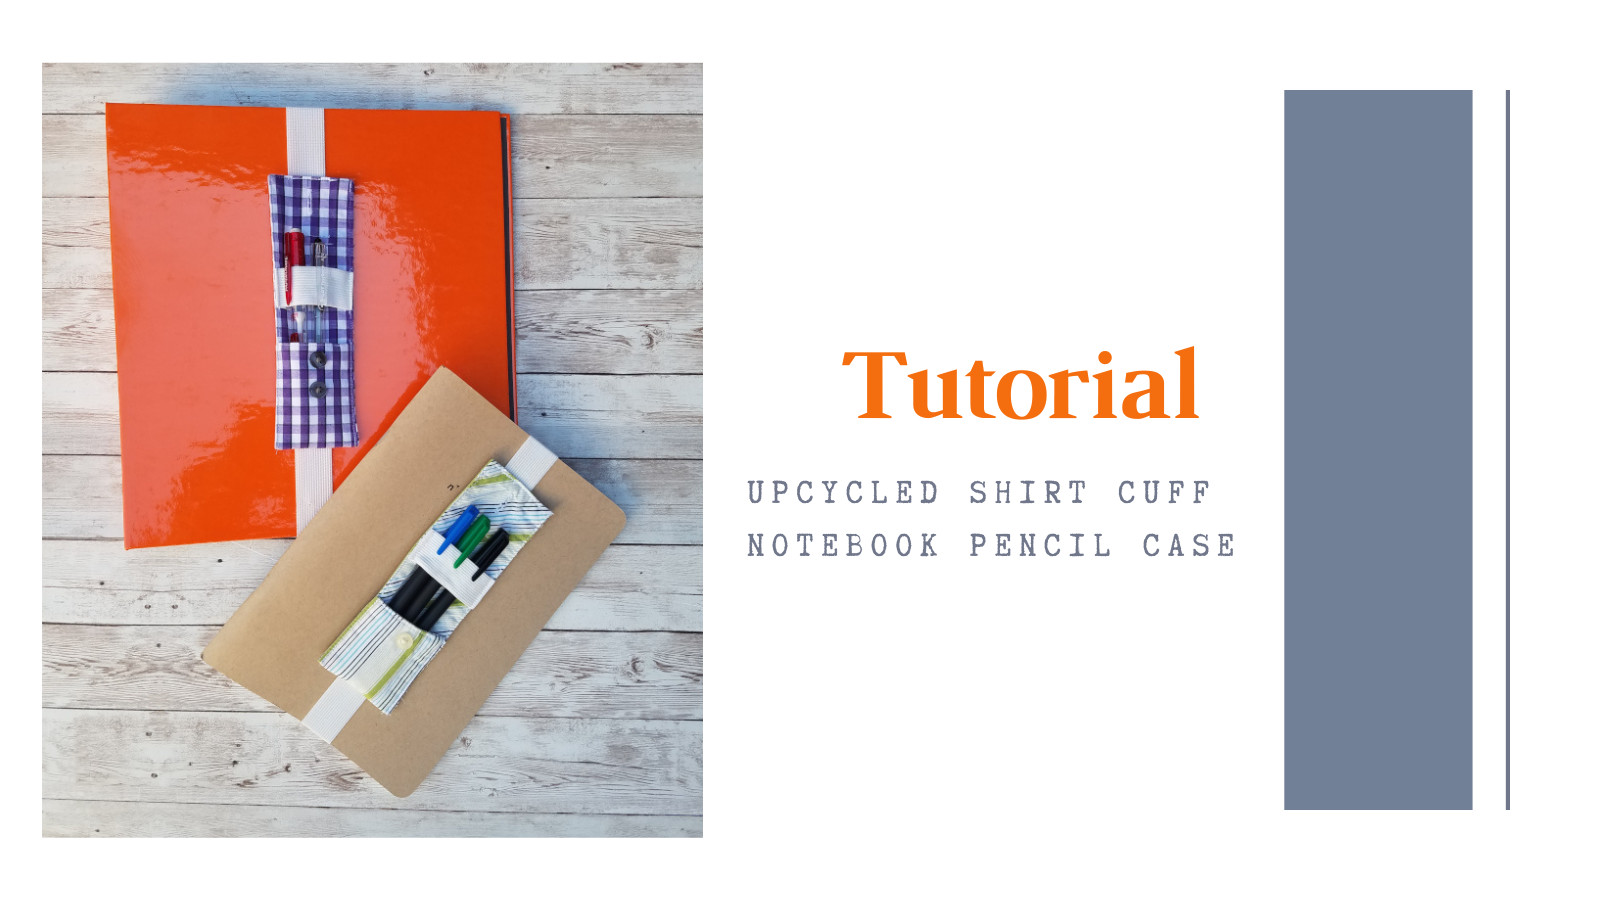
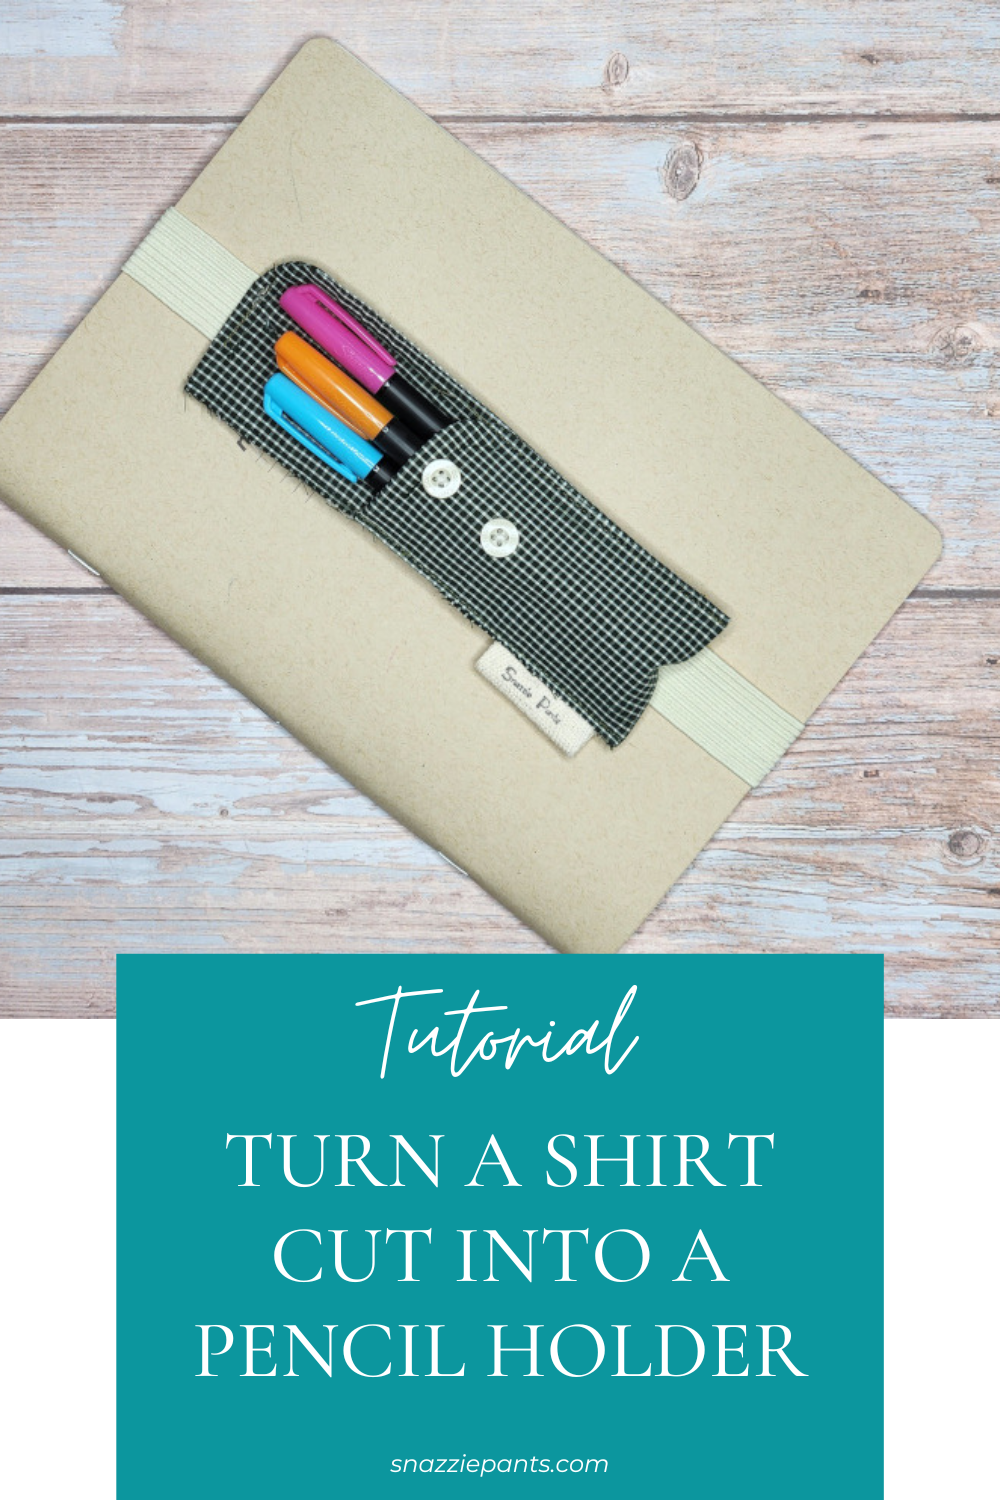
In this tutorial, I’m going to show you how I make a notebook pencil holder with an upcycled shirt cuff and a piece of elastic. This unique idea was one of my most popular items at craft shows.
Make sure you read to the end to see how a little extra elastic can ensure that even small cuffs can be utilized for this project.
If you would like to see how to turn a shirt collar into an eyeglass case check out this post: Visionary Upcycling – Shirt Collar Eyeglass Case Tutorial
Let’s get started!
Materials
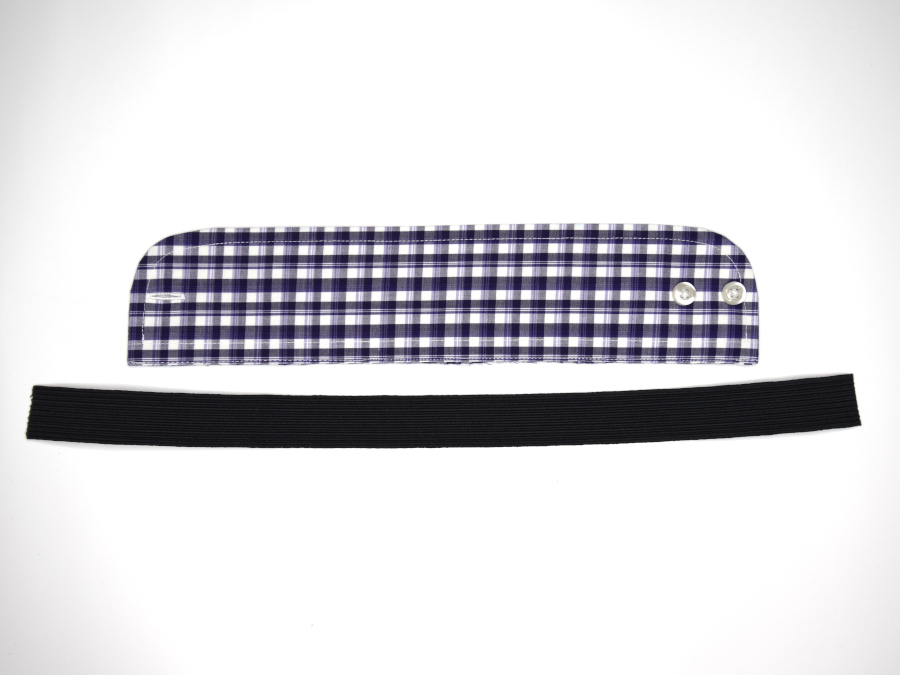
- 1 Shirt Cuff cut from the sleeve of a button-up shirt
- You can use a cuff from any button-up shirt, men’s or women’s. Just make sure the cuff is wide enough for your purposes. A narrow cuff might be perfect for the basics like a pen and pencil or stylus but you might want to use a wide cuff if you plan for it to hold markers or colored pencils.
- 1″ Wide Elastic 7″ long
- I’m making my pencil holder to fit over a notebook or binder but if you want to use it on something smaller like a tablet or iPad you may need to shorten the length of your elastic. About 2.5″ of the elastic is attached to the pencil case. The rest fits around your item.
Tutorial
1. Press the shirt cuff flat
2. Measure 7″ down from the buttonhole end.
3. Fold the button end up at the 7″ mark making sure the buttons are facing out. This will be your pencil pocket.
4. Press.
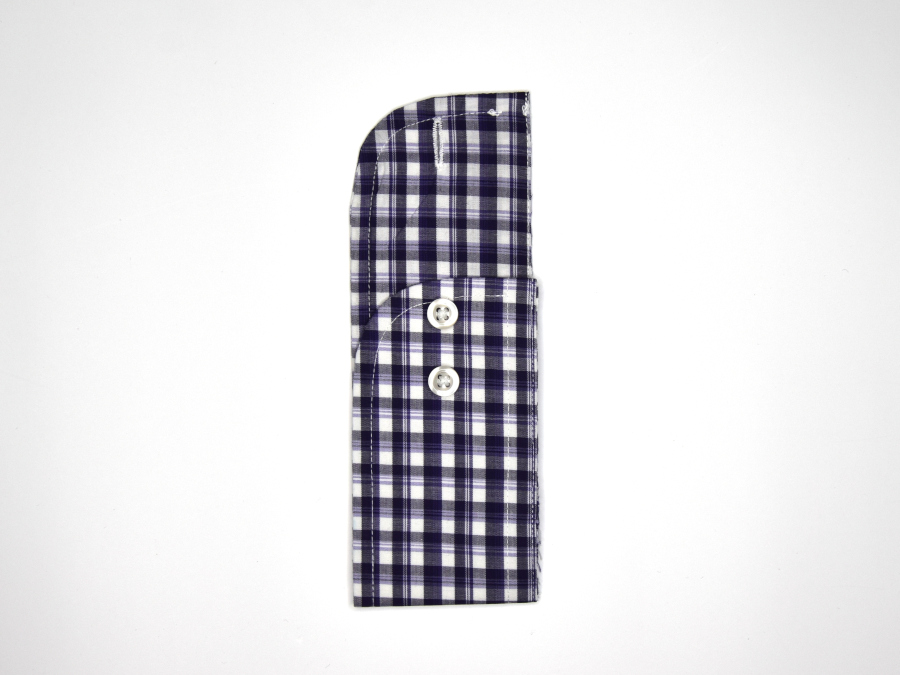
5. On the back measure 0.5″ up from the bottom (from the fold) and find and mark the center.
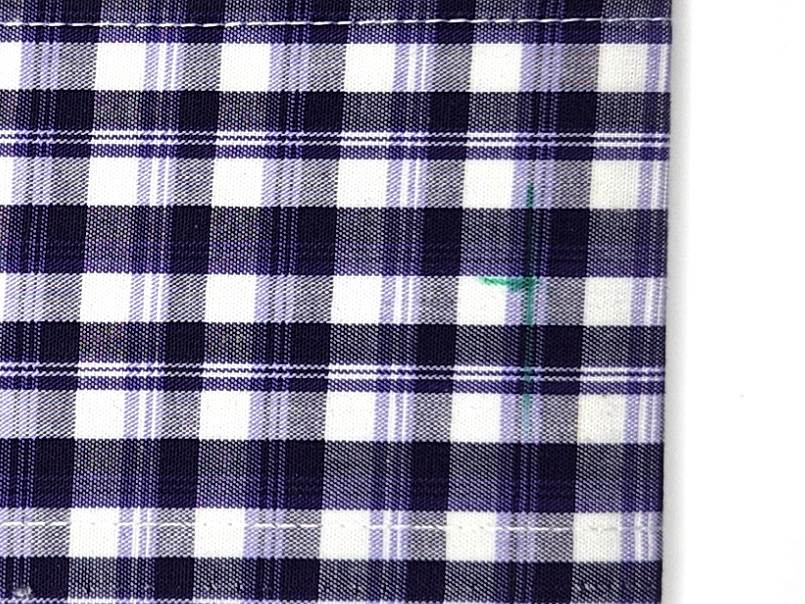
6. Find the center of one end of the elastic (I just fold the elastic end in half and eyeball it) and place it on the 0.5″ mark, matching centers, with the raw edge of the elastic pointed toward the fold.
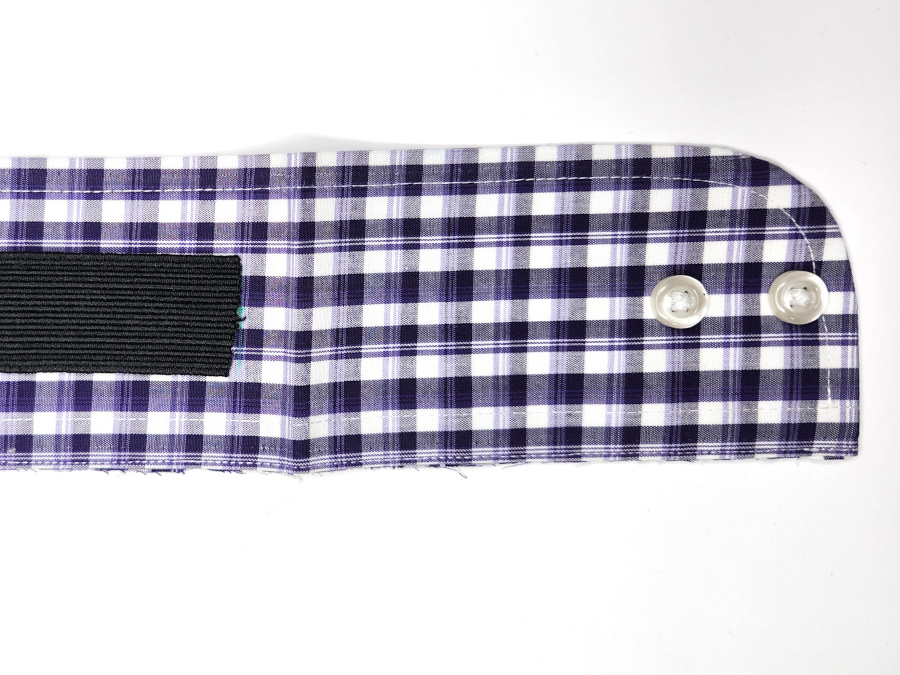
7. Unfold the case and sew the elastic in place close to the edge of the end of the elastic.
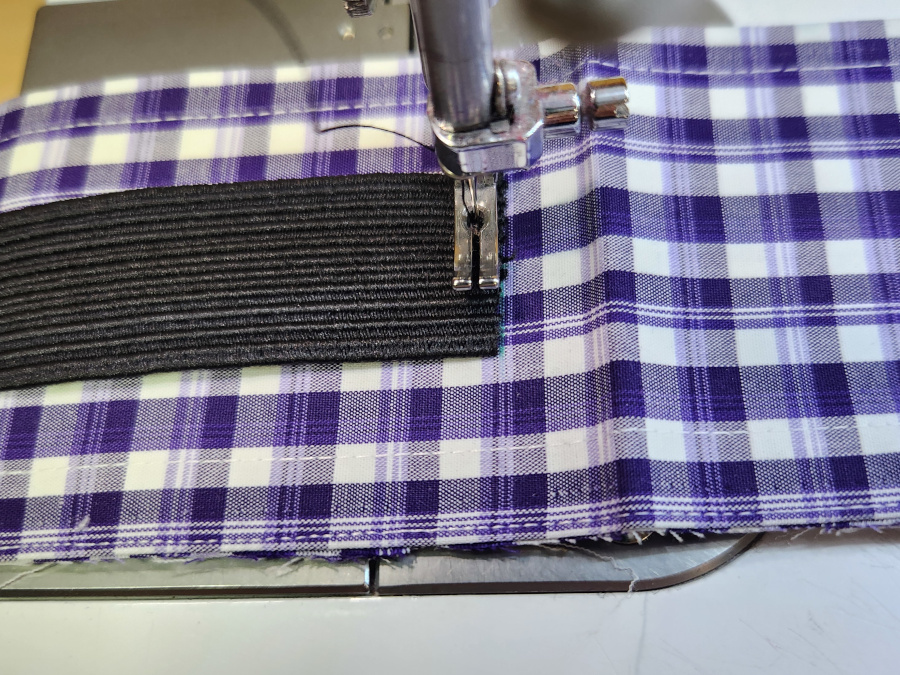
8. Fold the elastic over the stitching line and stitch again, securing the raw edge under the elastic.
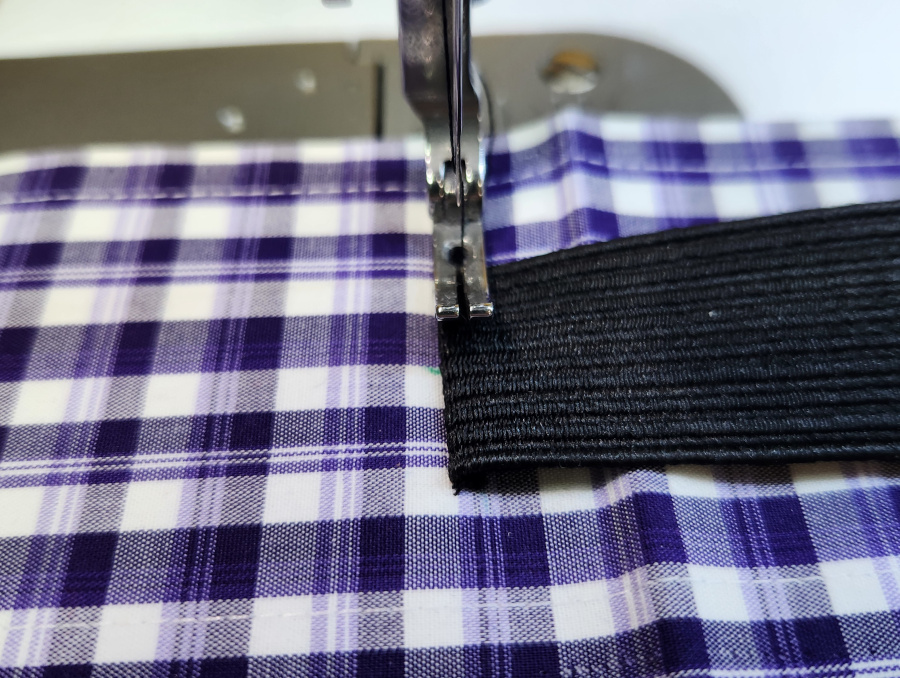
9. On the back mark 2″ down from the top (from the buttonhole end) and find and mark the center.
10. Find the center of the remaining end of the elastic and place it on the 2″ mark, matching centers, with the raw end of the elastic facing toward the top.
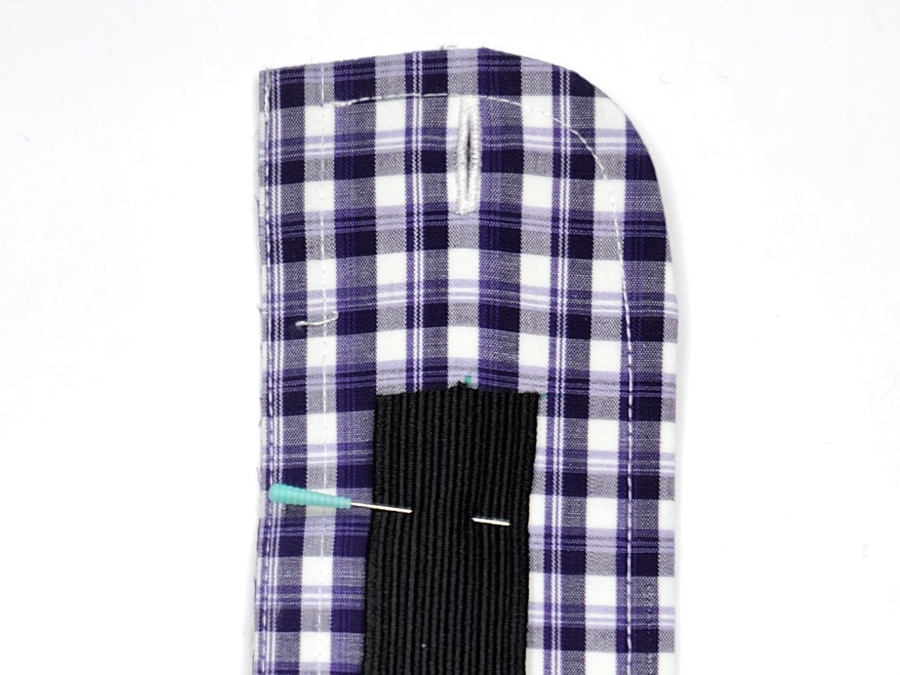
11. Sew the elastic into place close to the raw edge of the elastic.
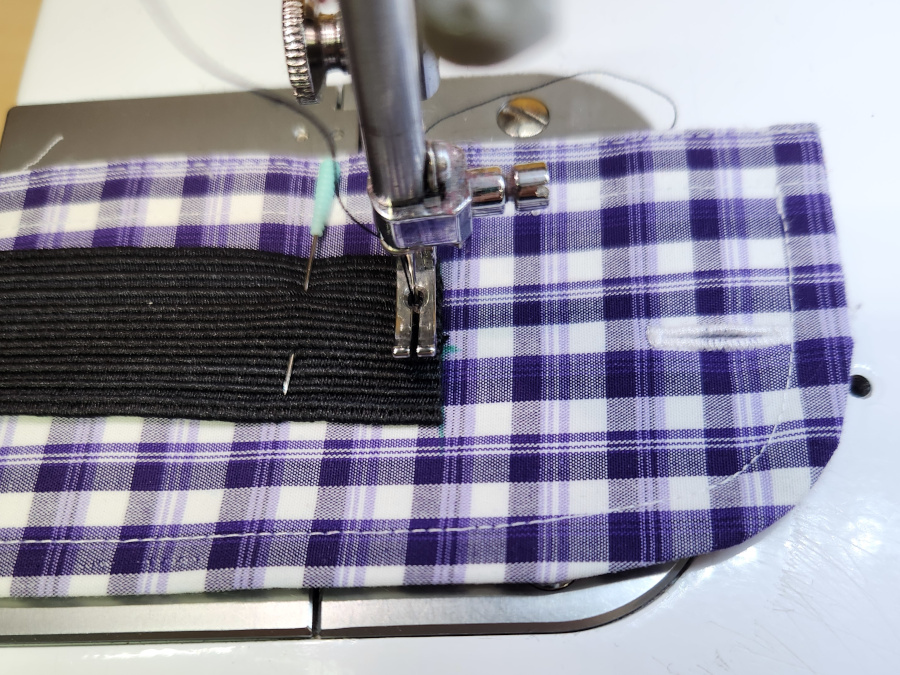
12. Fold the elastic over the stitching line and stitch again, securing the raw edge under the elastic.
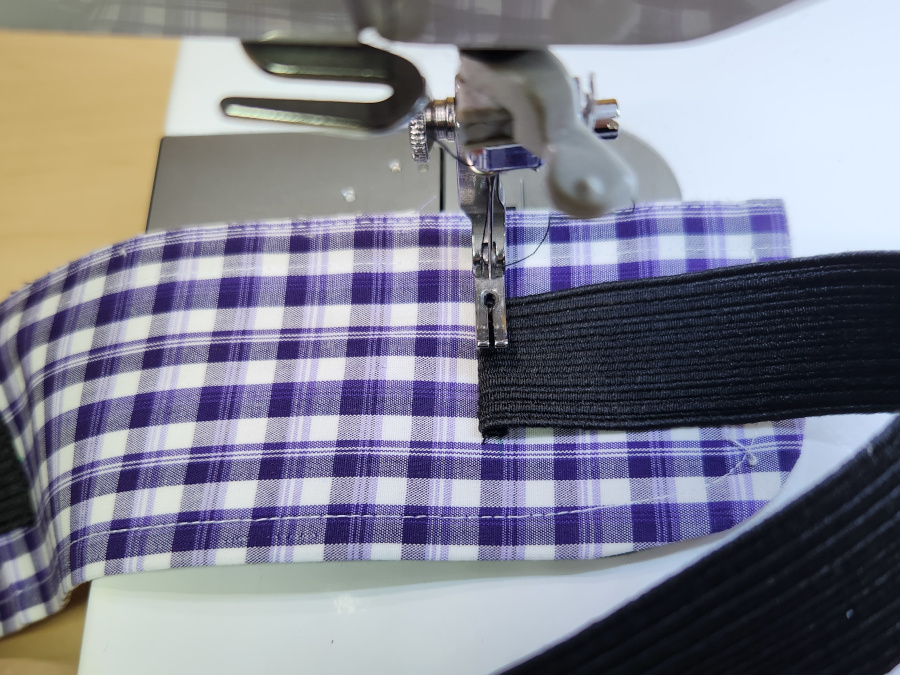
13. Sew the elastic into place at the top of the case getting as close to the edge as possible.
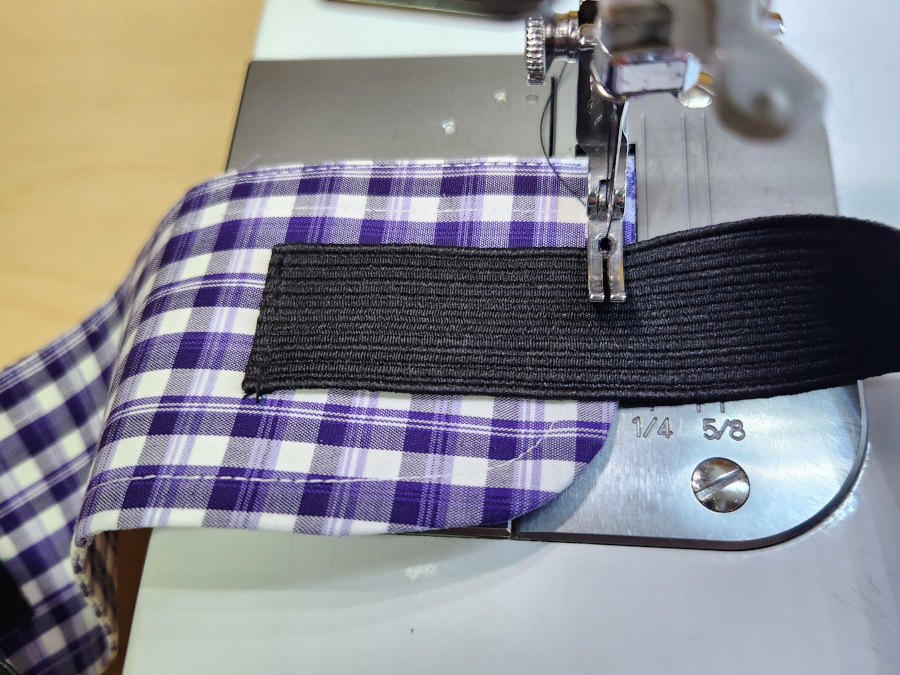
14. Starting at the fold sew both sides of the pocket, near the edge
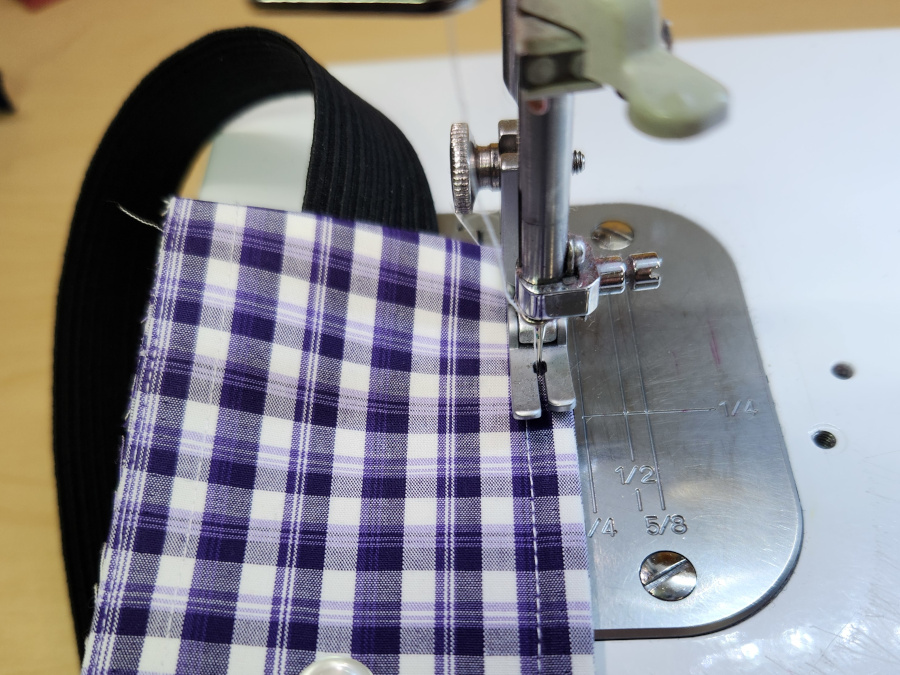
Optional
If the shirt cuff you are working with is a little too short to make a properly deep pocket for your pens and pencils you can add a strip of elastic to help contain them.
15. Cut a piece of elastic around 1″ longer than the width of the case.
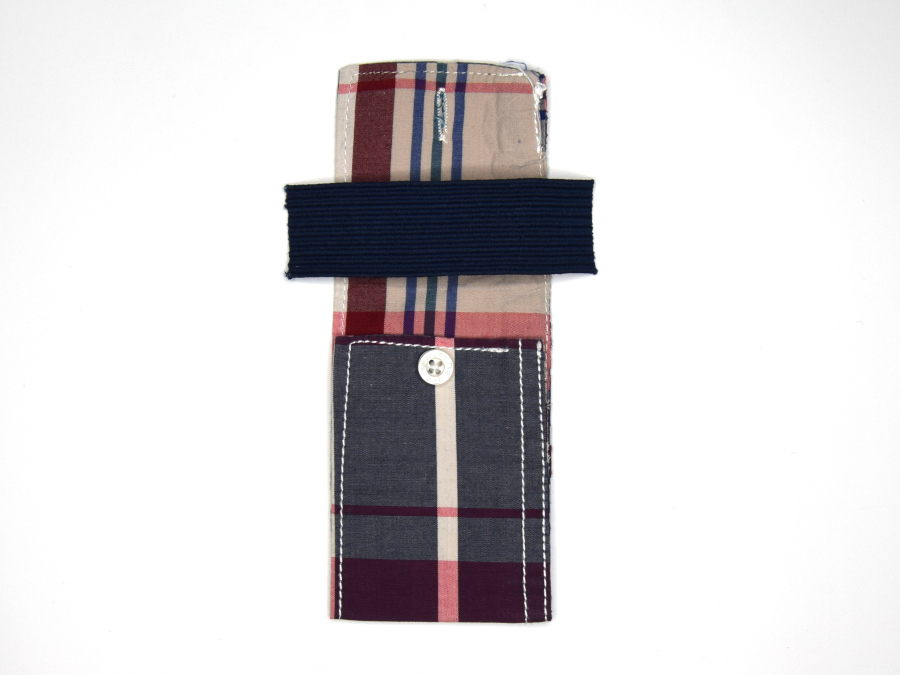
16. Figure out where the piece of elastic should be placed to hold properly hold your items. Mark this spot if needed. In this tutorial, I only needed an extra inch so I added the elastic right above the top of the pocket.
17. Lay the elastic on the case with about 0.25″ of the raw end pointed toward the center of the case.
18. Sew the elastic close to the edge of the case.
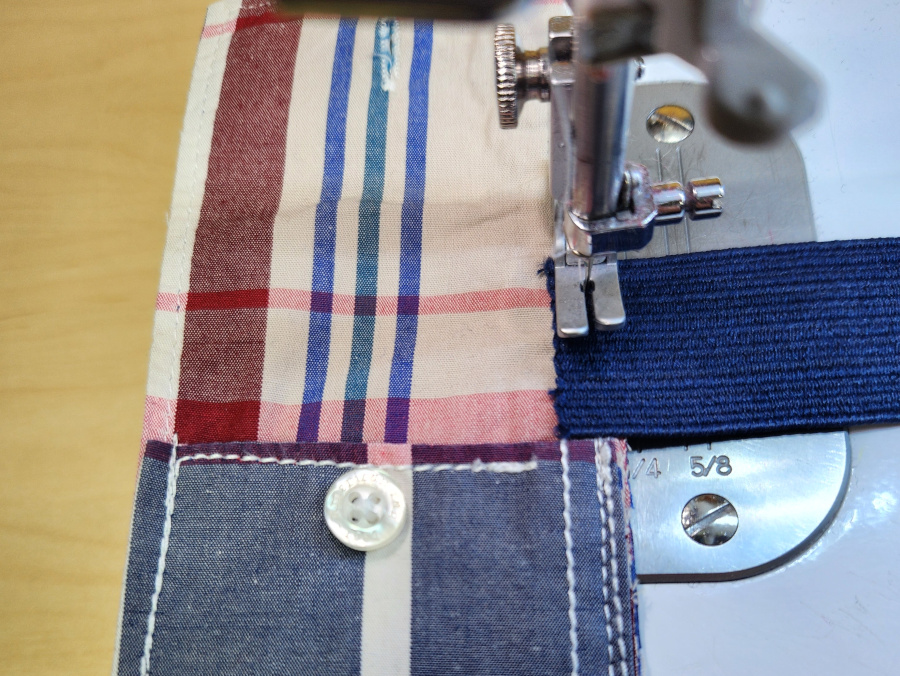
19. Fold the elastic over the stitching line and stitch again, securing the raw edge under the elastic.
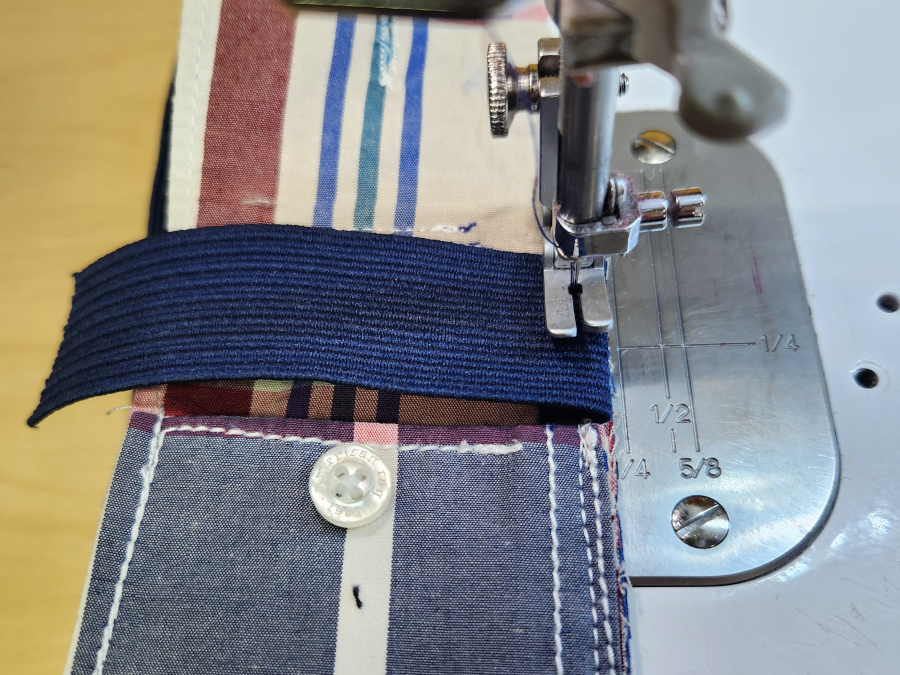
20. On the other side of the case fold the raw edge of the elastic under the folded edge up with the side of the case. Use a clip or pin to hold it in place if needed,
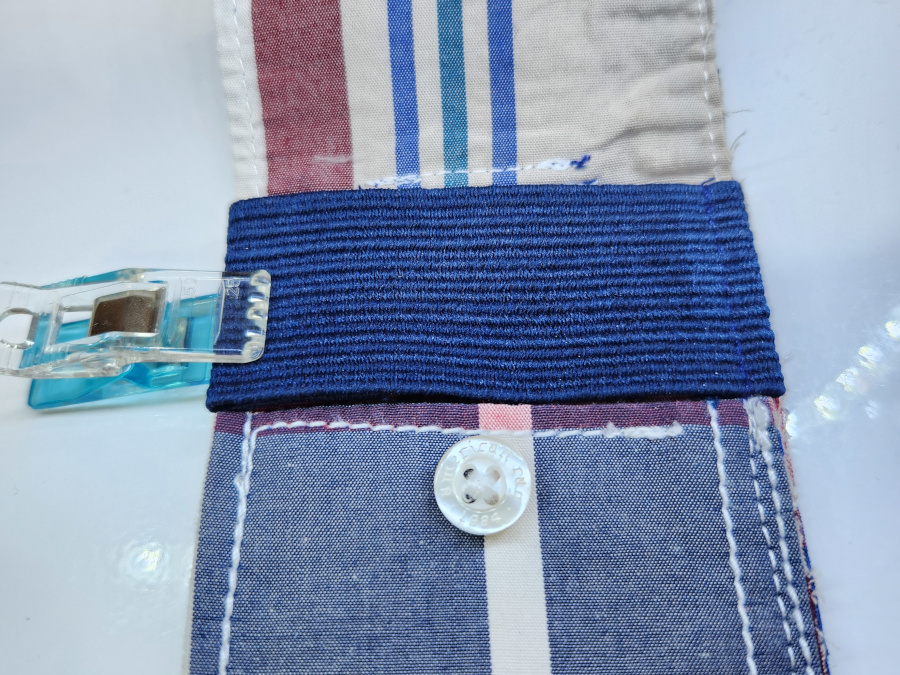
21. Sew the folded end of the elastic close to the edge of the case.
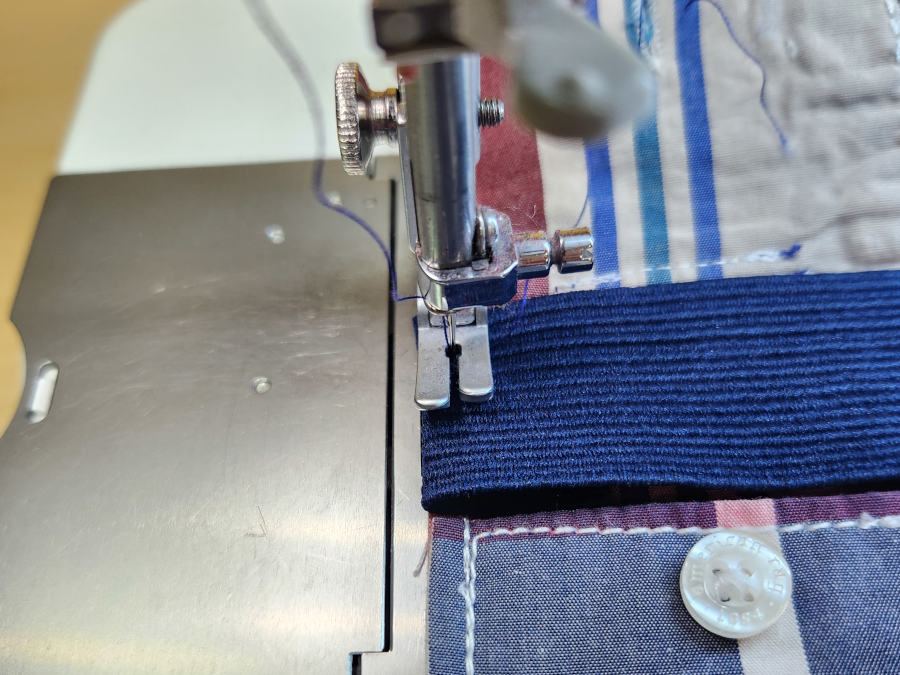
22. Trim the raw edges of the elastic if needed.
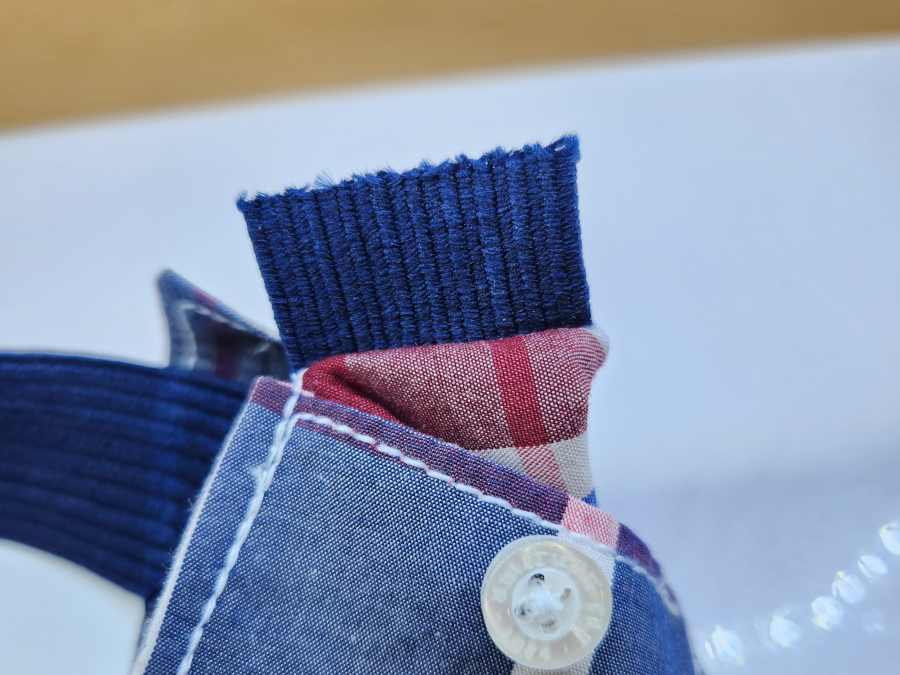
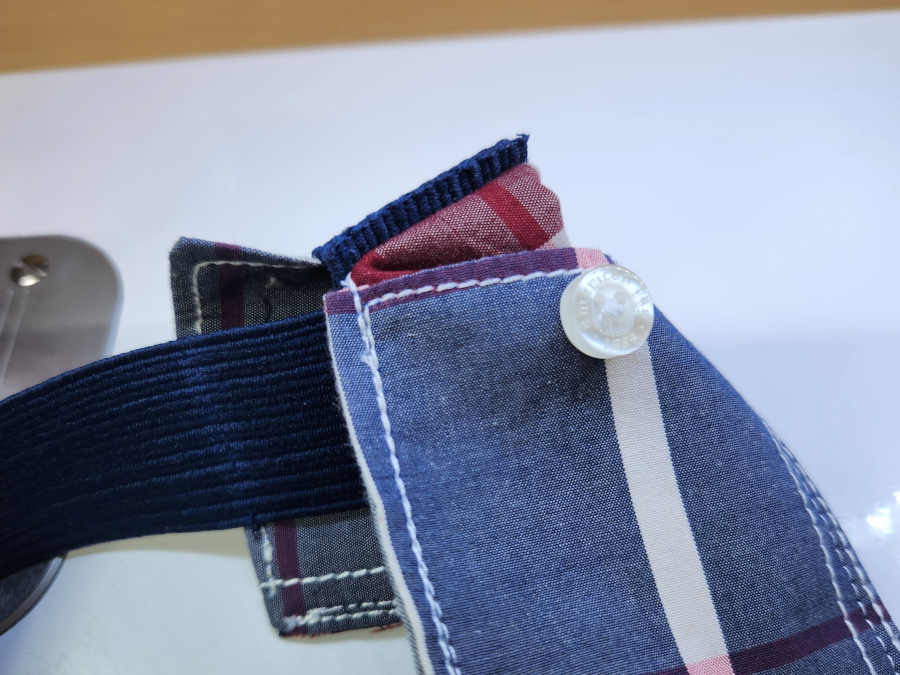
I love this project. It’s so practical and easy to make. I keep a shirt cuff pencil holder on my planner at work and on my personal planner.
Now I want to hear from you. Do you have any ideas for upcycling shirt cuffs?
Happy Sewing,
Kelly
Pin to save for later
