Simplicity S1538 Shirt Pattern Review
Overview
Simplicity S1538 is a classic, women’s button-up shirt with a few twists. The pattern has several different options. You can include pockets with or without flaps. You can include optional front yoke pieces for a more western look. There are two different styles of sleeve cuffs that you can make in contrasting fabrics, and you can also use contrasting fabric for the button placket.
Availability and Sizing
The pattern is available in paper only and comes in two size ranges: 6-14 or 14-22.
Fabric Recommendations
Simplicity S1538 is meant for woven fabrics, and according to the pattern envelope, almost any possible woven fabric can be used. I made one out of flannel, and the other two are made from chambray. You will also need some lightweight interfacing. You can read more about the fabric suggestions on the Simplicity website.
Notions
All the shirt views require at least eight ½” buttons but if you made the pocket flaps you’ll need ten total buttons. You can also add studs to the front yokes in View A. I made the front yokes on one of my shirts but omitted the studs.
Tools and Supplies
- Sewing machine – one that can do buttonholes
- Iron and Ironing surface
- Thread
- PinsFabric marking tools such as tailor’s chalk
Recommended Skill Level
It is rated Average by Simplicity. I would agree with this rating because you do need to add side darts and buttonholes as well as set-in sleeves with cuffs. If you have sewn a button-up shirt before, this pattern goes together quickly.
Pattern Instructions
I thought the instructions were straightforward. If you have ever sewn a commercial sewing pattern before, the instructions will be about what you expected.
If you would like some extra information on how to sew this pattern in particular I recommend the following sew-alongs on YouTube:
How I Sew My Shirt – Simplicity 1538 | Sew -Along
Minerva Sew-Along – Simplicity 1538 Ladies Shirt
I also recommend watching these videos by Sew Sew Live on how to attach collars and shirt cuffs. These are the methods I use instead of the instructions in the sewing pattern:
How to Sew a Collar and Collar Stand Easily by Sew Sew Live
Sew ALL Collars, Cuffs, Bands, and Waistbands the same EASY way!
There was one area in the instructions that was a little confusing, and that was when the pattern tells you how to attach ribbon to the button placket, but there is nothing that I can find on the envelope about using ribbon. Since this step isn’t necessary, I skipped it for all my makes.
Construction
Sewing these shirts was pretty easy. There was nothing overly complicated. There are only side darts, which are easy to sew compared to front and back darts. The button plackets are sewn on instead of folded, which I sometimes feel is easier to work with. I’ve never added a front yoke to a shirt before, so that was a new design element for me, but it was easy to do.
I did have some issues with the pleats in the bottom of the sleeves and the shirt cuffs. I don’t know if I cut out the cuffs wrong or folded the pleats wrong, but on my first shirt, the cuff ended up being too small for the sleeve opening. I tried adjusting the sleeve opening pleat and the side seams several times but it was still about ½” too big. I didn’t want to end up with a cuff that was too small so I just added ½” to the length of the cuffs and cut out new cuffs. After that, all my shirt cuffs fit fine.
As I stated above, I did not follow the pattern instructions for the collar and the actual shirt cuffs. I instead used the methods laid out in the videos by Sew Sew Live.
Adjustments and Modifications
I reduced most of the seam allowances from 5/8” to 3/8”. I do this for most patterns with a 5/8” seam allowance. I feel that this makes it easier to get accurate seams and it uses a little less fabric.
I decided to do French Seams for the side seams and the sleeve seams. Because of this, I made these seams ½” inch instead of 5/8”.
The last seam adjustments I made were to the neckline, collar, sleeve openings, and sleeve cuffs. These seams were only ¼”.
I made two fit adjustments that I have to make on most of my shirts. I graded out the hip from a size 12 to size 14 and I added ½” to the length of the sleeves. I decided that I didn’t like the square pockets so I drafted new pockets that have a pointed bottom (is there a name for this) to give it that more western style.
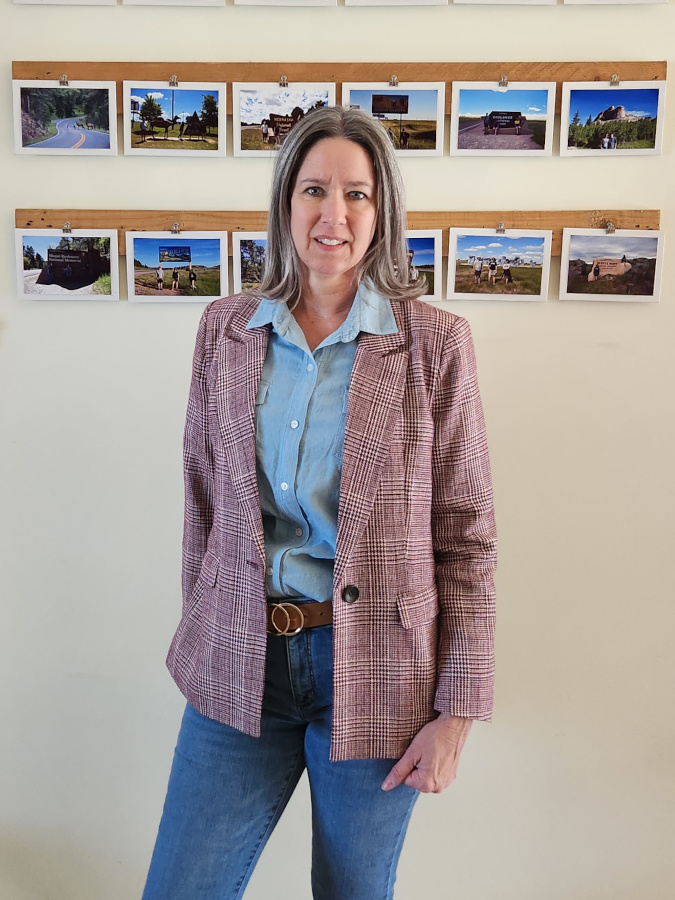
Finished Shirts
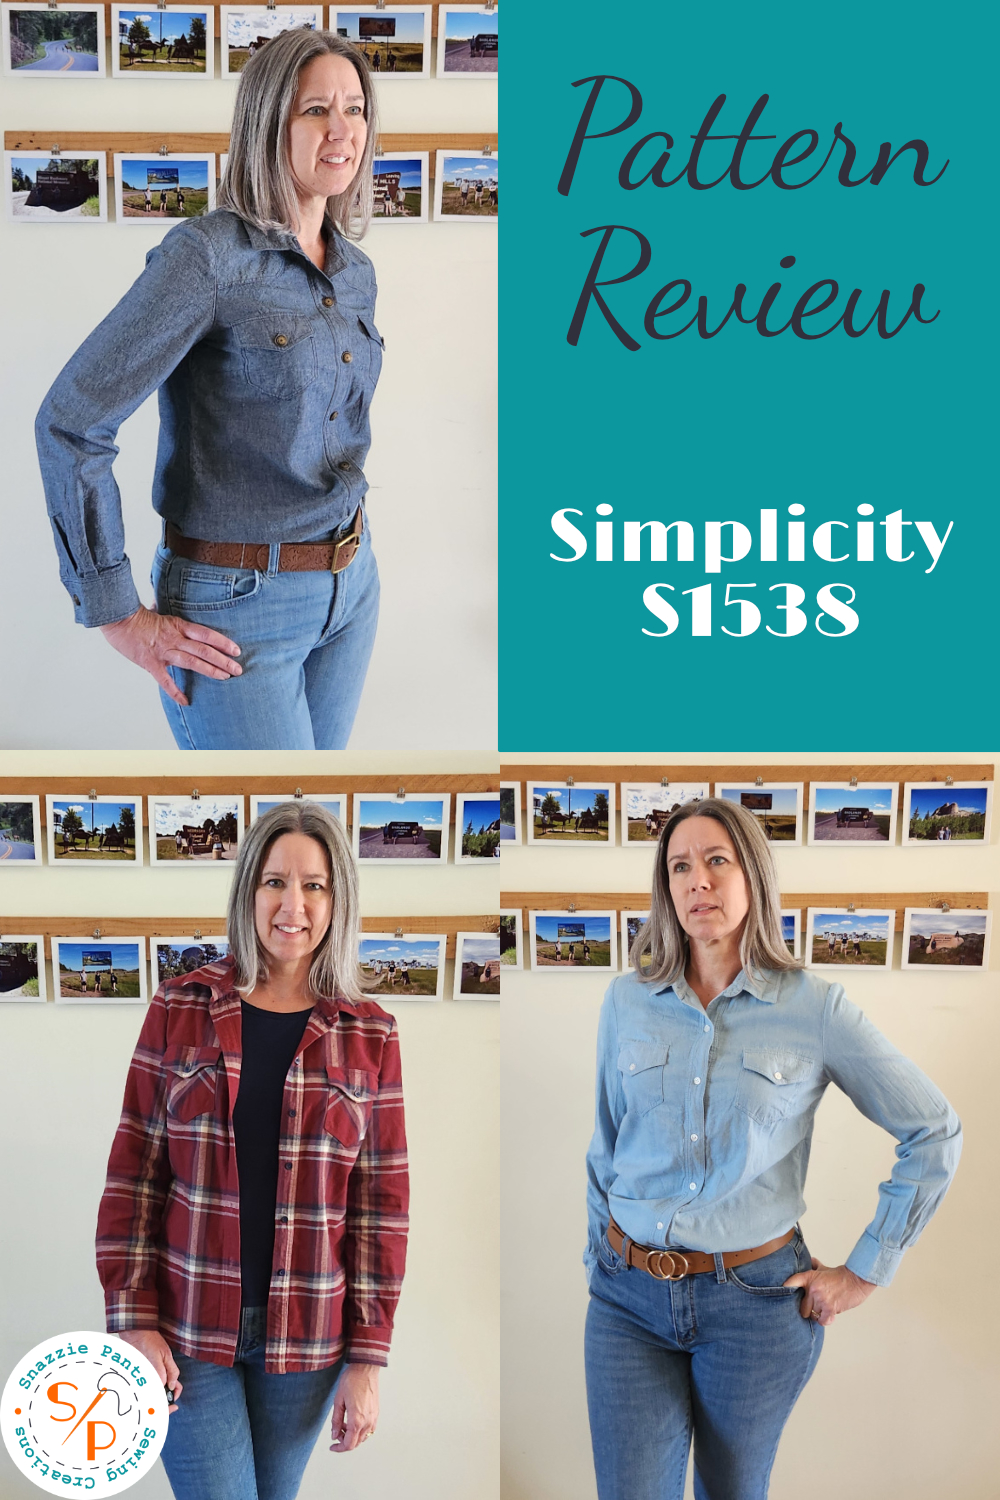
I really like the way these shirts turned out and the fact that each one has a different look despite being made from the same pattern. For these shirts, it was the fabric that made the difference.
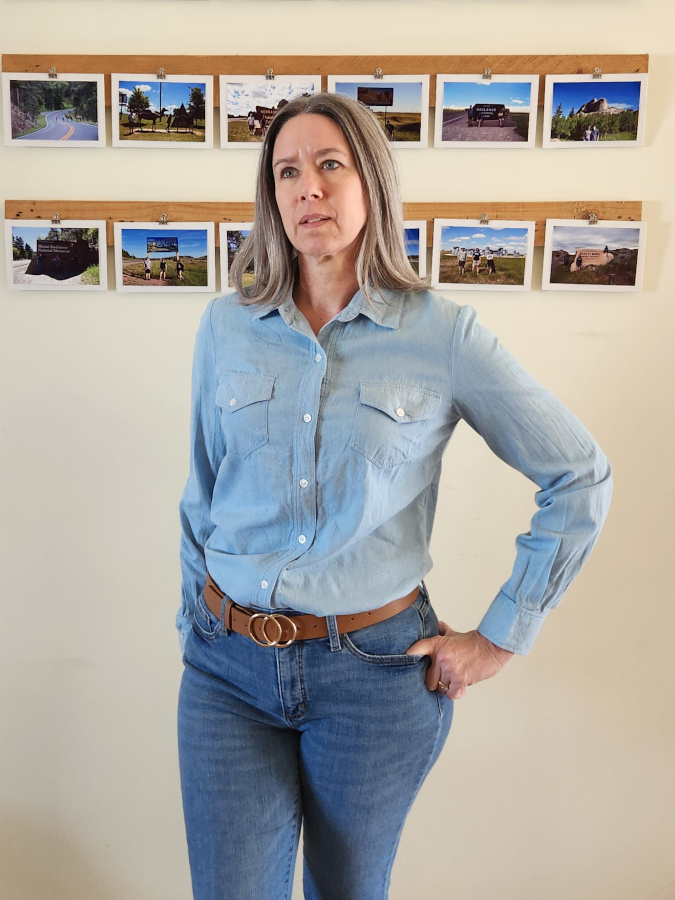
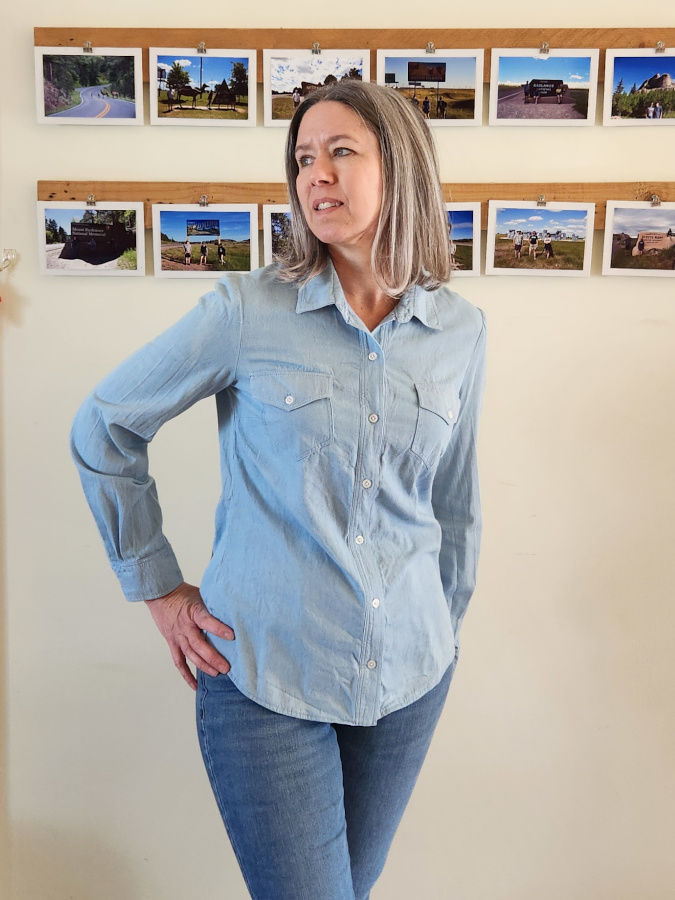
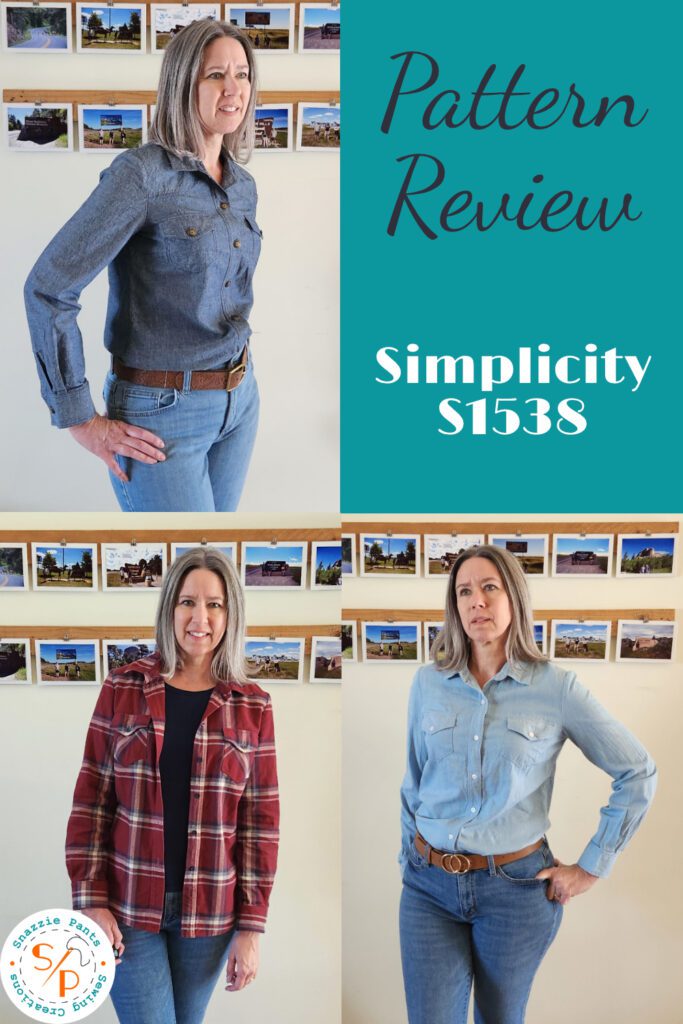
The light blue is a standard chambray shirt and can be worn as a stand-alone button-up or under a jacket or sweater.
The biggest problem with this shirt is that the fabric wrinkles really easily and is hard to iron out. There are also areas where the dye is uneven.
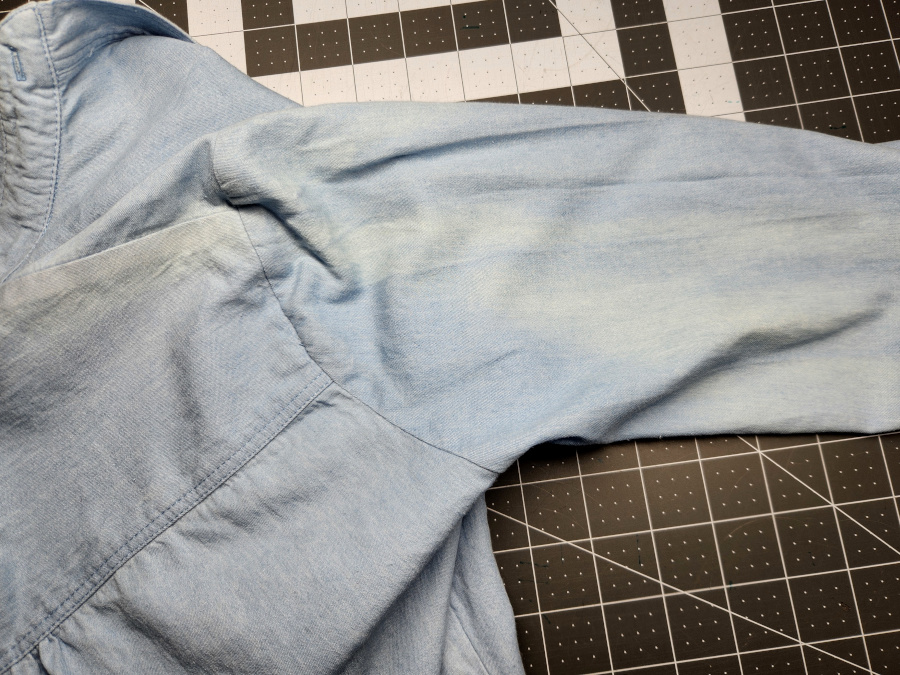
I probably won’t be wearing this shirt to work or church by itself, but I can still wear it under things.
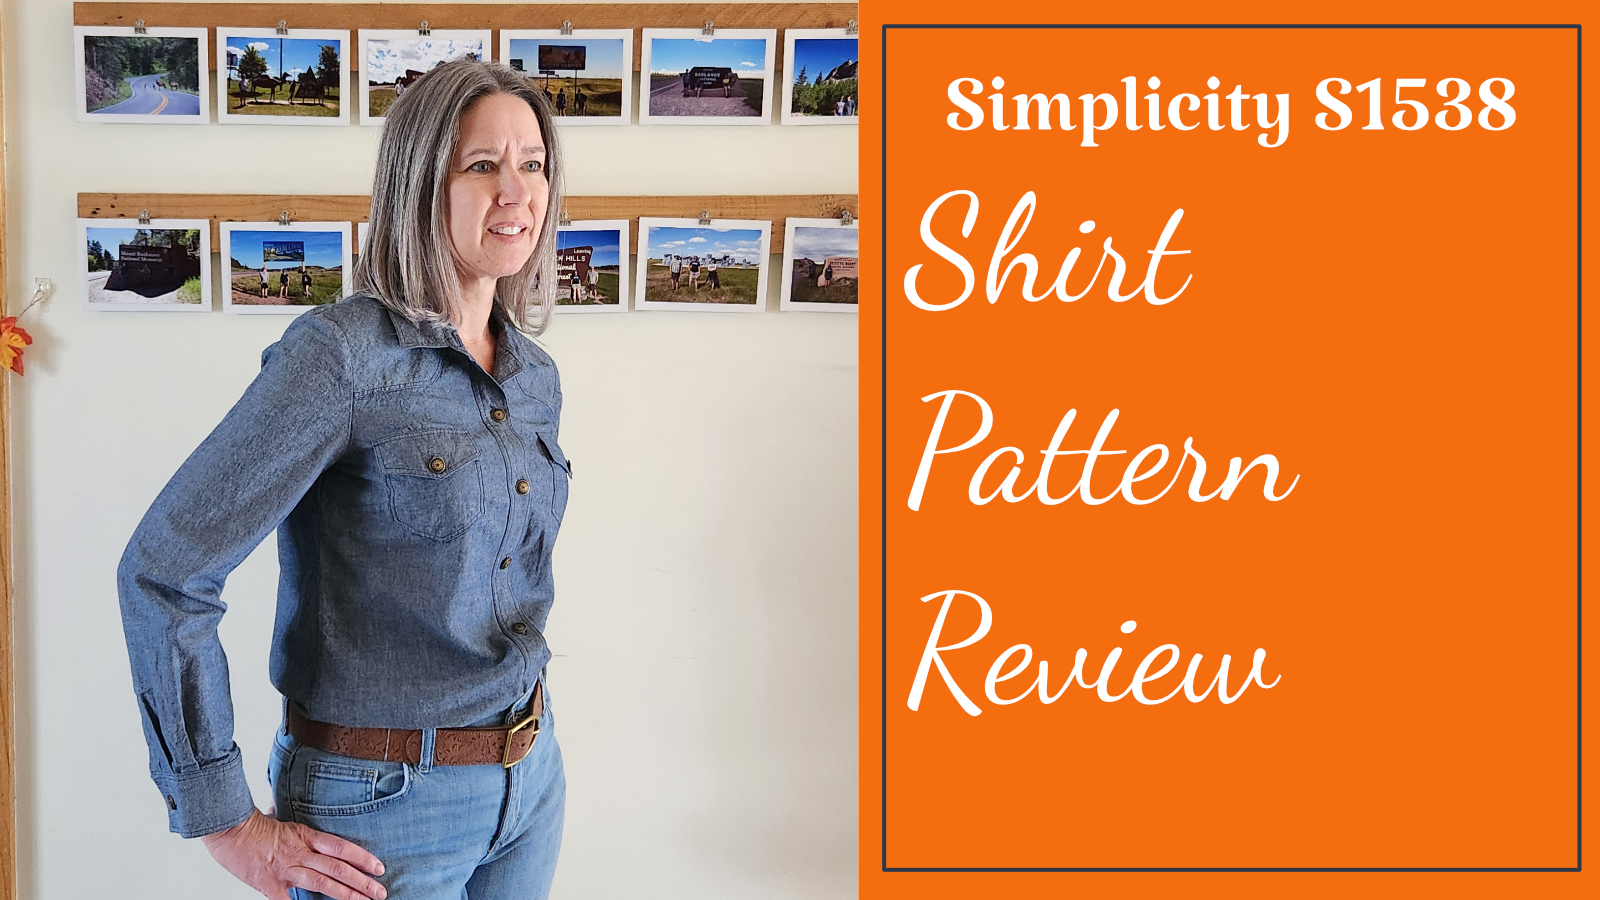
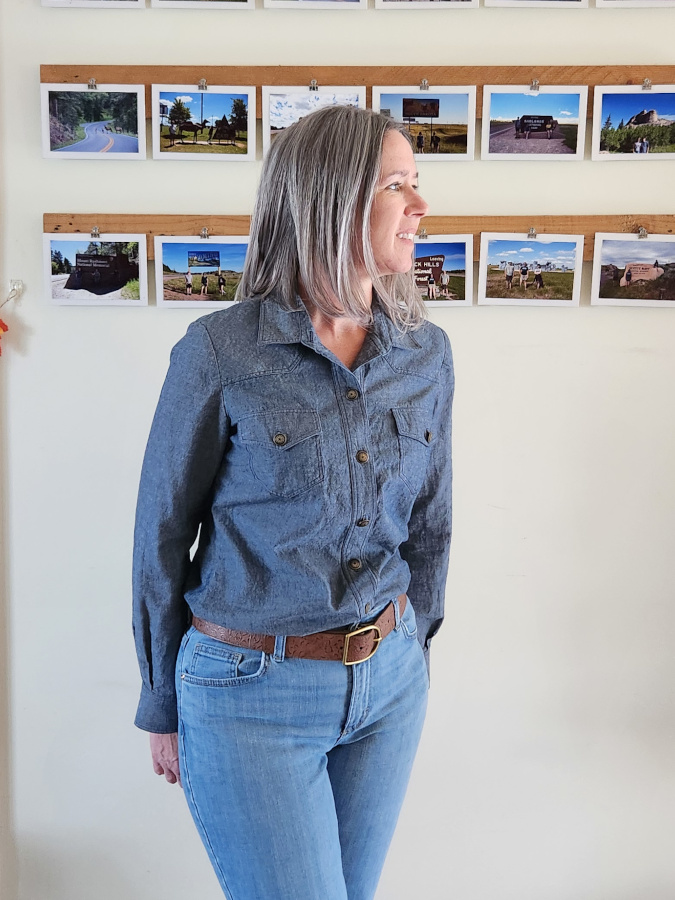
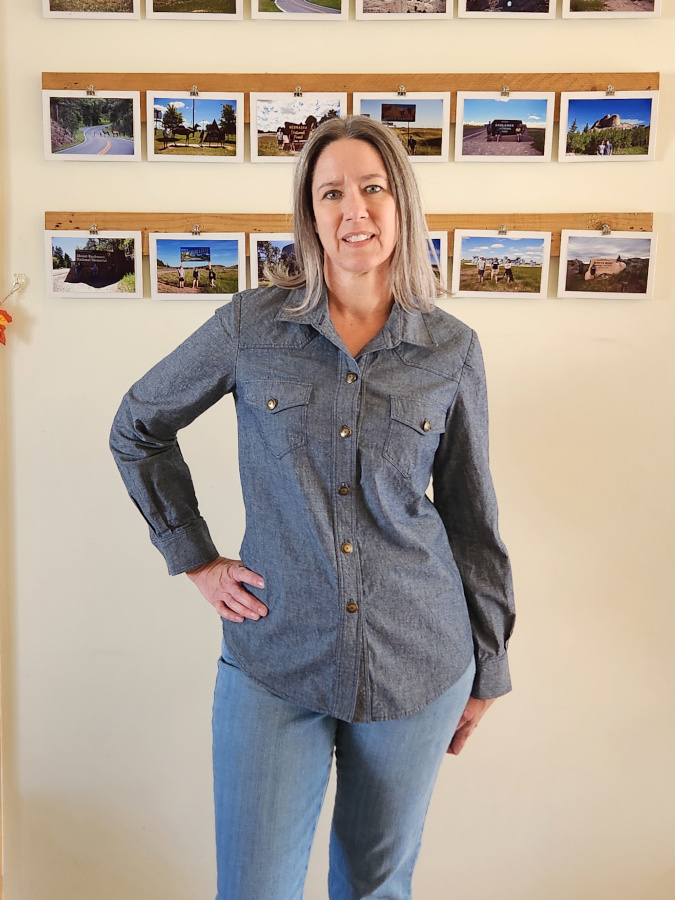
The fabric for the dark blue shirt was giving me Western vibes from the moment I got it, so I wanted to make a more Western-style shirt with it.
I made the shirt with the front yokes, but I did omit the studs recommended by the pattern.
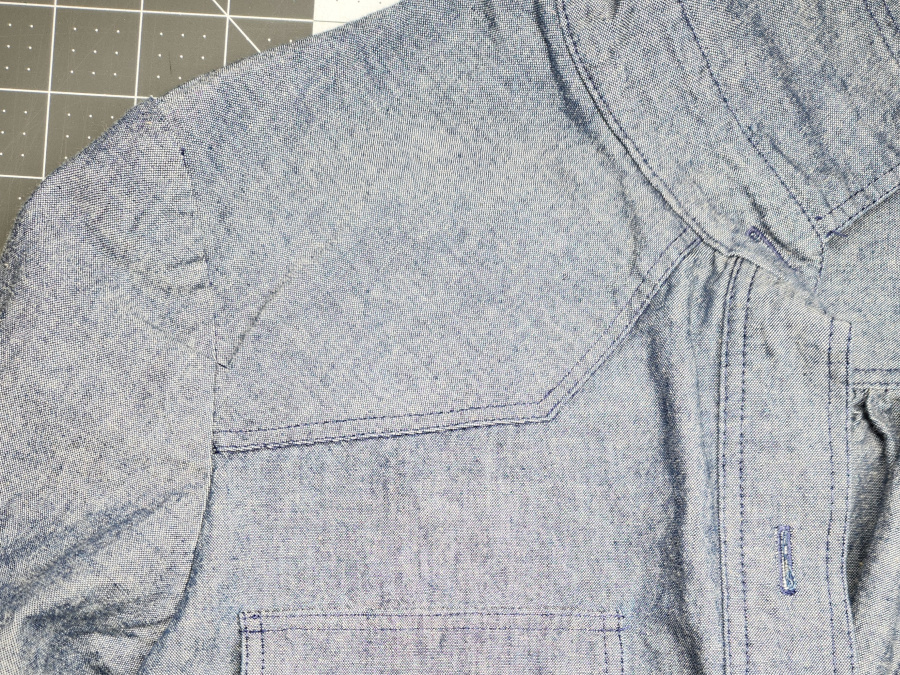
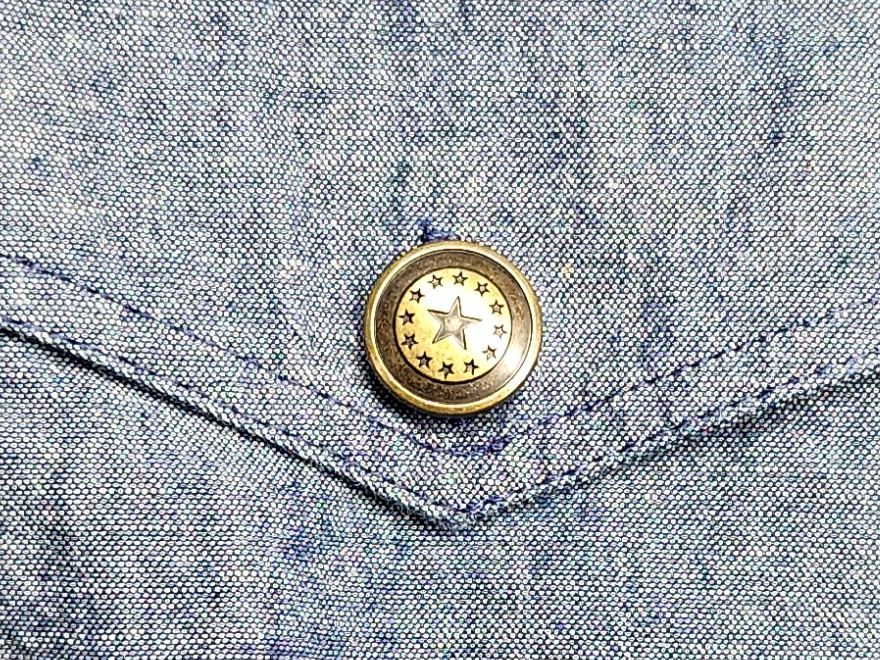
Most Western-style shirts are made with snaps instead of buttons, but I really like the look of these brass colors buttons with stars that I picked up from Hobby Lobby.
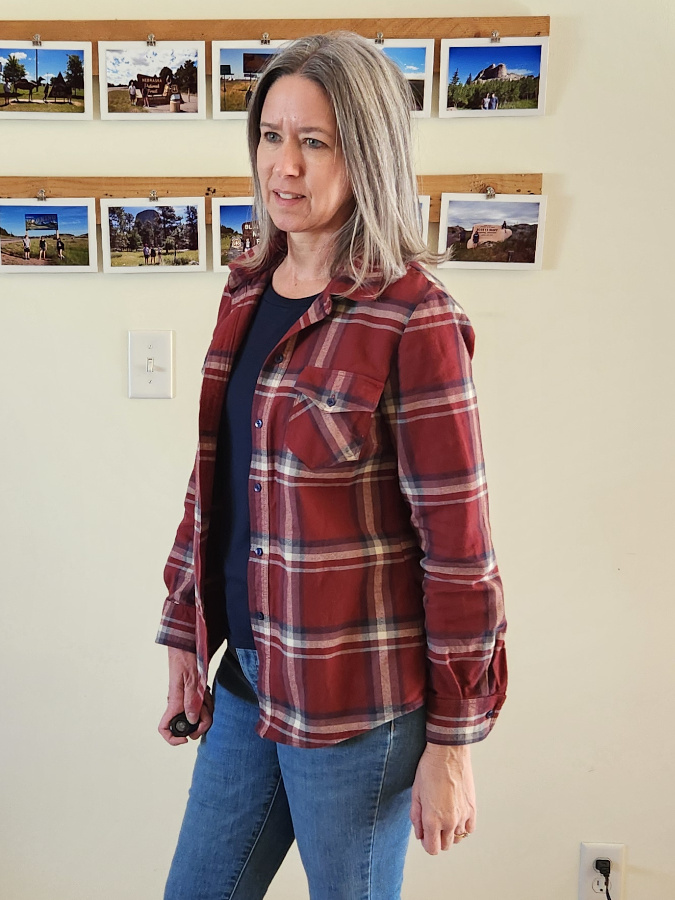
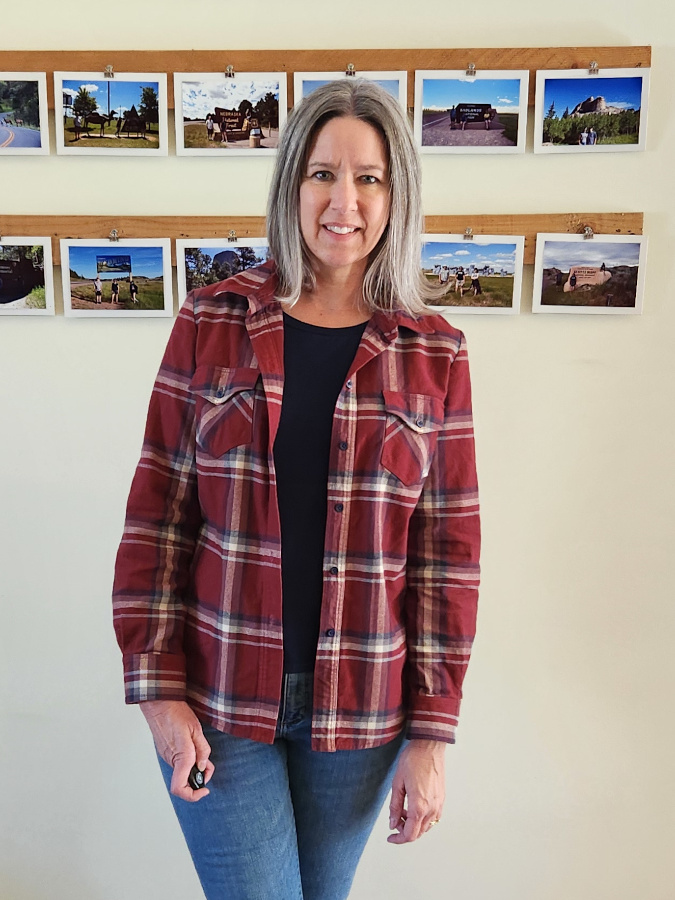
The flannel shirt is my favorite and the reason I bought this pattern. I love wearing flannel shirts casually as layering pieces, but I also like a more fitted silhouette. This burgundy plaid flannel I got from Cali Fabrics is an excellent weight and really soft. This has become one of my favorite shirts this fall, and I wear it at least once a week.
Will I Make This Pattern Again
Yes, in fact, I am working on a hacked version of S1538 to make a shirt with piping detail. I also plan to make more flannel shirts in the future, and this will be my go-to pattern.
Would I Recommend This Pattern
Definitely! If you are looking to make a simple button-up shirt with the option to add a little flair, this is a great pattern to have in your stash.
This pattern is part of my Me Made Wardrobe Plans – Fall 2024.
You can also learn about how I hacked a jacket pattern to make a tweed jacket inspired by an Ann Taylor Jacket.
Please share or save for later on Pinterest
Happy Sewing,
Kelly

