Making a DIY Hanging Valentine Pocket Heart – Sewing Project
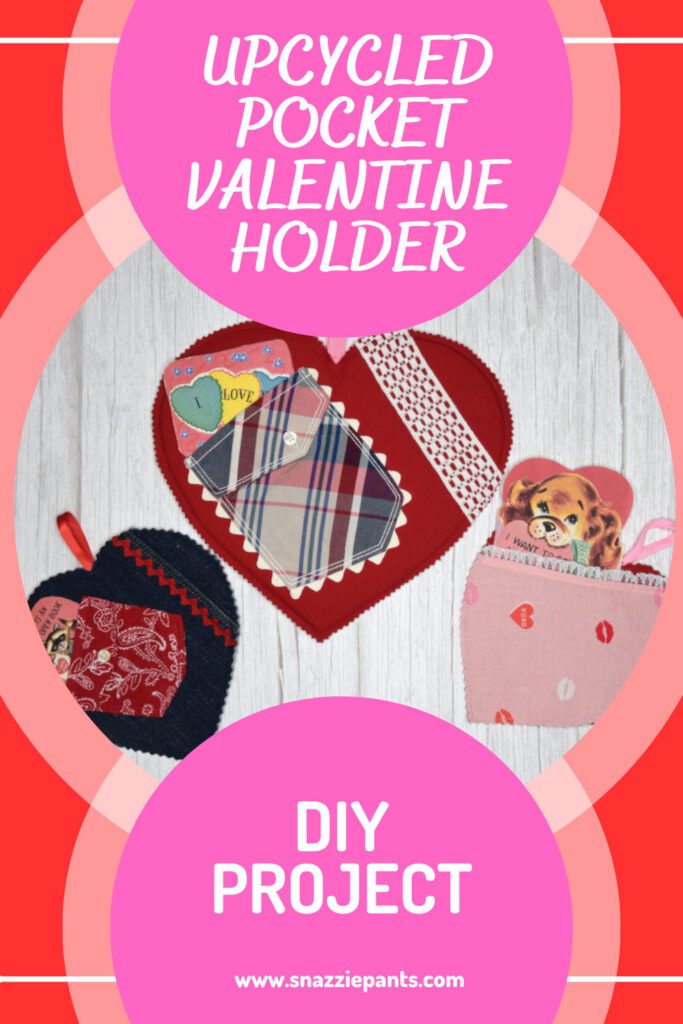
When thinking about what I could do with shirt pockets I came up with the cute hanging Valentine holders. Something perfect to hang up so your sweetheart can leave you a Valentine.
About the Materials
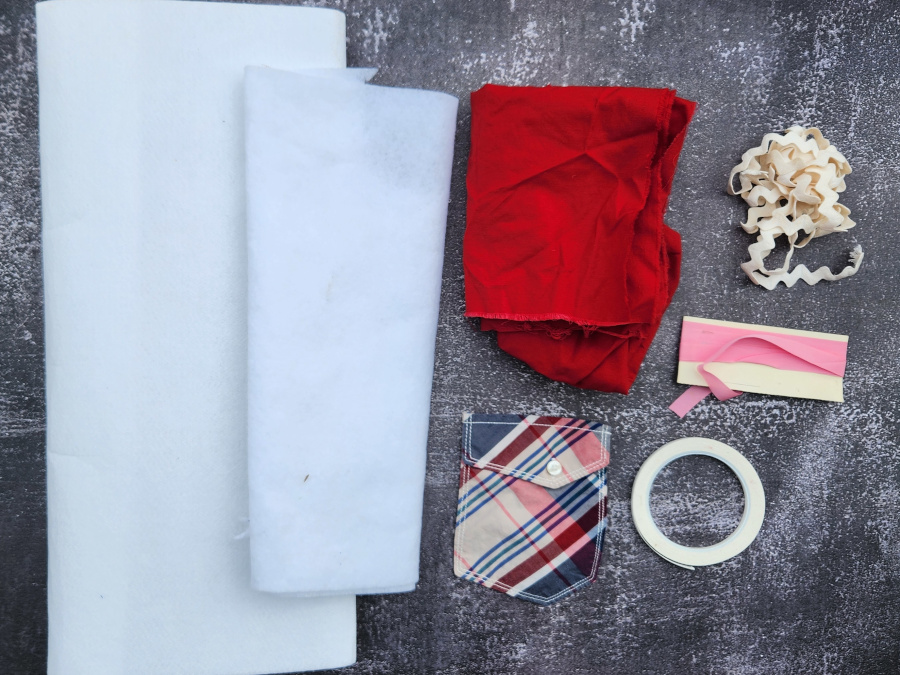
Pockets
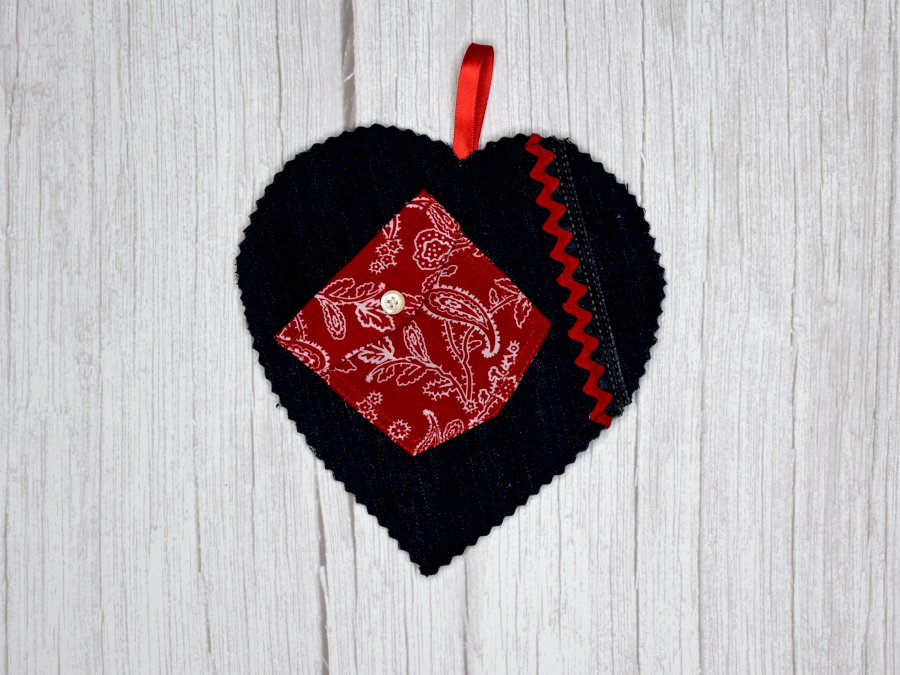
Two of the hearts are made with actual shirt pockets, one from a red and white women’s camp shirt and the other from a men’s button-up shirt. It just so happens that both of the pockets I picked for this project have flaps but any pocket would have worked.
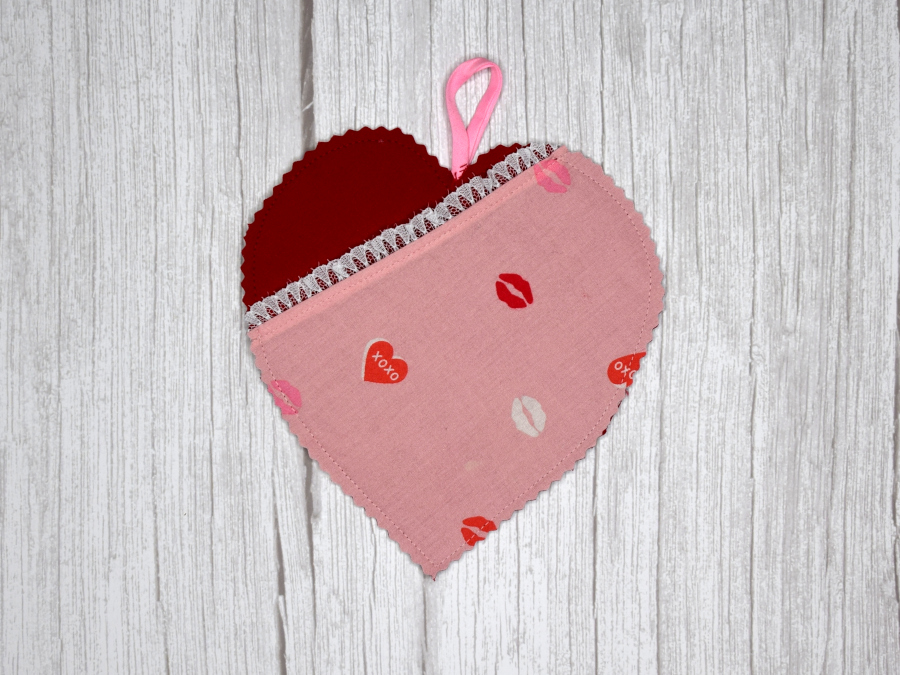
The other heart pocket is made from a shirt I recently found at the thrift store and, since it was Valentine’s themed I thought it was perfect for this project and more. This shirt didn’t have a pocket so I improvised.
Other Fabric and Trimmings
The red fabric is some quilting cotton I had in my stash. The denim is from an old pair of jeans I have been holding on to to upcycle. All the trimmings are from my stash, a lot of it I inherited from my husband’s grandmother.
Interfacing
I also used Pellon 72F Peltex Two-Sided Fusible Ultra Firm Stabilizer. This is a thick double-sided interfacing, meaning it’s fusible on both sides and Pellon 987F Fusible Fleece.
If you would like to learn more about interfacing check out this post: Mastering Bag-Making Interfacing: Tips and Top Brands
Other Materials
To help me hold some things down I used 1/4″ double-sided wash-away tape made for sewing.
Making the Large Heart
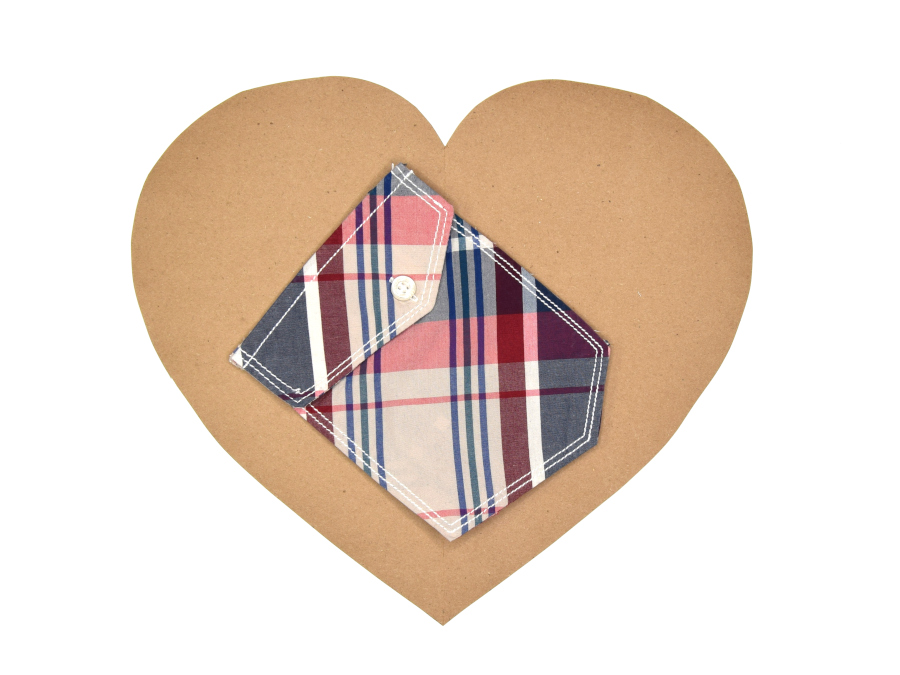
First I figured out my heart shape and size by cutting it out of a piece of paper. I laid the pocket on the heart to make sure it would fit. Surprisingly I got it the way I wanted on the first try.
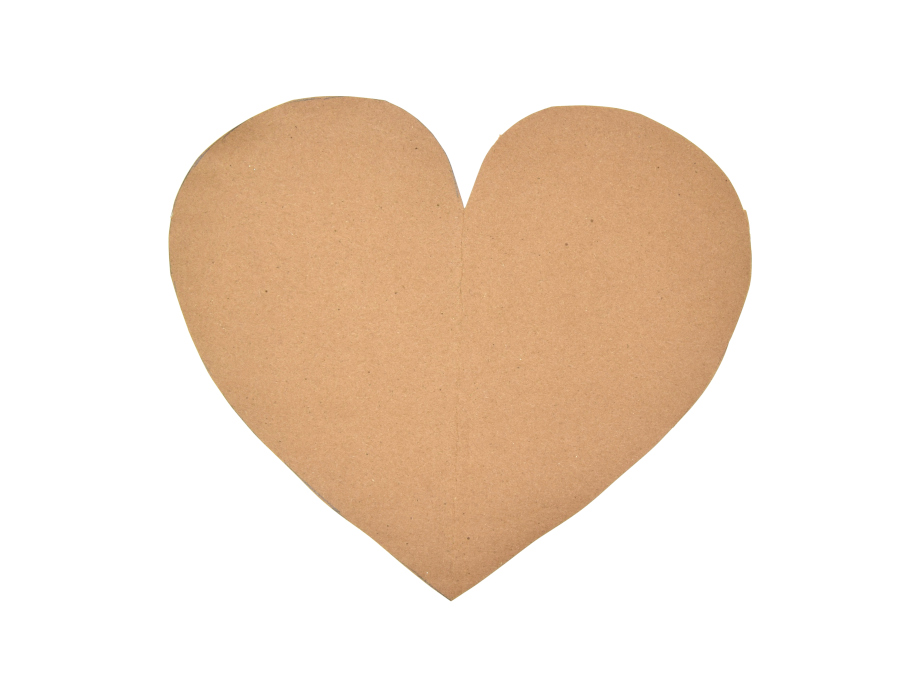
I used the paper template to cut out my fabric pieces and a piece of Ultra Firm Stabilizer.


I then traced the heart shape onto another piece of paper and reduced the outer perimeter by .25″.
I used this to cut out two pieces of Fusible Fleece.

I secured the two pieces of fusible fleece onto the two red hearts leaving a .25″ seam about the perimeter.

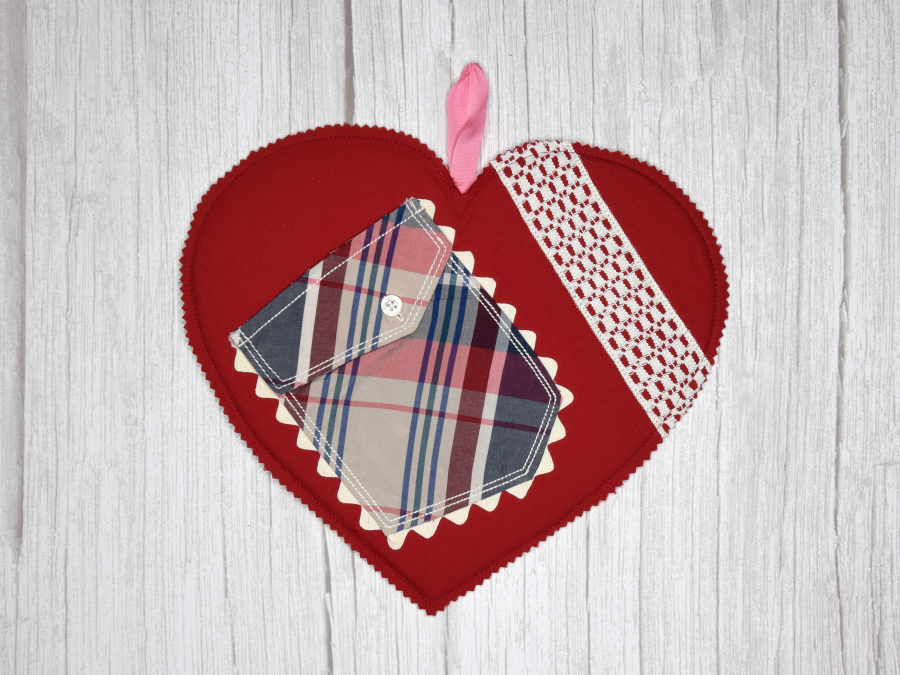
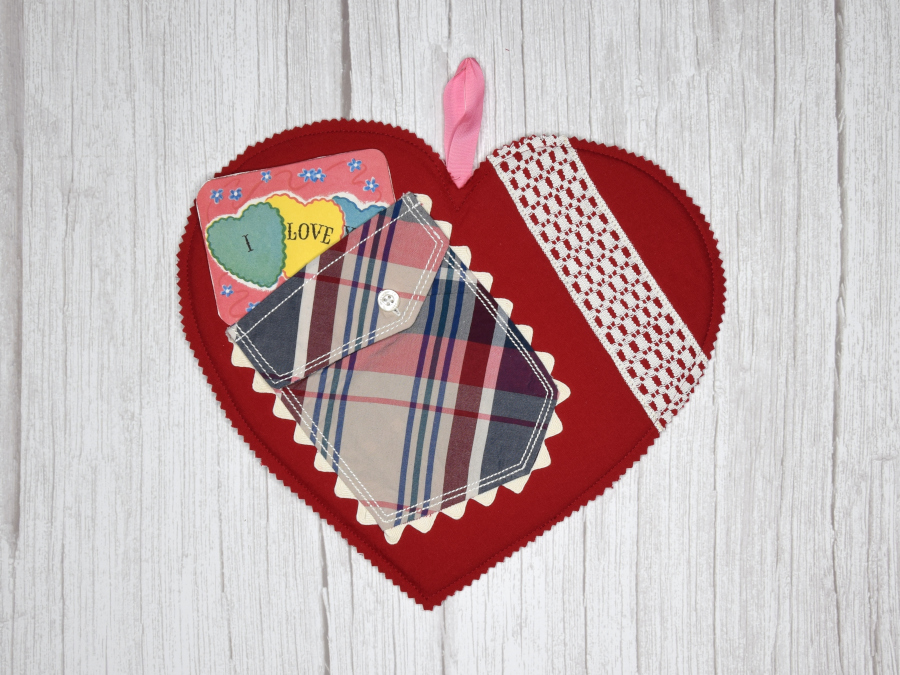
I positioned the pocket on one of the fabric heart pieces until I found a location I liked to see how it looked. Then I decided I wanted to dress the pocket up so I added some ric rac around the pocket. I used the double-sided tape to help me keep the ric rac in place.
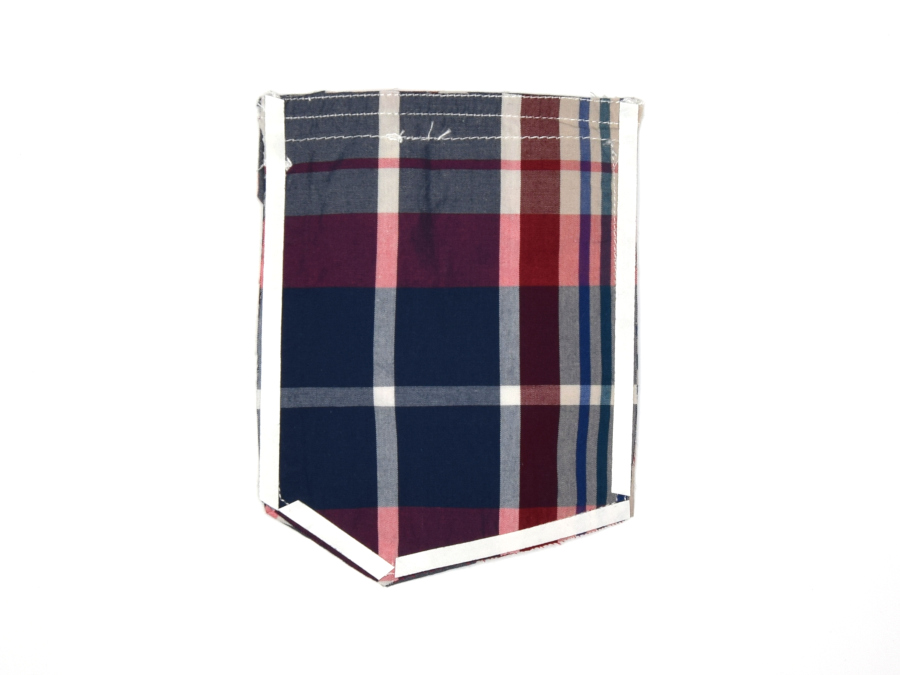
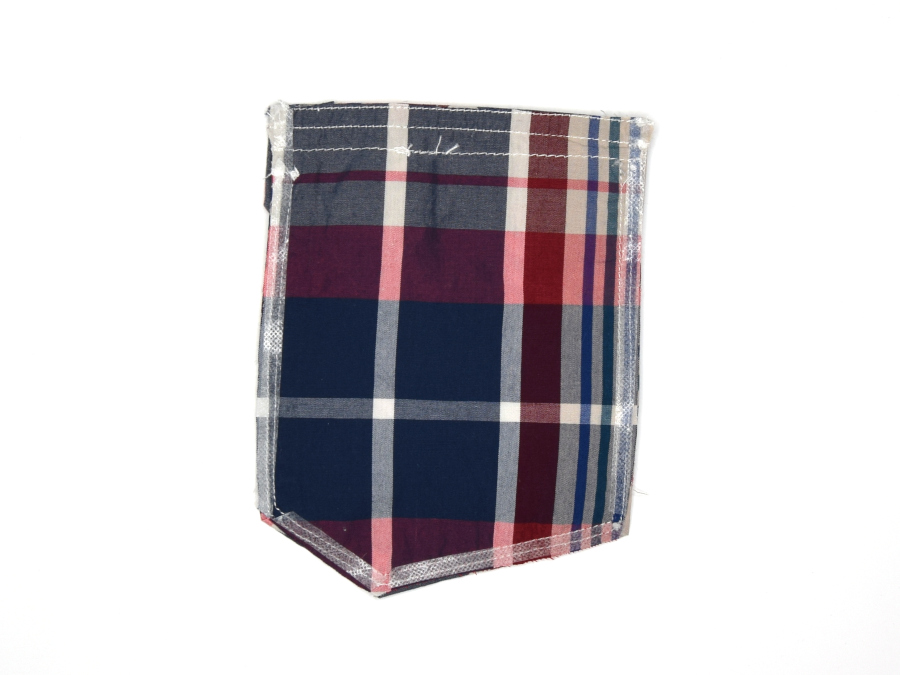
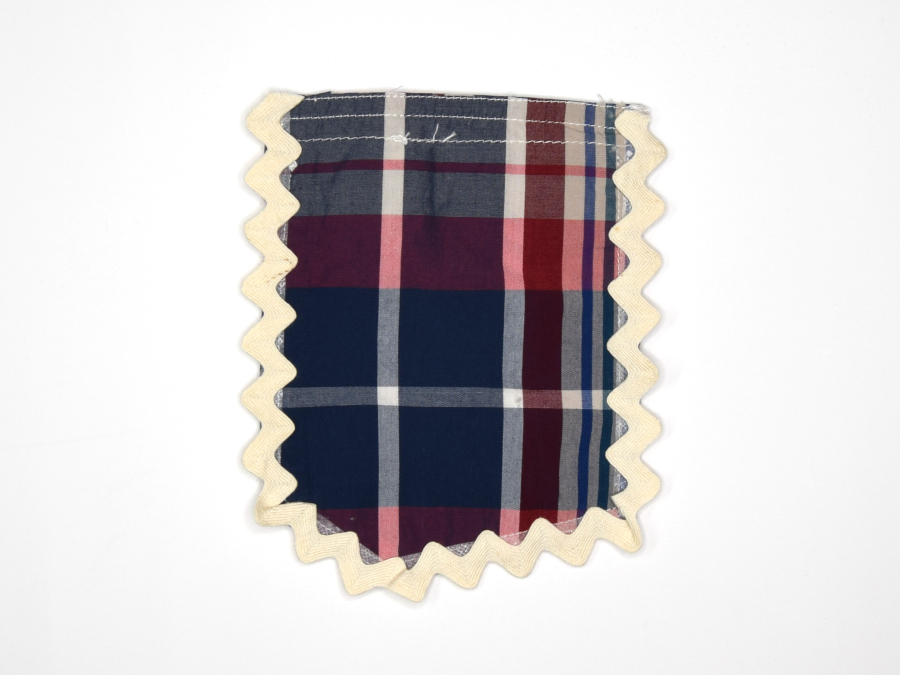
I then added more tape to the sides and bottom of the pocket, laid it in place, and sewed it down. Even though the pocket has a flap I decided that it would be easier to leave the top open as the actual Valentine pocket.
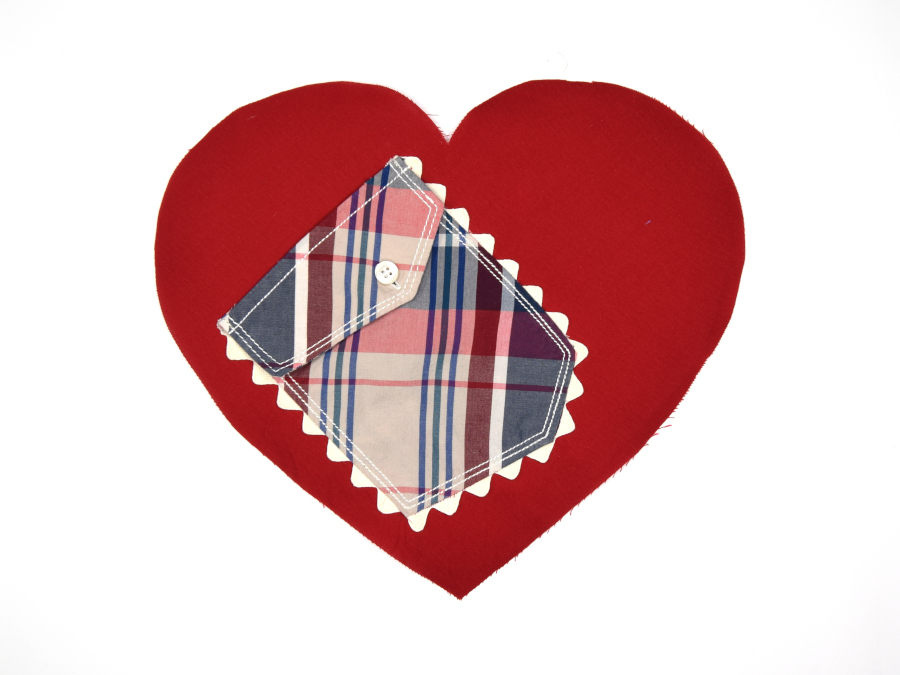
At this point, I felt like the other side of the heart looked a little bare so I added a strip of lace. To hold the lace down I cut a strip of the double-sided tape in half lengthwise and used it on the edges of the lace.

I added a piece of ribbon, for hanging, on the top.
I sandwiched the Ultra Firm Stabilizer between the two fabric hearts and iron pressed on both sides.
I top-stitched around the perimeter of the heart.
To ensure the edges don’t fray I trimmed around the heart with pinking shears being careful to not cut off the hang ribbon.
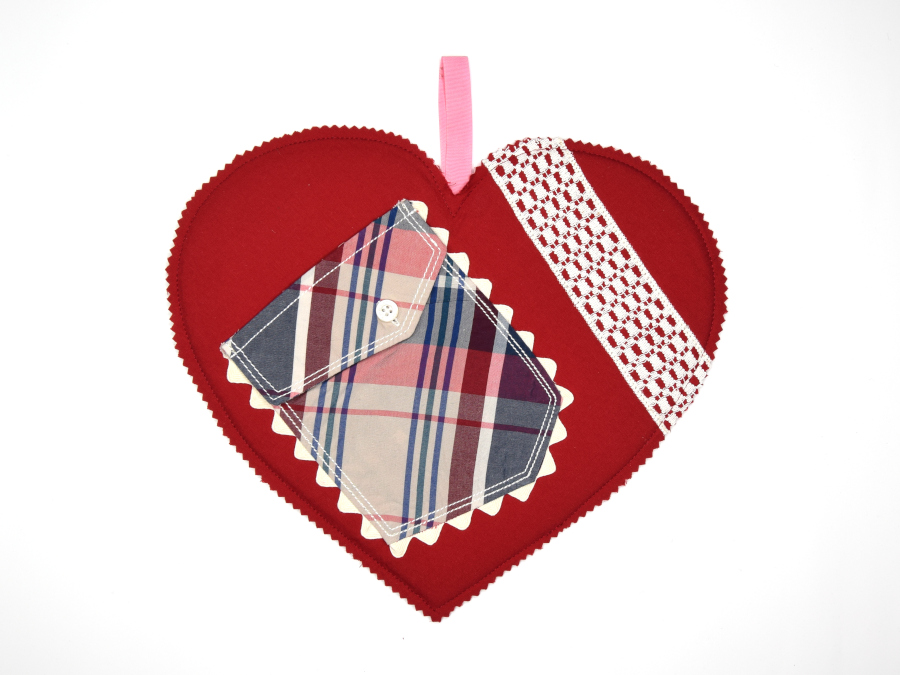
There you have it! I now have a cute heart for my sweetheart to put a Valentine’s card in.
After making the large heart I decided to make a couple of smaller ones.
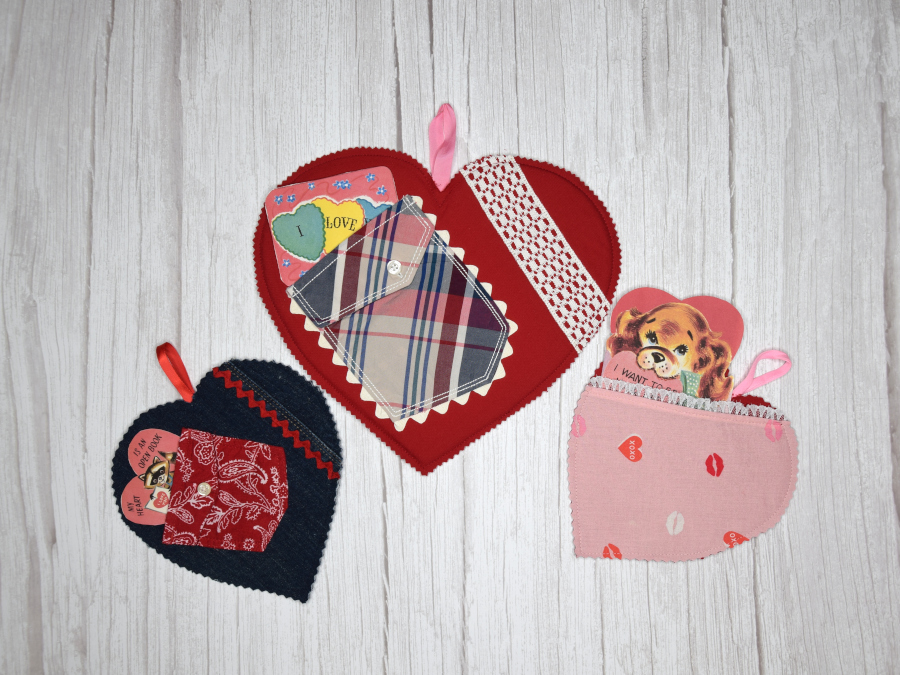
If you are interested in my vintage-looking Valentines, they are printables I got from The Graphics Fairy. They have many free images but some do require a paid subscription.
So what do you think?
What’s your favorite Valentine’s sewing project?
Happy Sewing,
Kelly
Please save for later on Pinterest
