Let’s Make a Travel Sewing Kit From an Upcycled Shirt Cuff
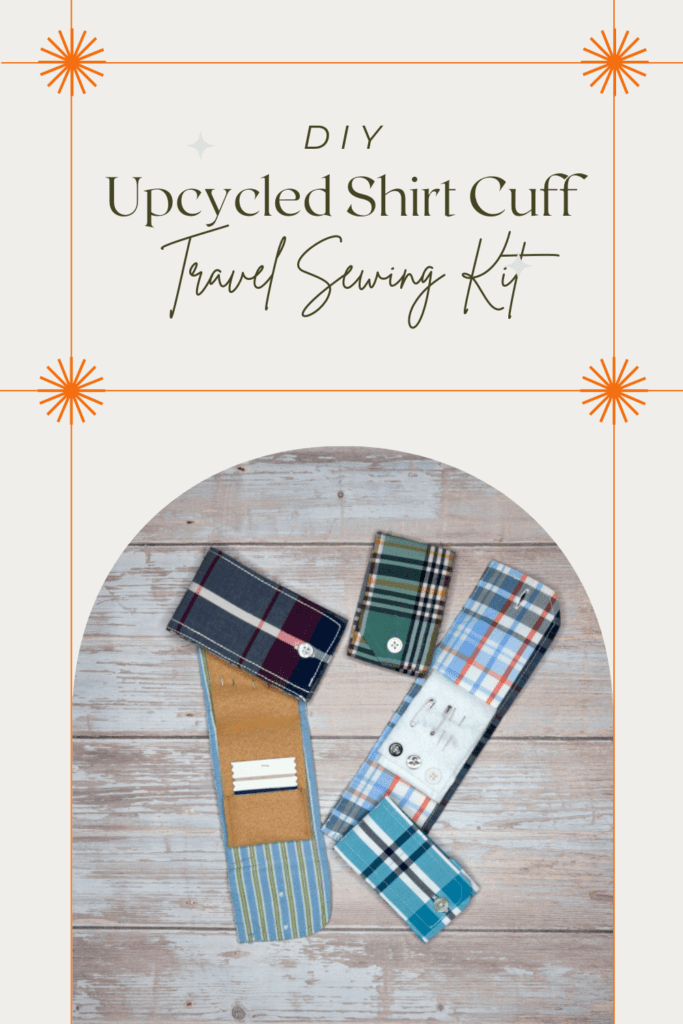
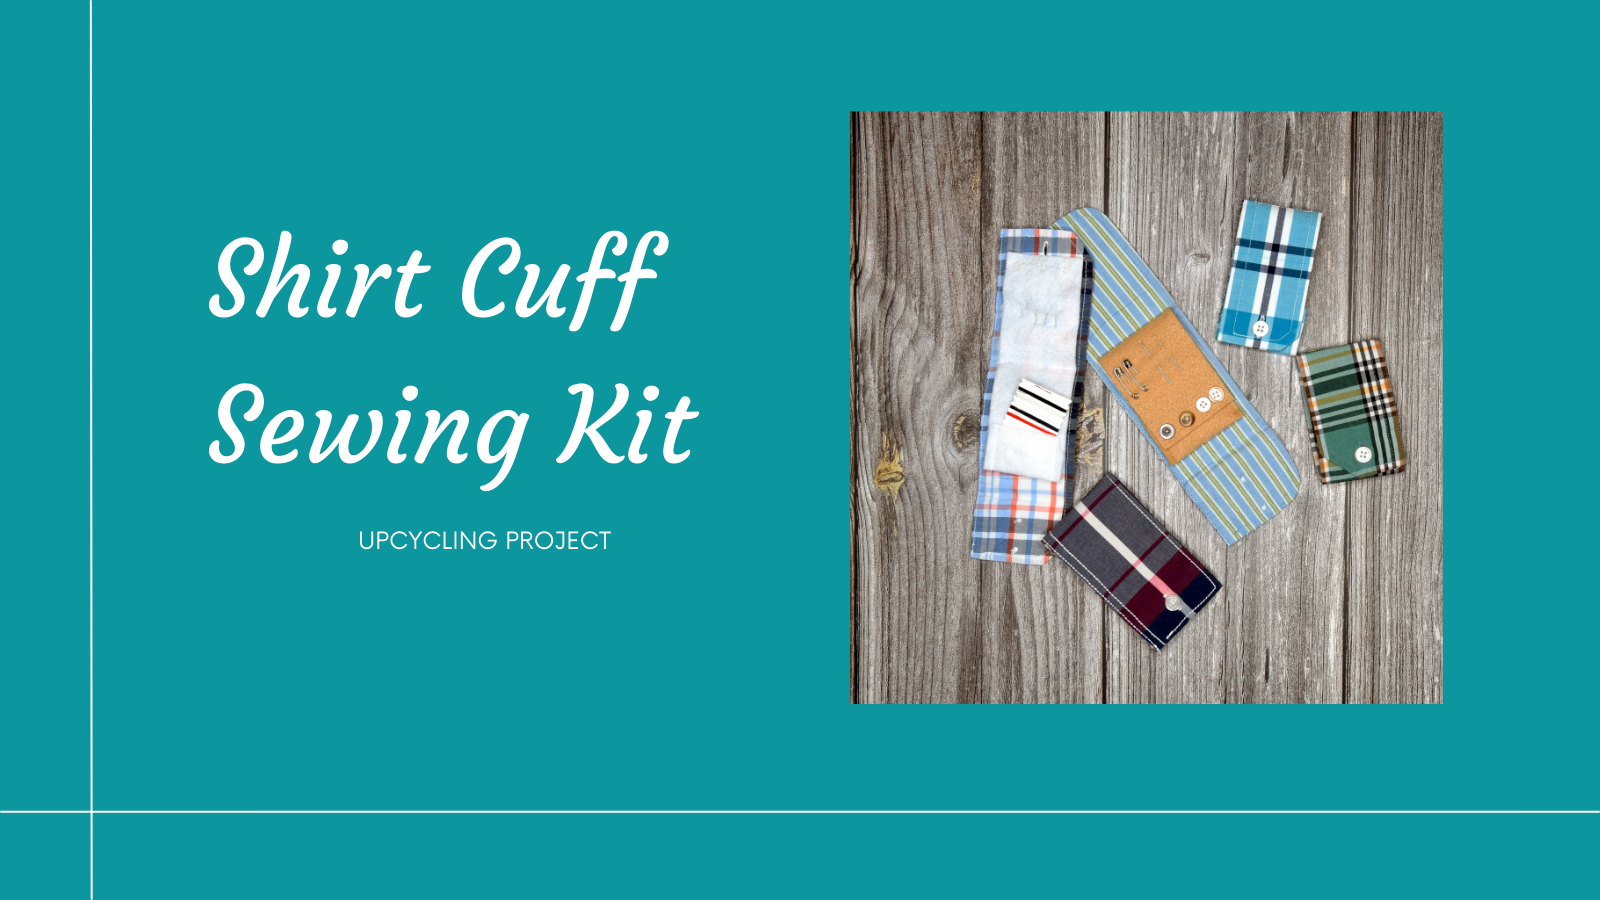
In this post, I’ll walk you through how I made travel sewing kits out of a shirt cuff.
If you would like to learn about other ways to upcycle shirt cuffs check out these posts:
Cup Cozy From Shirt Cuff – Upcycle Tutorial
Upcycled Shirt Cuff Notebook Pencil Holder – Tutorial
Making the Case
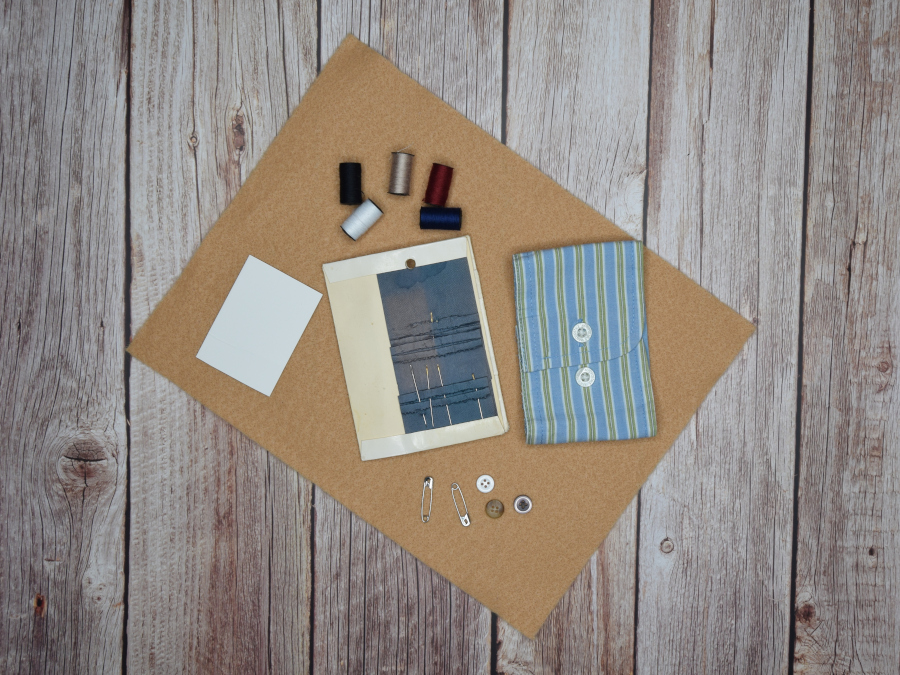
I removed the cuff from the shirt sleeve, cutting as close to the cuff as possible. The width of the cuff will affect the width of the sewing kit, so a narrow cuff may not be the best option. Here I used a wider cuff but I did try some with a more narrow cuff.
I tried to press the cuff flat to remove any creases so I could start fresh.
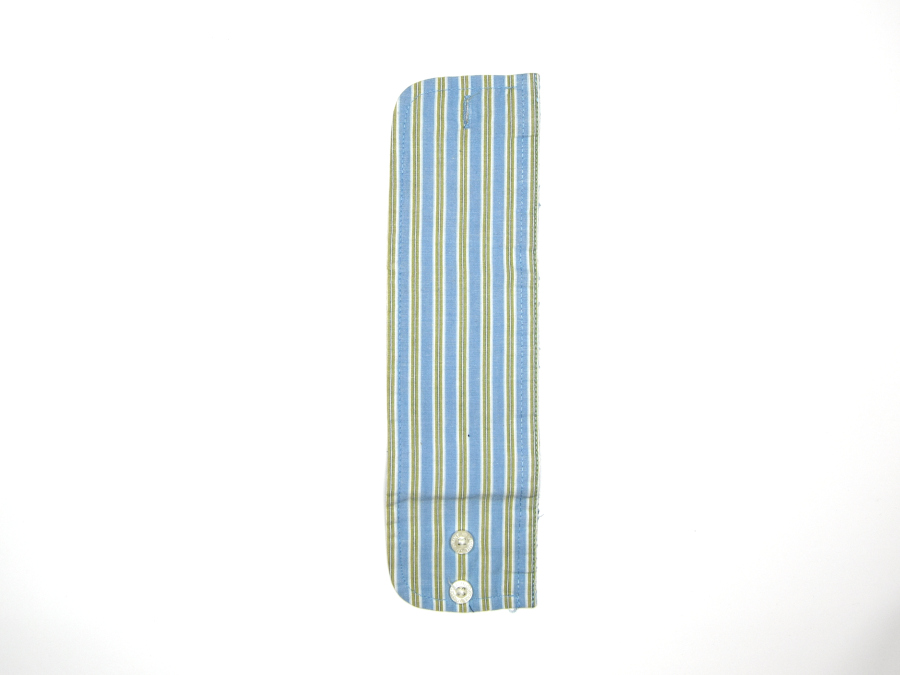
I buttoned the cuff closed just like you would if it was on a shirt. Most of the cuffs I worked with had two buttons. I decided to use the second button.
I lined up the closed cuff so it would open from the bottom like a book of matches. Once I got everything lined up I pressed it.
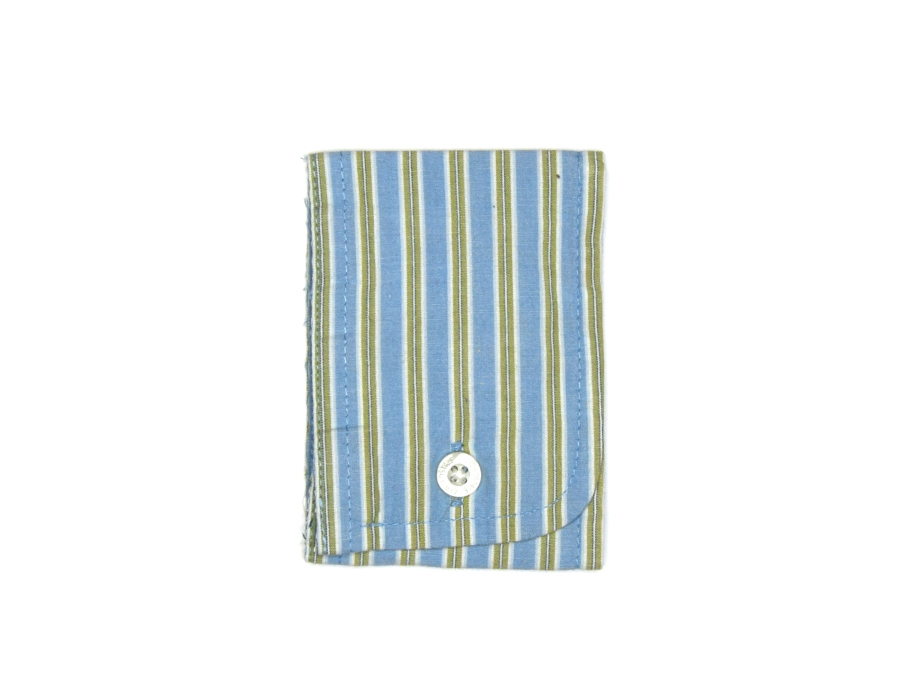
I measured the width and length with the bottom folded up to see how long and wide I should cut my felt piece.
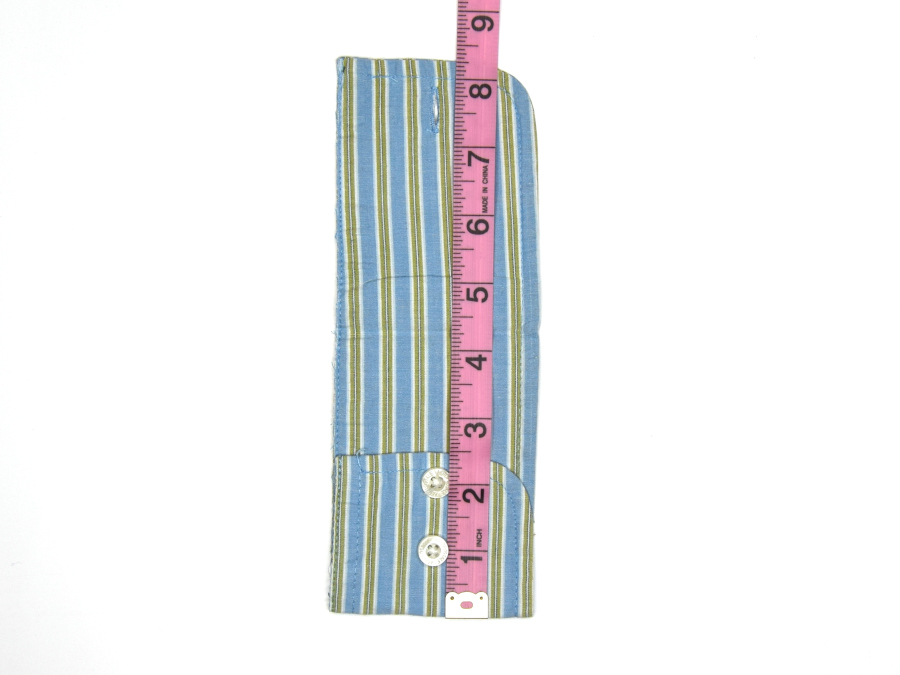
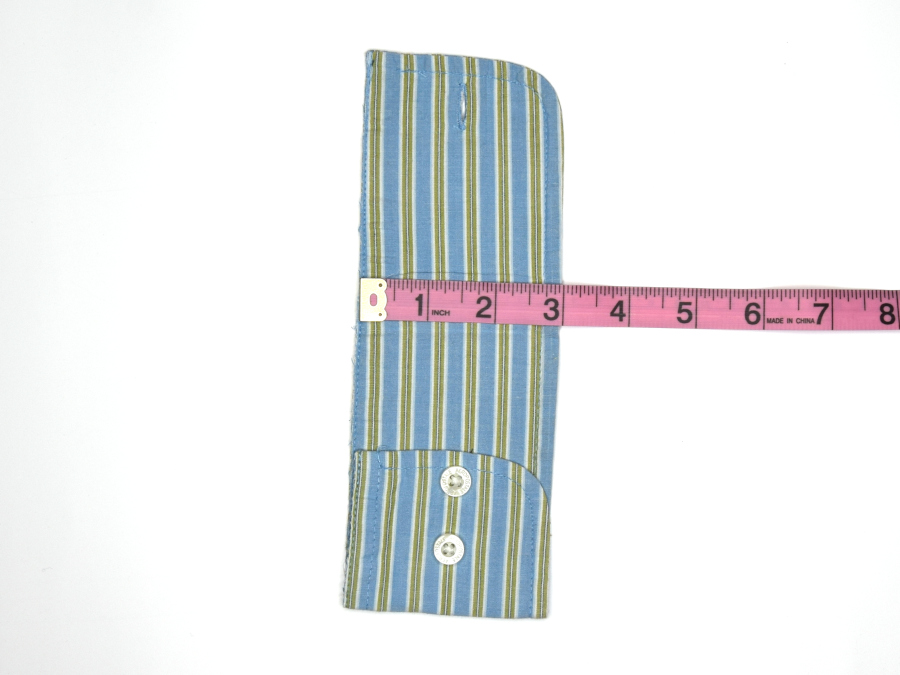
For the length of my felt piece, I measure the length of the cuff and add .5″. For the width I measure the width of the cuff and subtract .5″. For this case, my felt piece will be 8.75″ x 2.5″
To make the pocket I folded one end of the felt up 1.5″ and sewed the sides using a narrow hem stitch.
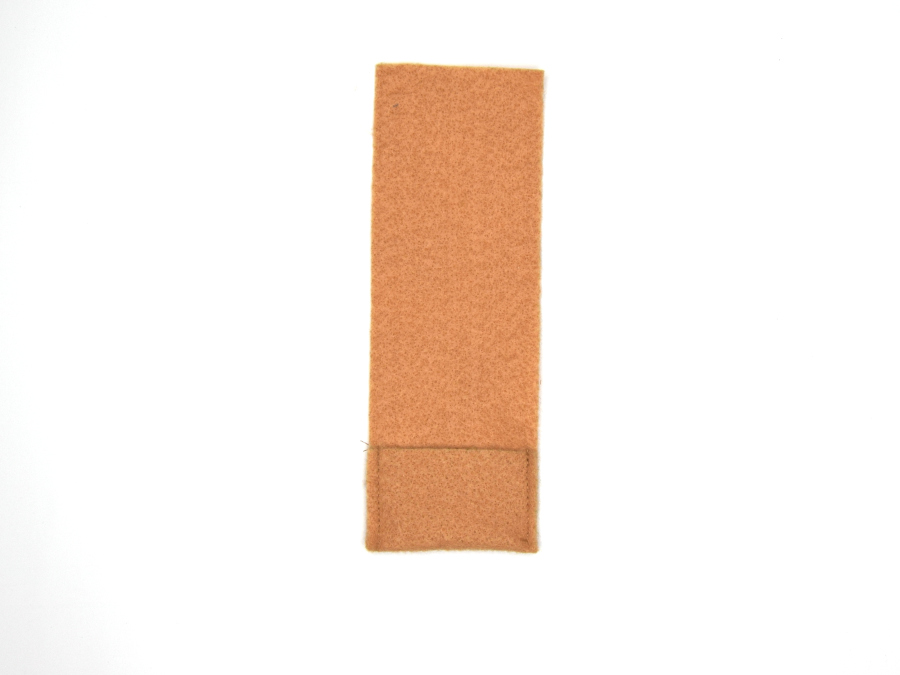
Next, I folded the felt in half and marked the center.
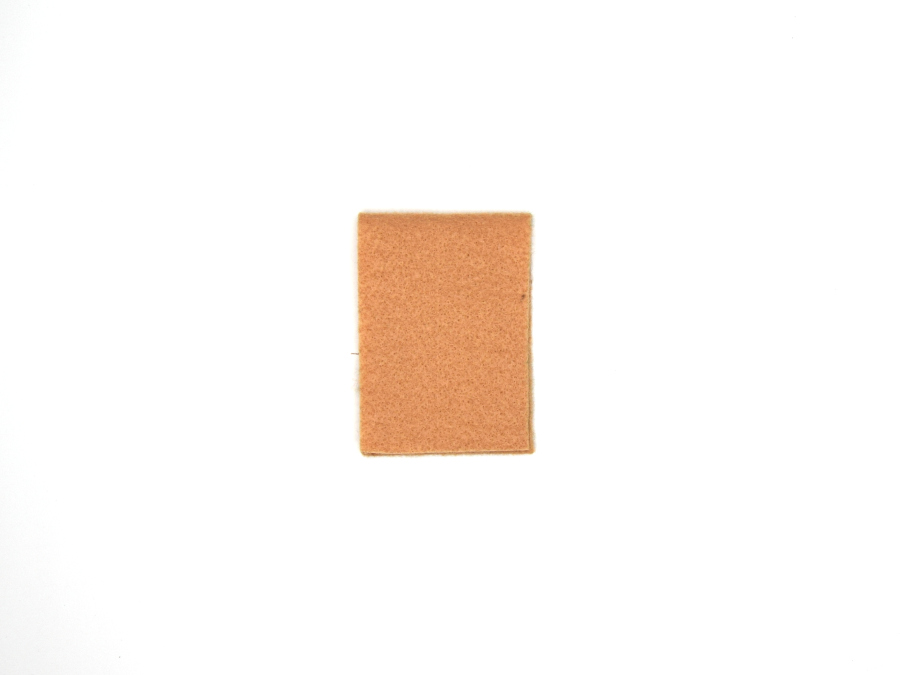
I placed the felt on top of the inside of the cuff matched the folded centers and made sure the felt was centered horizontally as well.
I sewed the felt to the cuff at the center fold.
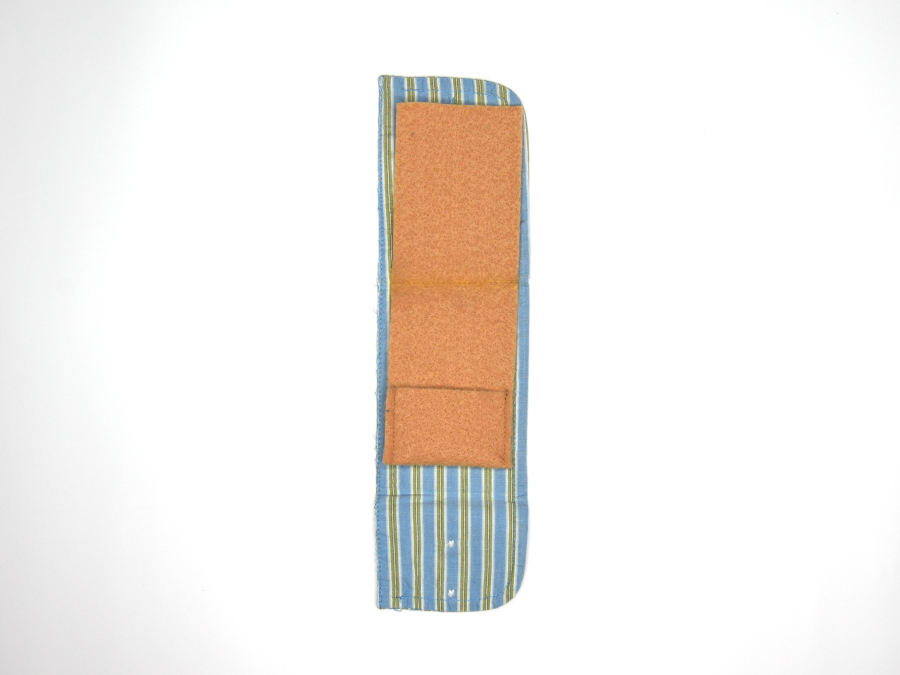
Making the thread holder
I cut a piece of poster board to fit inside the felt page pocket. I measure between the side seams on the pocket and cut my piece a little smaller (around .5″ less). You can make the thread holder as long as you want as long as it will fit in the case when closed. I’m going to make mine 2″ x 2″
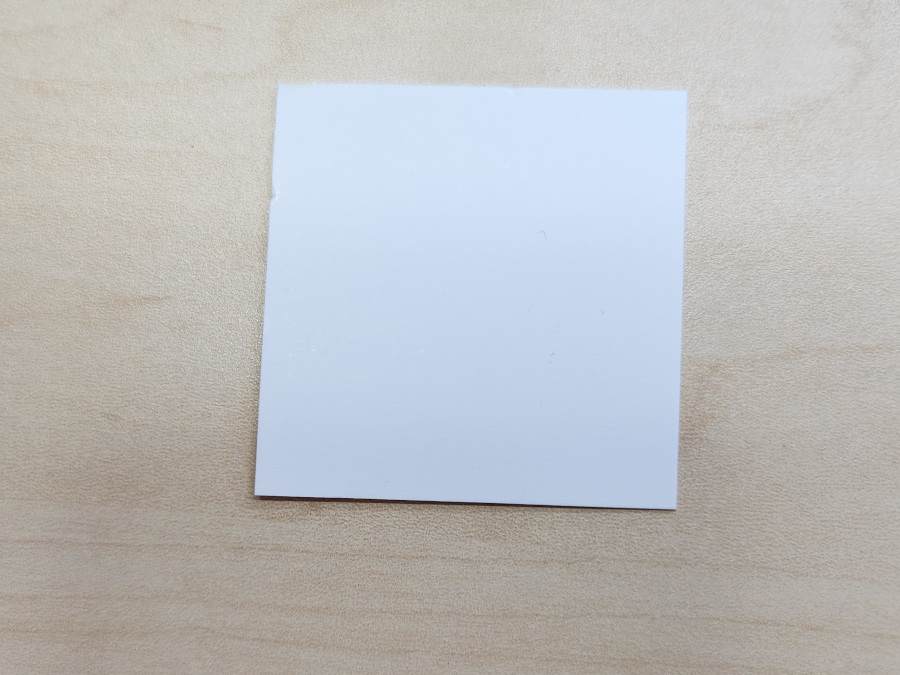
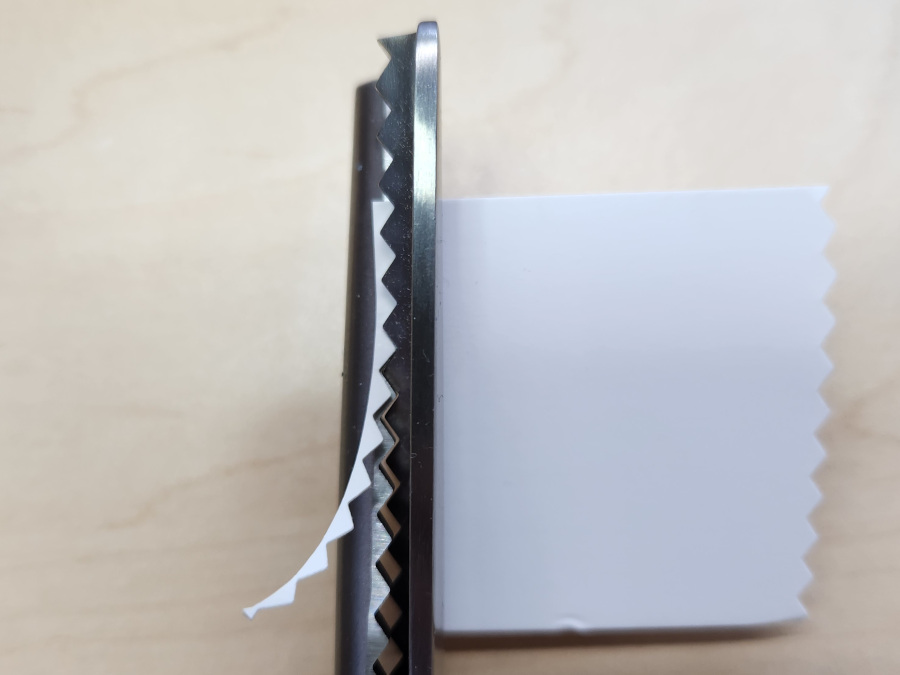
Using a pair of pinking shears I cut very close to the sides to create grooves for the thread.
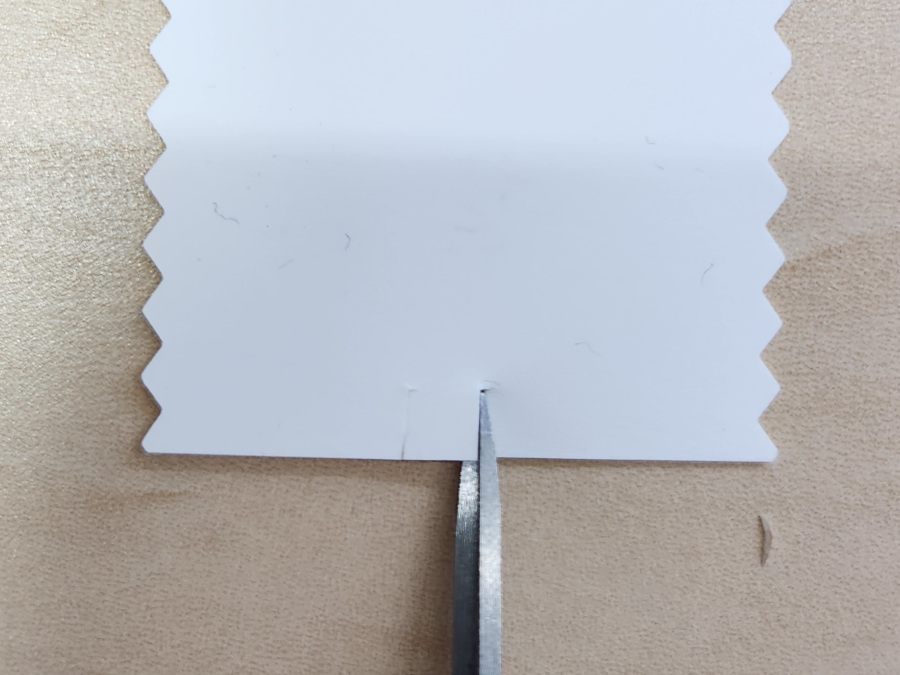
I cut 2 small slits on each end of the thread holder.
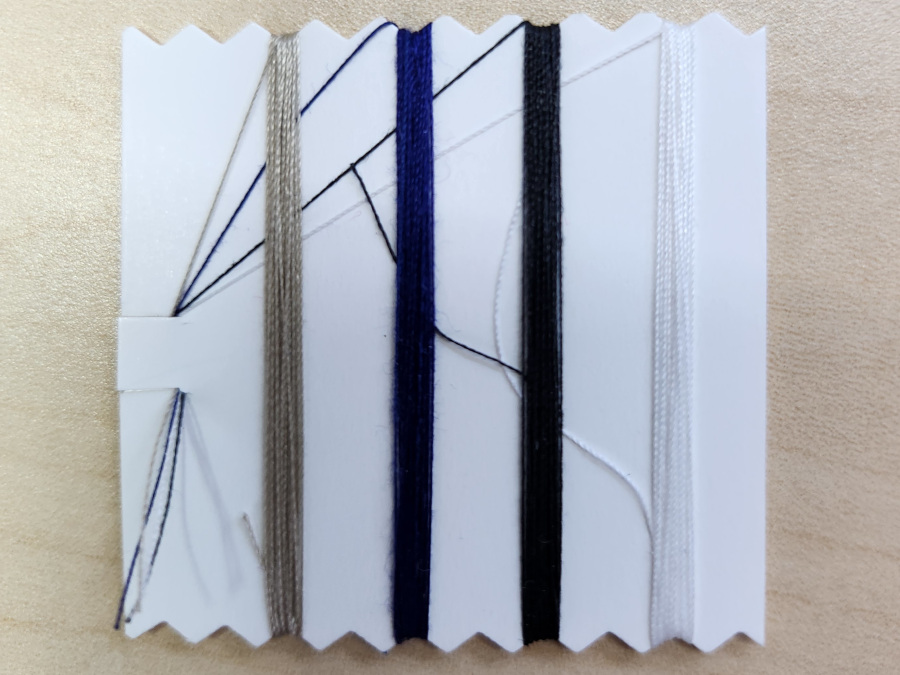
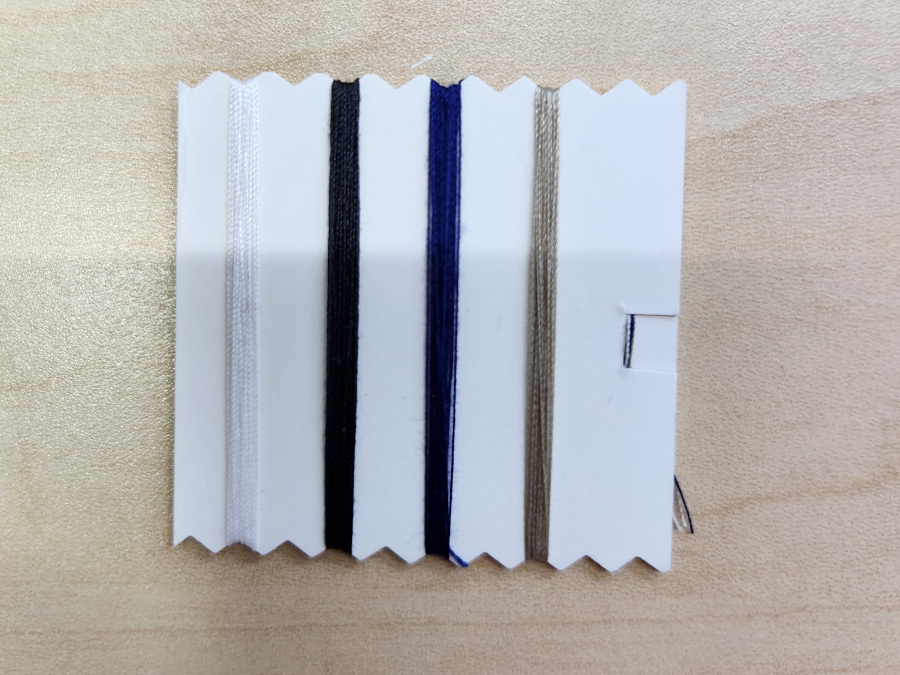
I picked out some thread colors that I thought would be useful in a sewing emergency and wrapped each around the board within the grooves I made with the pinking sheers.
After each color was wrapped, I secured the loose end into the small slits I cut earlier.
Adding Buttons, needles, and pins
I dug through my massive button stash and found four buttons to add to the sewing kit. I loosely sewed the buttons onto the outside page.
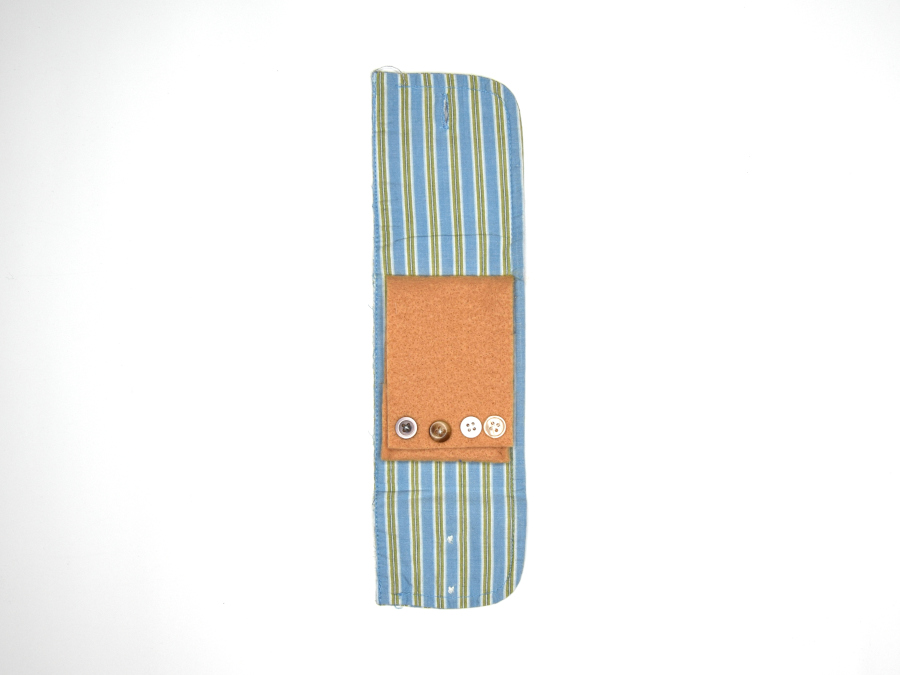
I also secured a couple of needles and safety pins to the outside page.
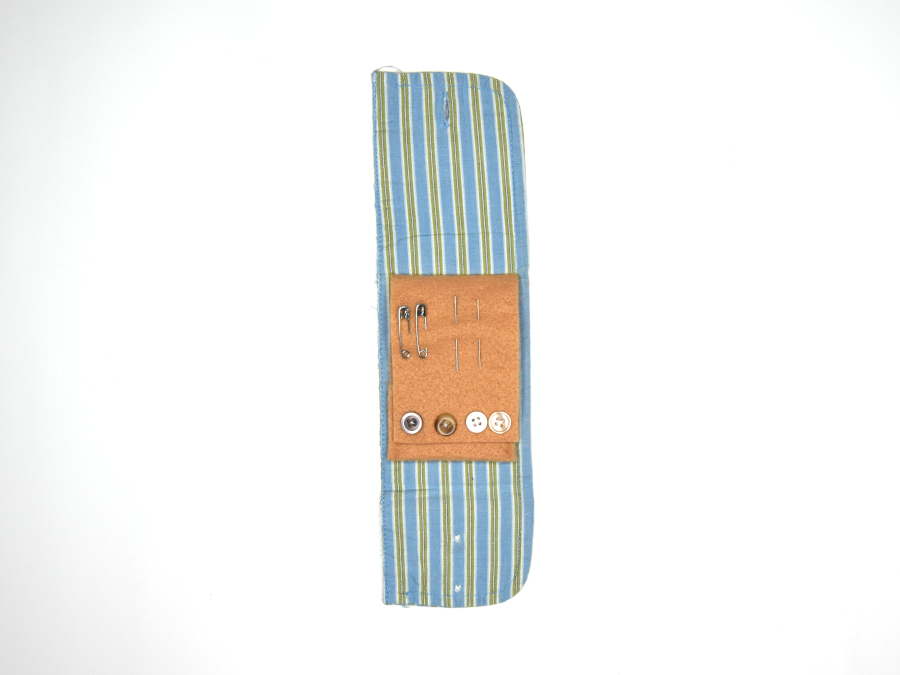
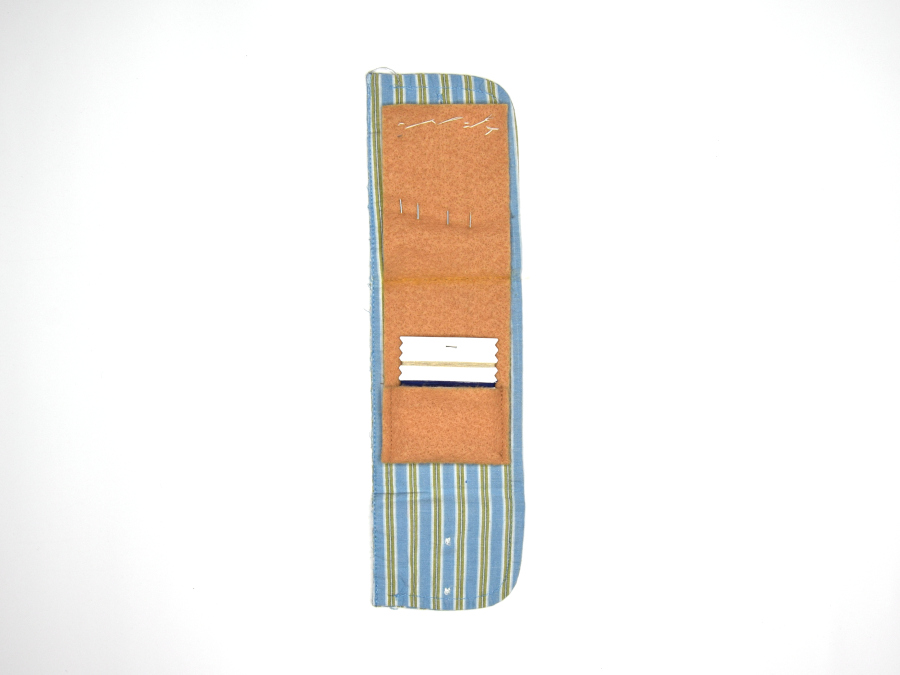
That’s it! I now have a unique, functional sewing travel sewing kit.
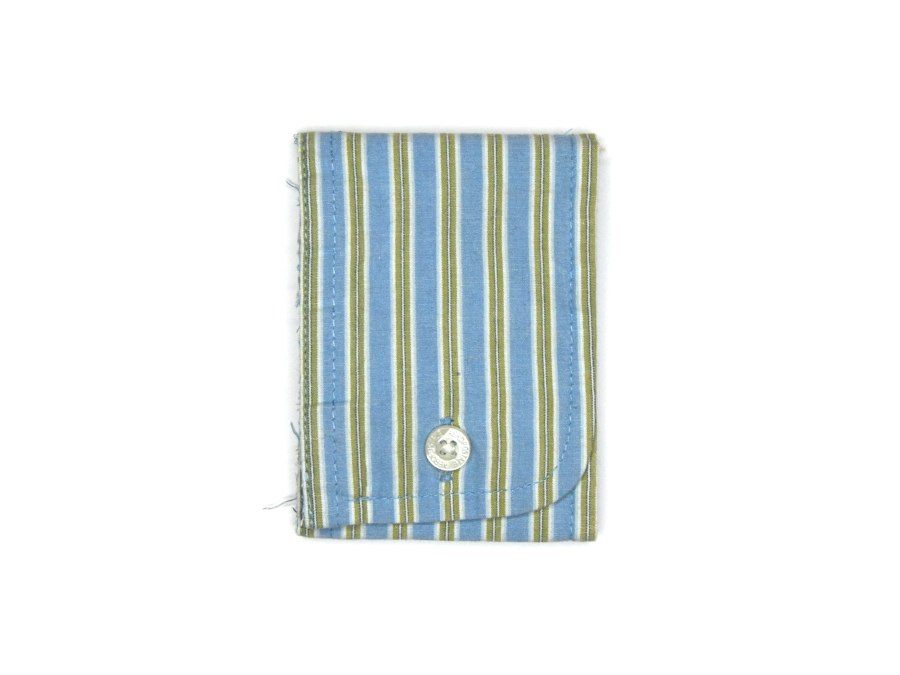
I think I could add another page with a pocket for small scissors or thread snips.
I also think this project could be used to make a small first-aid kit with bandages and a tube of ointment.
What shirt cuff upcycle ideas do you have?
Happy Sewing!
Kelly
Please save it for later on Pinterest.
