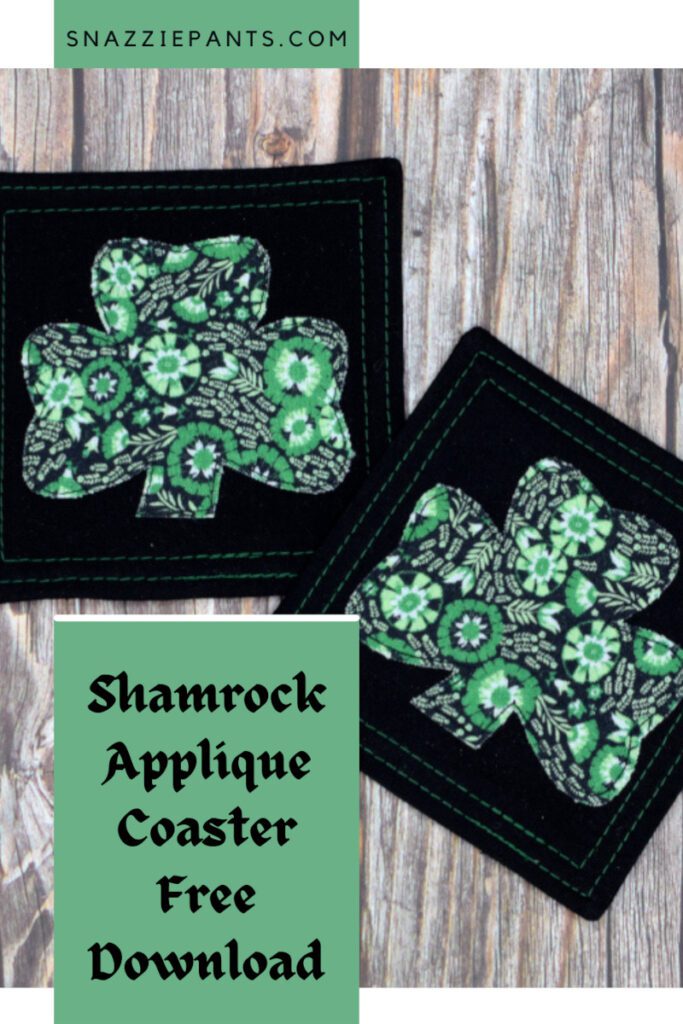
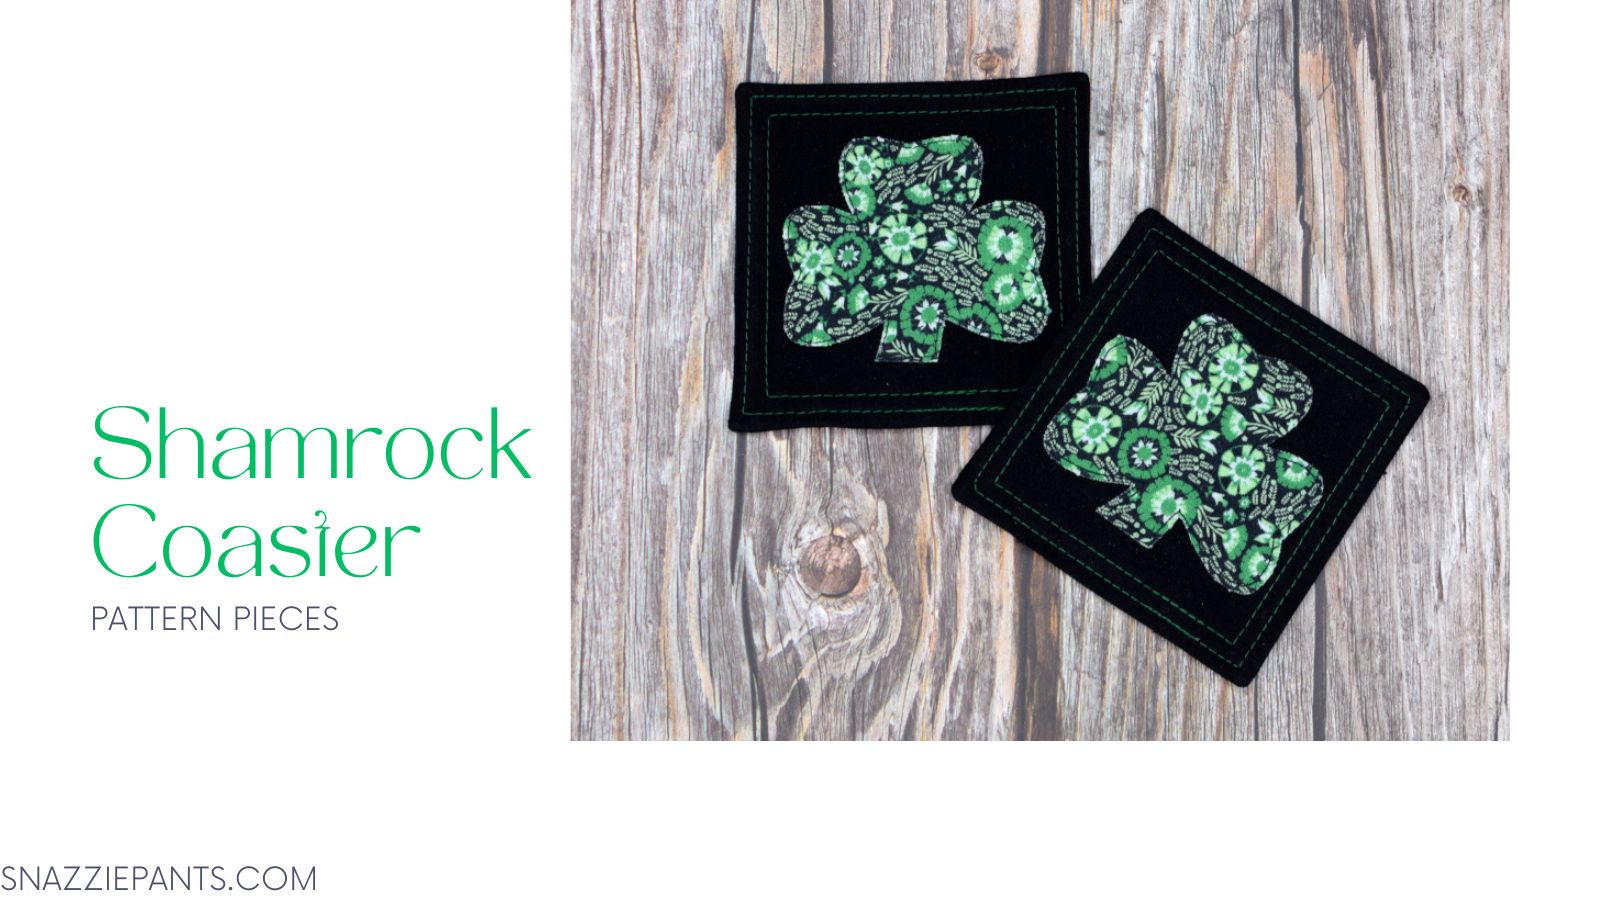
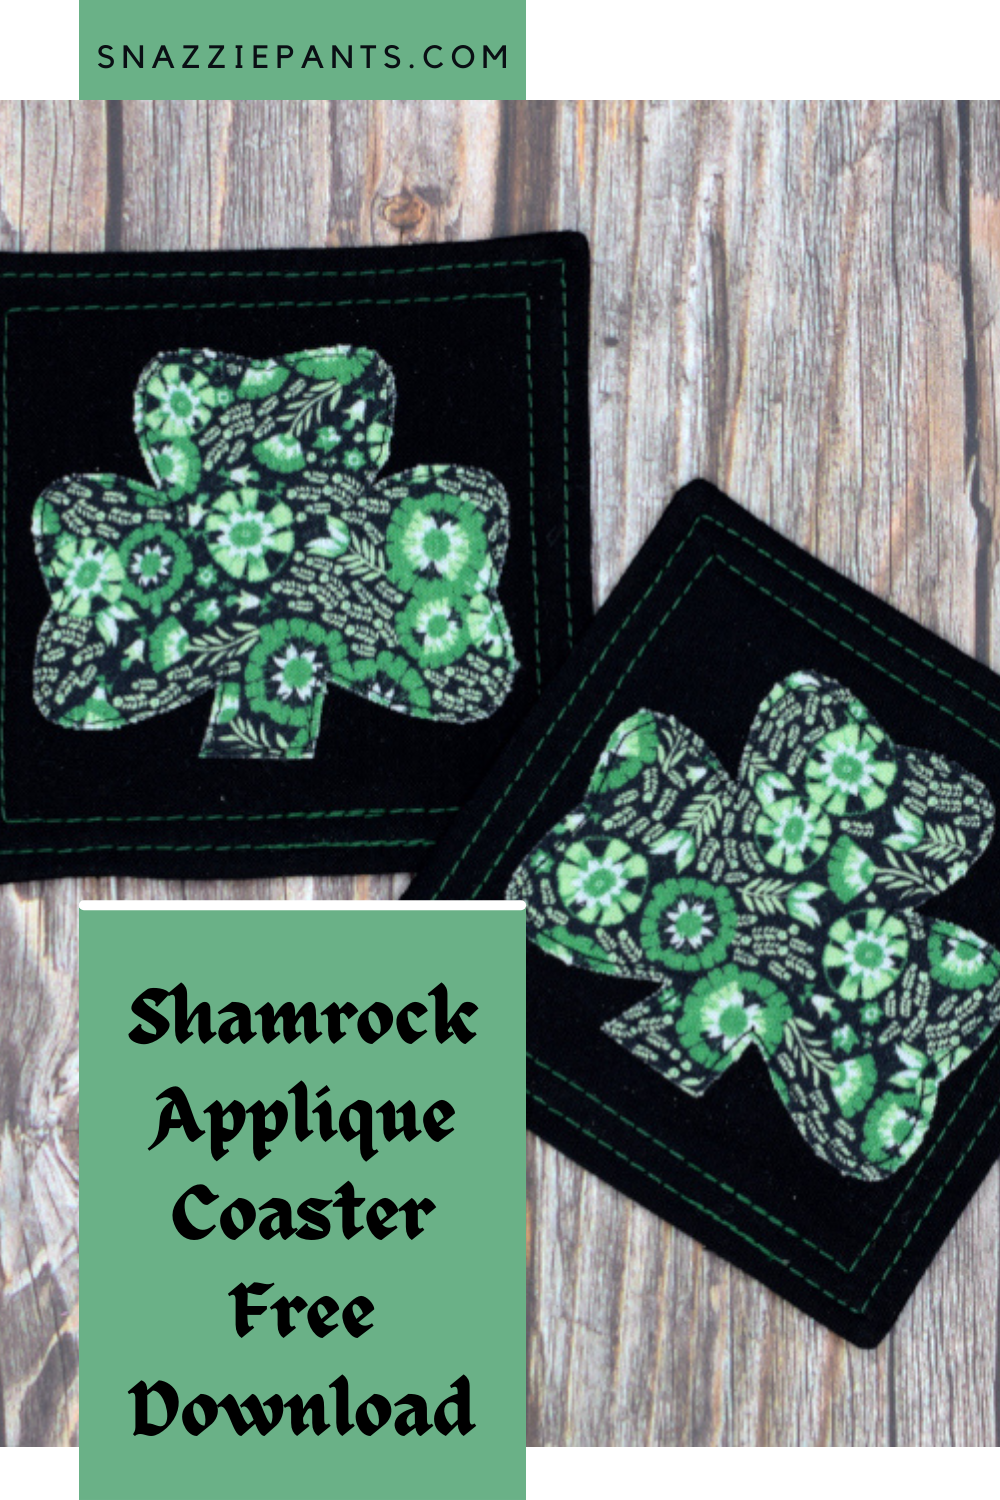
How to Sew a Shamrock Applique Coaster – Free Pattern
Hello, Snazzie Friends!
St. Patrick’s Day is just around the corner so I thought I would make some shamrock coasters and bring you along on the journey!
In this post, I’ll show you how to make these cute shamrock applique coasters. This is a great scrap-busting project. I’m also providing a free download of the pattern pieces which you can download here:
Download Now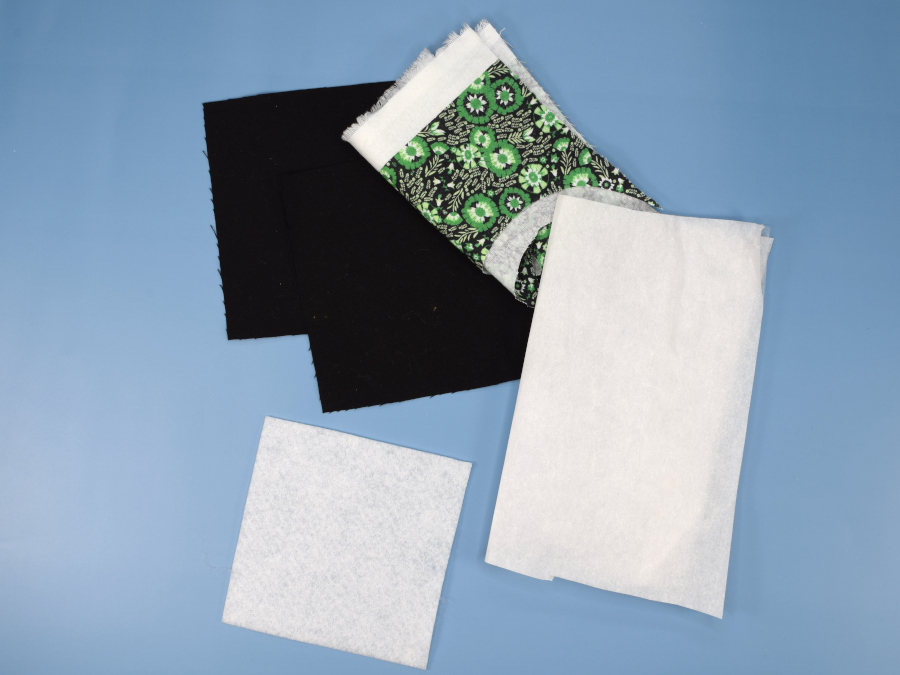
Materials (for 1 coaster)
- Shamrock Coaster Template – Download for free here: Shamrock Coaster Pattern
- Fabric for the coaster – 2: 4 1/2″ squares
- Fabric for Applique Shamrock – about 3″x3″
- Heat and Bond – about 3″x3″
- Fusible Fleece – 4″ square
Optional Materials
- Heavy Paper such as Kraft paper or Construction paper
- Glue Stick
Prepping the Pattern
Print the free template
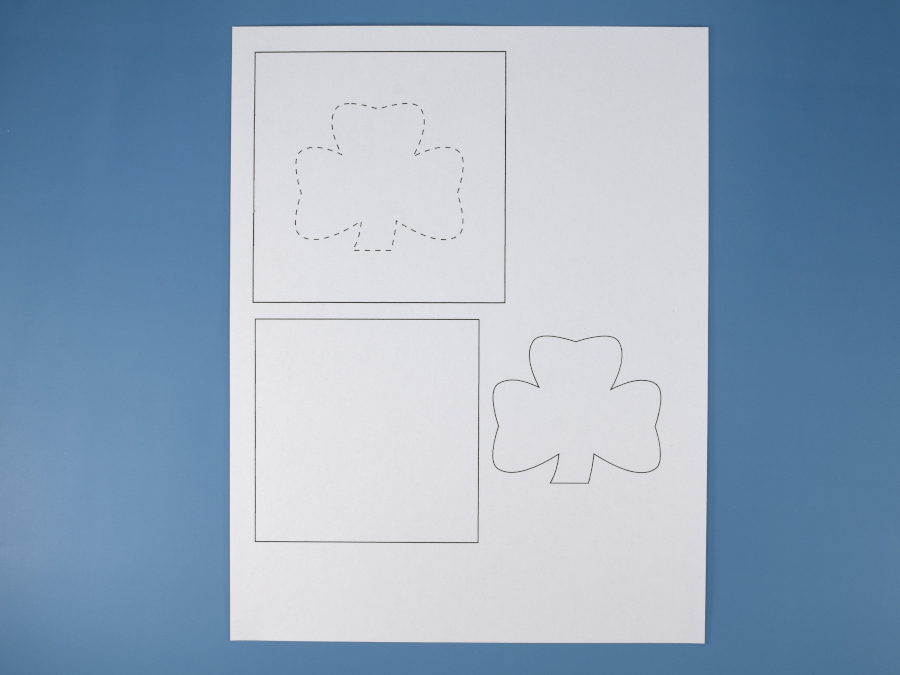
Cut out the pieces and the shamrock shape in the center of the coaster template
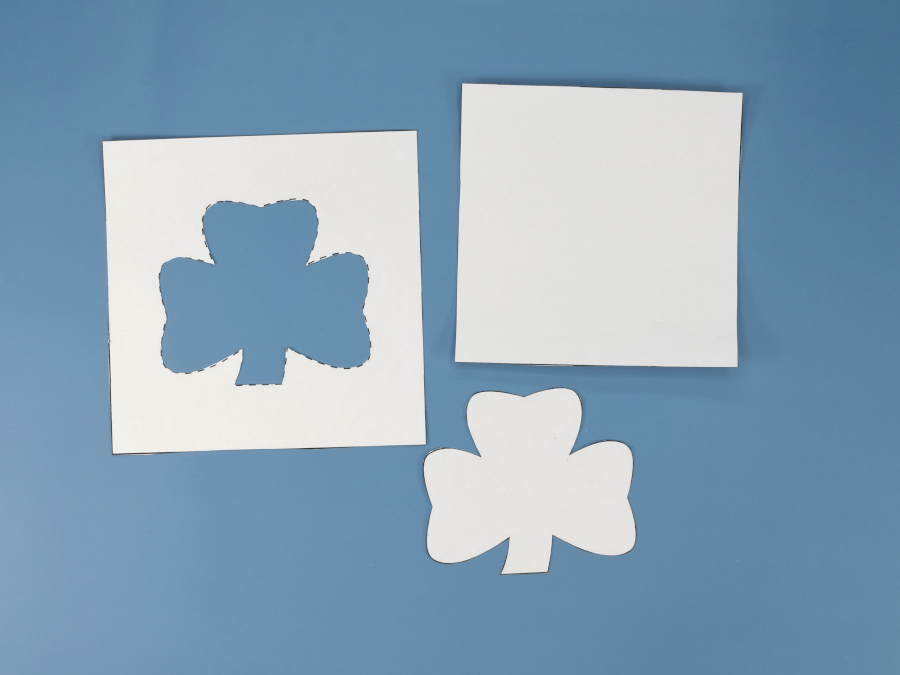
Optional
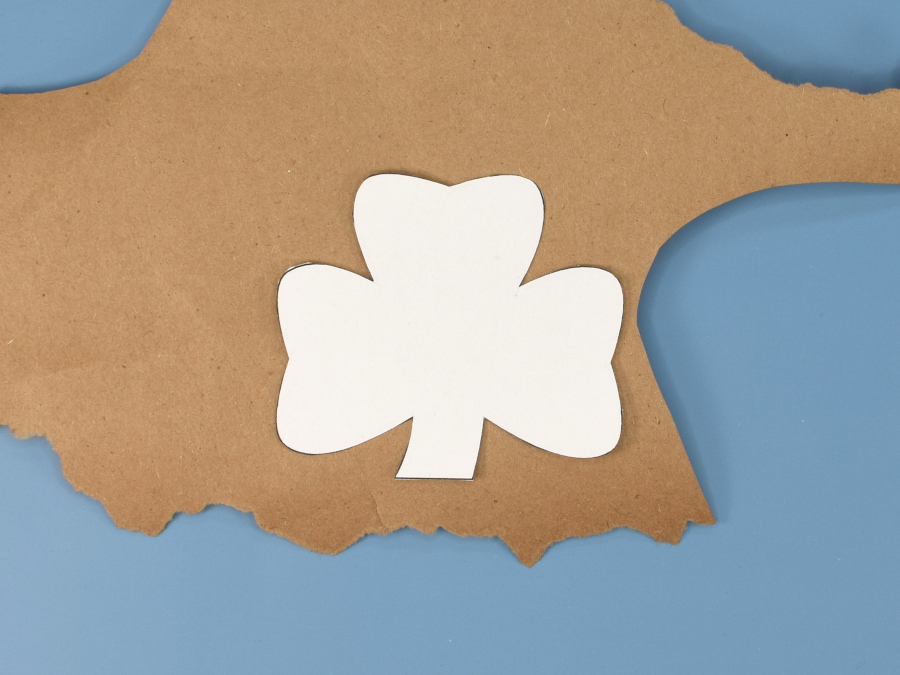
Since I am going to be using the shamrock shape to trace onto the Heat and Bond I want the piece to be a little heavier so I like to back it with some heavy paper. I use flooring paper. It’s similar to Kraft paper but a little heavier and darker. You can pick it up in large rolls at home improvement stores. Kraft paper or construction paper would work, too.
I glued the shamrock to the heavier paper and cut it out.
Cutting out the Coaster Fabric
Using the pattern piece provided cut 2 square pieces for the coaster.
Using the pattern piece provided, on one coaster square trace the shamrock shape with chalk of removable fabric marker.
Cutting out the Fusible Fleece
Using the pattern piece provided cut 1 piece of fusible fleece.
The Shamrock Applique
You are going to trace the shamrock shape onto the paper side of the Heat and Bond so make sure you place the shamrock shape facing side down or your shamrock will be backwards.
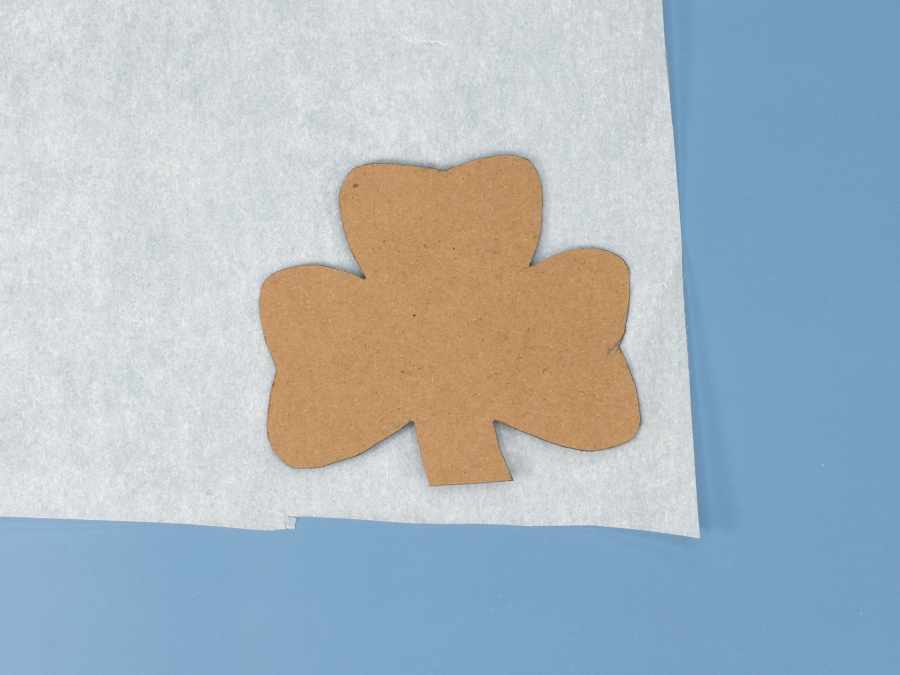
Of course, there is no backward or forward on this shamrock shape but this is something you will want to keep in mind if you do other applique where it does matter, such as letters and numbers.
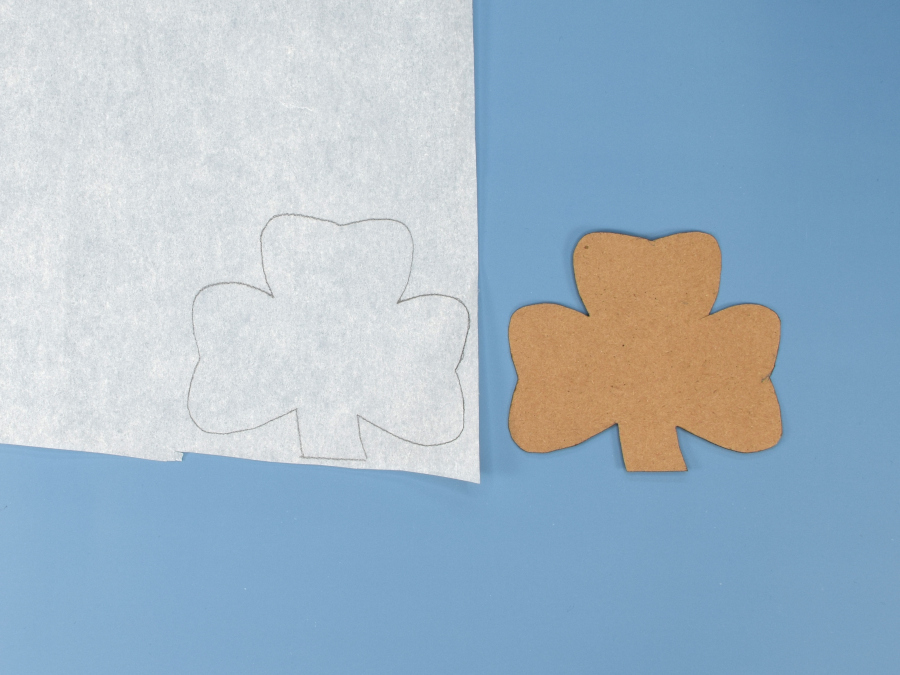
Cut around the shape but do not cut out the shape yet.
Using the instructions from the Heat and Bond adhere it to the back of the fabric.

Cut out the shamrock shape.
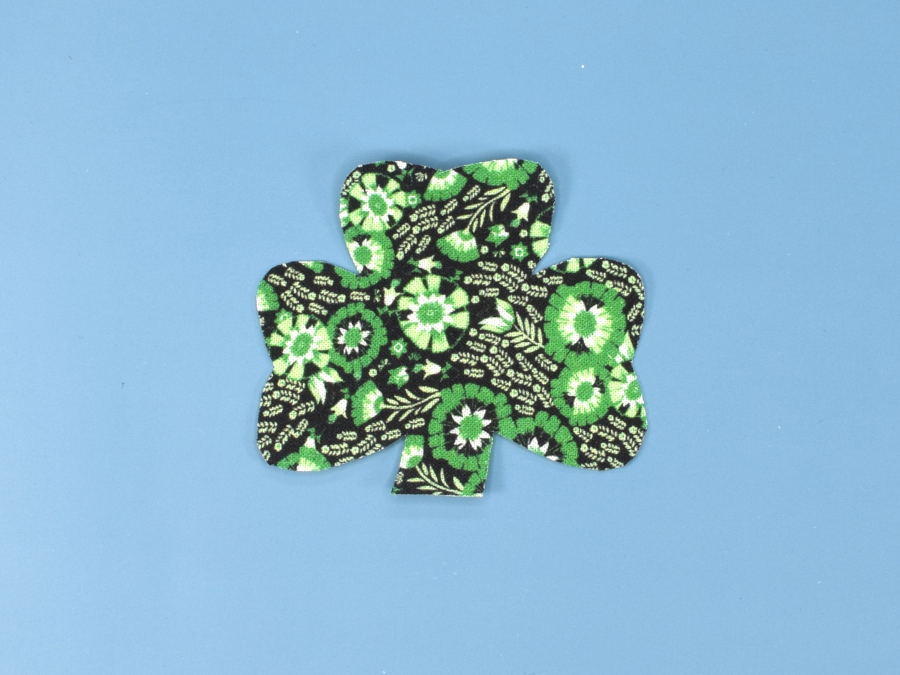
Peel away the paper backing from the shamrock shape.
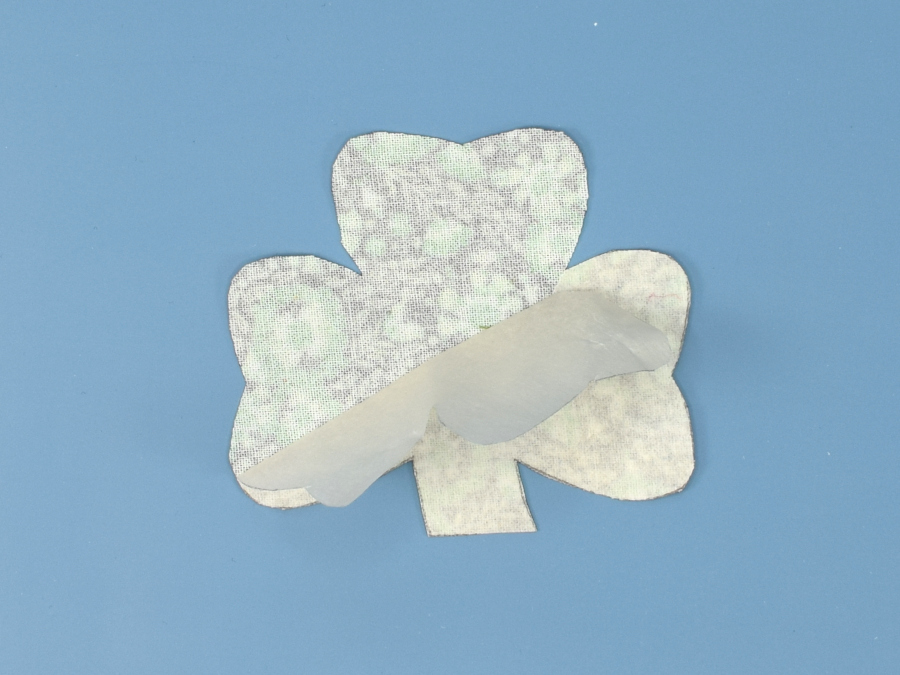
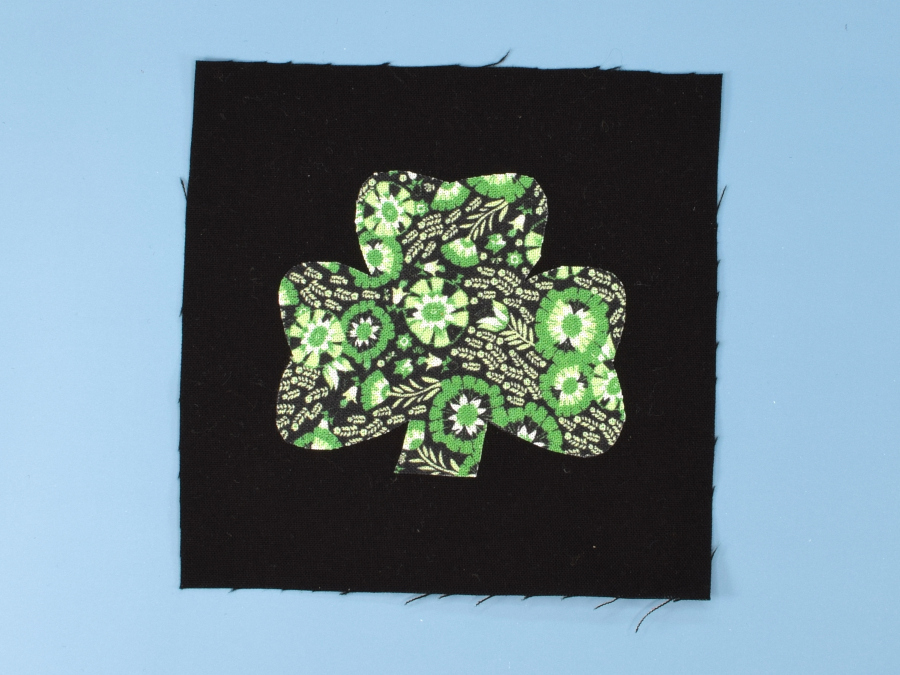
Place the shamrock piece within the traced shape in the coaster square. The applique should cover the traced markings.
Using the instructions from the Heat and Bond adhere the shamrock to the coaster.
Fusible Fleece
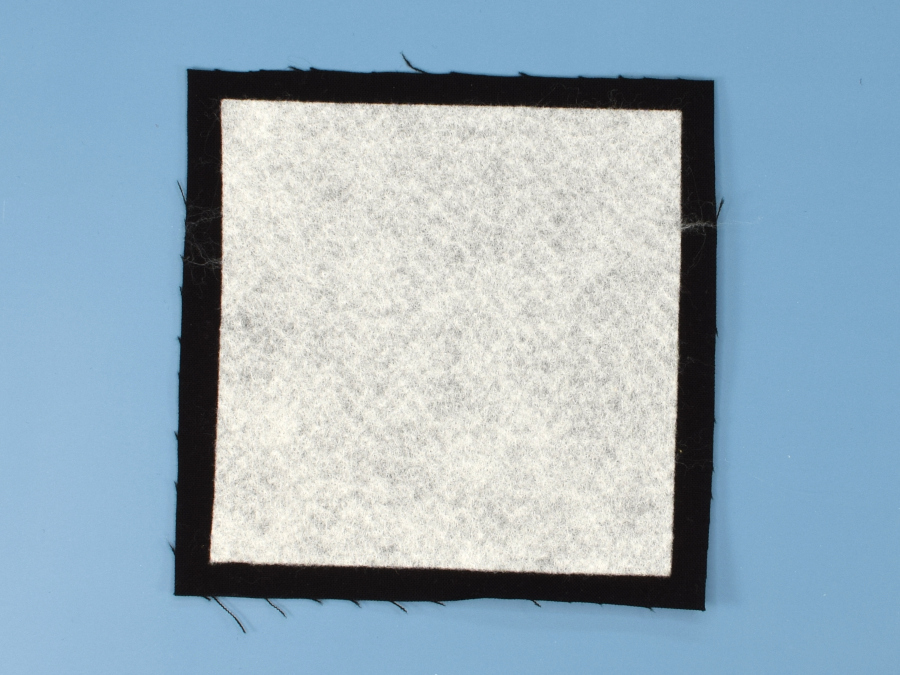
Place the fusible fleece on the back of the top coaster piece (the one with the shamrock attached) leaving 1/4″ around the edges of the fleece.
Using instructions from the fusible fleece adhere it to the fabric.
Sewing the Applique
Using a narrow hem foot or a zipper foot, carefully sew around the shamrock shape. It’s best to reduce your stitch length to 2 or less.
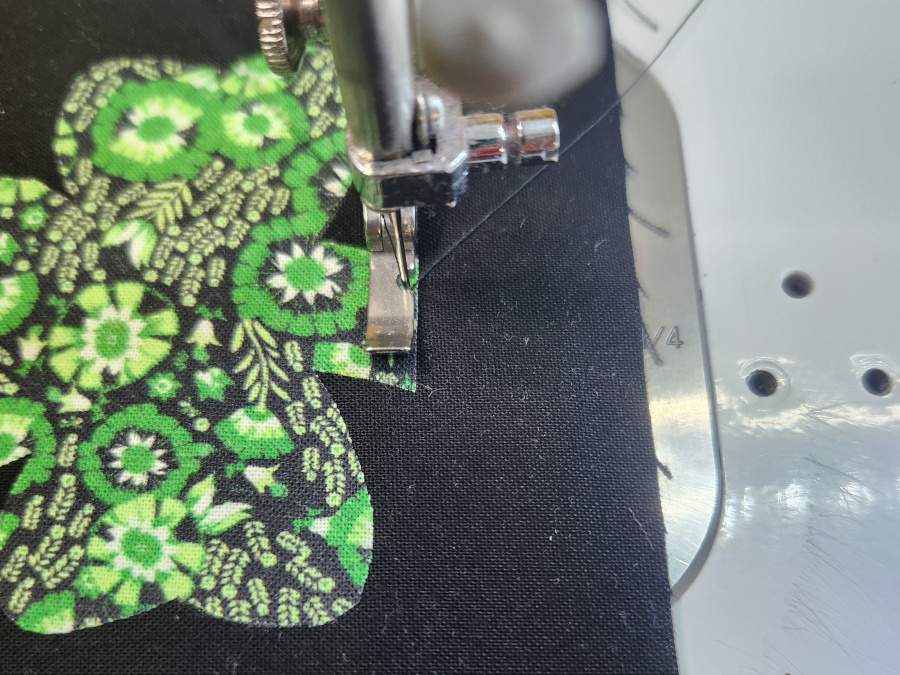
I find it best to take it slow and only sew a few stitches at a time and then lift the foot and pivot the fabric if needed. Make sure the needle is always in the down position before you pivot
Sewing the Coaster
With right sides together, sew around the coaster leaving a gap for turning.
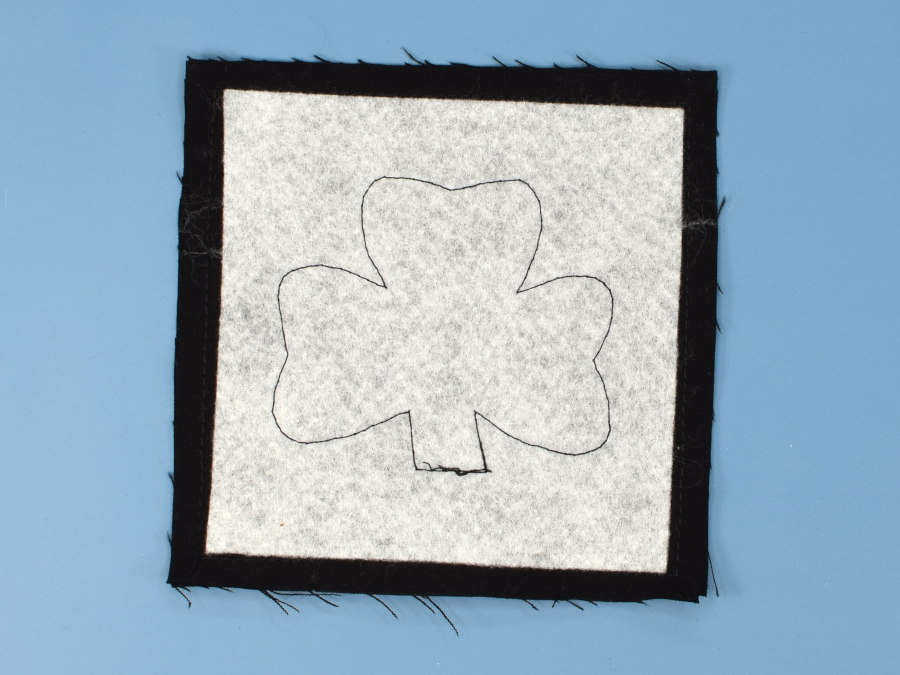
Clip the corners, being careful not to clip too close to the stitching
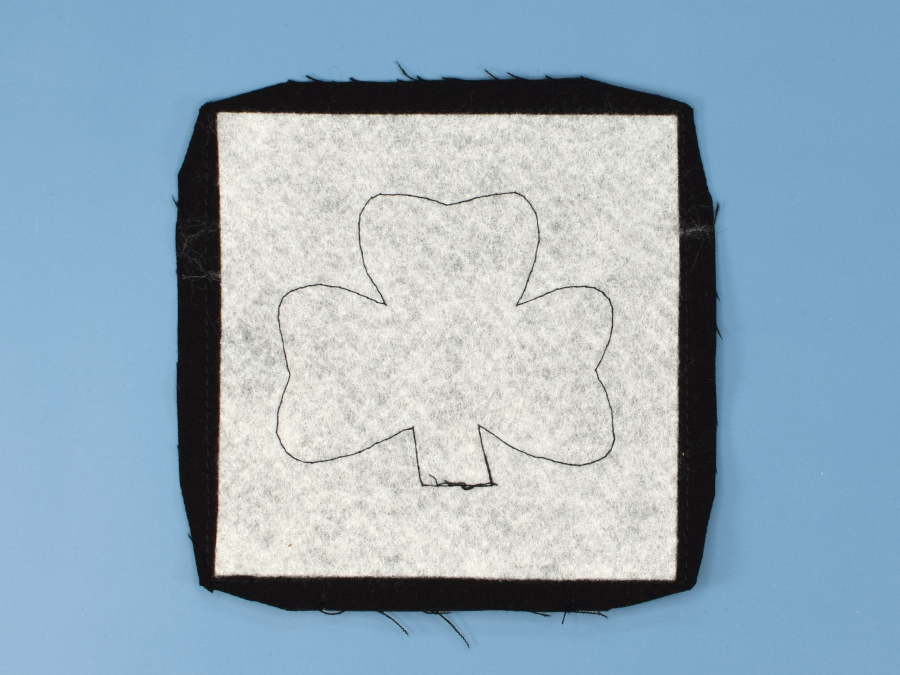
Turn the coaster right side out.
Press
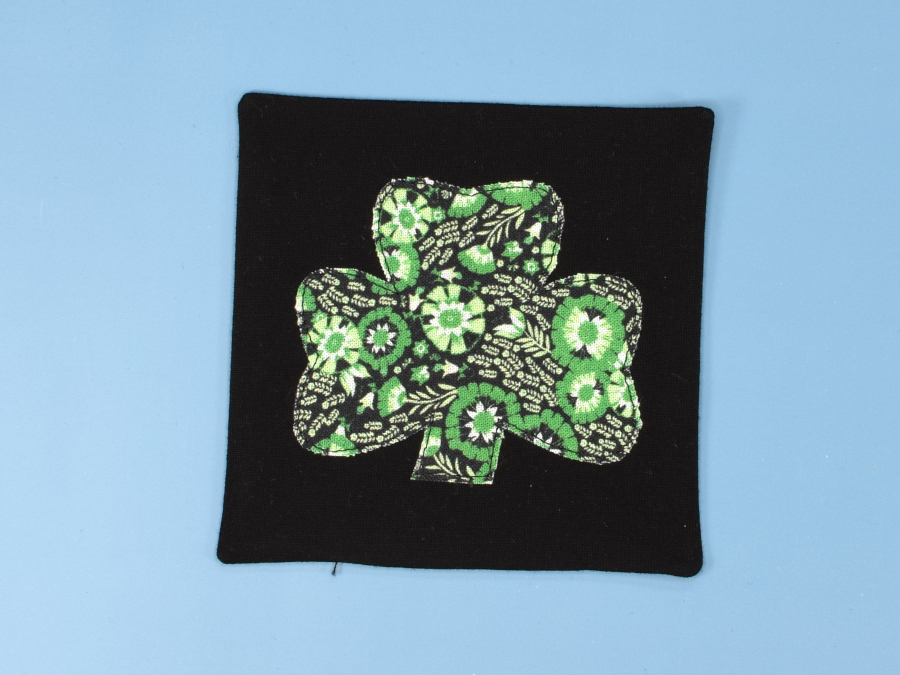
Using a narrow hem stitch, sew around the edge of the coaster.
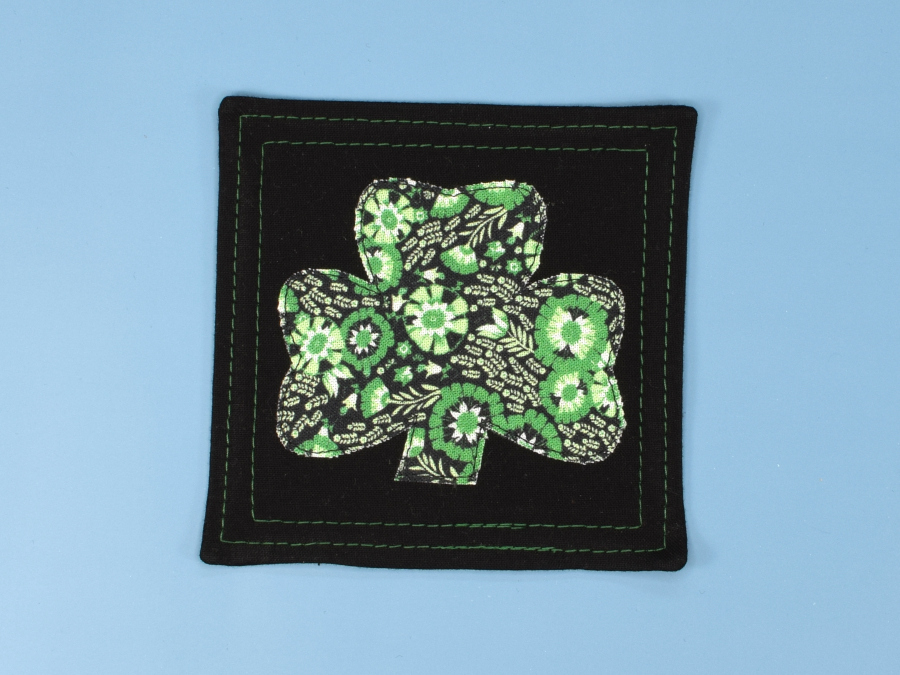
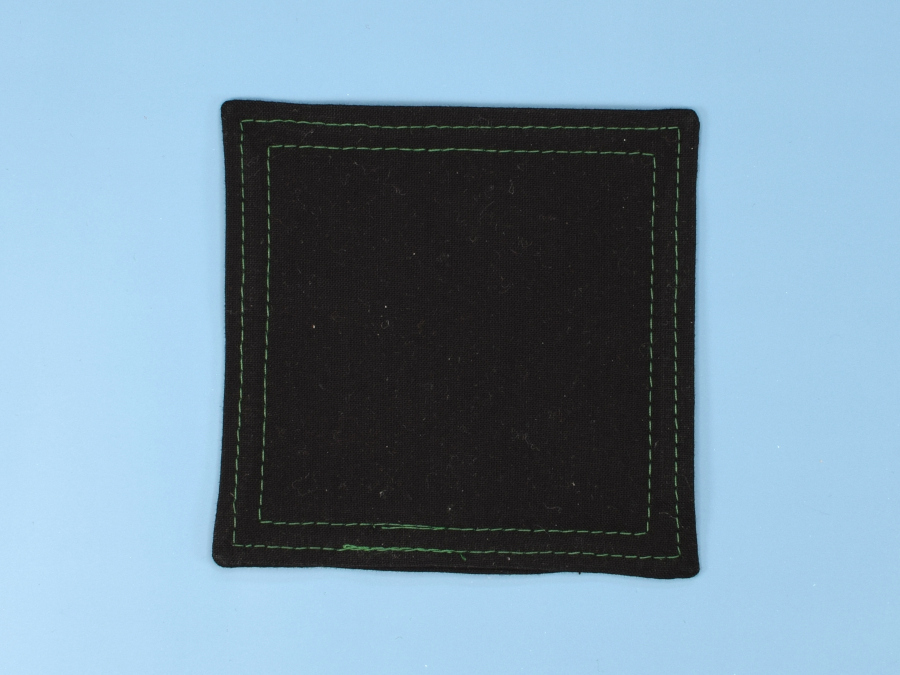
You can use a contrasting color and even sew a second line like I did here or, if you would like to keep it simple or you want to hide your stitches, you can use thread that is the same color as the coaster.
Congratulations! You now have a cute shamrock coaster ready for St. Patrick’s Day.
We actually celebrate St. Patrick’s Day so I plan on gifting a set to my aunt for hosting.
Now I want to hear from you! Do you celebrate St. Patrick’s Day?
What kind of St. Patrick’s Day crafts have you made?
Good luck with your sewing adventures!
Kelly
Please save for later on Pinterest
