How to Make Bottle Cap Mini Pincushion and Ways to Use Them
Hello, Snazzie Friends!
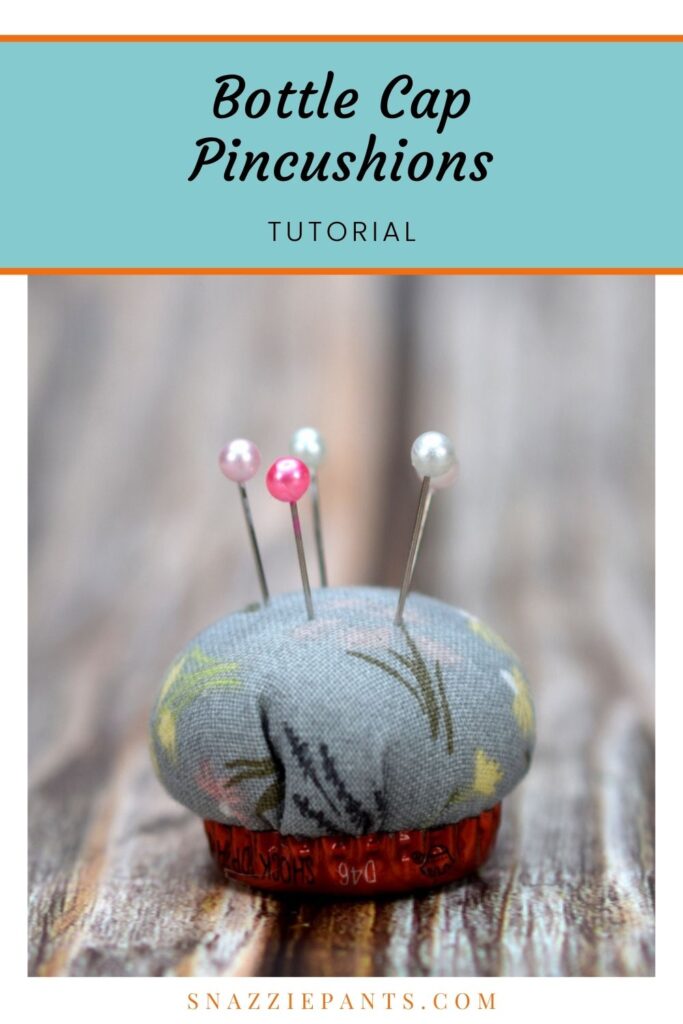
In this post, I am going to show you how I make cute and functional miniature pincushions out of discarded bottle caps.
Why Bottle Caps
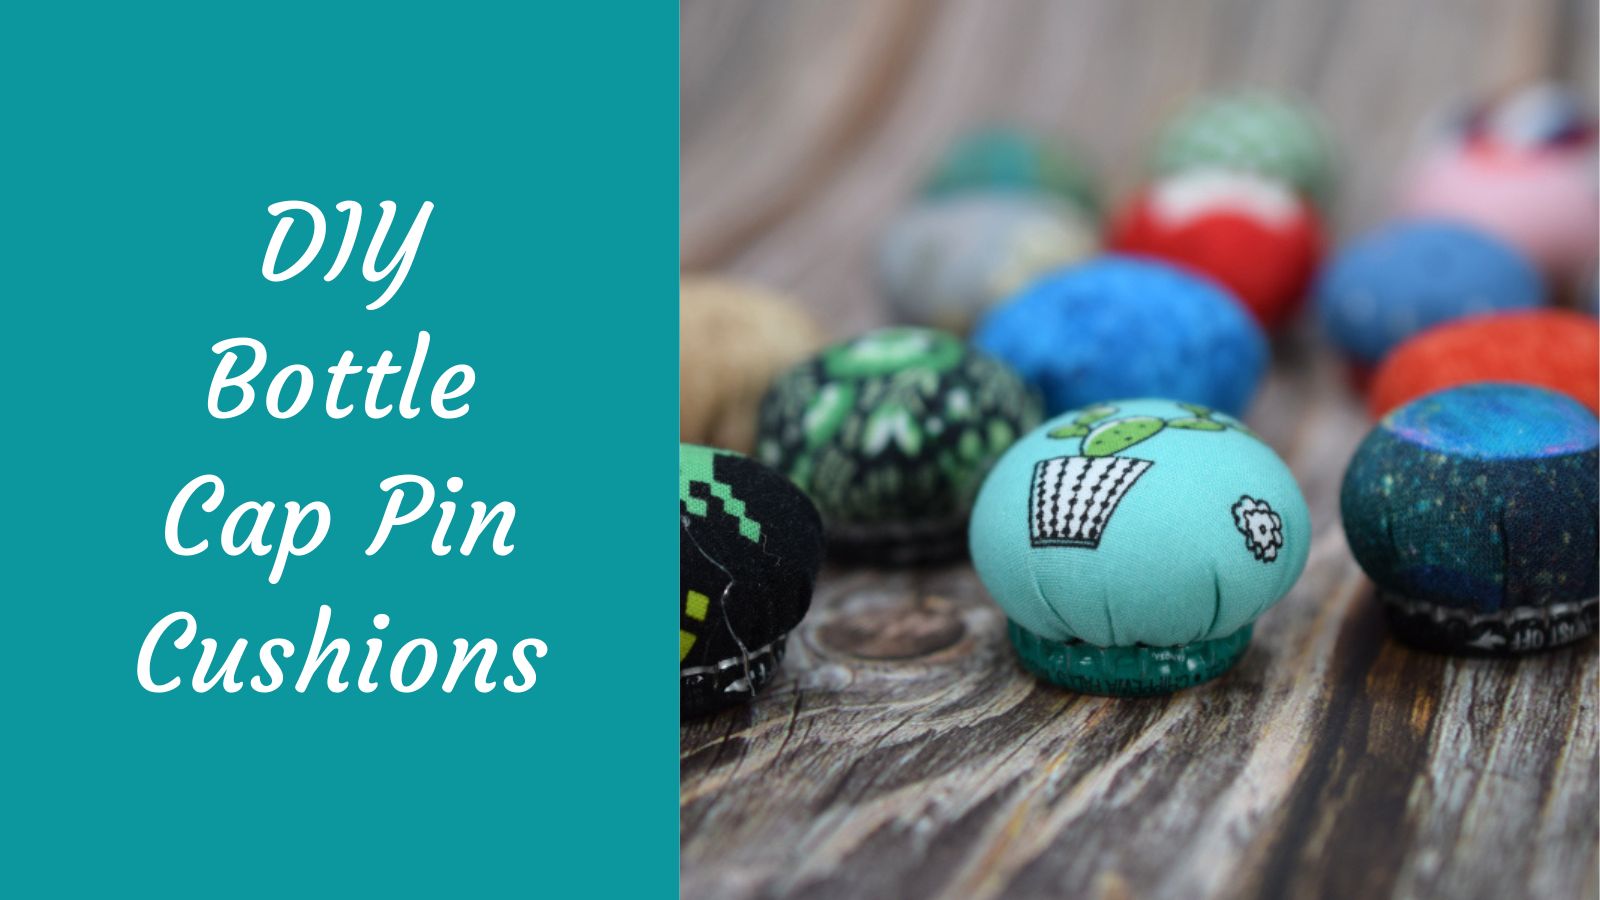
Bottle caps are the perfect size for mini pincushions that can be used for traveling, magnets, and wristbands. Bottle caps are easy to obtain and you can start collecting them right away.
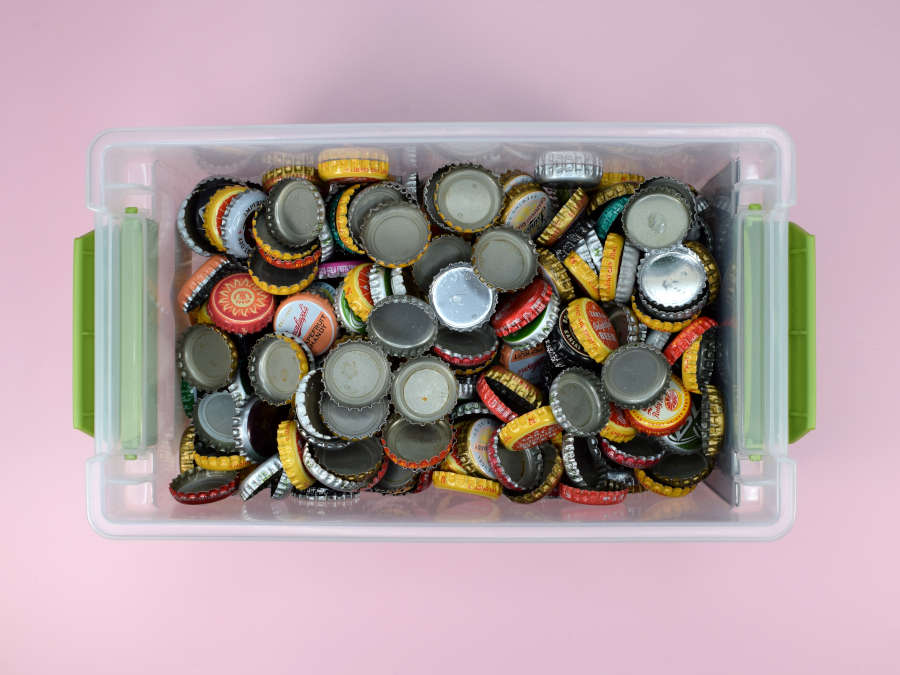
Now you probably aren’t going to need a collection quite as big as mine, unless you are collecting them to use as currency for a post-apocalyptic world. If not, let’s use them for crafts instead.
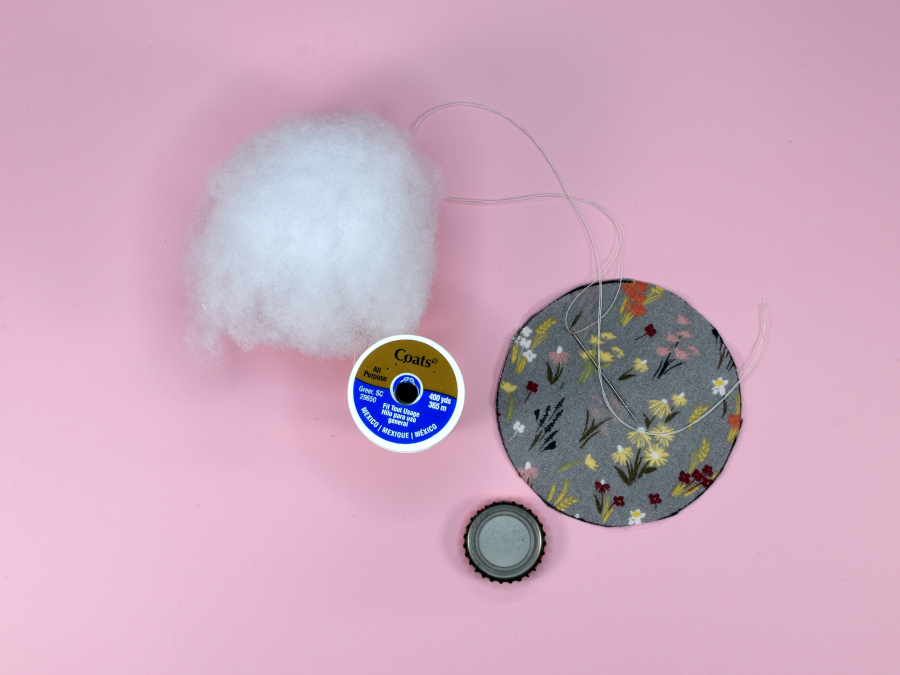
Materials
- Bottle Caps
- Scrap Fabric
- Glue – hot glue, fabric glue, or a permanent multipurpose glue
- Needle and Thread
- Fiberfill
Optional Materials
- Magnet
- Hook and Loop Fastener (Velcro)
- Suction Cups
Cutting Out the Fabric
I found that the best size for the fabric is three times (3X) the size of the cap being used for the base. Bottle caps are about 1″ so cut out a 3″ circle.
Stitching
Thread a needle with a long piece of thread so you can double it up and knot it at the end. This will help you have more stability when pulling the thread tight.
Stitch around the perimeter of the circle using about a 1/4″ seam allowance. The stitches don’t have to be perfect or pretty so just use a loose running stitch.
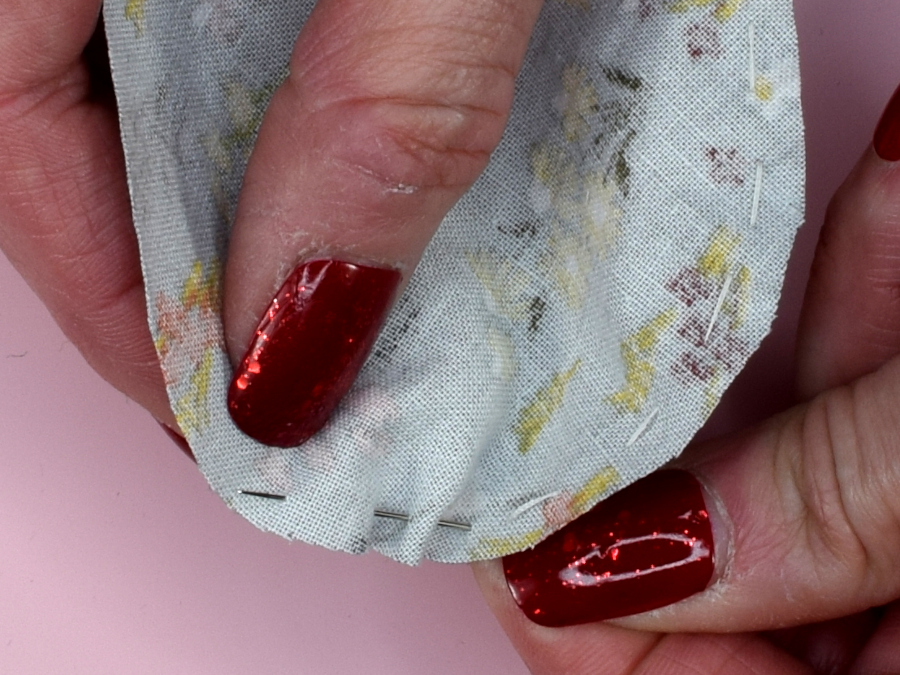
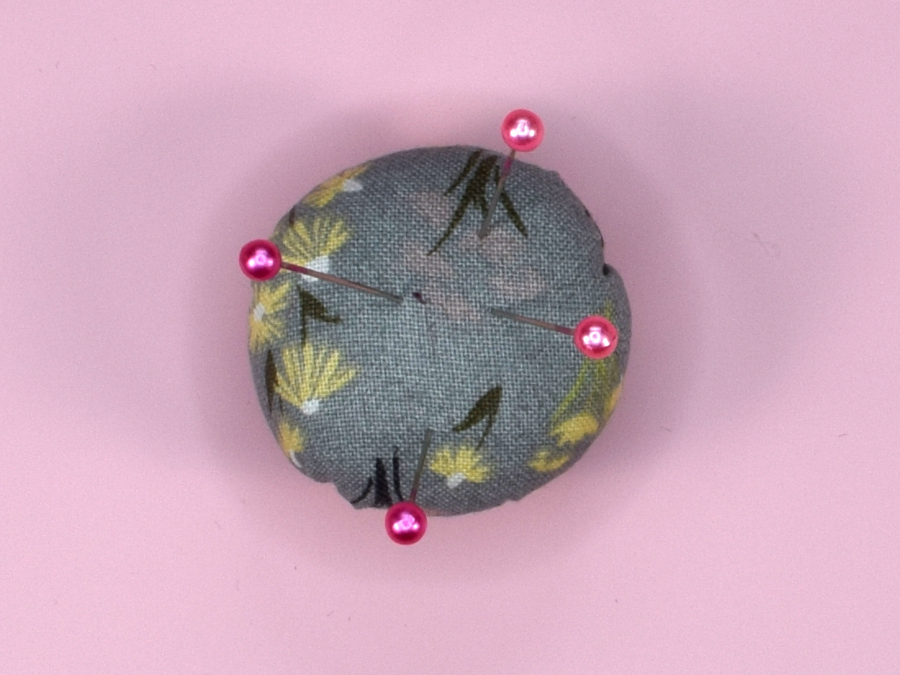
Once you are done stitching around the circle, pull the stitches slightly to create a bowl shape.
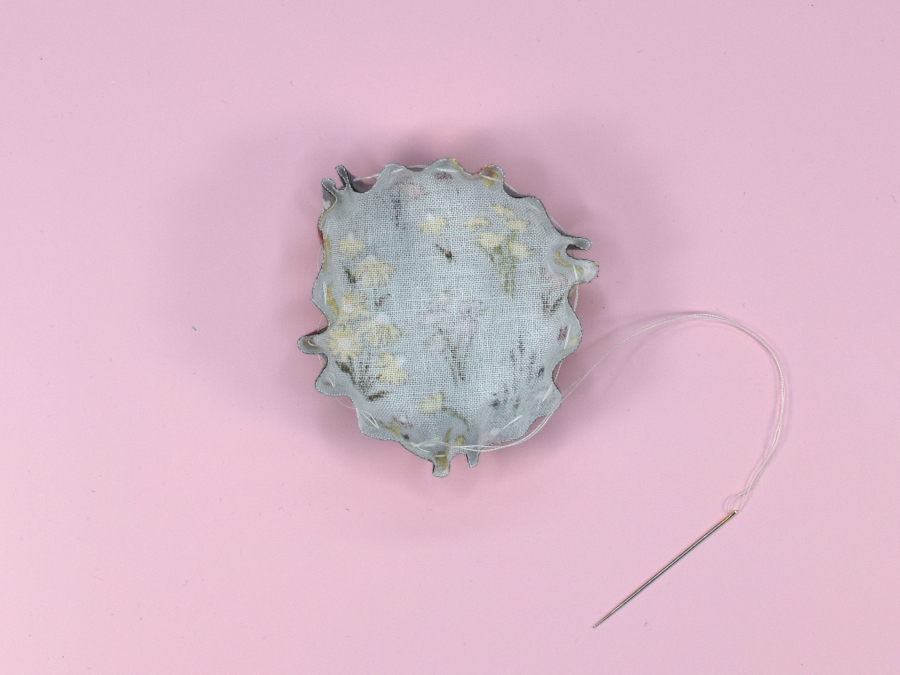
Place the fiberfill inside the circle, in the bowl you just created. You are going to want your pincushion to be firm so make sure you use enough fiberfill. I found that it is best to have just enough to make it slightly difficult to close up the circle. You may have to experiment to get the amount just right.
I found that if I formed the fiberfill into a firm ball and held onto the top it was easy to place it inside the circle.
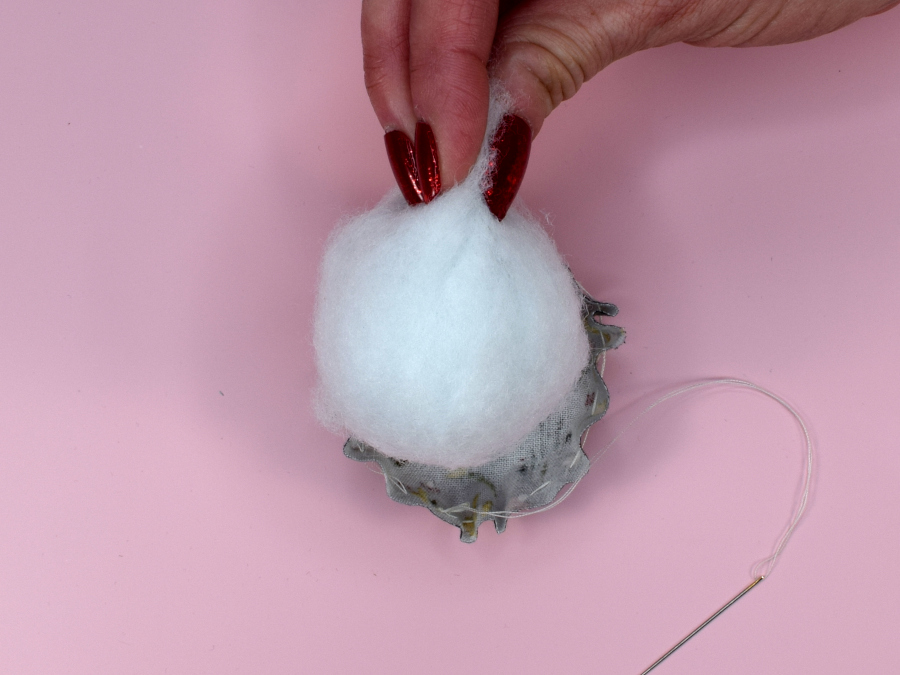
Holding the fiberfill in place, pull on the thread to cinch up the opening. You may need to push the fiberfill down as you pull on the thread.
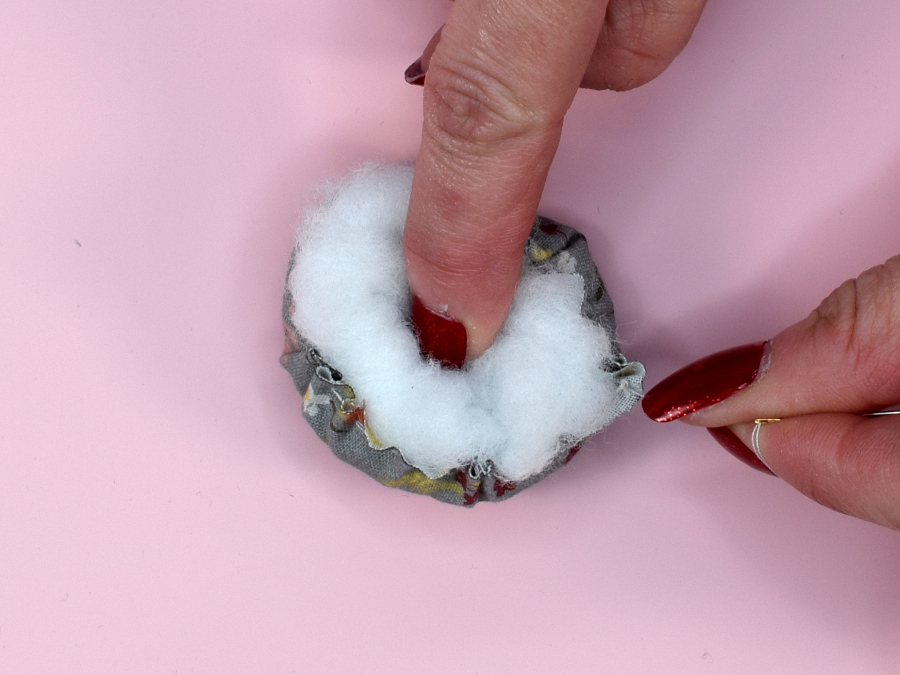
To help secure the thread and close up the opening, I like to do a second round of stitching. I just run the needle through a few spots and then pull the thread tight and knot it, and clip the thread.
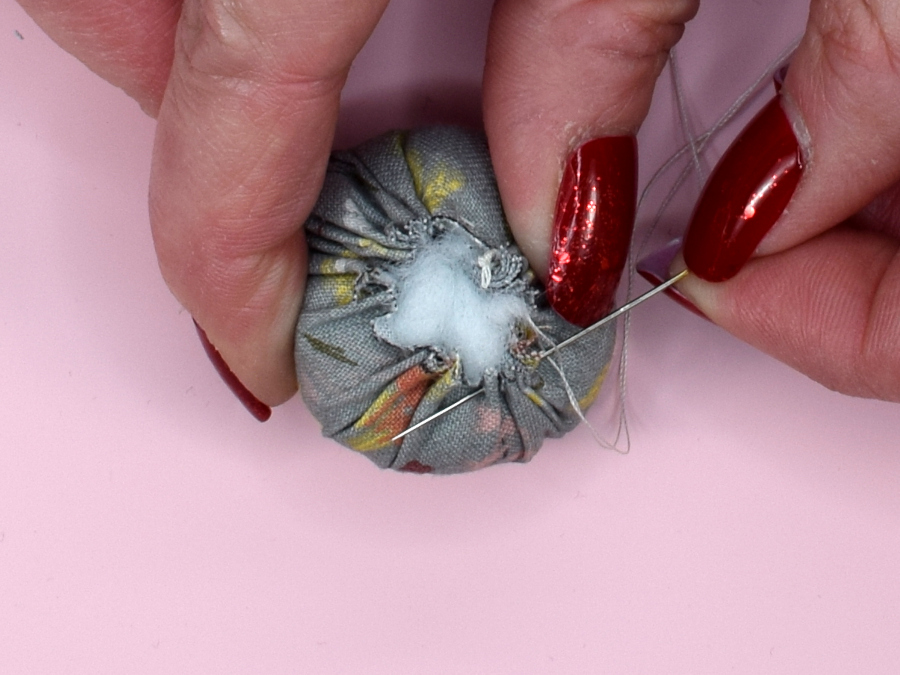
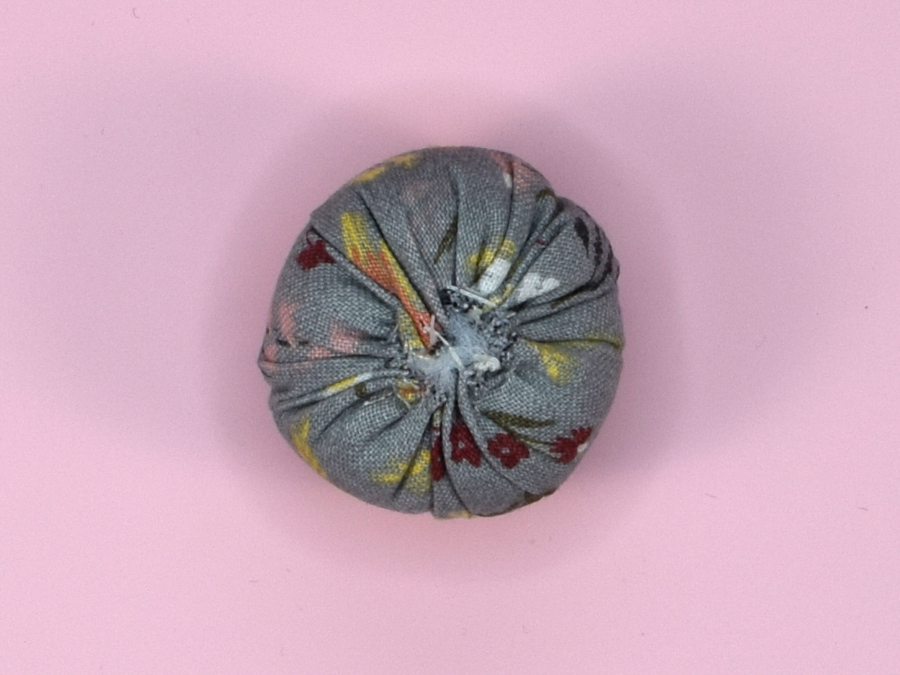
You might need to form the pincushion by rolling it around in your hands and finger-pressing out any lumps.
Gluing to the Cap
Add glue to the cap along the inside rim and the inside bottom. You can be pretty liberal with the glue but make sure it doesn’t seep out. If you are using hot glue you will want to be careful because the metal bottle caps can get pretty hot from the glue.
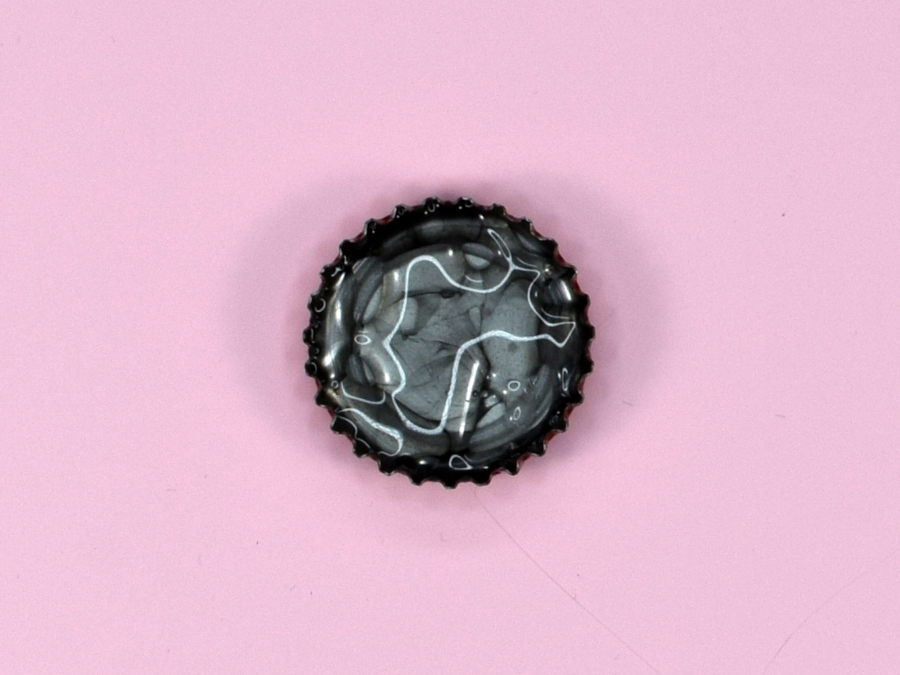
Center the pincushion over the cap and firmly press down. If you are using hot glue you should only need to press for a couple of seconds. If you are using a wet or slow-drying glue, you may have to press longer, or you can use a clamp to hold the pincushion in place until the glue dries. Wet glue may need to dry overnight.
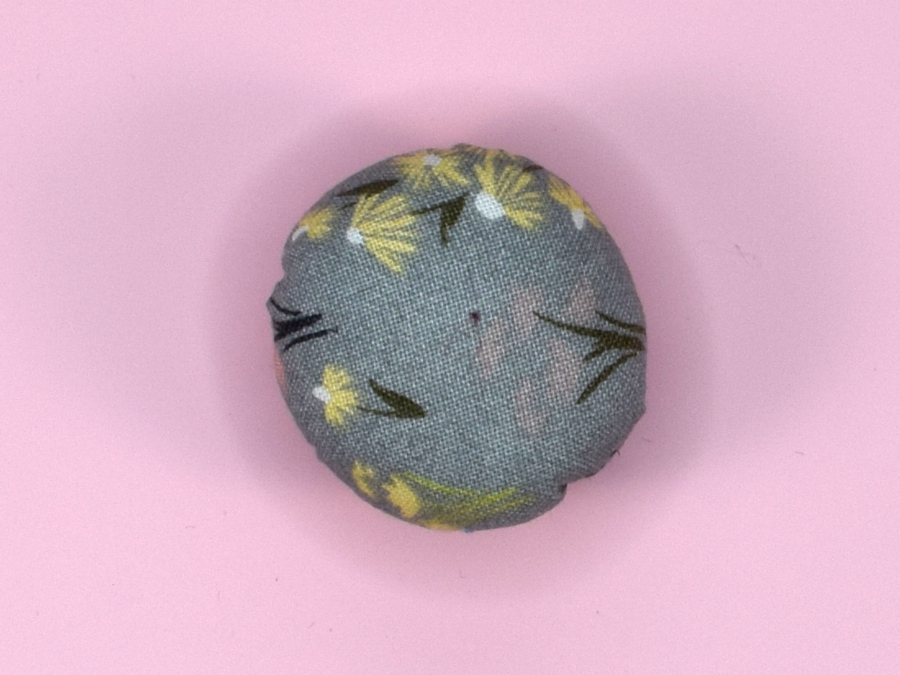
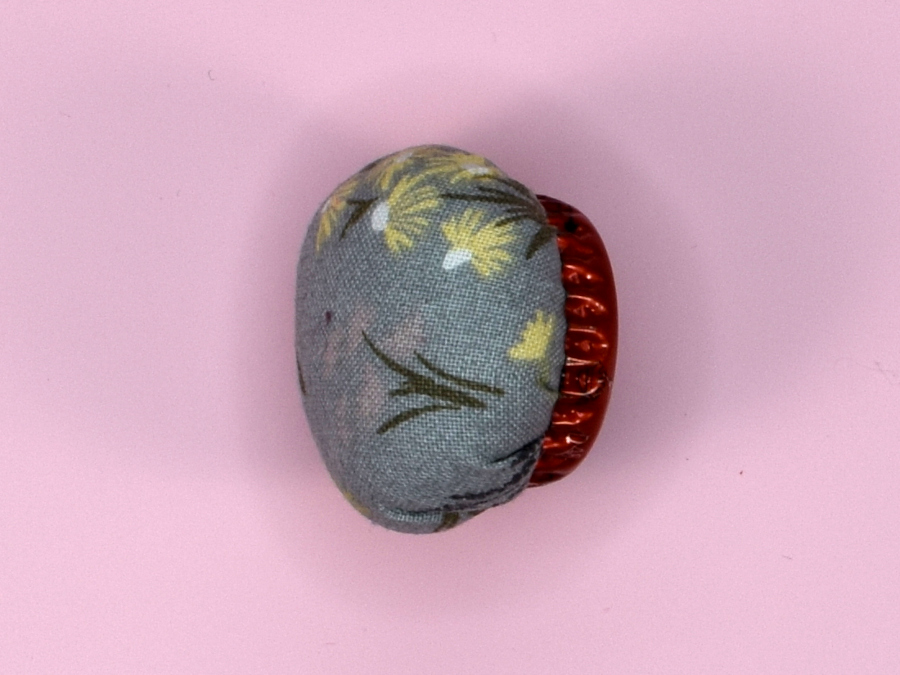
At this point, you have a fully functional miniature pincushion but you don’t have to stop here!
Making a Wrist Pincushion
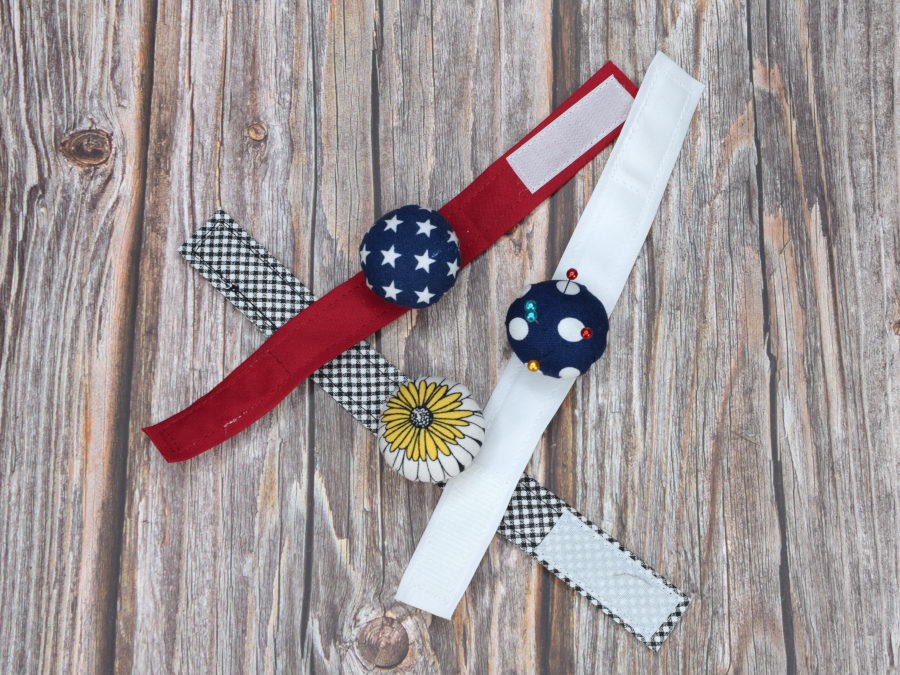
To make my wrist bands I used double folded 1″ bias binding from my stash but you could also make your own by folding fabric or sewing a strap. Measure your wrist and decide the length you need. To make mine one size fits all I cut the wristbands 9″ long. I used a sew-on hook and loop (Velcro) for the fastener. The hook and loop I had in my stash was 3/4″ wide and I cut it 2″ long. For comfort, I made sure to sew the loop or soft side on the side of the wristband that would possibly rub against my wrist.
These are just my measurements, you can adjust them to fit your needs.
Once you have your wristband made just glue the pincushion to the center. You may need to use a permanent glue made for metal such as E6000. I found that the metal could be a little too smooth for hot glue.
Making a Suction Cup or Magnet Pincushion
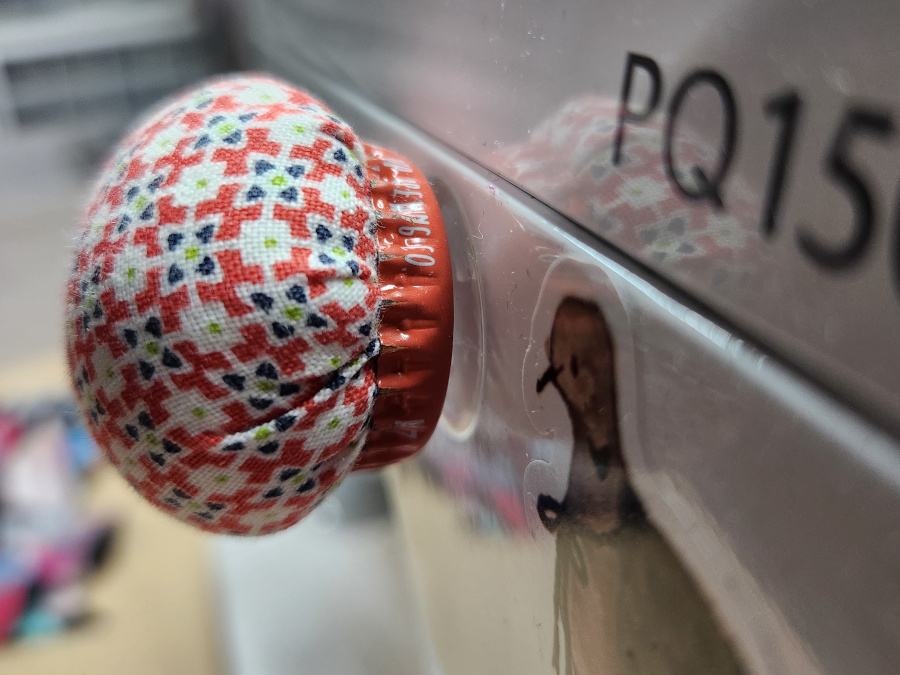
I wanted a pincushion I could stick to my sewing machine but also be able to remove it or move it to another machine so I decided to try suction cups. I ran into a couple of issues. First I tried a suction cup from a small toy but it wasn’t strong enough. The suction cups for window decals were the perfect strength but hot glue is not the best option for sticking smooth plastic to smooth metal. I had to use E6000 to glue the suction cup to the bottom of the cap.
I ran into a similar issue when using magnets. Magnets do have an advantage in that the metal bottle caps are magnetic so you may not even need to glue them, just stick them on a magnet.
Using Plastic Bottle Caps and Lids
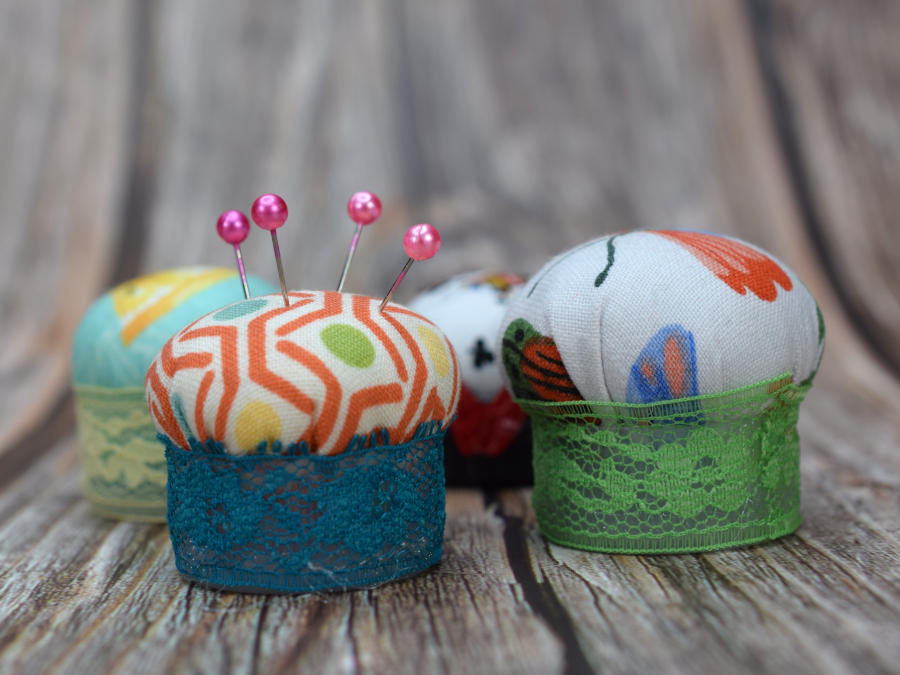
Plastic bottle caps are also a great option for making miniature pincushions. They have the added advantage of having a little more area around the perimeter for decorating.
You don’t have to limit yourself to bottle caps. You can use lids from medicine or vitamin bottles or even jar lids.
A Note About Filling Materials:
When I first started this project I tried using some old cotton balls I had lying around but I found that the cotton was too dense and it was hard to push the pins into the pincushion. I also thought about using scrap fabric as stuffing but felt that I might have a similar issue.
I just used some fiberfill from my stash but if you have an old pillow that you plan to throw out you could use the filling from that for these kinds of projects.
Are you going to make your own pincushions from bottle caps?
Have you made a pincushion before? If so, did you use repurposed items for the base?
Good luck with your sewing adventures!
Kelly
Please save for later on Pinterest
