Easy Bird Zipper Pouch Coin Purse Tutorial – Free Pattern
Hello, Snazzie Friends!
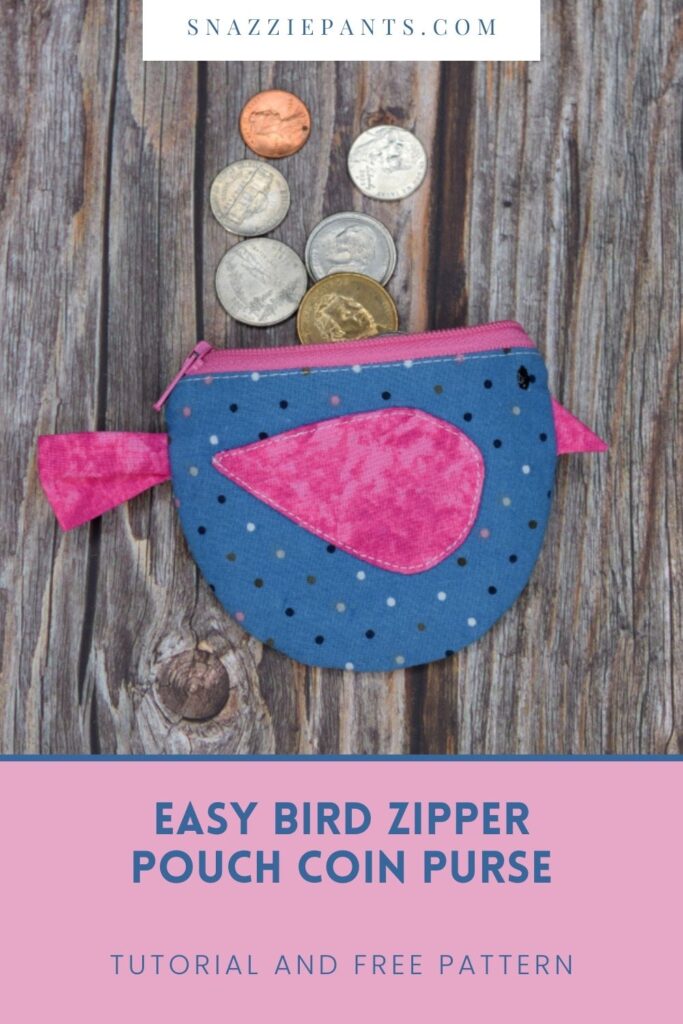
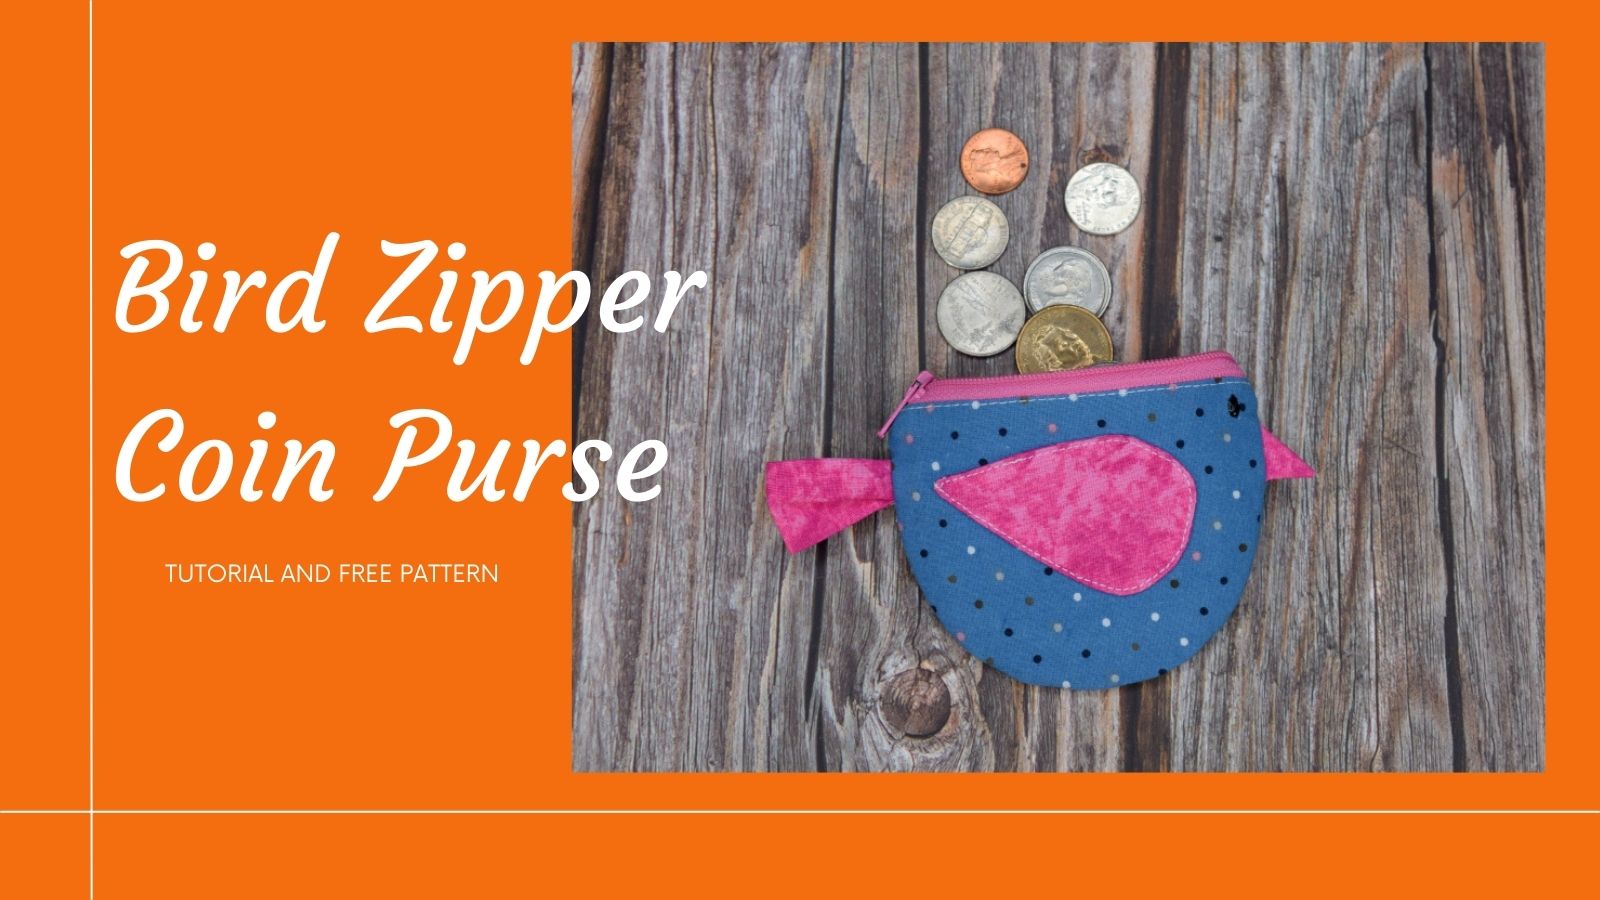
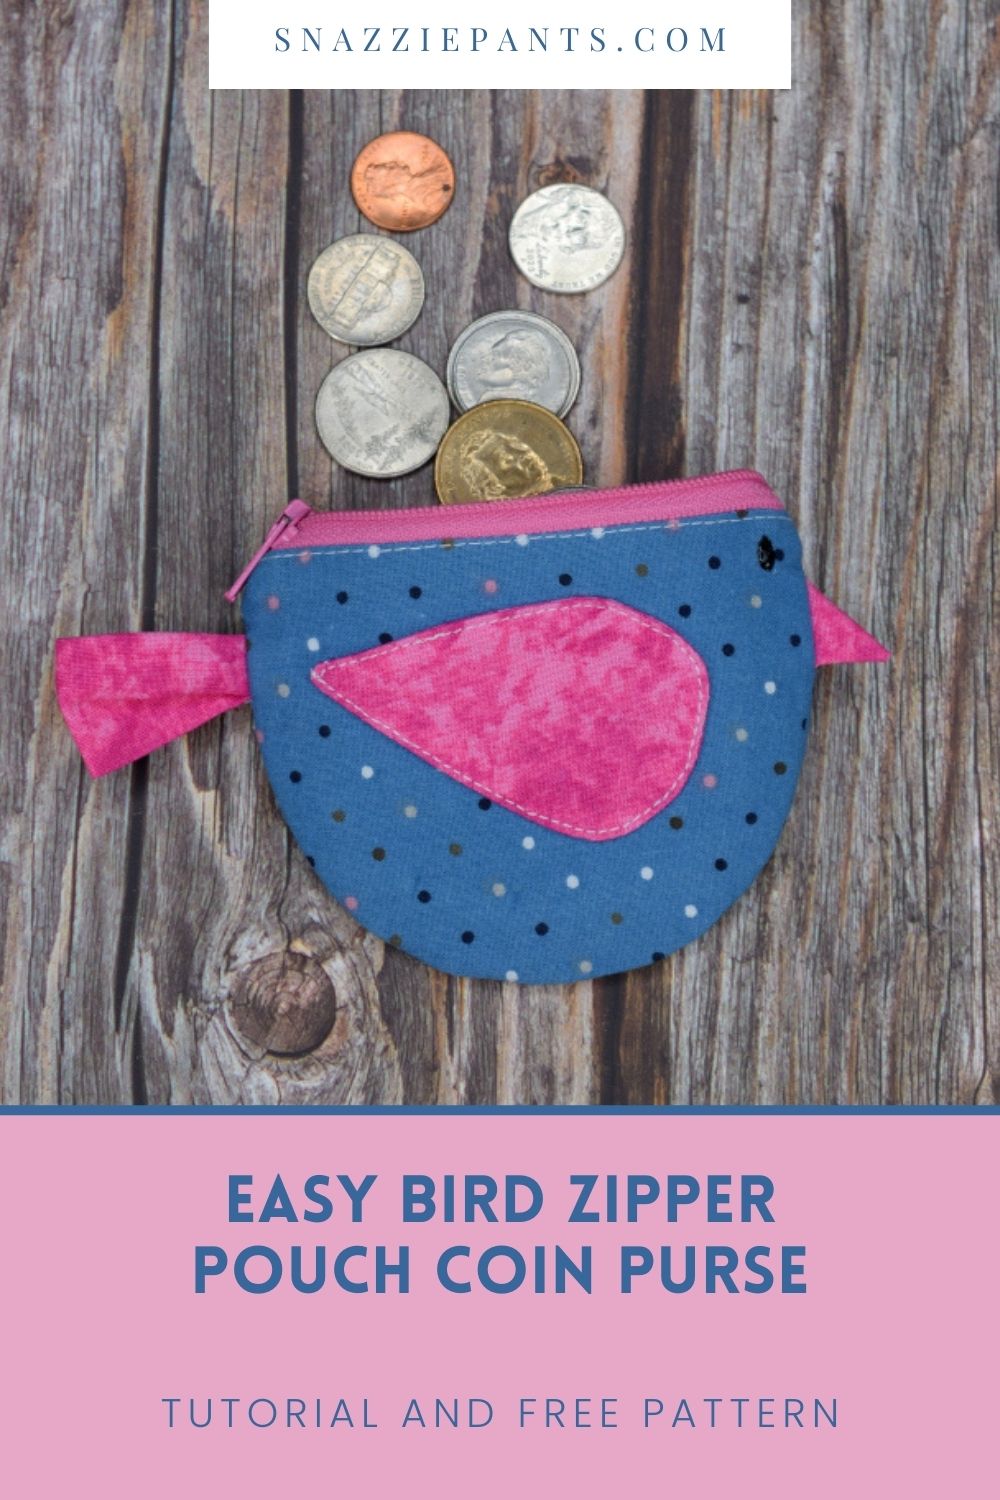
In this post, I am going to show you how to make a cute bird coin purse. This tutorial includes a free pattern which you can download here: Cute Bird Coin Purse Pattern
Supplies and Materials
- Bird Coin Purse Pattern – You can download it for free here: Cute Bird Coin Purse Pattern
- Small amount of fabric for the body
- Small amount of contrasting fabric for the wings, tail, and beak
- Small amount of fabric for the lining
- Small amount of Pellon 809, or Fusible Fleece, or interfacing of your choosing. I’m using Pellon 809
- Zipper longer than 5″, we will be trimming it.
Prepping the Pattern Pieces
Print the pattern pieces and cut them out
Download Pattern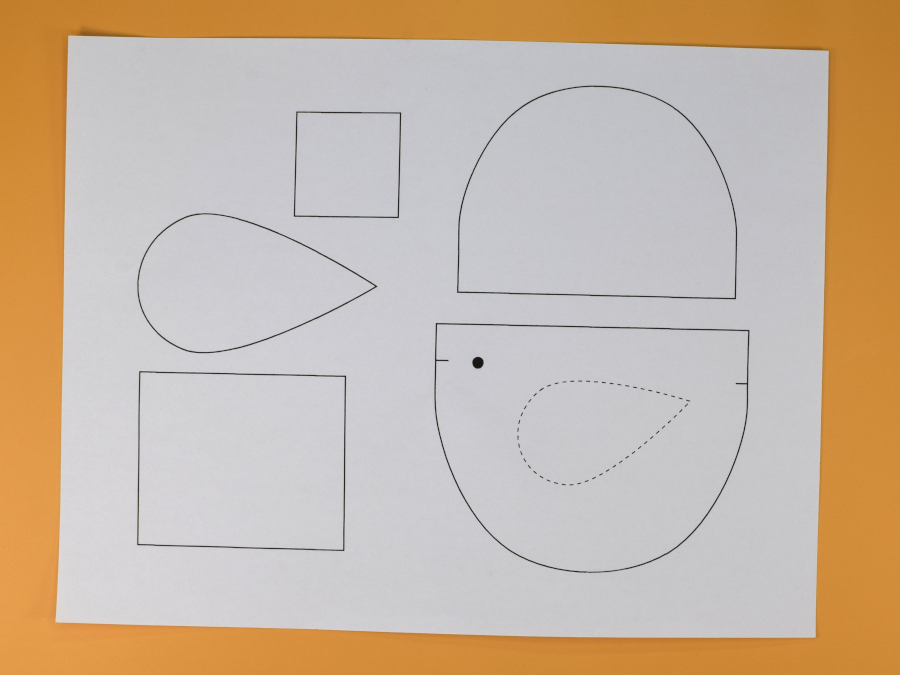
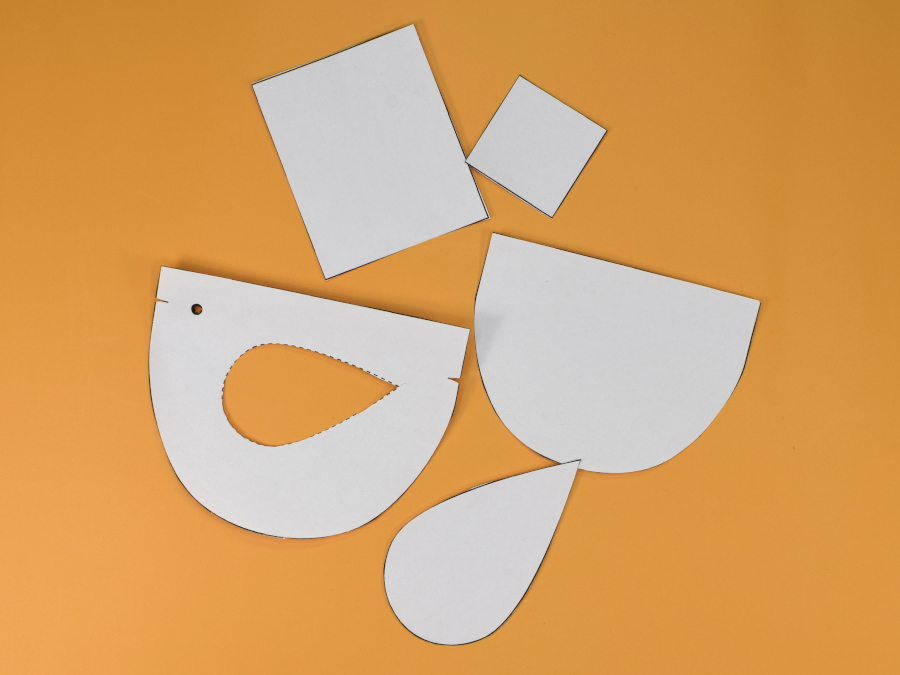
Clip notches for beak and tail
Poke a hole through the eye location
Cut out the wing location in the middle of the body piece
Cutting the Pieces
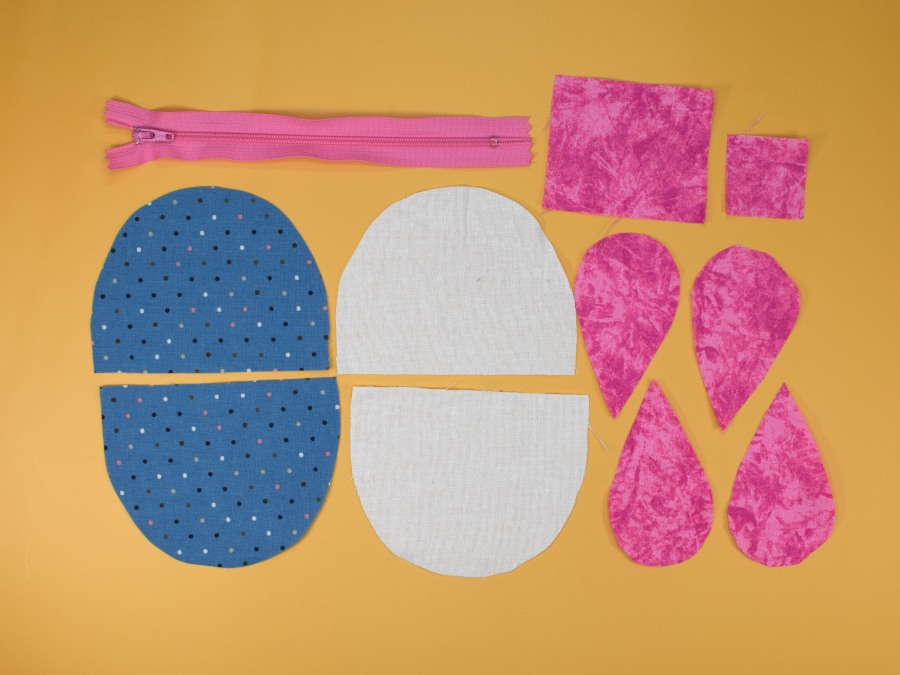
Using the pattern pieces cut out the fabric and interfacing per the quantities marked on the pattern pieces.
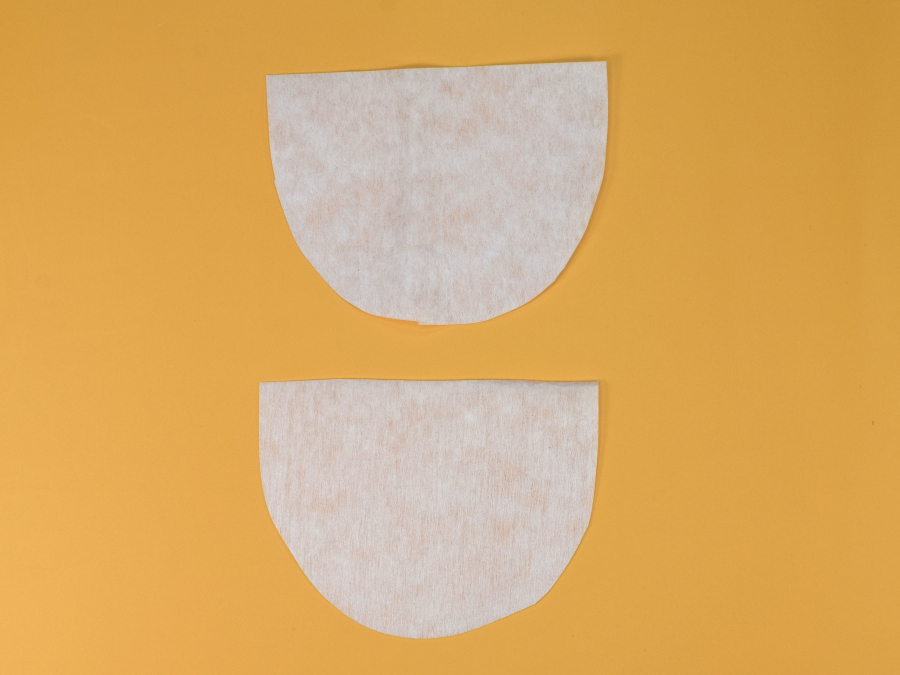
Interfacing
Adhere the interfacing to the body pieces leaving a 1/4″ allowance around the interfacing.
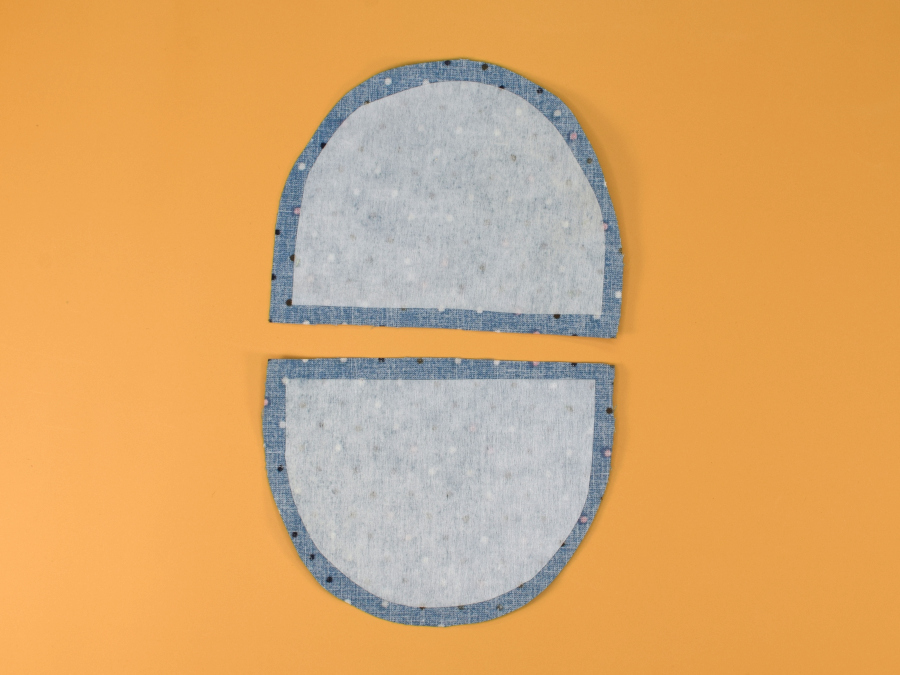
Marking the Body
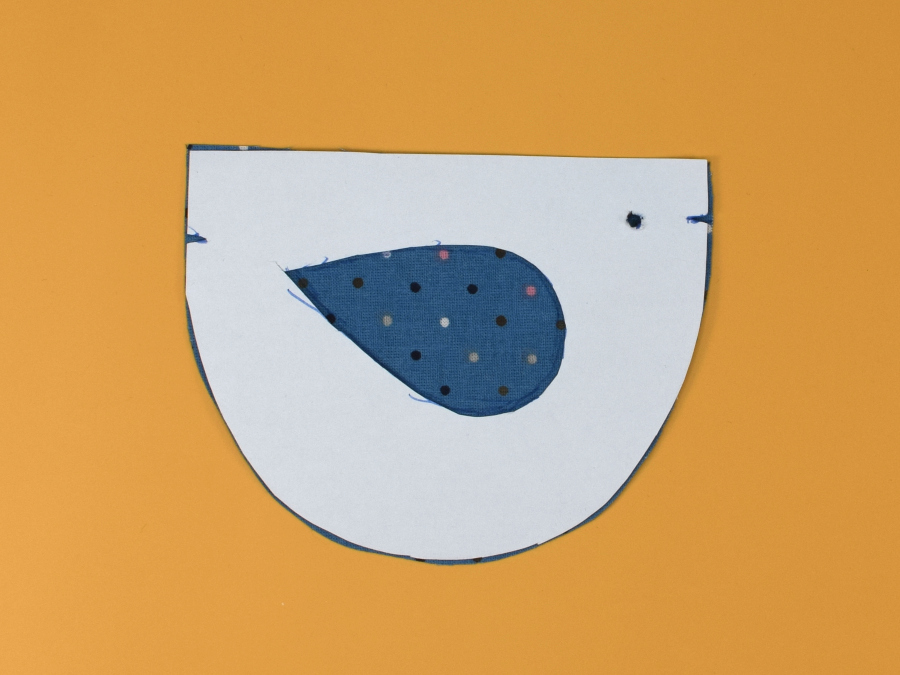
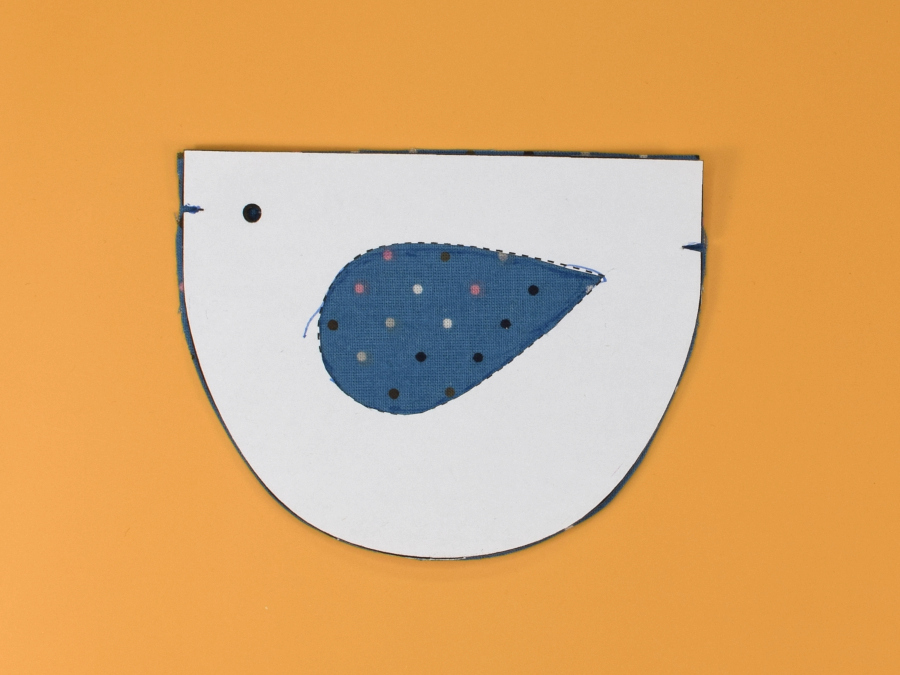
Using the body pattern piece mark the location of the wings, eyes, beak, and tail on the body pieces.
I like to cut a small clip in the fabric for the beak and tail.
I use erasable markers or chalk for the wings, depending on the color of the fabric.
For the eyes, I use chalk or permanent markers since they will be covered up later.
Making the Beak
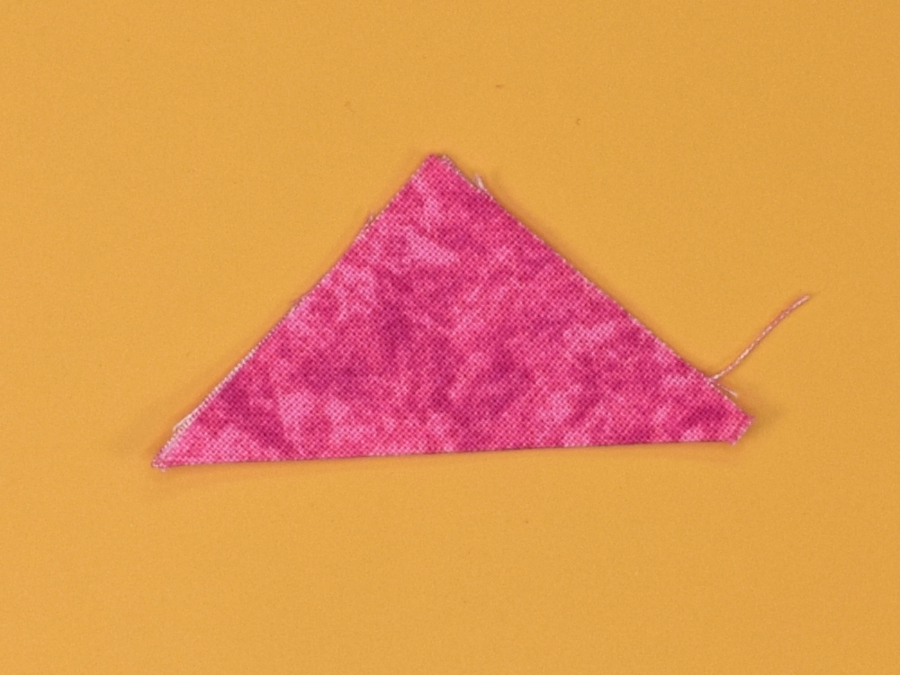
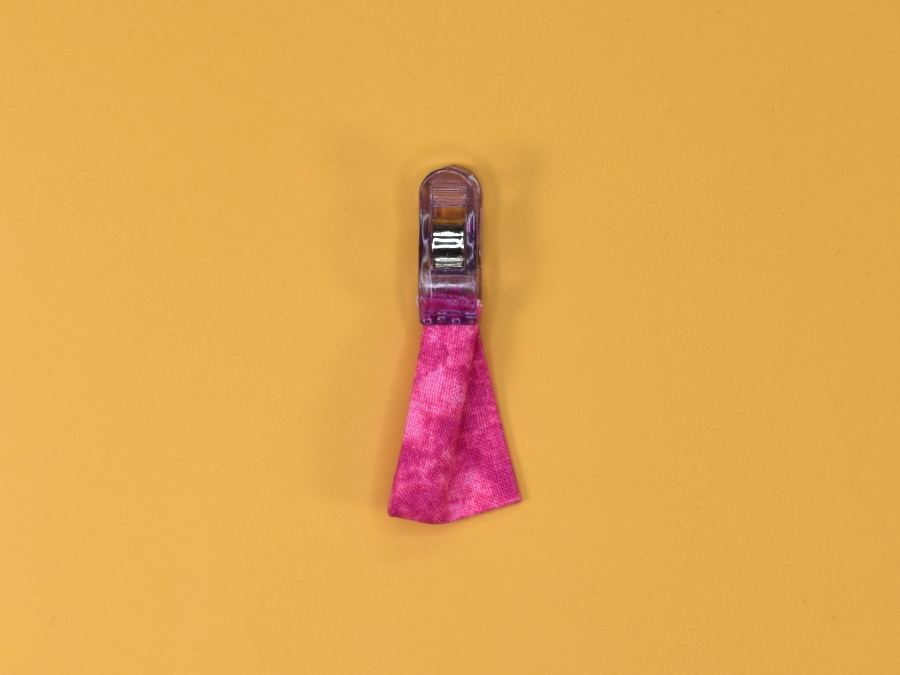
Fold the square in half point-to-point to create a triangle. Press
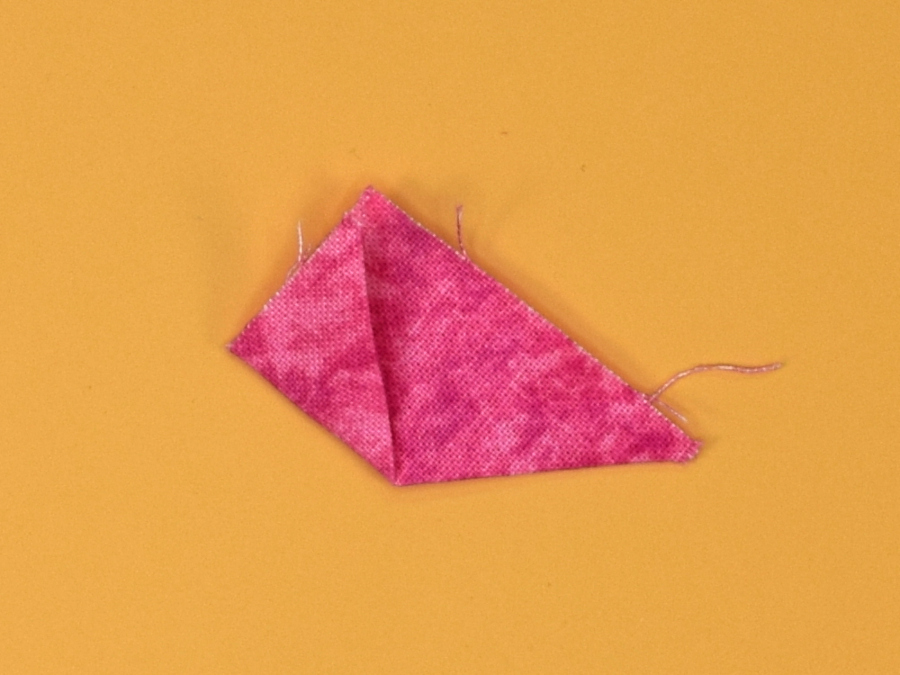
Fold the outer points toward the top point to create a diamond. Press
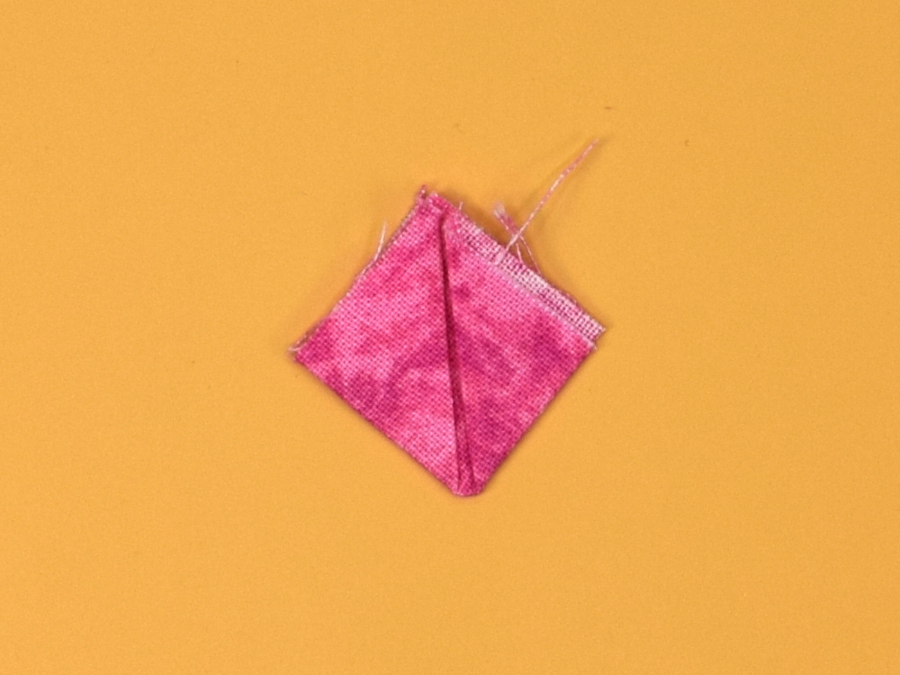
Fold the diamond in half. Press
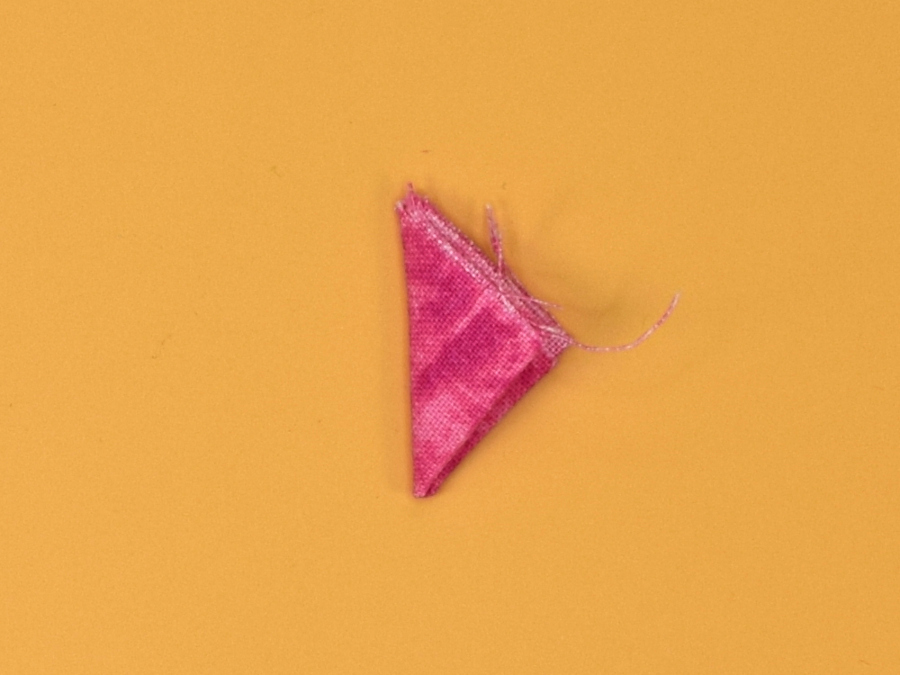
If needed clip or pin to secure. Set aside
Making the Tail
Sew the tail piece right sides together lengthwise to create a tube
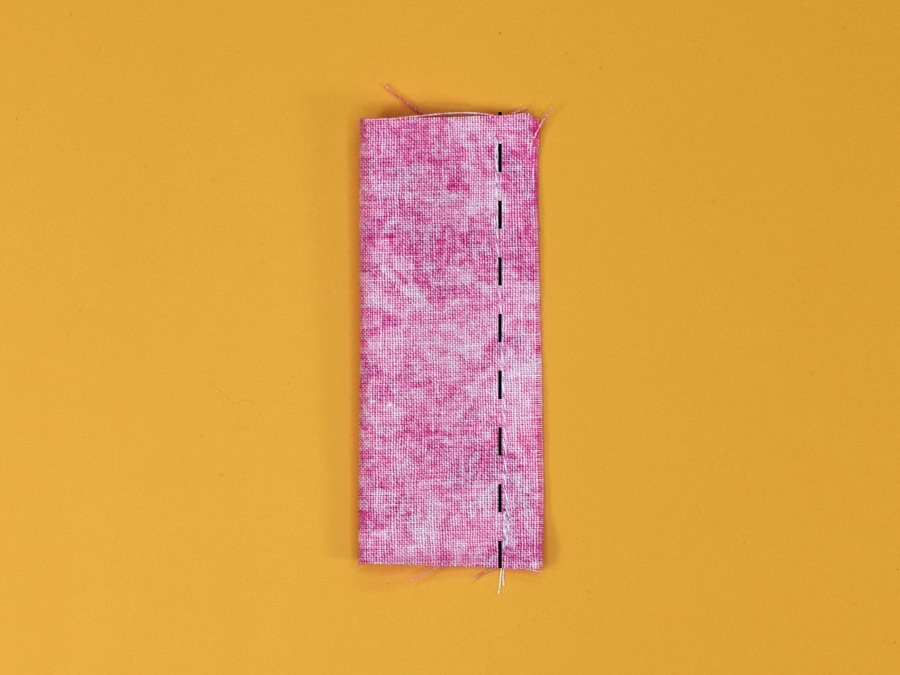
Turn right side out.
Fold at seam and press flat
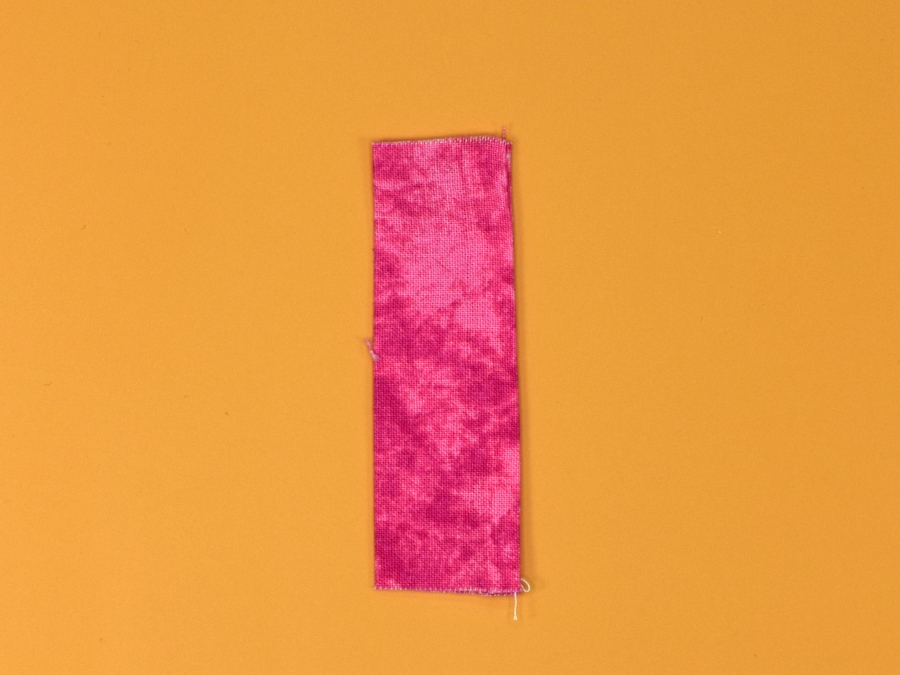
Fold in half so the ends are together.
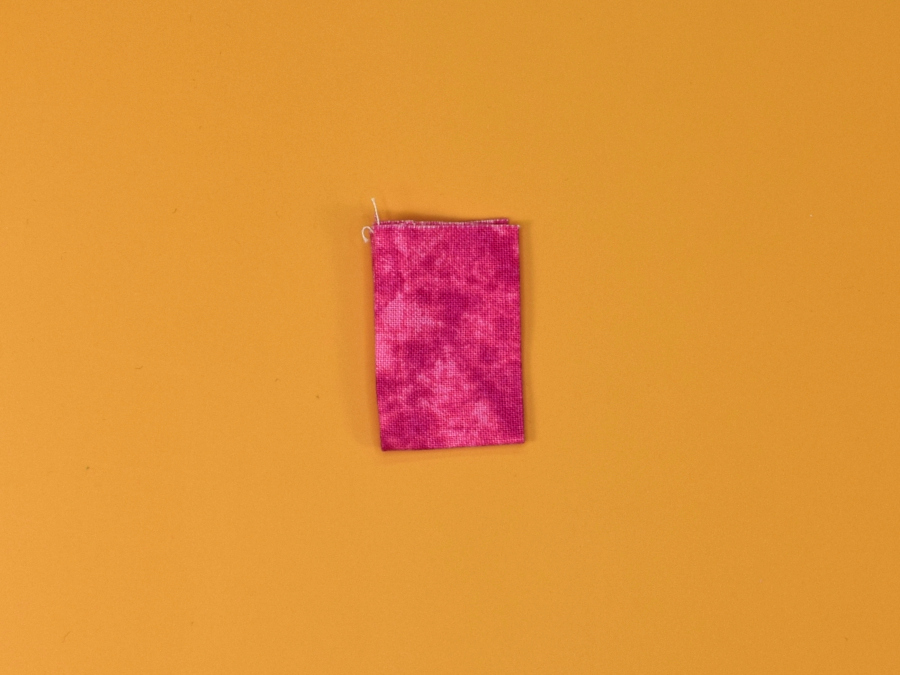
Gather the ends in an “S” or zig-zag shape. Press
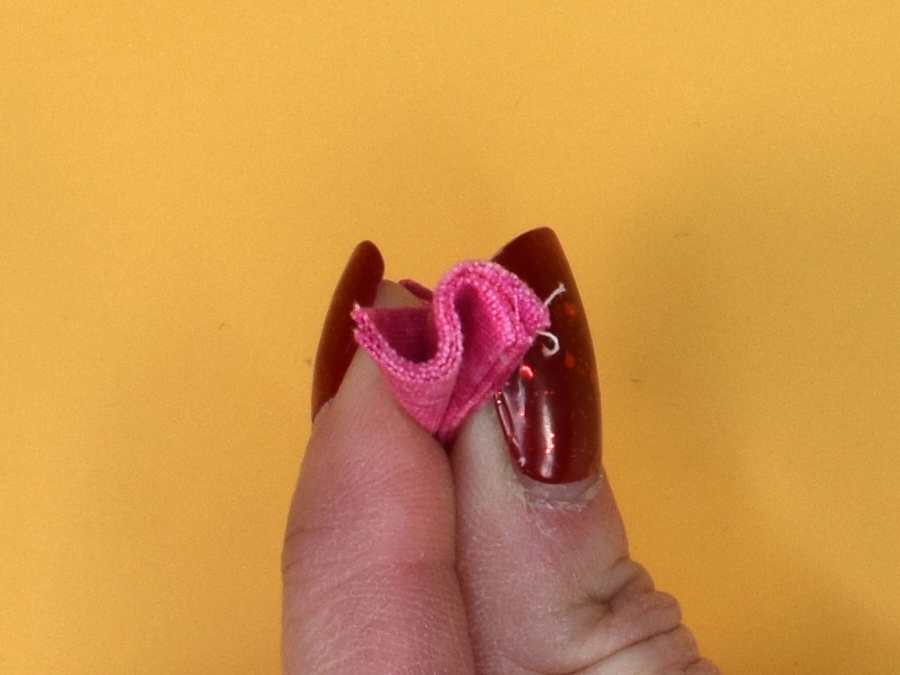
If needed clip or pin to secure. Set aside
Making the Wings
Sew wings together with right sides together using a 1/4″ seam allowance.
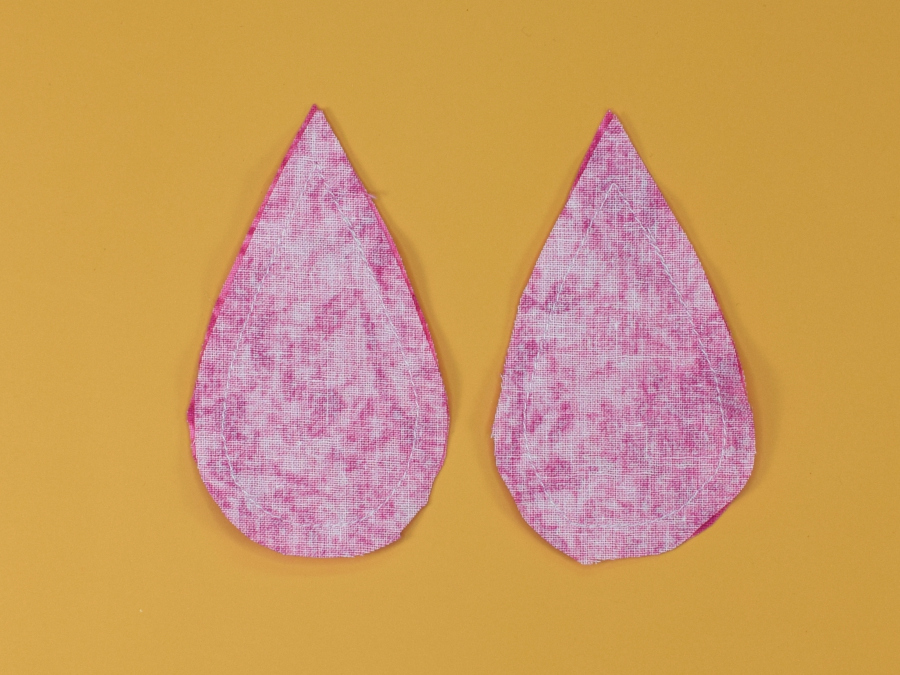
Trim around the point and notch or use pinking shears to trim around the rest of the wing.
Pull the wing fabric apart and on one layer of the wing clip a slit being careful to not clip through both layers. Use this hole to turn the wing right side out. Use a turning tool to push out the point and seams.
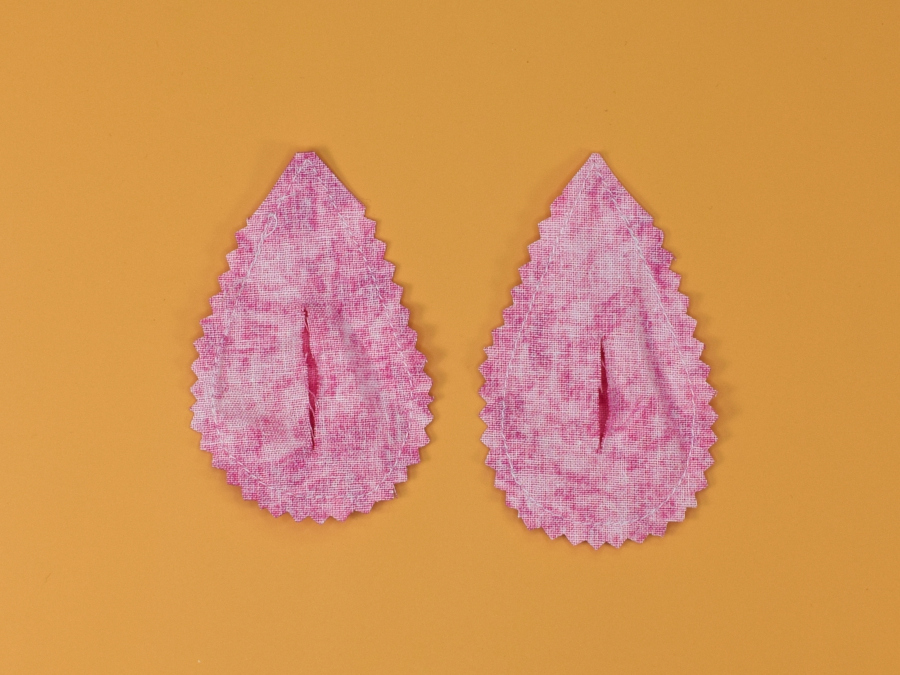
Press
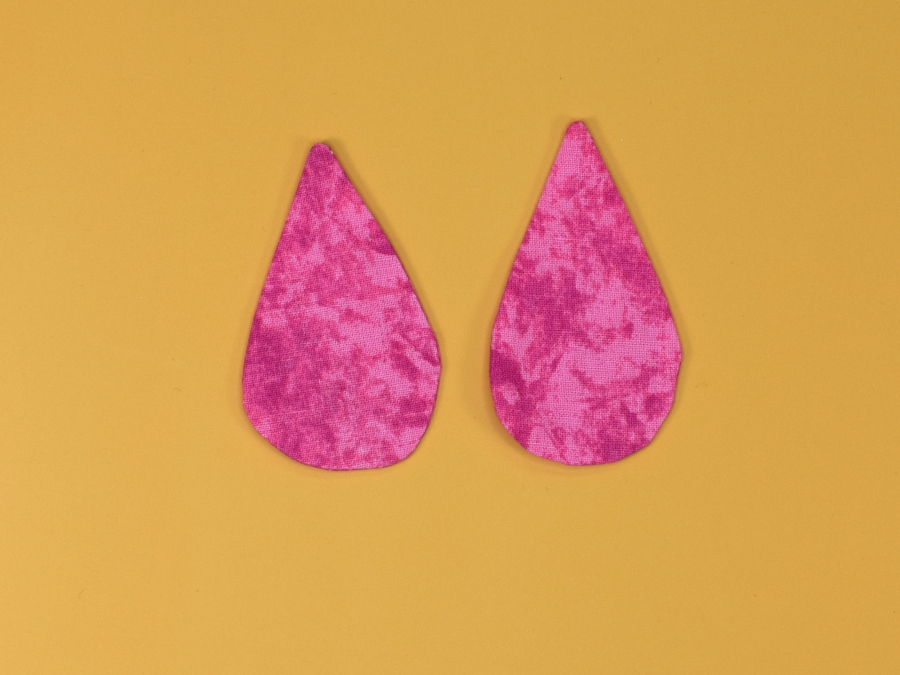
Repeat for the other wing
Position the wing onto the body. You can use pins to hold the wing in place but I like to use a glue stick. It’s not permanent but sticks just enough to hold the wing in place while sewing.
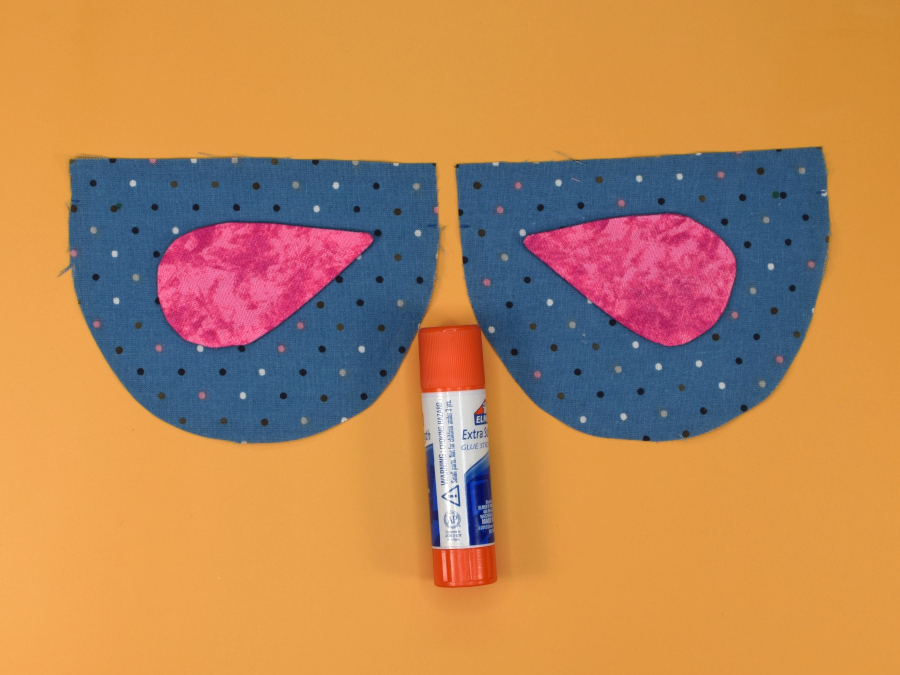
Sew around the perimeter of the wing using a narrow edge stitch. A narrow foot or a zipper foot is perfect for this. You may also want to reduce your stitch length when going around the curves.
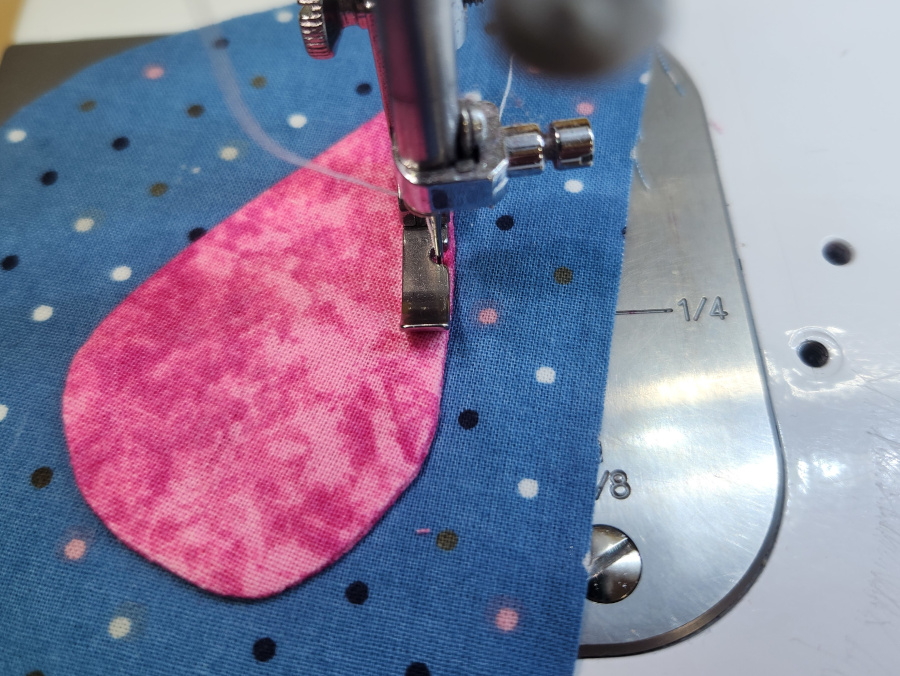
Repeat for the other wing and body pieces making sure they are mirrored.
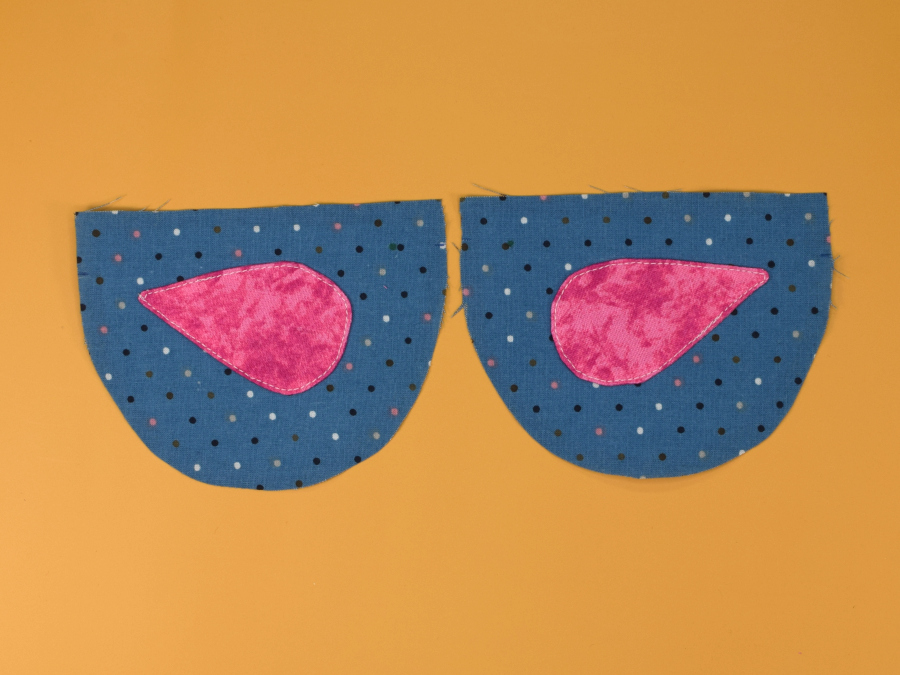
Grab the body piece where the wing tip is pointing to the right. Set the other body piece aside for now.
Attaching the Beak and Tail
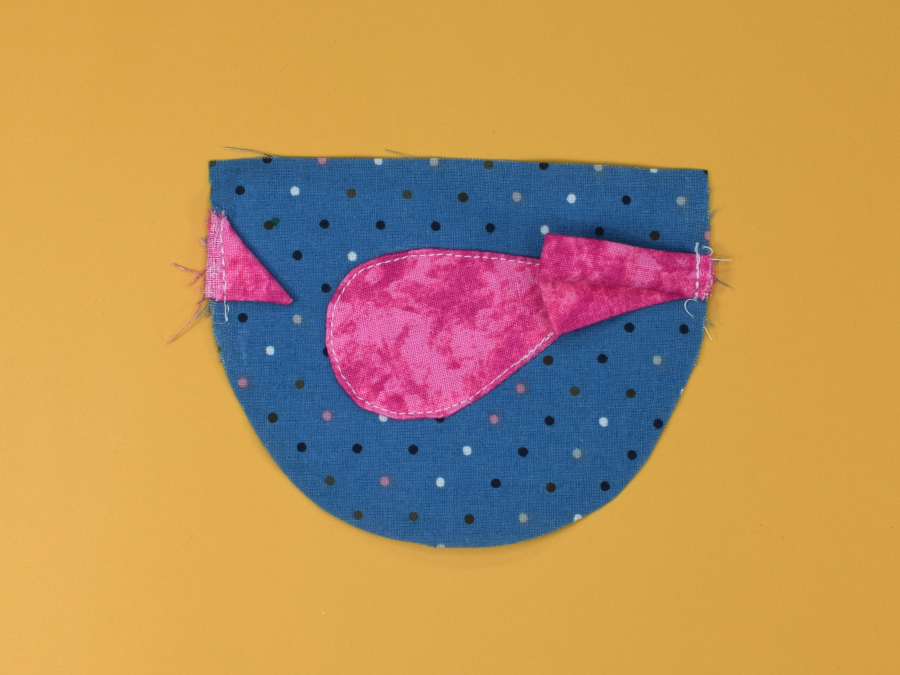
Place the beak on the body below the beak mark. You will be lining up the seams lines and the beak will be pointing to the inside.
Baste into place.
Place the tail on the body below the tail mark. You will be lining up the seams lines and the tail will be pointing to the inside.
Baste into place.
Optional: Adding the Eyes Before Sewing
You can use any small round black item for the eyes such as small buttons or beads. If you plan to sew the eyes on you will want to do it at this point. If you plan to glue or mark the eyes you can wait until the end.
Zipper
Trim the zipper to 4 1/2″.
It’s also a good idea to baste the ends of the zipper to ensure the zipper pull doesn’t get pulled off.
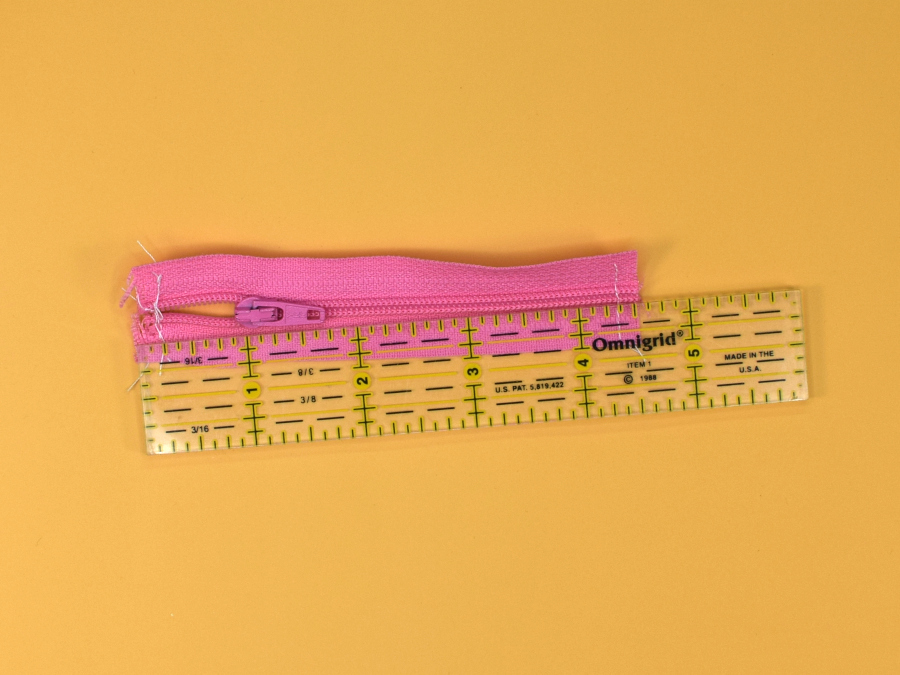
Mark the centers of the zipper, body pieces, and lining pieces by folding them in half and cutting a small notch in the centers as shown here.
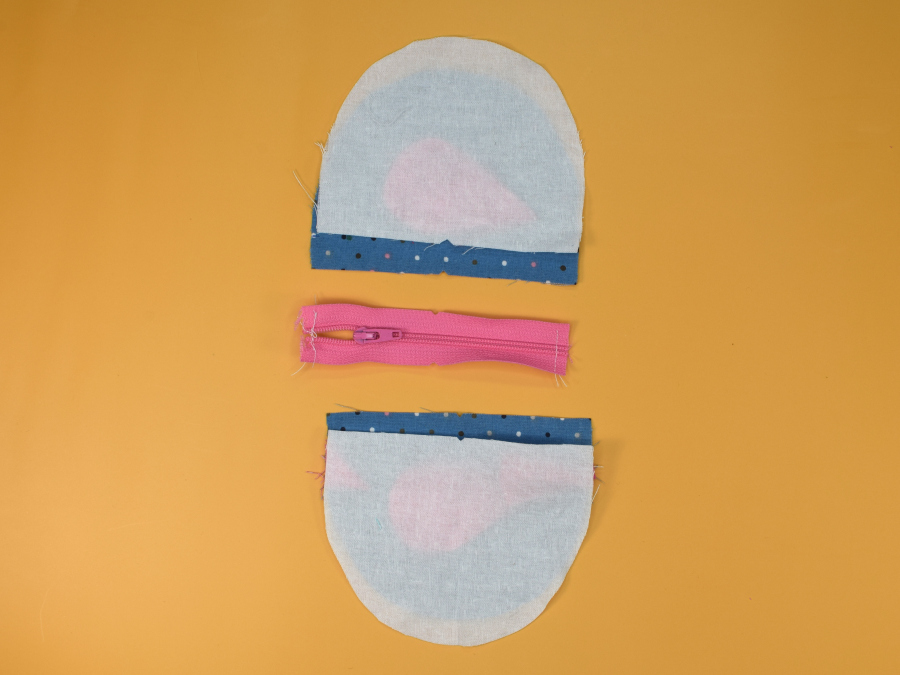
Using the body piece with the beak and tail, place the zipper facing down, with the pull tab against the facing side of the body, and line up the center marks.
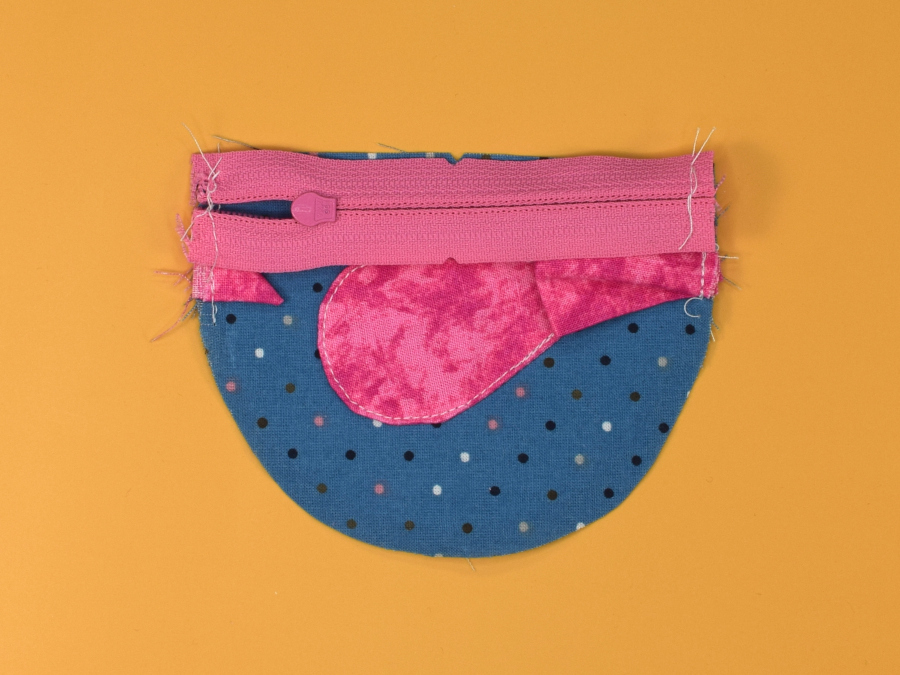
If needed, pin or clip in place.
Now take one lining piece and place it on top of the zipper tape so the lining and facing are right sides together. Match up the center marks.
Pin or Clip to secure the lining, zipper, and facing.
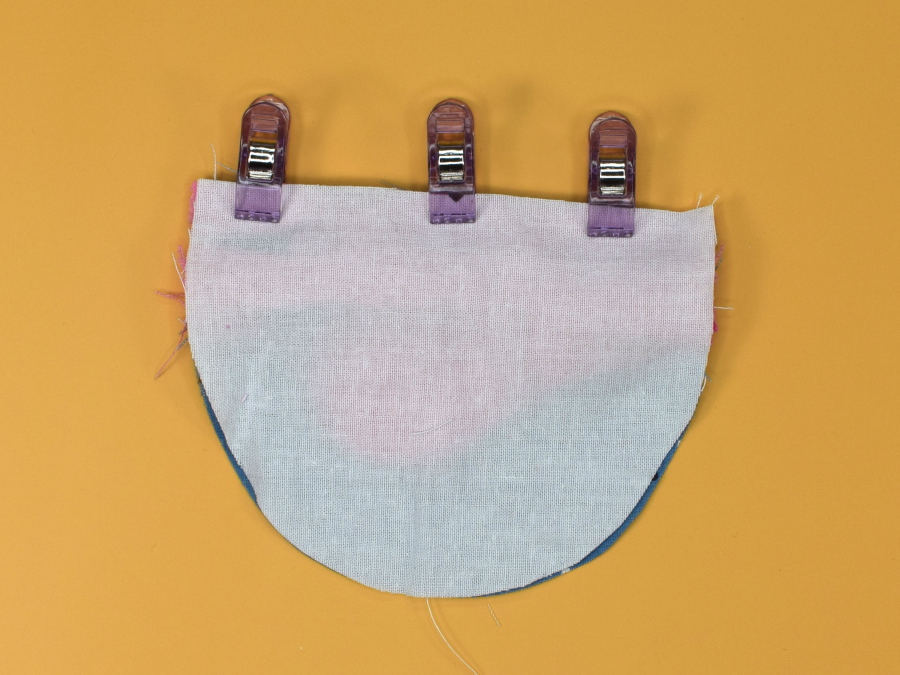
Using a zipper foot sew the zipper in place with a 1/4″ seam allowance.
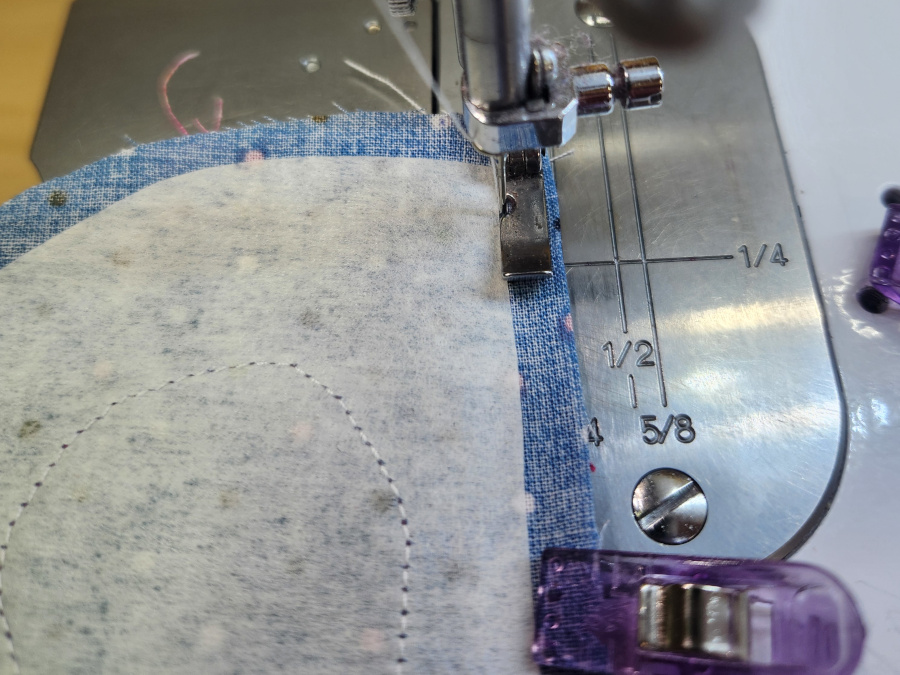
Repeat for the other side.
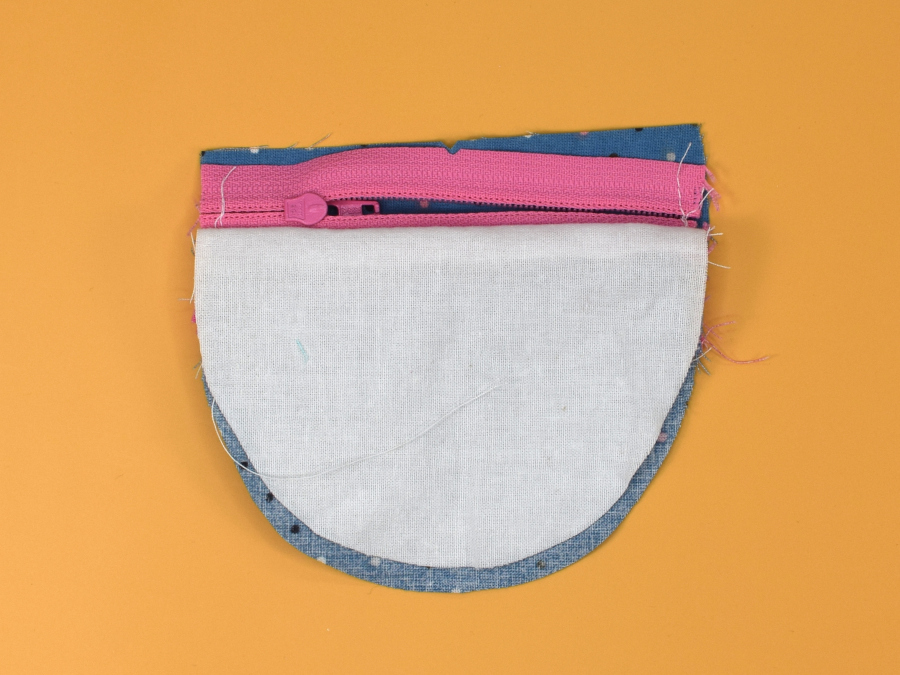
Press the facing and lining pieces out, away from the zipper teeth.
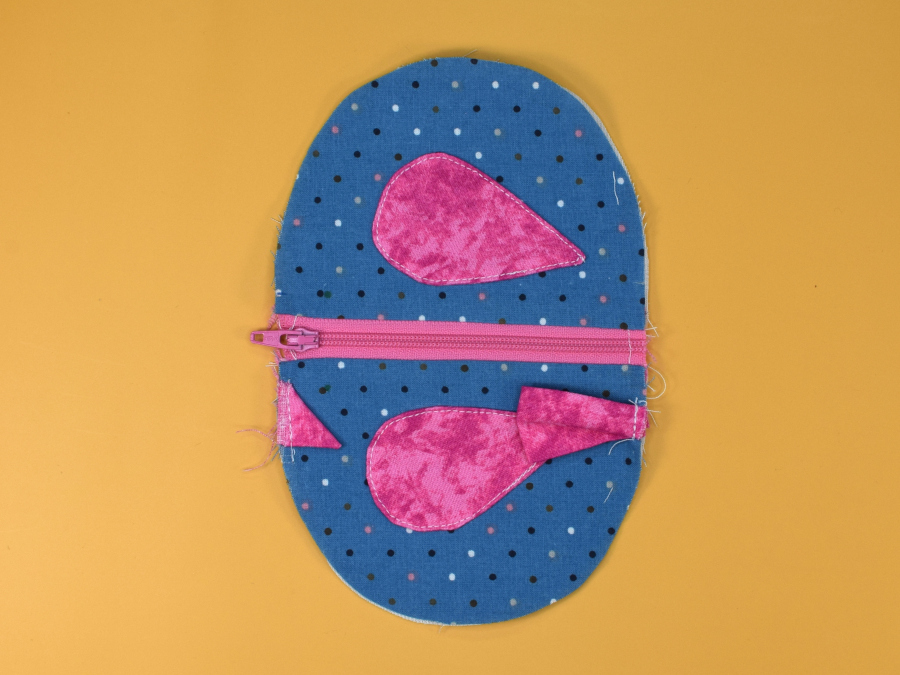
Using a zipper foot top stitch next to the zipper tape.
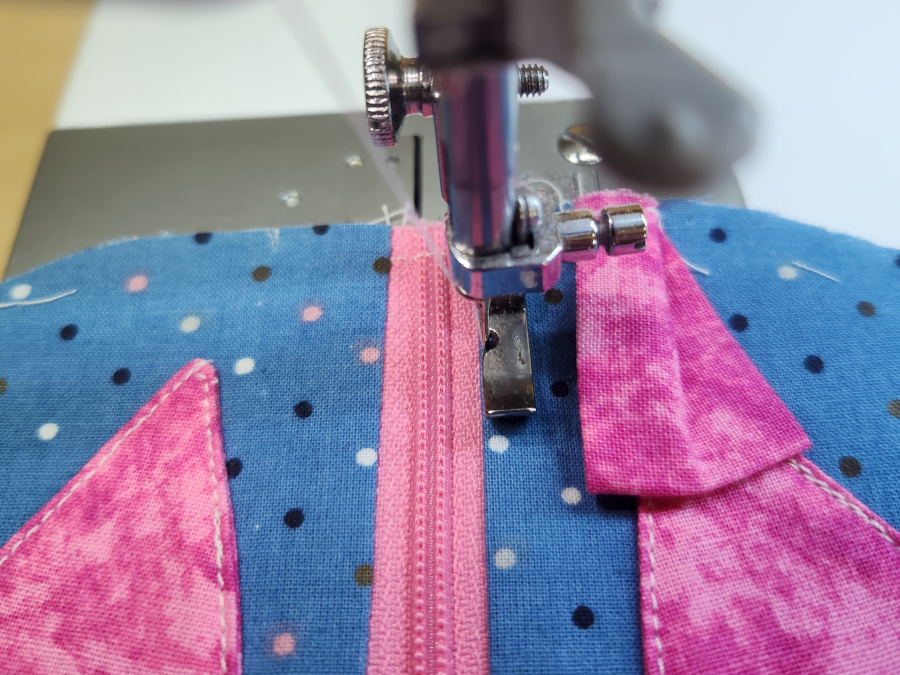
Open the zipper most of the way. If your zipper is trimmed or not closed at the end be careful not to pull the zipper tab off the zipper tape.
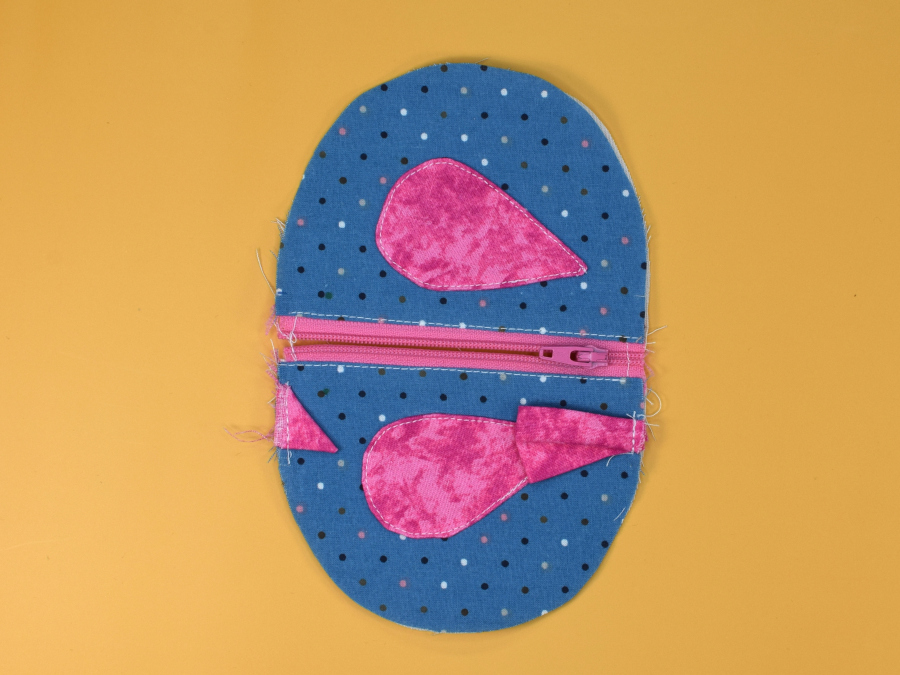
Sewing the Body
Match the face and lining pieces to each other with the right sides together and make sure the zipper teeth are against the body facing not the lining.
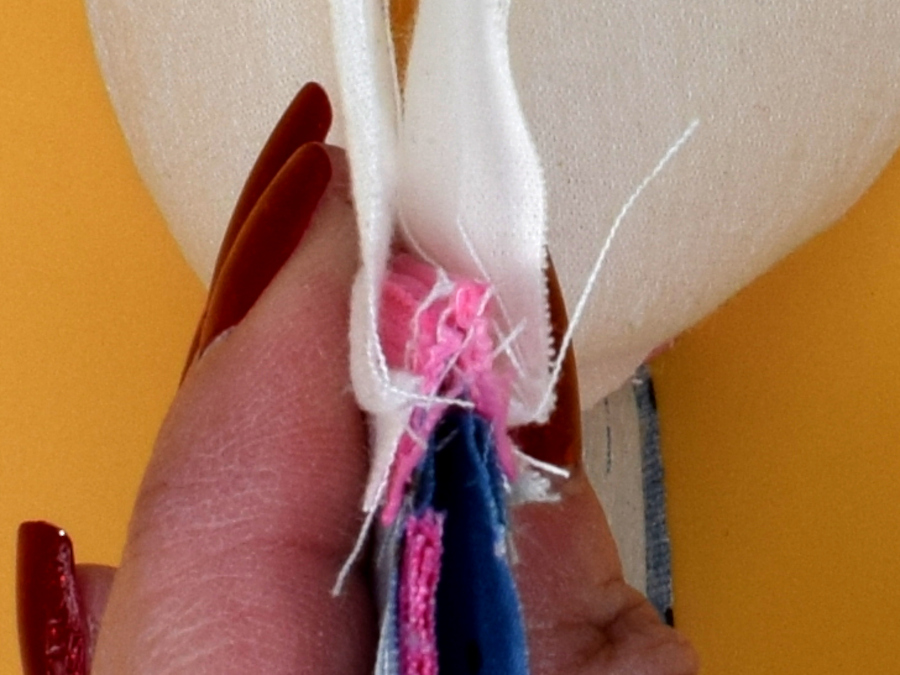
Pin or clip if needed.
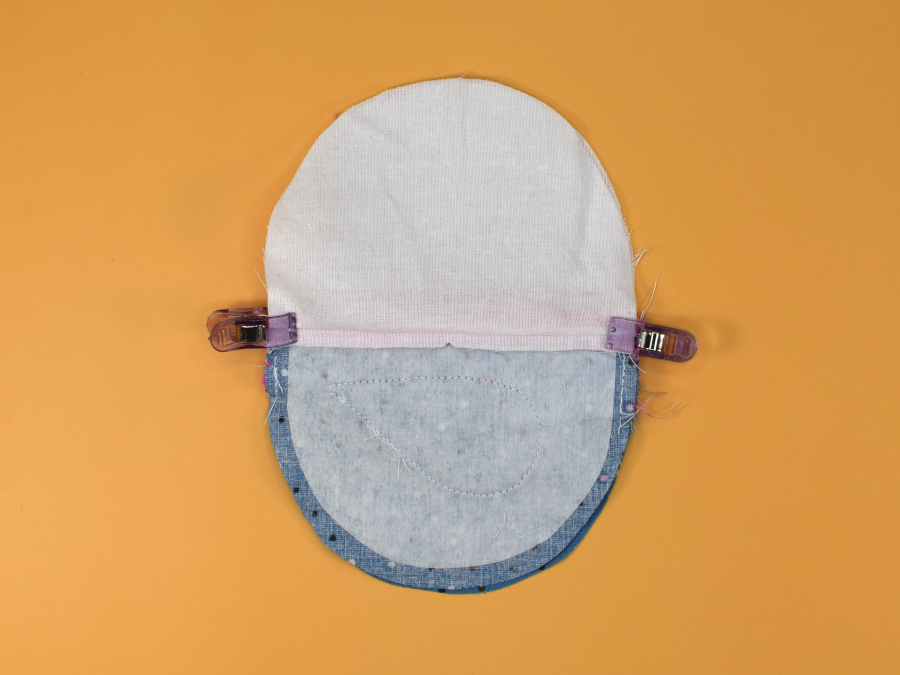
Starting at just off center of the lining sew around the seam with a 1/4″ seam allowance leaving an opening in the lining for turning.
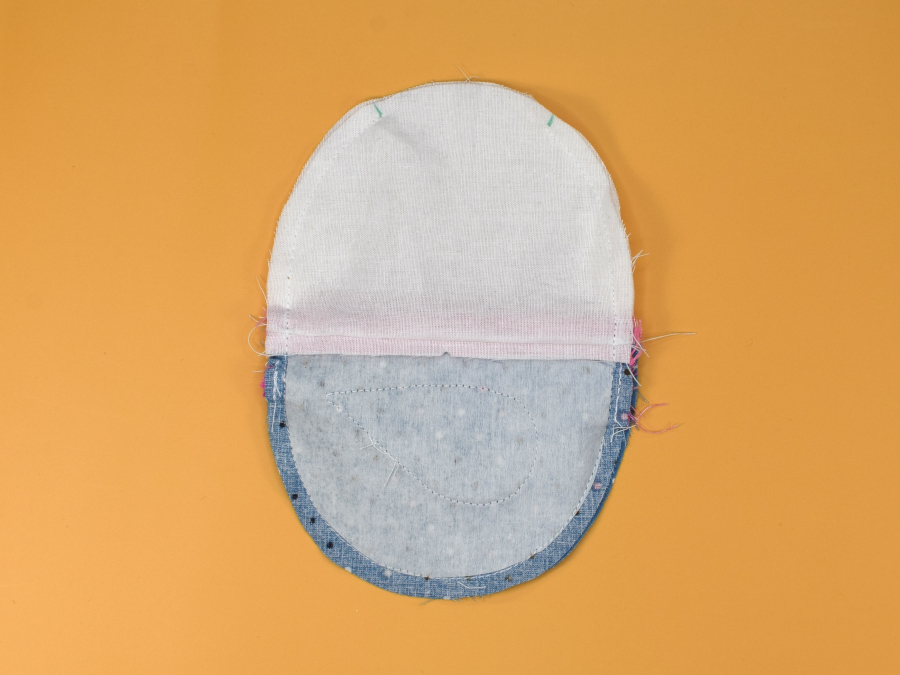
Turn right side out.
Using a turning tool, push and smooth out the seams.
Press
You can either hand stitch or machine stitch the lining piece closed. I just machine stitch.
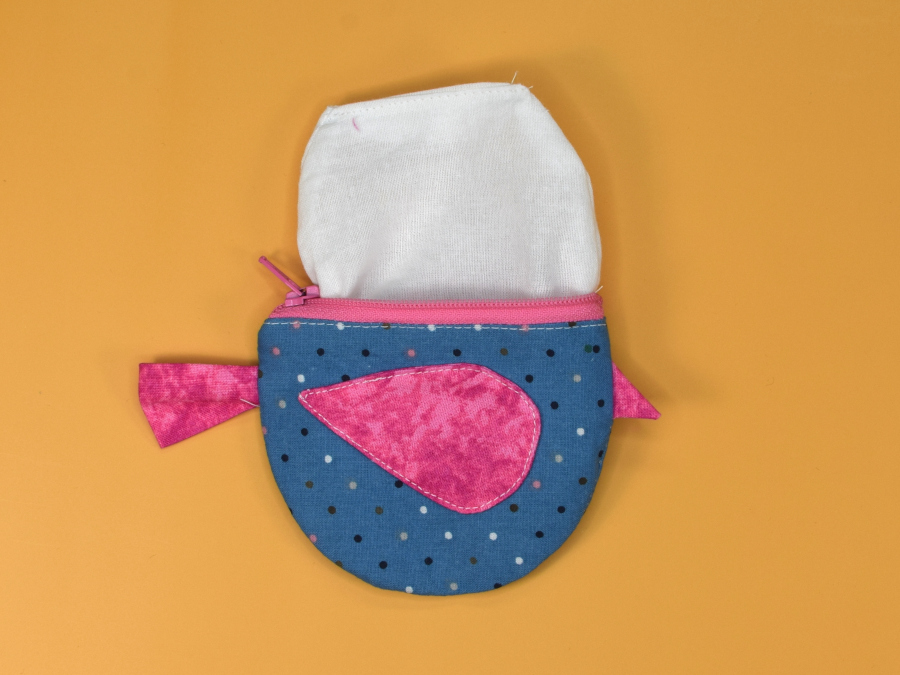
Optional: Adding the Eyes After Sewing
If you didn’t sew the eyes on you have other options. You can just draw them on with marker or fabric paint. You can glue on small beads or buttons. You can use black, fabric hot glue, which works pretty well. I’m using dimensional fabric paint, just make sure you allow it to fully dry before handling.
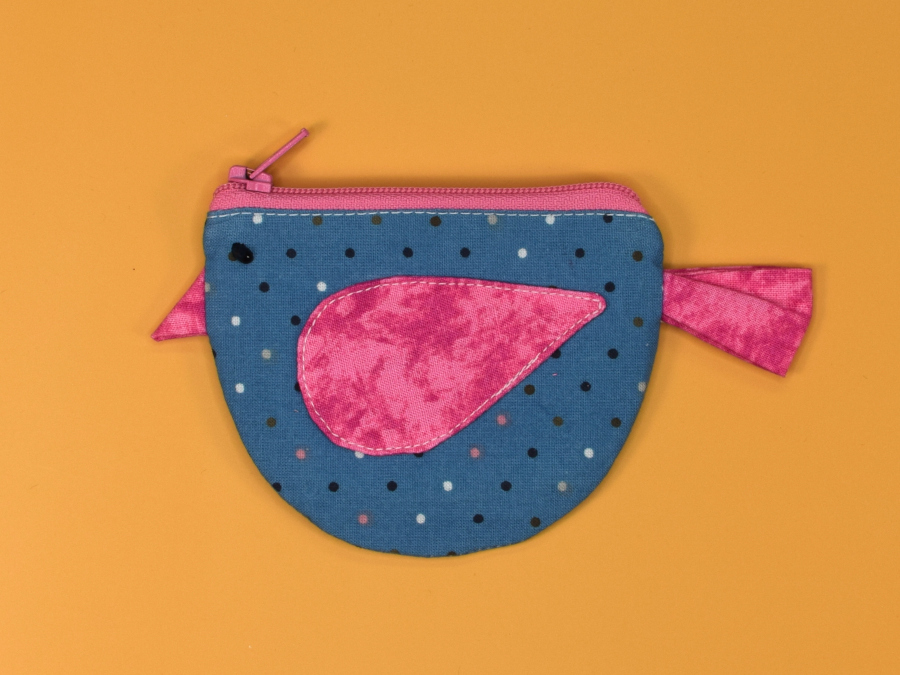
Congratulations! You now have a cute Bird Coin Purse!
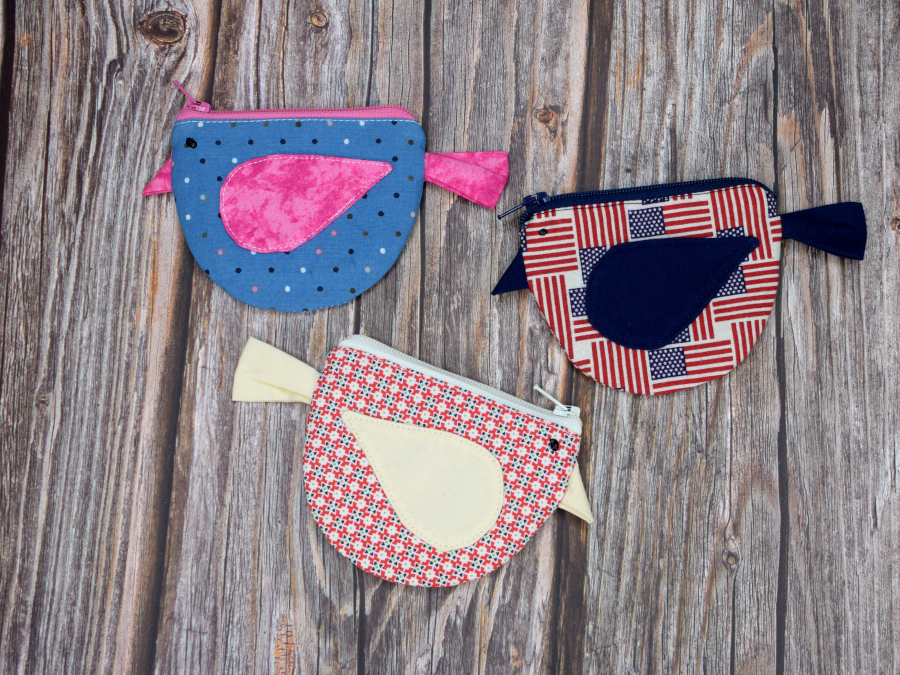
Let me know if you made this project. I also encourage questions or feedback on my instructions.
What other coin purse designs would you like to see?
Good luck with your sewing adventures!
Kelly
Please save it for later on Pinterest:
