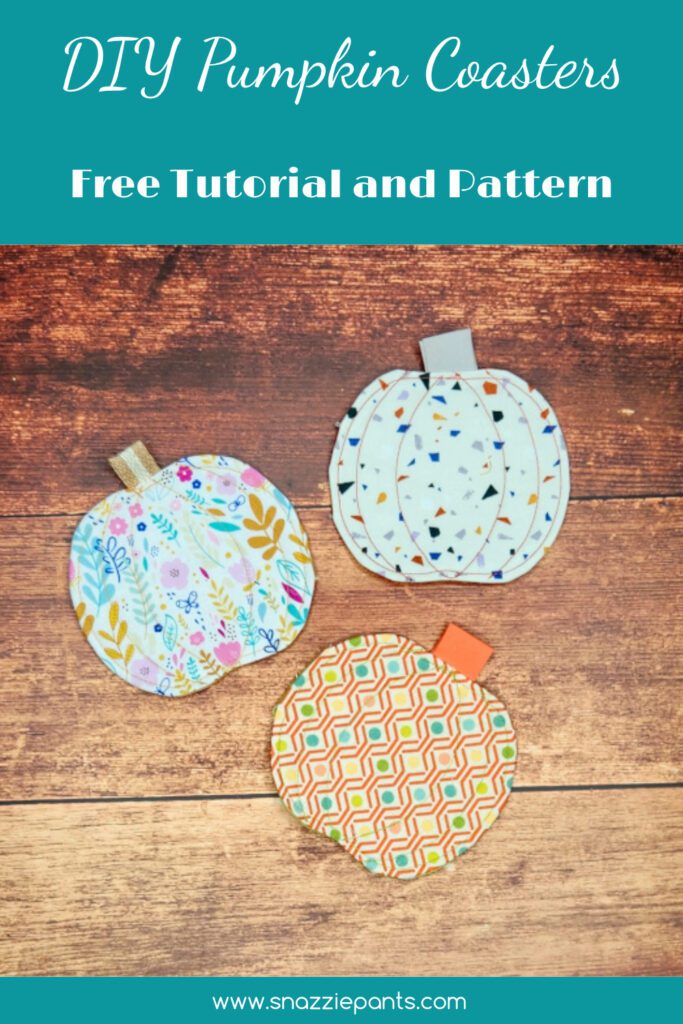
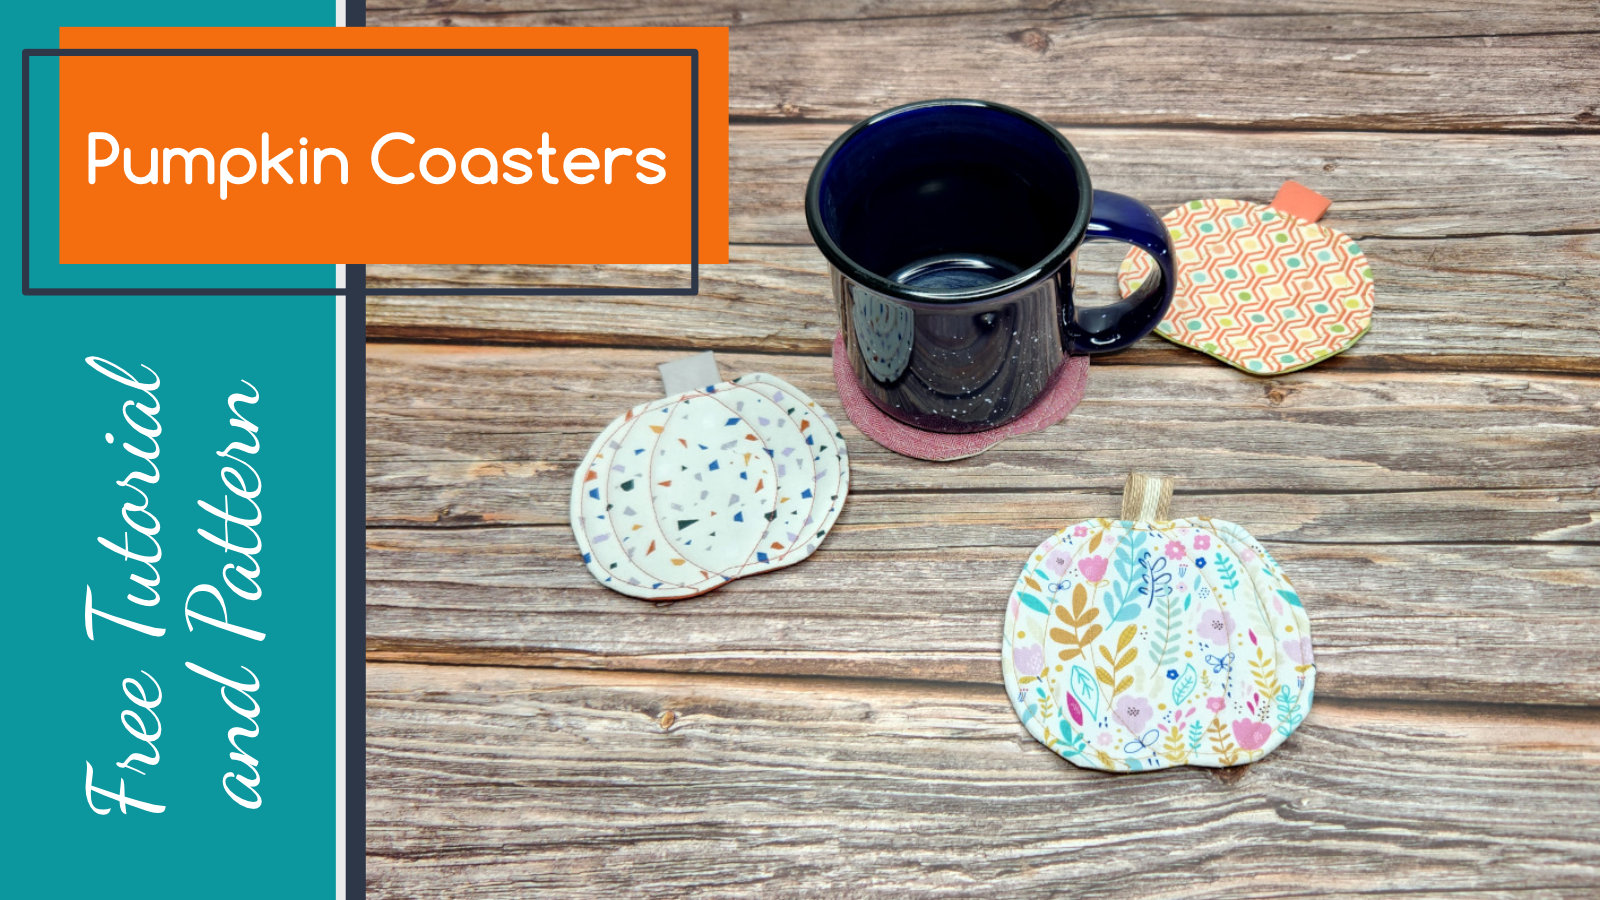
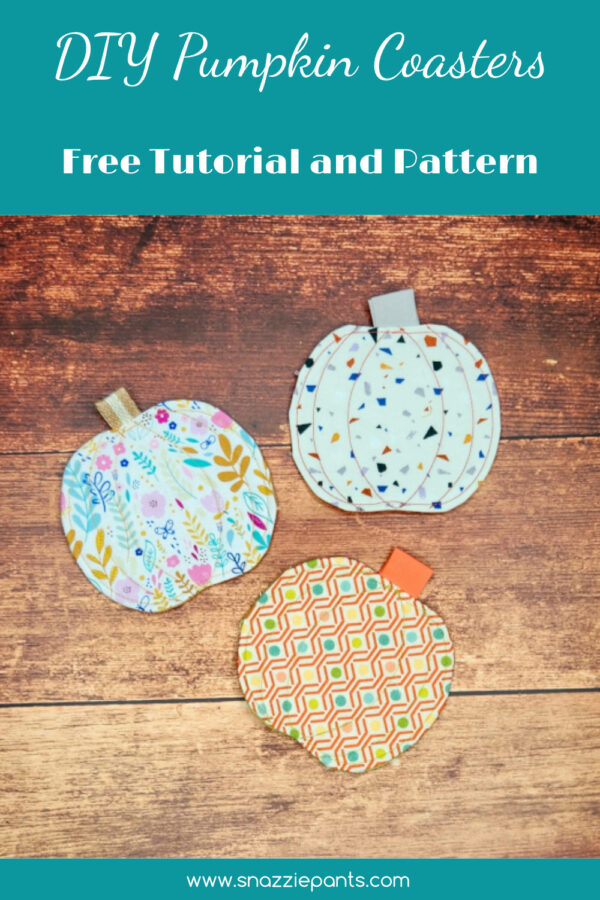
DIY Pumpkin Coasters: Sewing Tutorial with Free PDF Pattern
Fall is here, and there’s no better way to celebrate the season than with a cozy, handmade touch for your home! In this tutorial, I’ll show you how to sew adorable Pumpkin Coasters that are as functional as they are festive. Perfect for protecting your surfaces during gatherings or simply enjoying a warm drink on a crisp autumn day, these coasters are a quick and satisfying sewing project.
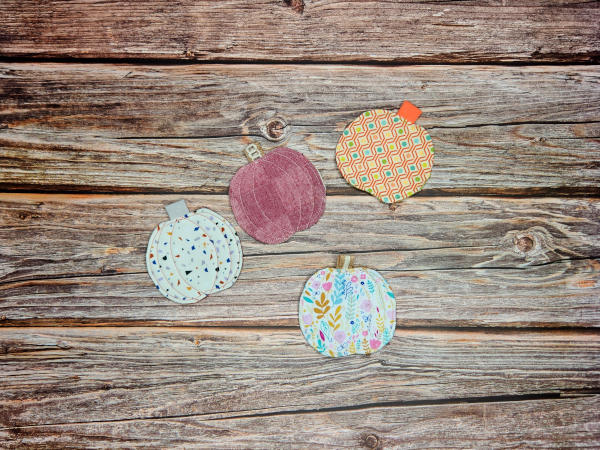
To make things even easier, I’ve included a free PDF pattern download with all the pieces and topstitching templates you’ll need to get started. Whether you’re a seasoned sewist or a beginner looking for a fun project, these Pumpkin Coasters are the perfect way to add a splash of fall charm to your decor. Let’s dive in and get sewing!
Materials:
- Free PDF Pattern
- Fusible fleece such as Pellon 987F Fusible Fleece
- Front Facing Fabric
- Back Facing Fabric
- Ribbon, strapping, bias binding, or something suitable for the pumpkin stem – 1” – 2” and 2 1/2” long
- Fabric-friendly removable marking tools such as tailor’s chalk, disappearing marker, or Frixion marker
For this tutorial, I have provided a free download with the pattern pieces and templates for topstitching the lines on the Pumpkin Coasters. You can get it here: Pumpkin Coaster Sewing Pattern
Step 1: Using the pattern pieces provided in the free download, cut out the front-facing fabric, back-facing fabric, and 2 fusible fleece.
Step 2: Cut a 2 1/2” strip of ribbon or binding for the pumpkin stem. I’m using some jute ribbon.
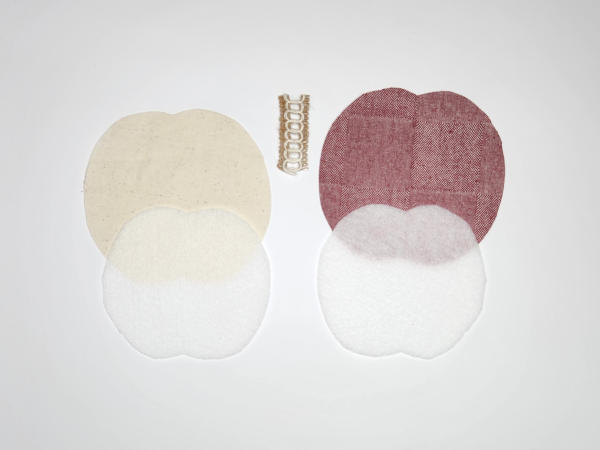
Step 3: Using the manufacturer’s instructions, fuse the fusible fleece to the wrong side of each piece of fabric. Make sure to leave a 1/4” between the perimeter of the fabric and the fleece.
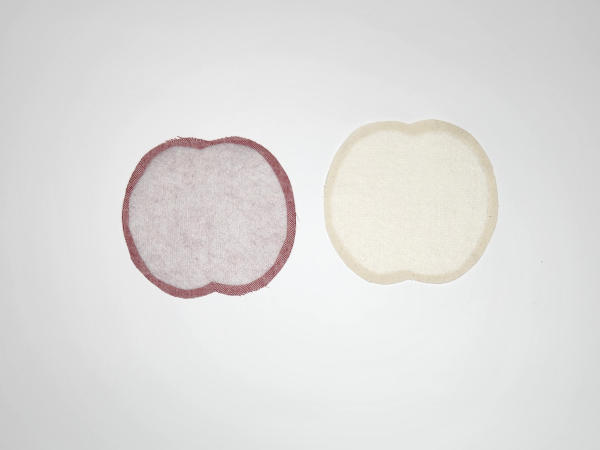
Step 4: Fold the ribbon in half and place it on the right side of one of the Pumpkin Coaster pieces so the raw edges are on the top of the Pumpkin Coaster.
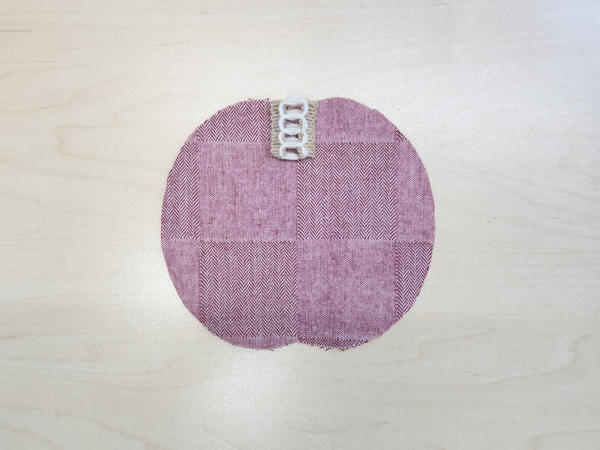
Step 5: Place the other Pumpkin Coaster piece on top of the first Pumpkin Coaster piece, right sides together. Sandwiching the ribbon stem in between. If needed, use clips or pins to secure the pieces together.
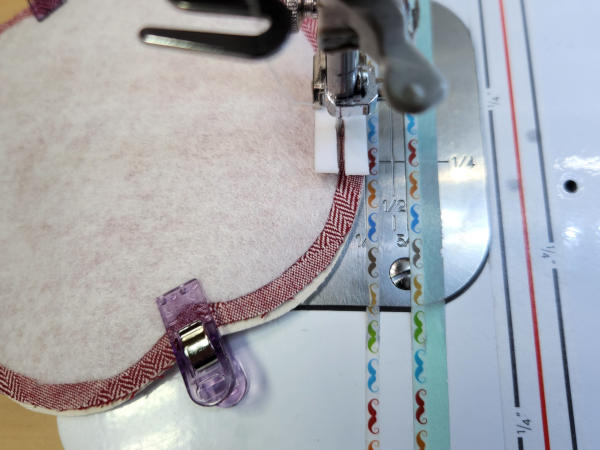
Step 6: Ensure that you leave an opening on the side of the Pumpkin Coaster large enough to turn the Pumpkin Coaster on the right side out. Stitch around the outside of the Pumpkin Coaster pieces.
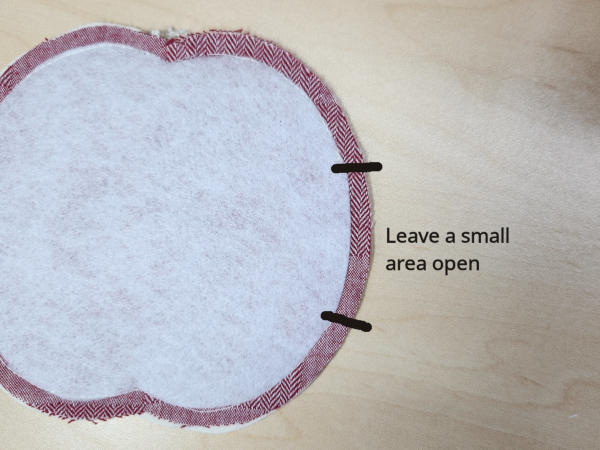
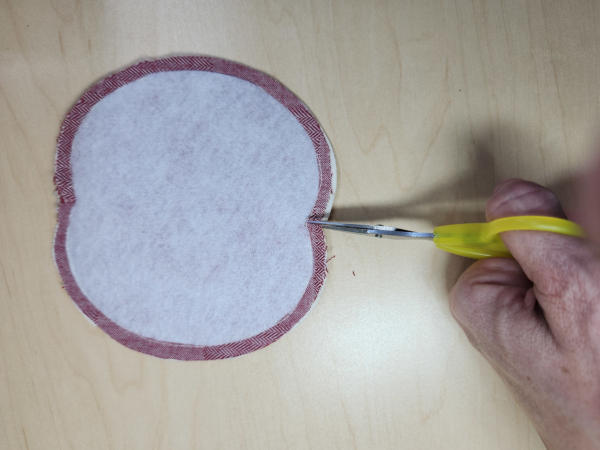
Step 7: Using small, sharp scissors, carefully clip into the indent in the center of the top and bottom of the Pumpkin Coaster.
Step 8: Turn the Pumpkin Coaster right side out. Using a point turner or another tool, carefully push the sides out, making sure they are smooth. Press
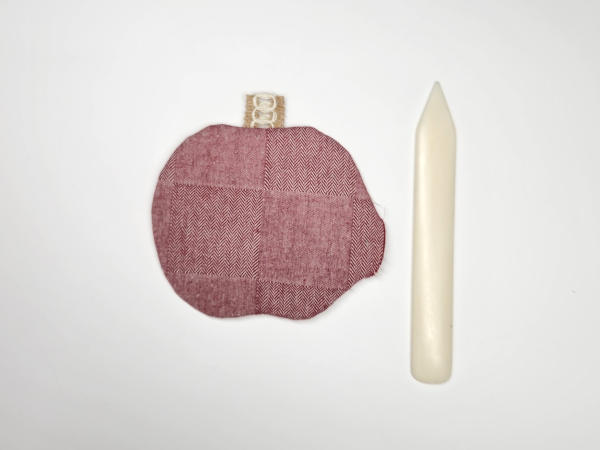
Step 9: Carefully push in the top fabric on the side opening. Try to shape it around the fusible fleece. Press
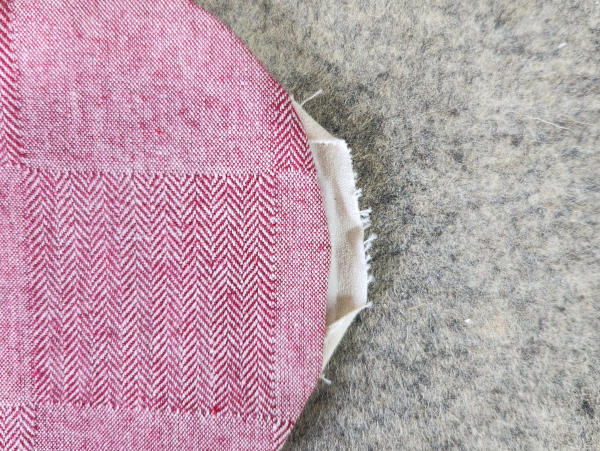
Step 10: Push in the bottom fabric on the side opening trying to match the top fabric. Press
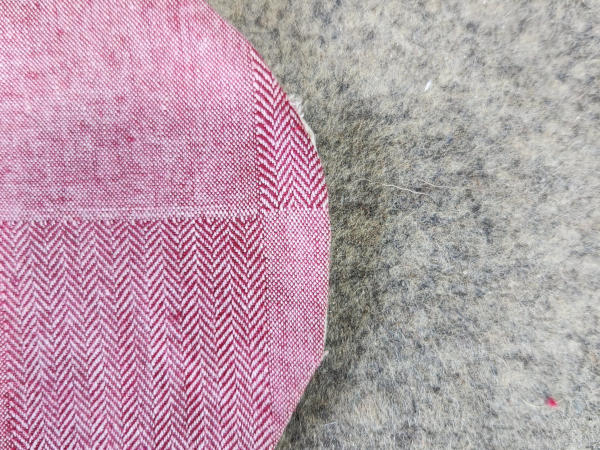
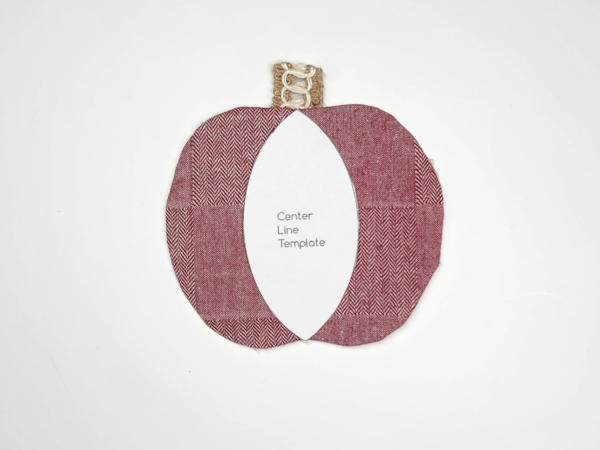
Step 11: Using a fabric-friendly removable marking tool and the center line template from the download, trace the lines as shown.
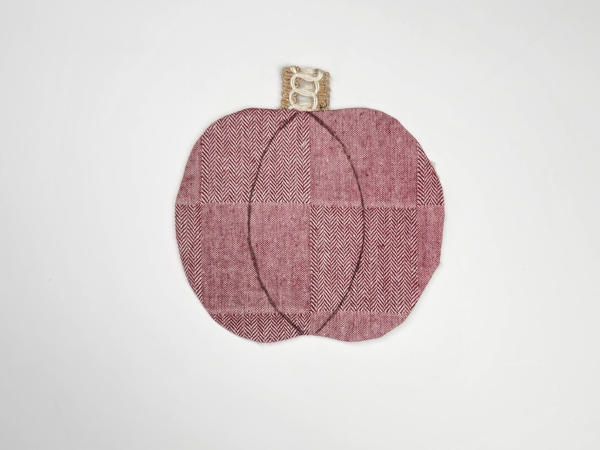
Step 12: Repeat for the outer lines.
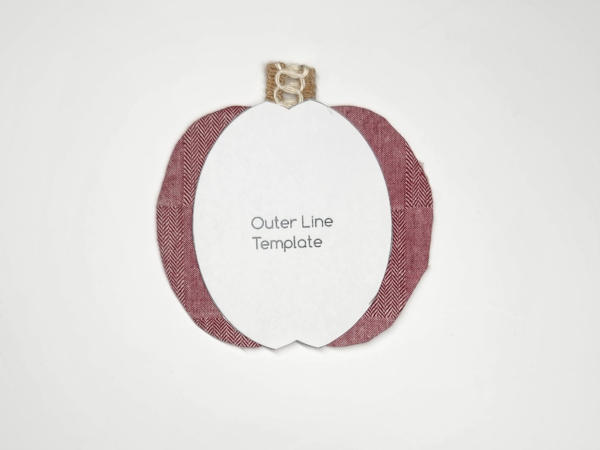
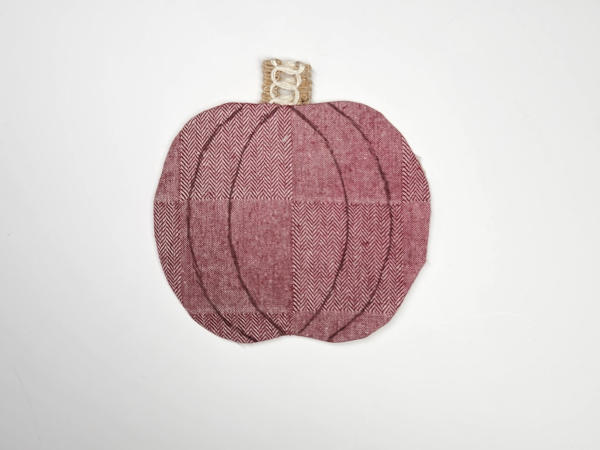
Step 13: Topstitch around the outside of the Pumpkin Coaster at less than 1/4”
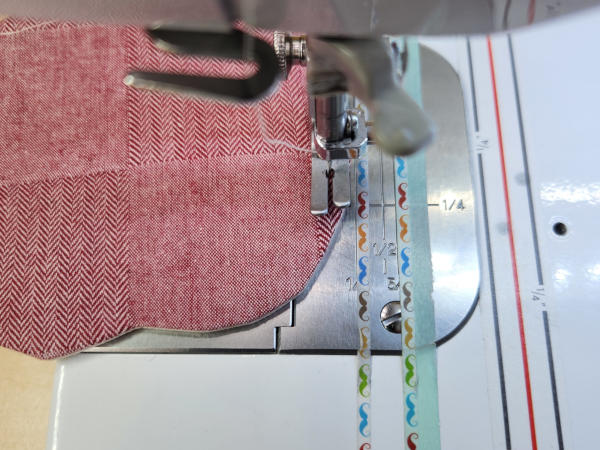
Step 14: Topstitch along the traced lines.
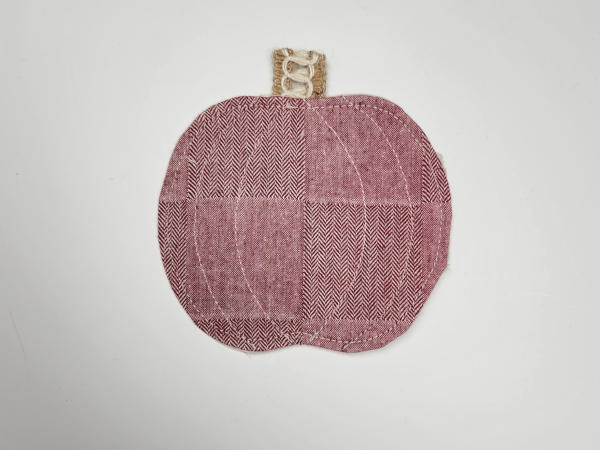
Congratulations! You now have a cute and functional Pumpkin Coaster. Perfect for drinks on Thanksgiving Day.
Happy Sewing!
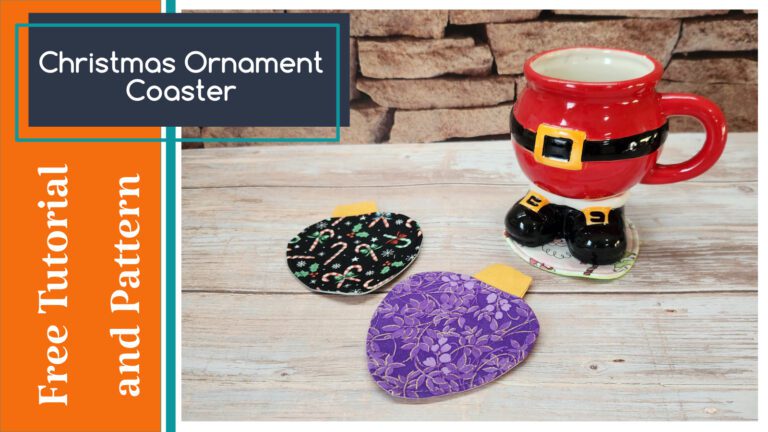
If you are interested in other coaster tutorials check out: How to Sew a Shamrock Applique Coaster – Free Pattern
Please share or save for later on Pinterest!
