Corduroy Jacket – Itch to Stitch Atenas Sewing Pattern
Hello, Snazzie People!
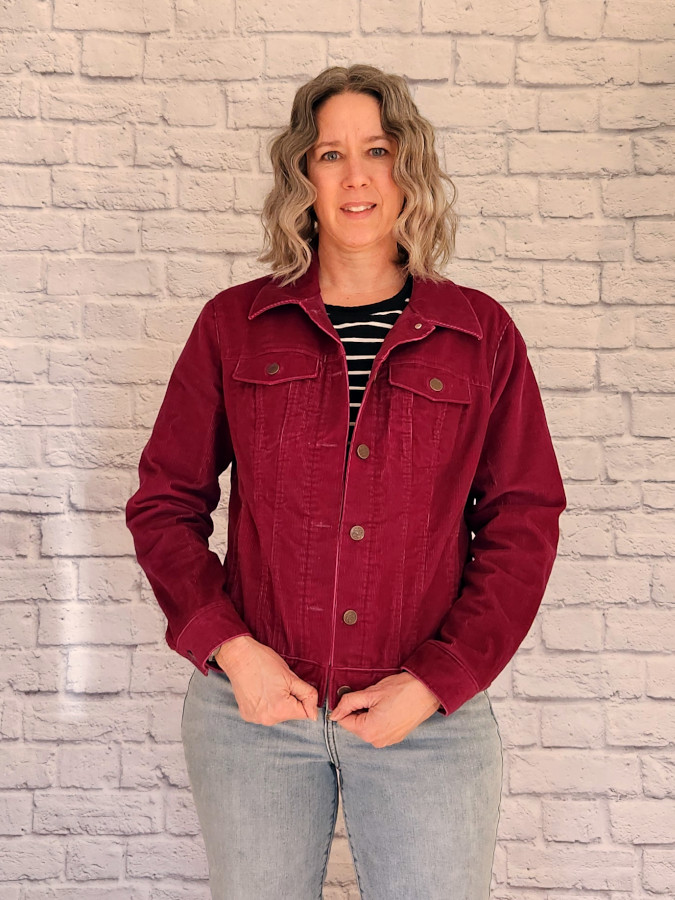
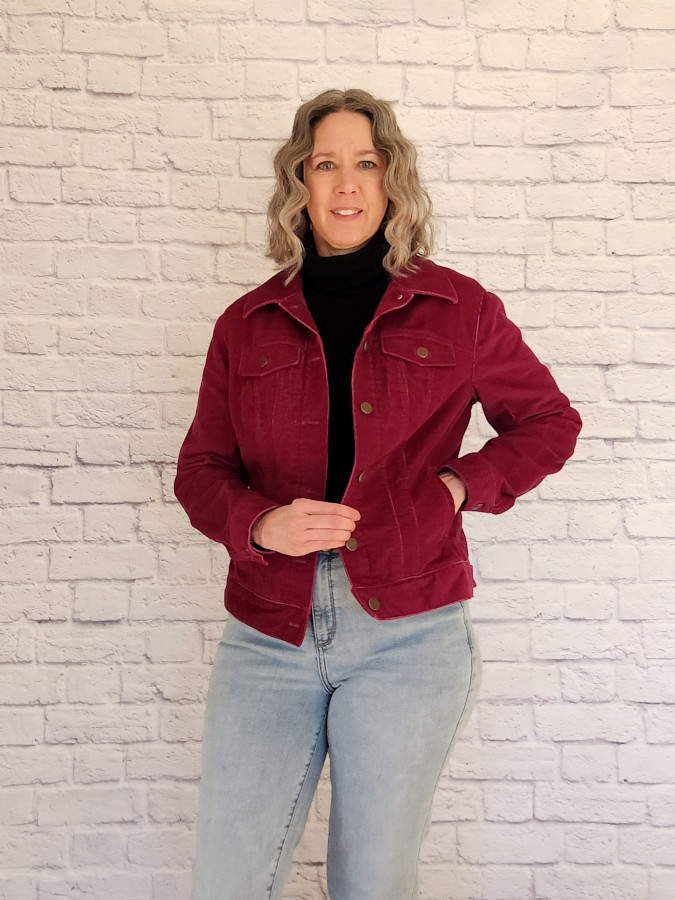
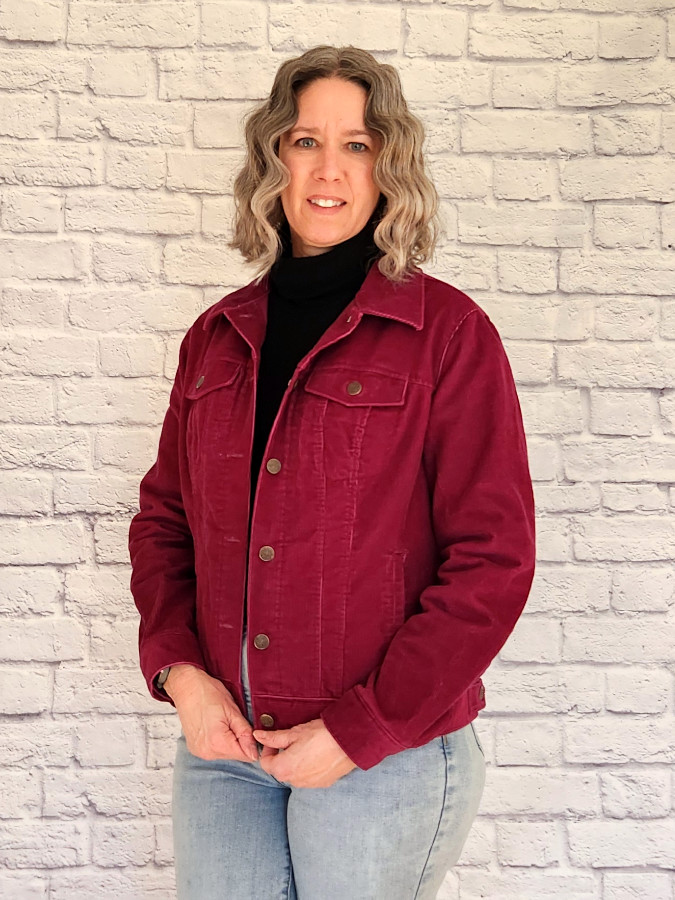
Introducing my new plum colored Atenas jacket. This jacket will be a fun and colorful addition to my winter wardrobe. I’m sure I’ll also be able to wear it into spring and again in the fall. Since it’s a classic, casual layering piece, I’ll have no problem wearing it to my casual office, concerts, and get-togethers with friends and family. I’ll probably even wear it to church.
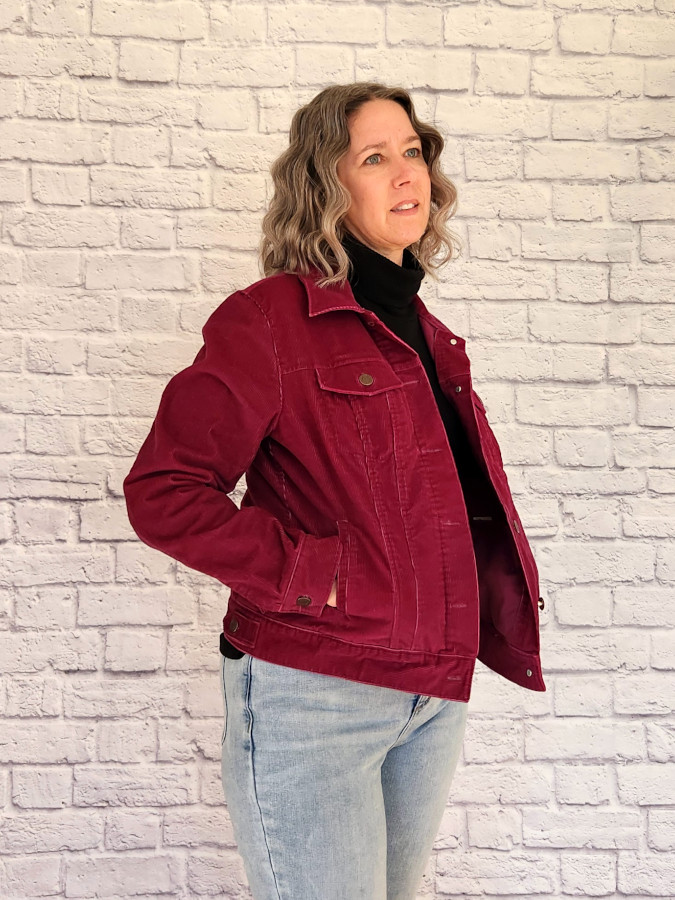
The Itch to Stitch Atenas Jacket is a classic denim jacket, which is why I made two out of corduroy. Why corduroy? I love denim jackets, and I like to wear them as casual layering pieces. One day I saw a lady in church wearing a Kelly green denim jacket, and I wanted to make one for myself. Colored denim is not easy to come by, but I was able to find a green corduroy at Cali Fabrics, so I got some and made my first Atenas Jacket.
I finished my second Atenas Jacket. This was part of my winter wardrobe sewing plans. This one is made out of a plum colored corduroy that I found at my local Goodwill. I found two large cuts of this corduroy. I’m not sure why there was so much of it. I wonder if someone was going to use it for curtains of upholstery or some other home décor. They could have wanted it for clothing, but it’s pretty heavy. I have so much left over that I know I could make a few other garments out of it. I might try making the Itch to Stitch Taroko Skirt. The large amount of fabric ended up being a blessing because I messed up on the chest pockets, but more on that later.
This is the second Itch to Stitch jacket pattern I’ve made. The first was the Winterthur Jacket which is a utility-style jacket. The Winterthur is lined, and I was impressed with how detailed and well written the instructions were. The Atena Jacket was no exception.
I did hear one complaint about the fact that the Atenas Jacket has variable seam allowances but as long as you read the instructions carefully it’s not that bad. You’ll want the larger seam allowances for making flat felled seams, but there’s no point in having larger seam allowances when they are not needed. Personally, I adjust a lot of my commercial sewing patterns to variable seam allowances depending on the part of the garment and the finishing method. For instance, I reduced most seams from 5/8″ to 3/8″ unless I’m going to do a French seam then I’ll make the seam allowance 1/2″. For collars and cuffs, I’ll use a 1/4″ seam allowance.
The only adjustment I made to the pattern is to lengthen the sleeve by 1/2”. This is a common adjustment for me. This was an adjustment I did not make to the Winterthur Jacket, and I wish I had. If the jacket bodice was a little longer or if I was planning to wear it closed, I may have graded out the hip to the next size up, but I decided not to do this for either jacket.
Laying out the Pattern Pieces
I thought I would show you how I try to ensure that I am always on the grain, or at least as close as possible. First, I never use the pattern layout suggestions. They are usually made to allow you to lay every single pattern piece on the fabric at once and cut it out. Instead, I work in batches starting with the larger pieces and working my way down to the smaller pieces.
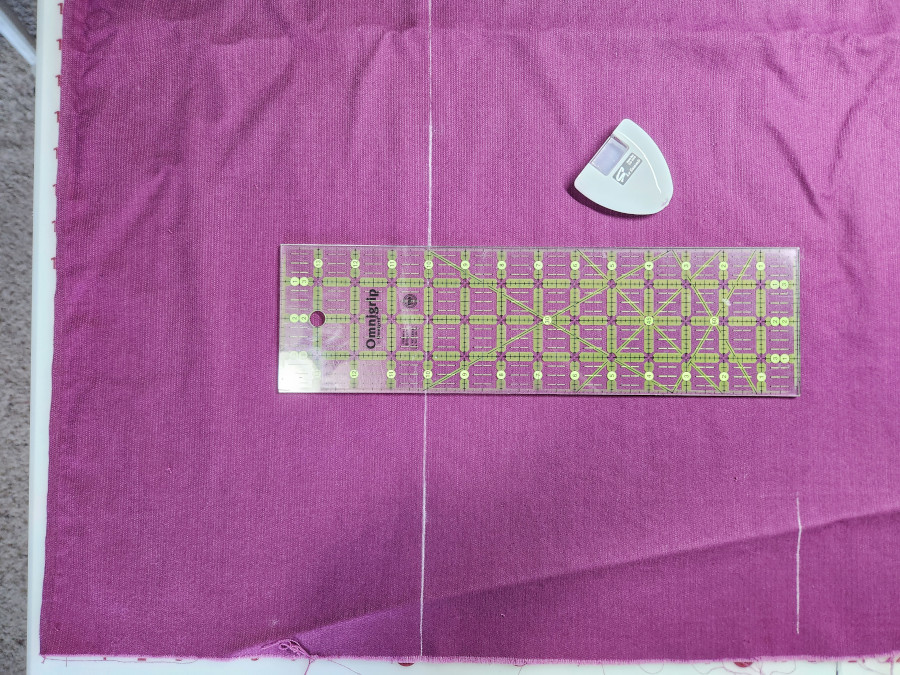
I like to measure about 10” increments from the salvage and mark with chalk.
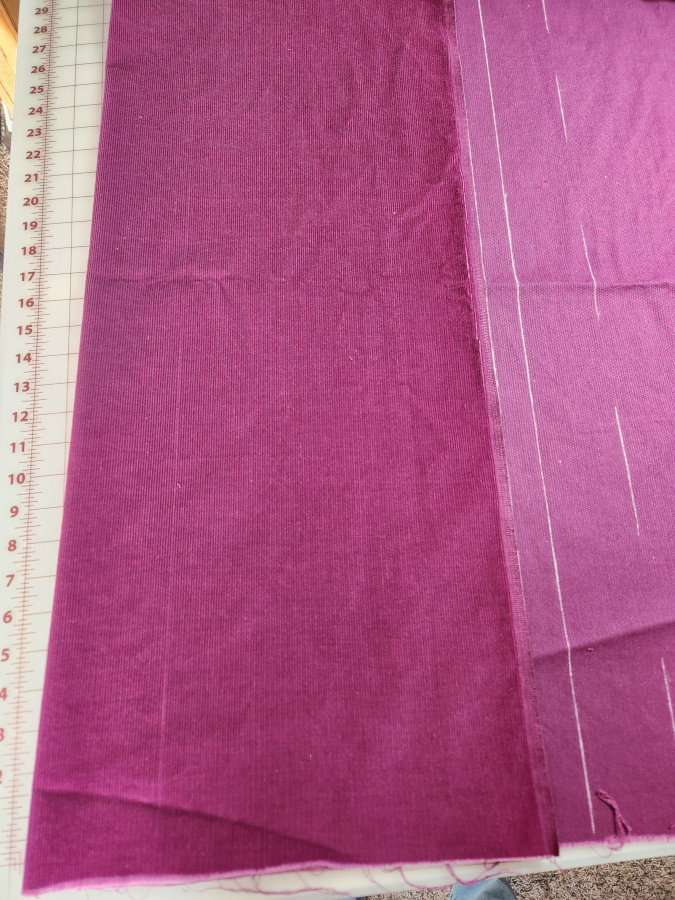
Then, as I start folding the fabric and laying out my pieces, I can add more marks and adjust accordingly. I have to admit with this fabric being more stable, it was really easy.

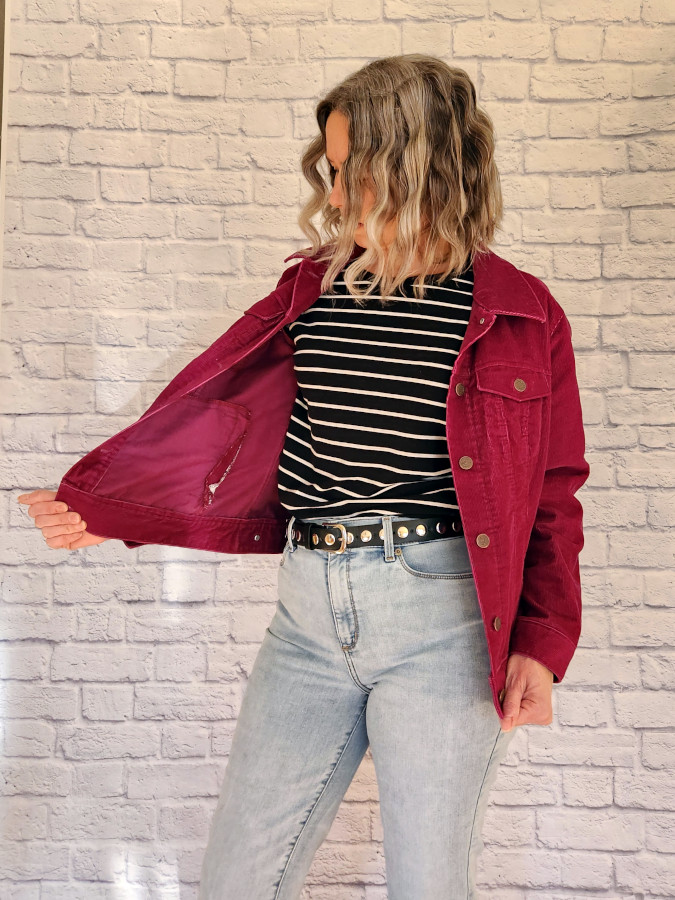
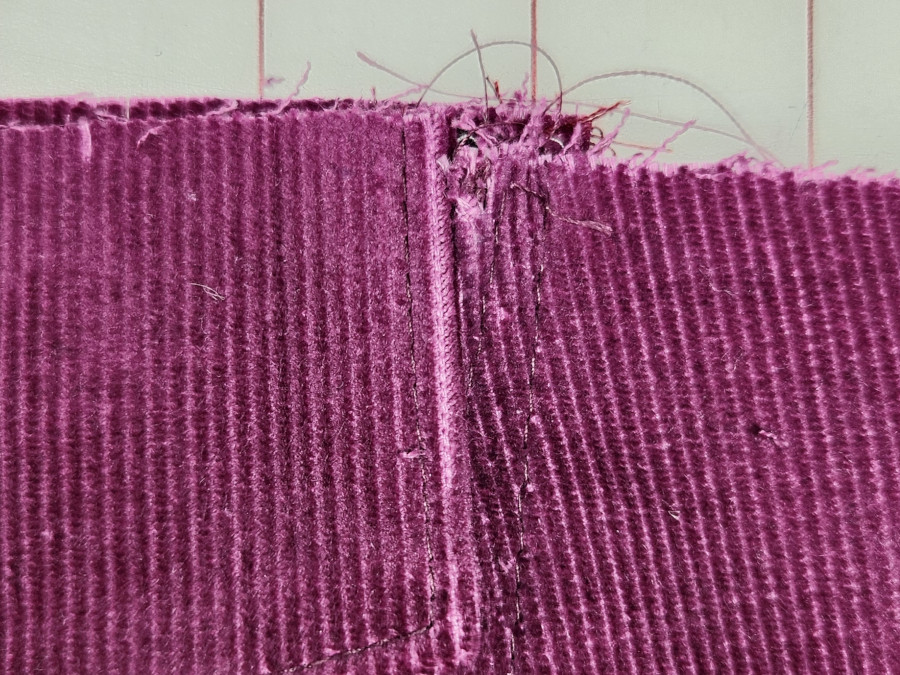
Chest Pockets
For some reason, I really messed up the chest pockets, and they were wider than the pocket flaps. It was so bad, and I caught it so late that after doing a little unpicking, I decided to just start over and remake the front pieces.
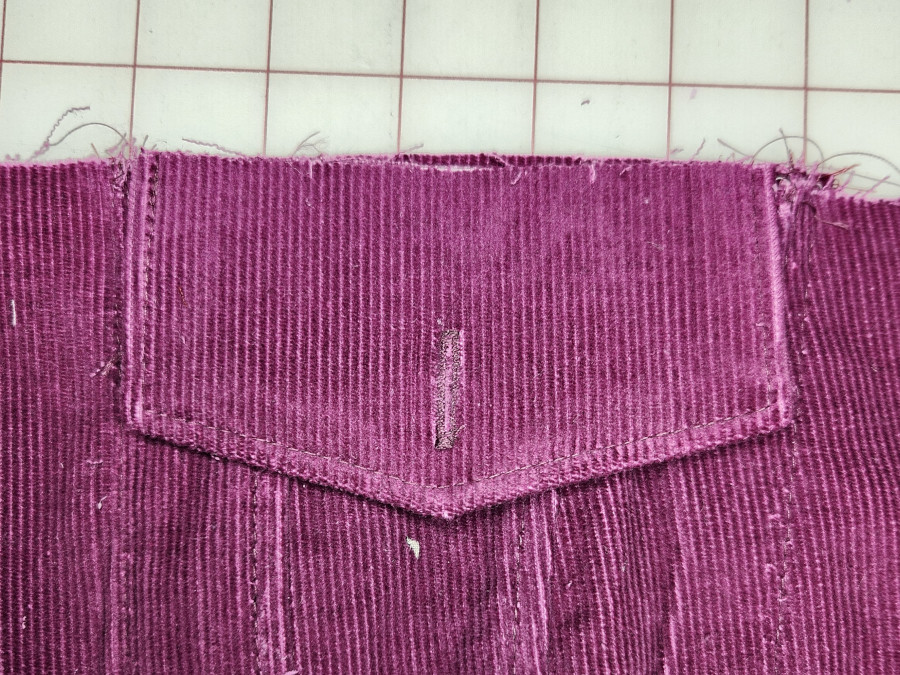
The weird thing about this was that I don’t know what I did wrong, and I don’t remember having this issue with the first Atenas Jacket. It could just be that I was paying closer attention.
When I redid the chest pockets, I ensured that the pocket lining was centered and all the markings lined up. The second try turned out much better.
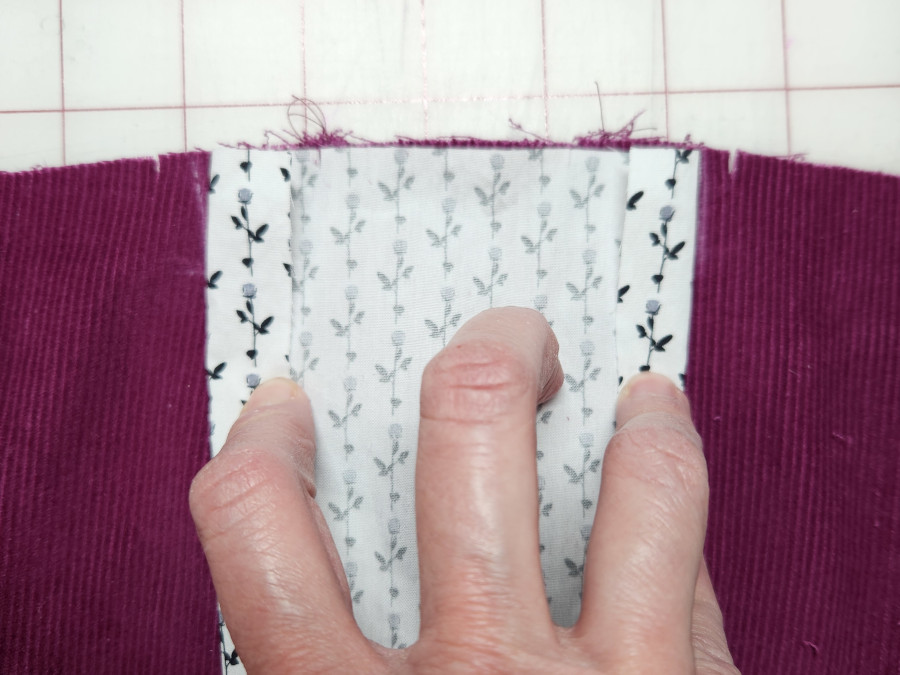
Speaking of the pockets. I lined them with the leftover fabric I used to make Vogue V9029 I’ll be doing a post about that and how I improvised the collar to make a removable bow instead of a pussy bow collar.
I made the original green Atenas jacket in a size 6 but since the plum corduroy is a little heavier I decided to make it in a size 8 and I’m glad I did. Since the plum jacket was made a part of my winter wardrobe, the larger size means I can wear it over sweaters and long-sleeved shirts.
For both jackets, I got my buttons from Wawak. Keep in mind that if you are planning on adding the two buttons to the waistband, you will need 14 total buttons, but the Wawak buttons are sold in sets of 12. I didn’t think about this when I made the green jacket and only bought one set, but the extra button on the waistband is mostly for decoration.
I’m happy to have another denim-style jacket in my closet, though I do need to branch out and make some other styles of layering jackets. Part of my winter wardrobe is McCall’s M8474 which is what I would call a lady-style jacket. I plan to make that in a light blue denim, so stay tuned for a post about that.
So what do you think?
Have you made the Atenas Jacket?
What’s your favorite jacket pattern?
Happy Sewing!
Kelly