Altering Hiking Pants for a Better Fit
Hello My Snazzie Friend,
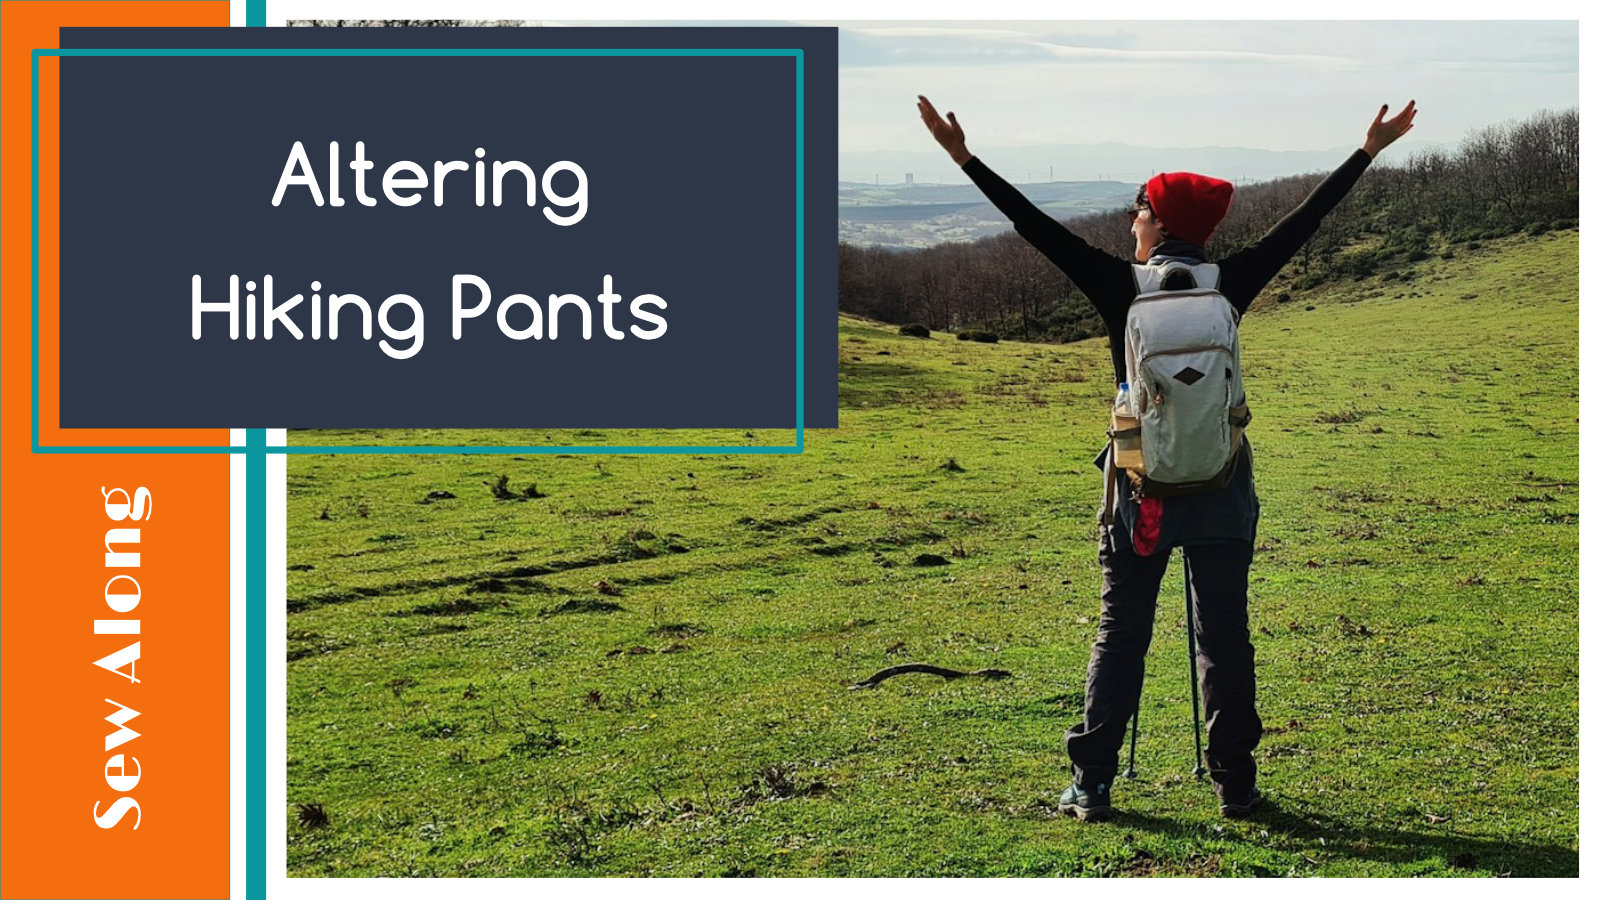
I have accumulated a collection of Eddie Baur hiking pants over the years. These pants are very comfortable. They are made with a curvy (for wider hips) option and come in tall lengths, not to mention a variety of colors.
I wore these pants through most of 2020 and 2021 when I was working from home and did a lot of walking during my breaks and hiking in the evenings.
The funny thing is when we actually go on vacations where we are hiking up peaks and exploring caves, I never bring these pants. Instead, I would end up wearing jeans, which could get uncomfortable.
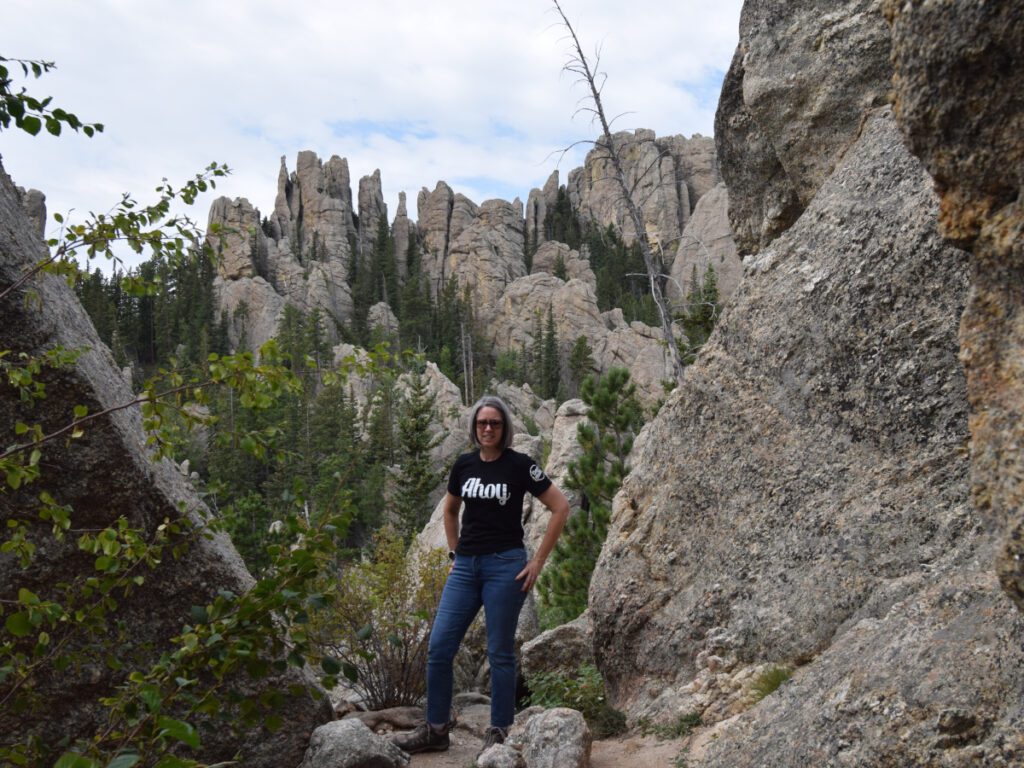
Why? The hiking pants have a couple of problems.
First, they are too long. I have this problem with lots of pants and jeans. Regular lengths are too short, but the tall version might be too long.
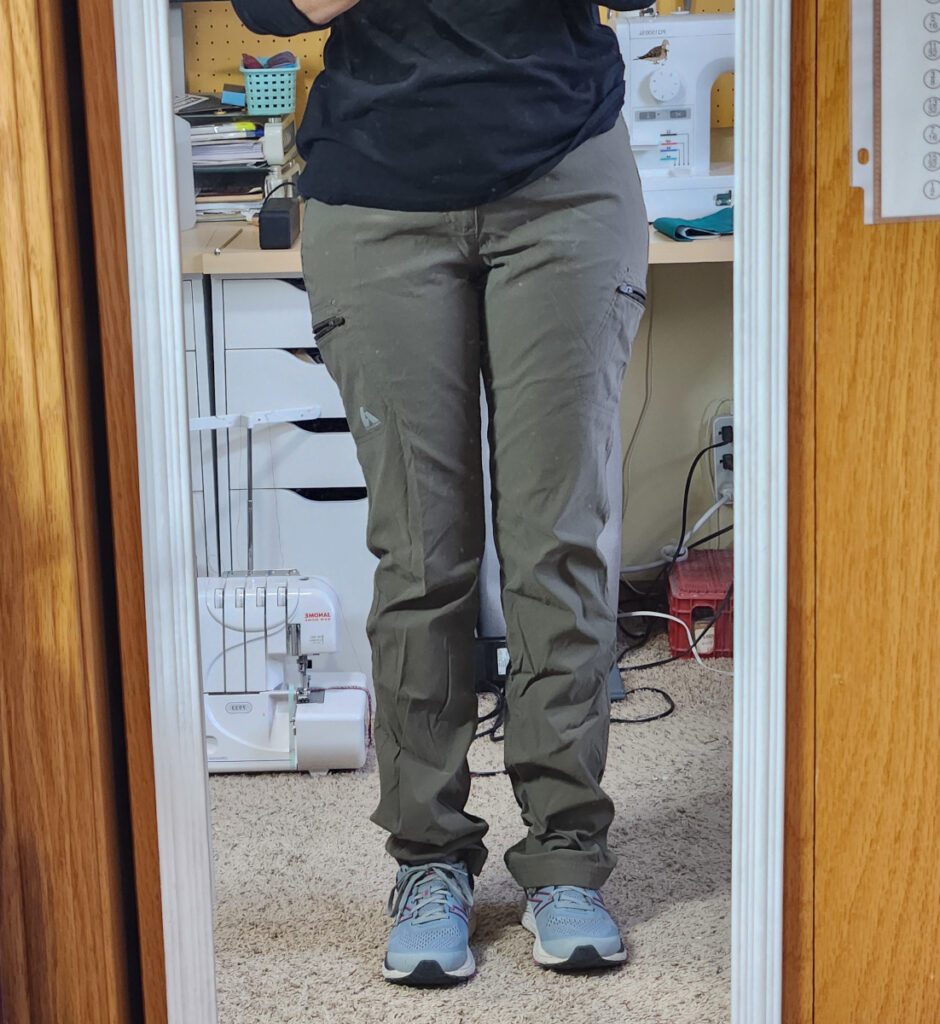
Second, I have lost about 20 pounds, and the pants are too big, mostly at the waist. With a small waist and wide hips, I’m used to needing to wear belts, but they aren’t very comfortable when hiking.
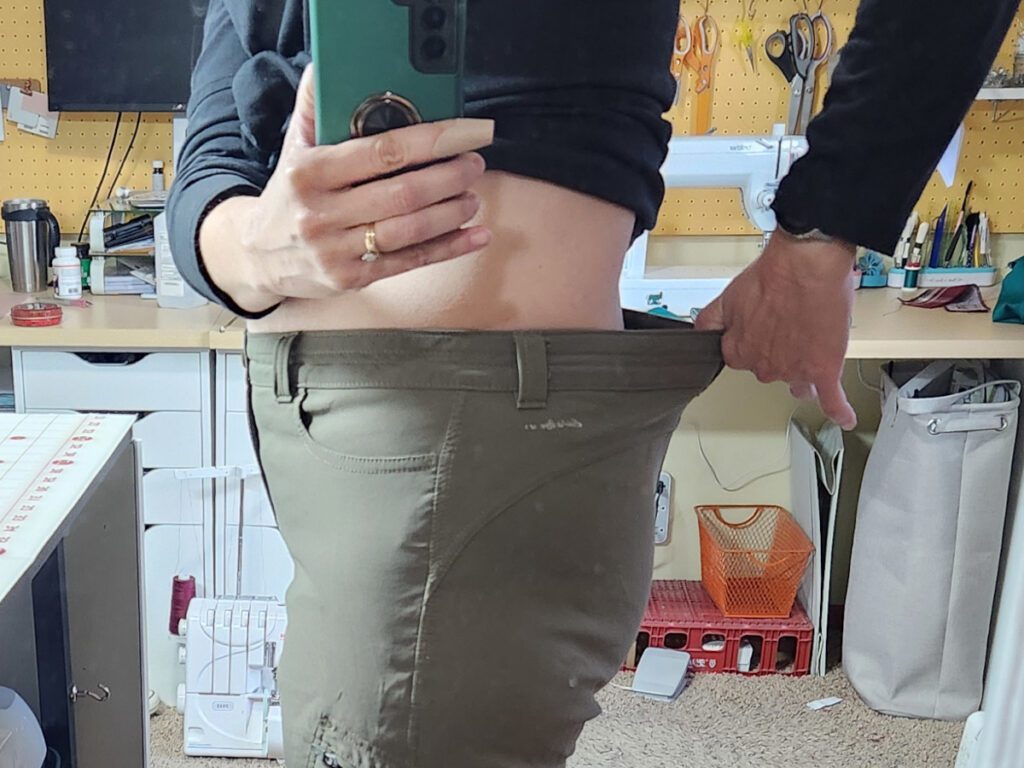
I have put off hemming and adjusting these pants for over two years, but I finally got motivated when my husband talked me into taking up disc golf. With the days getting colder, I realized I needed some long that were comfortable and decent-looking.
Let me walk you through the adjustments I made to get my hiking pants to fit better.
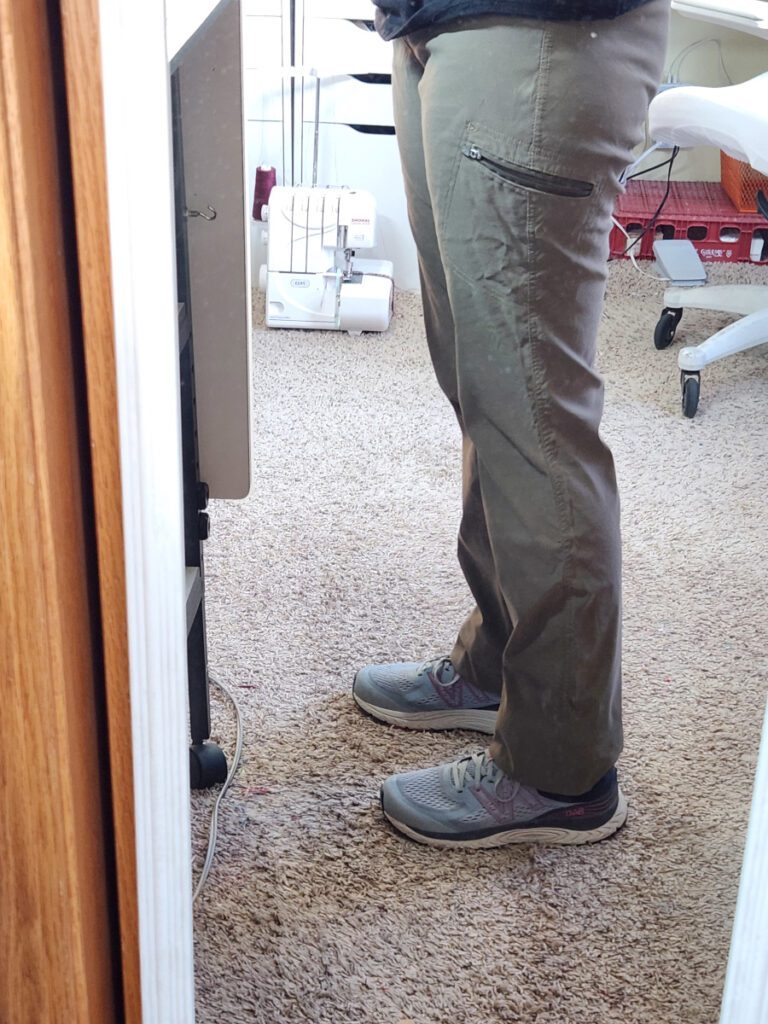
First, they all needed to be hemmed. I ended up taking them up by about 2.5”.
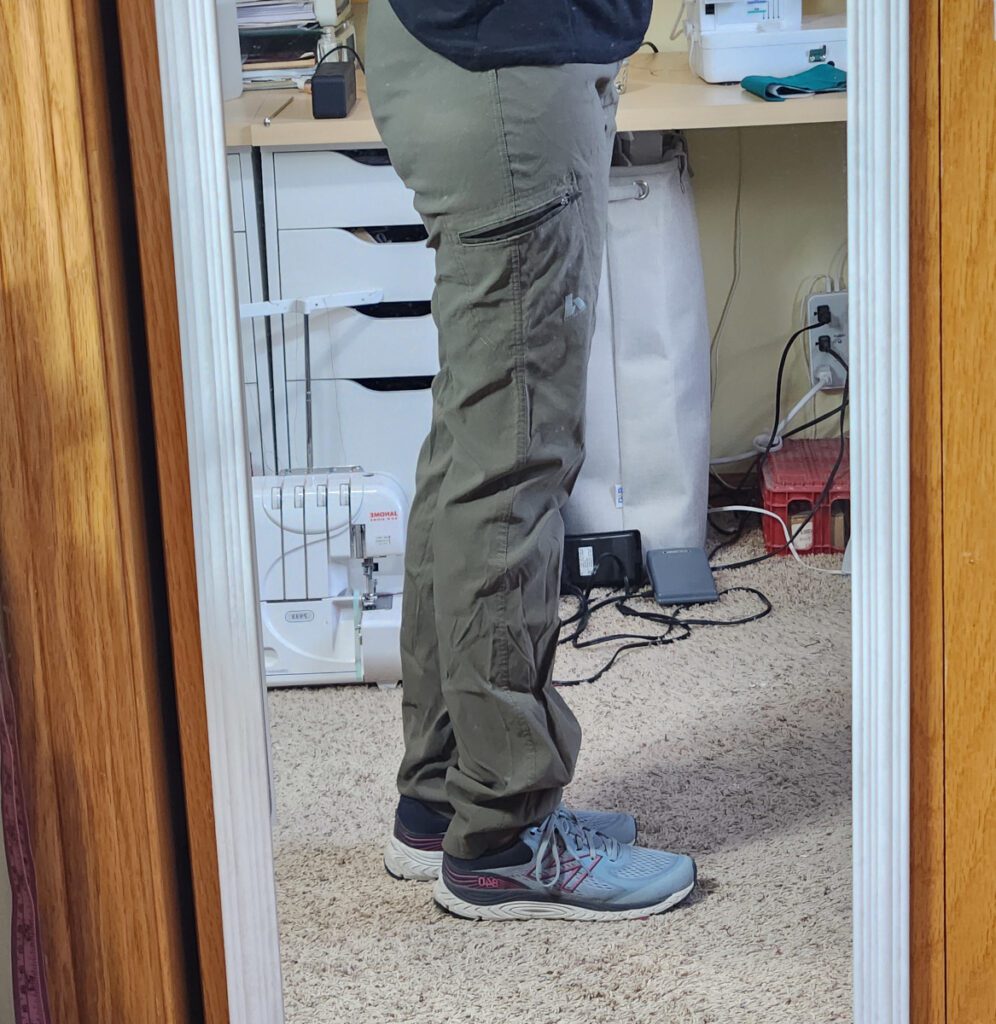
I decided not to cut them off, so I just folded up the hem and stitched the wide hem. I originally did this thinking I might want to add some elastic to the ankle and give them a jogger-style cuff, but for now, I’m leaving them as is.
I turned the pants inside out and marked my hemlines.
When I hem, I like to draw a chalk line at double the hem length so I can just fold the edge to the chalk line
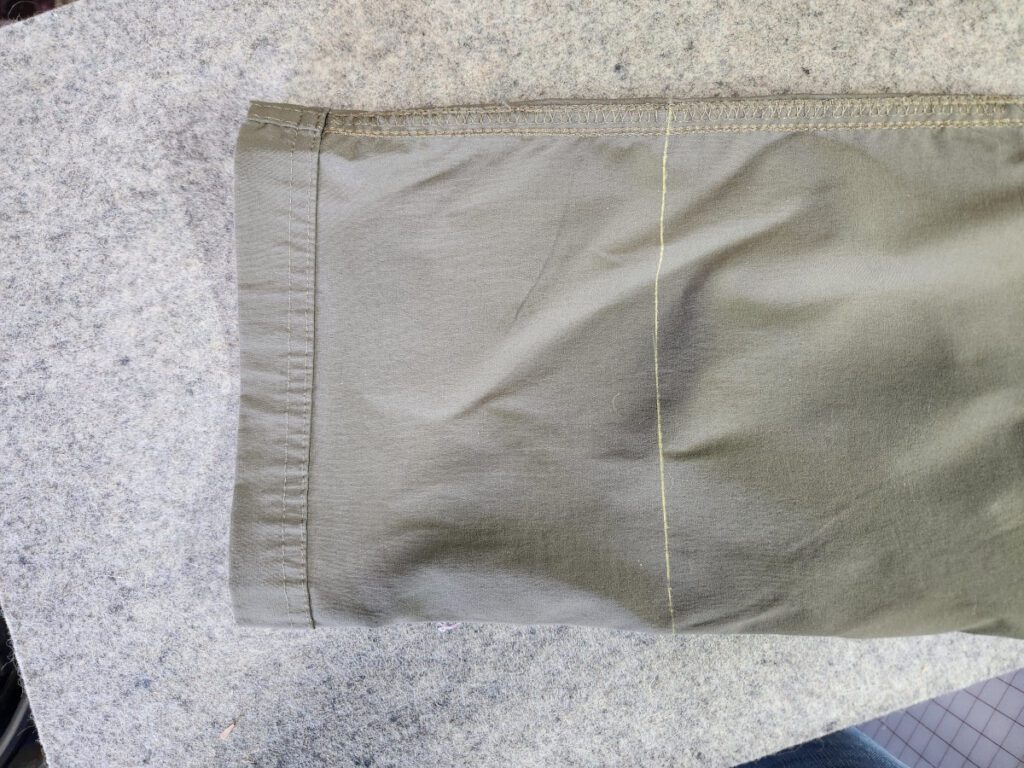
In this case, since the hem is 2.5″ I measured up from the bottom of the hem 5″.
Then I folded the hem to the chalk line.
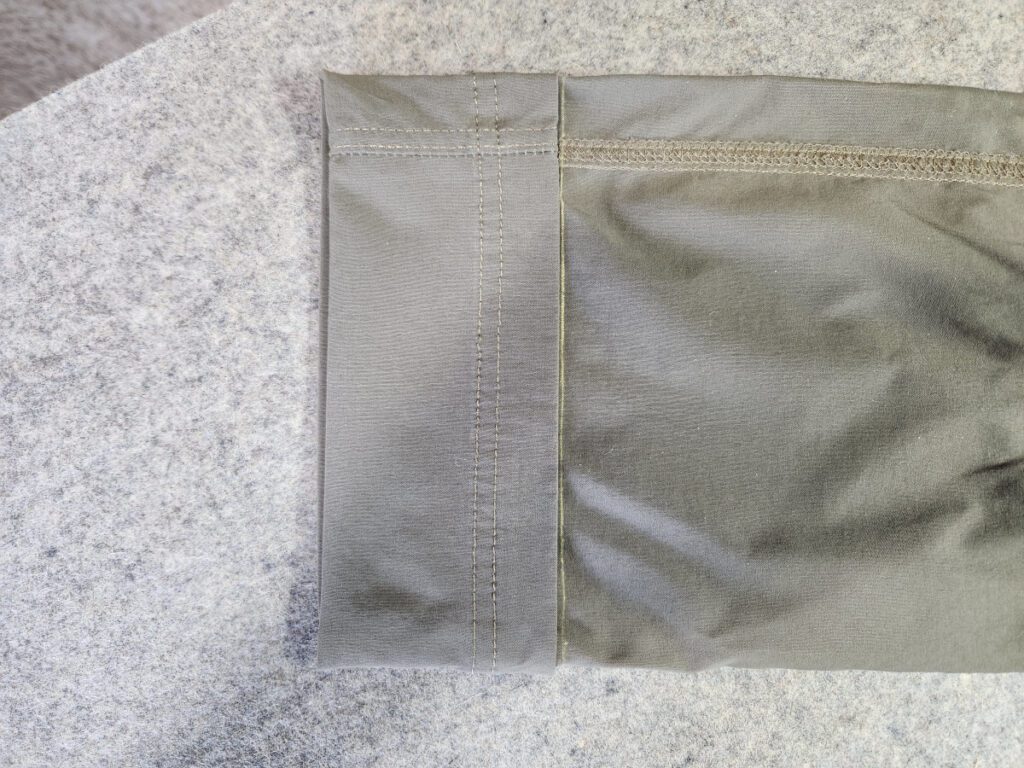
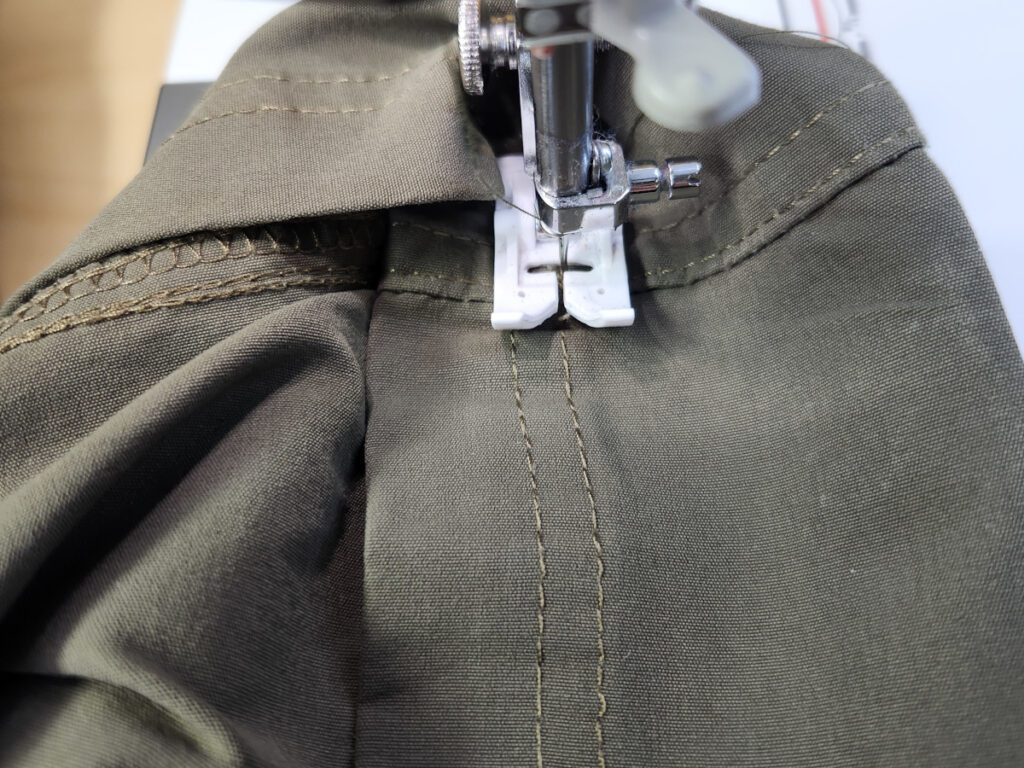
Next, I stitched from the inside of the pant leg and just followed the topstitching from the original hem.
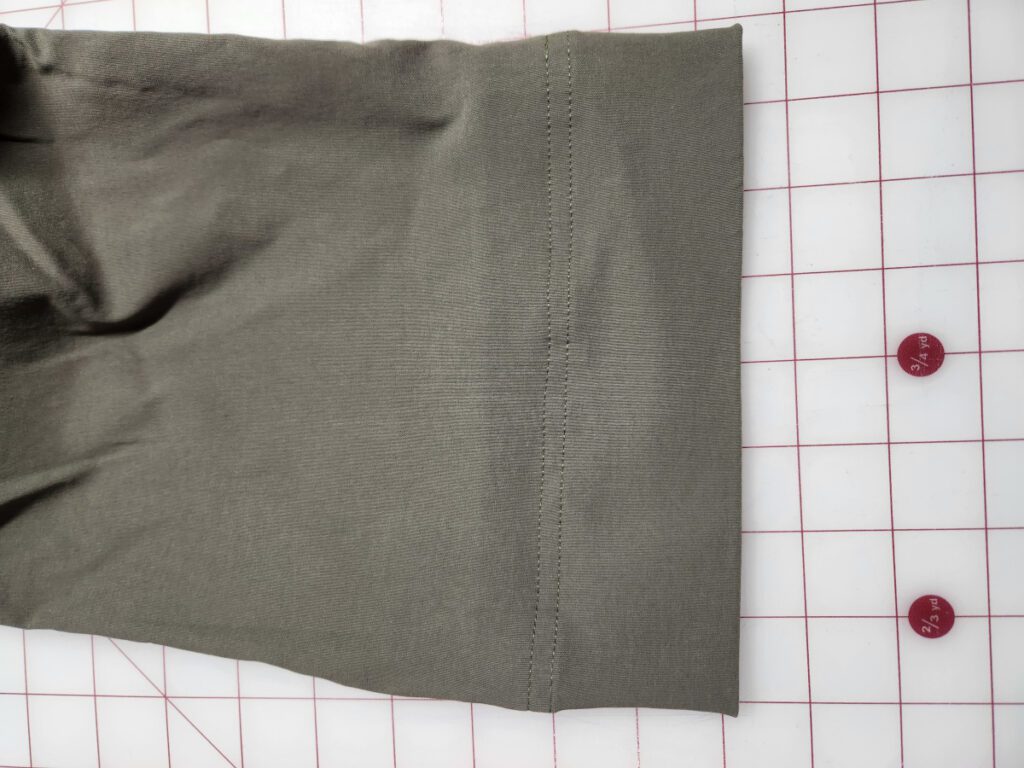
So there we go; the hemming is complete!
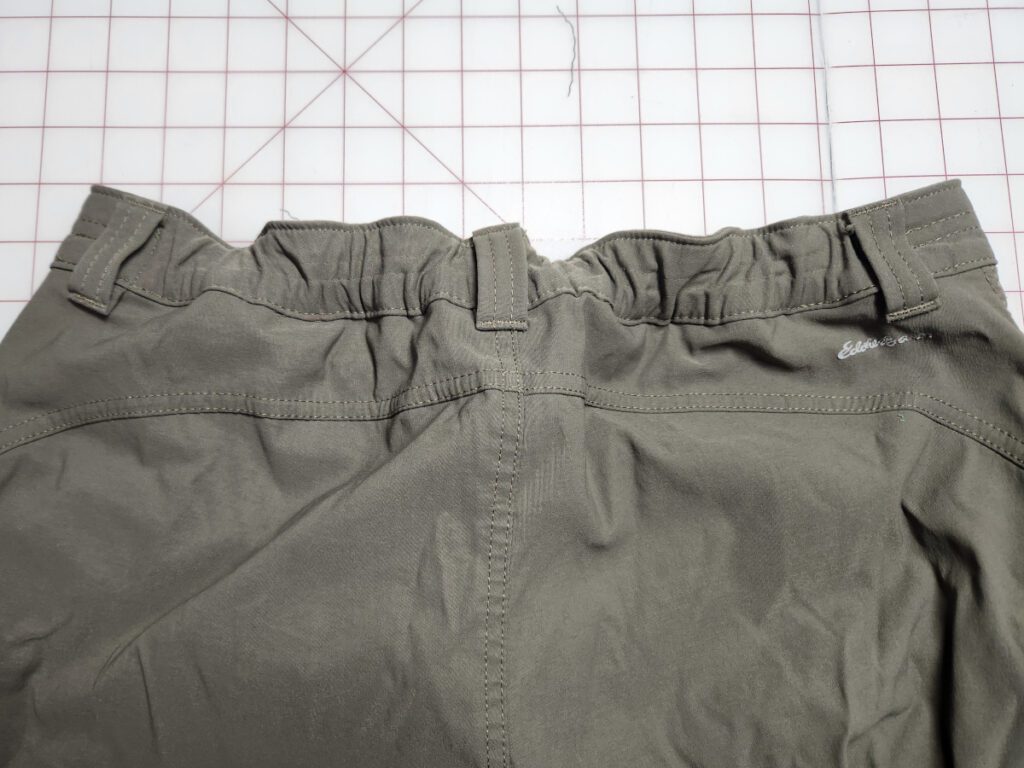
Next, I needed to bring them in at the waist. I decided just to open the waistband and insert some wide elastic to help cinch in the waist. I only inserted the elastic between the side belt loops along the back.
I have already done this with a couple of older pairs of the same brand of hiking pants without issue, but these newer ones have topstitching along the waistband, so I had to remove that to get the elastic into the waistband.
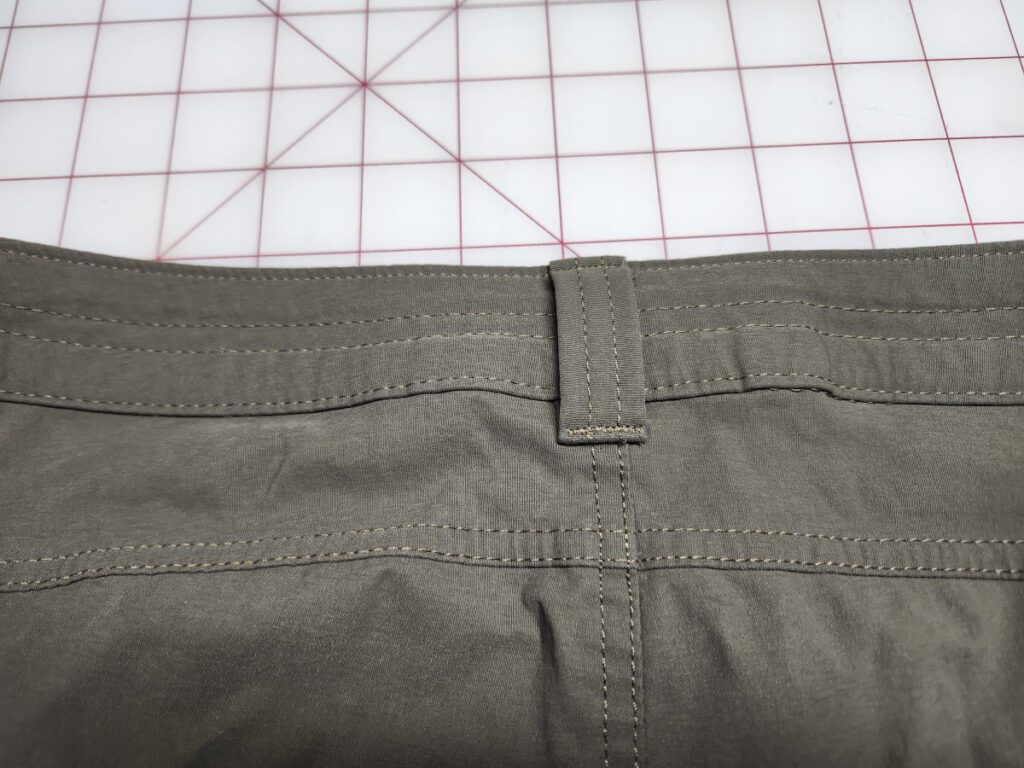
I only removed the topstitching between the side belt loops, along the back. Starting and ending just under the belt loops.
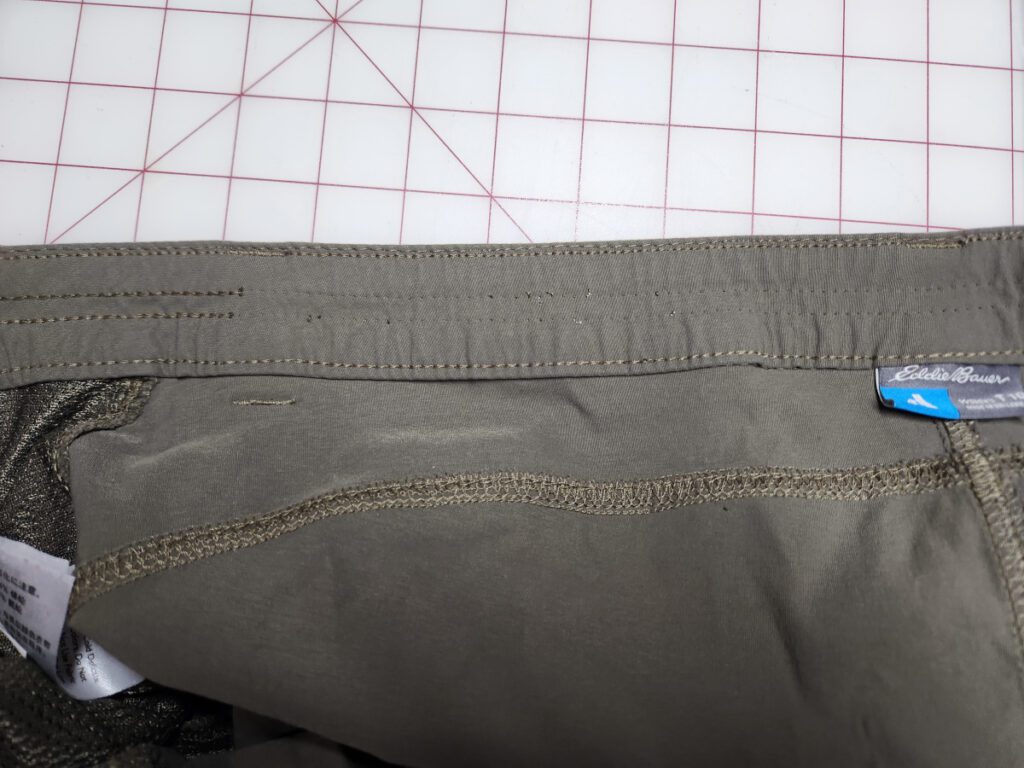
Once the topstitching was removed, I opened the bottom of the waistband next to the belt loops toward the back.
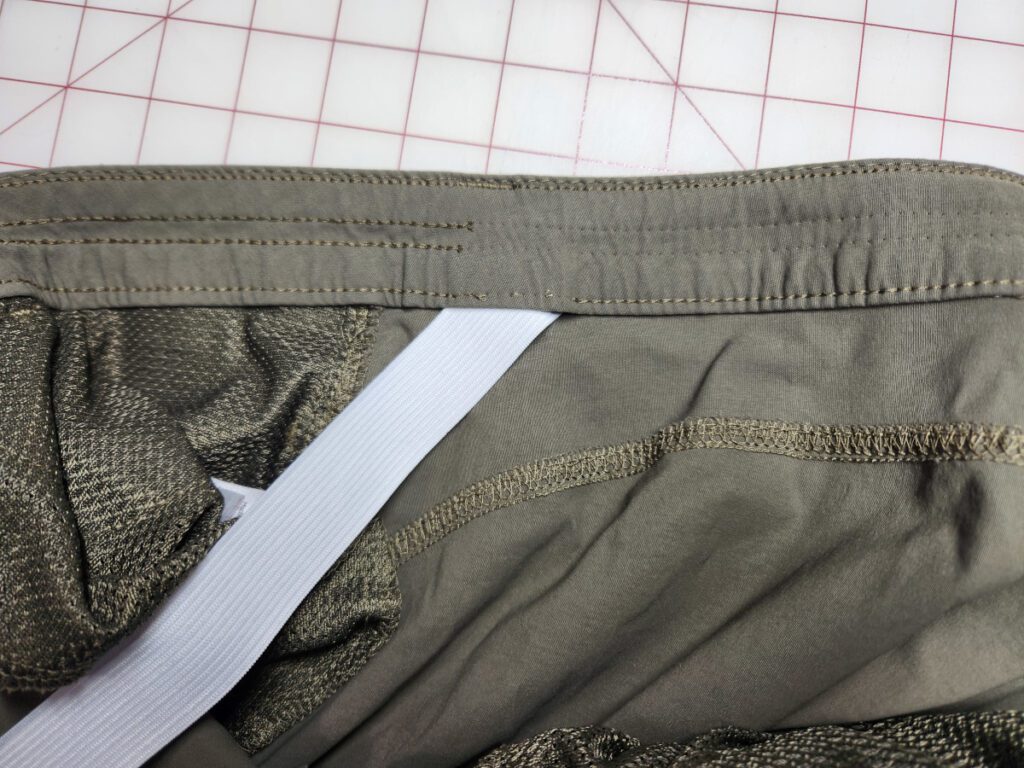
Now I have a perfect channel to insert my elastic. Using a new bodkin that I had just purchased, I ran the elastic through the waistband and out the opening on the other side.
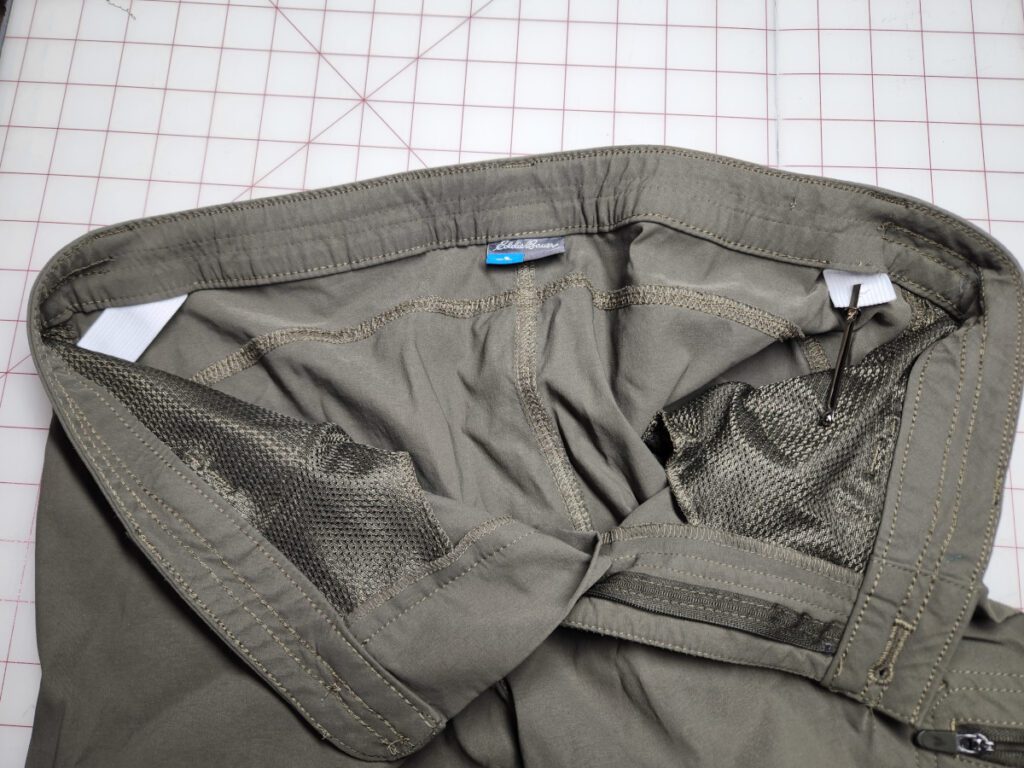
You could also do this with a large safety pin.
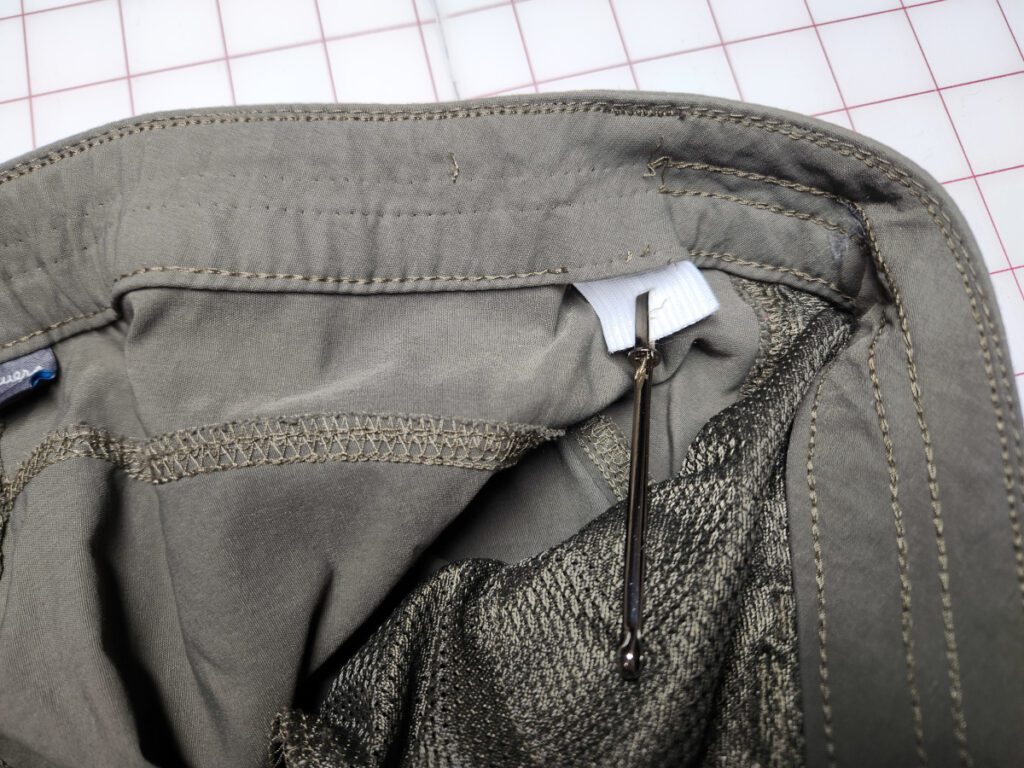
I pushed the first end of the elastic into the waistband just under the belt loop, secured it with a safety pin, and tried them on. I pulled on the other end of the elastic until the waistband fit the way I wanted. I then used a safety to secure the other end of the waistband.
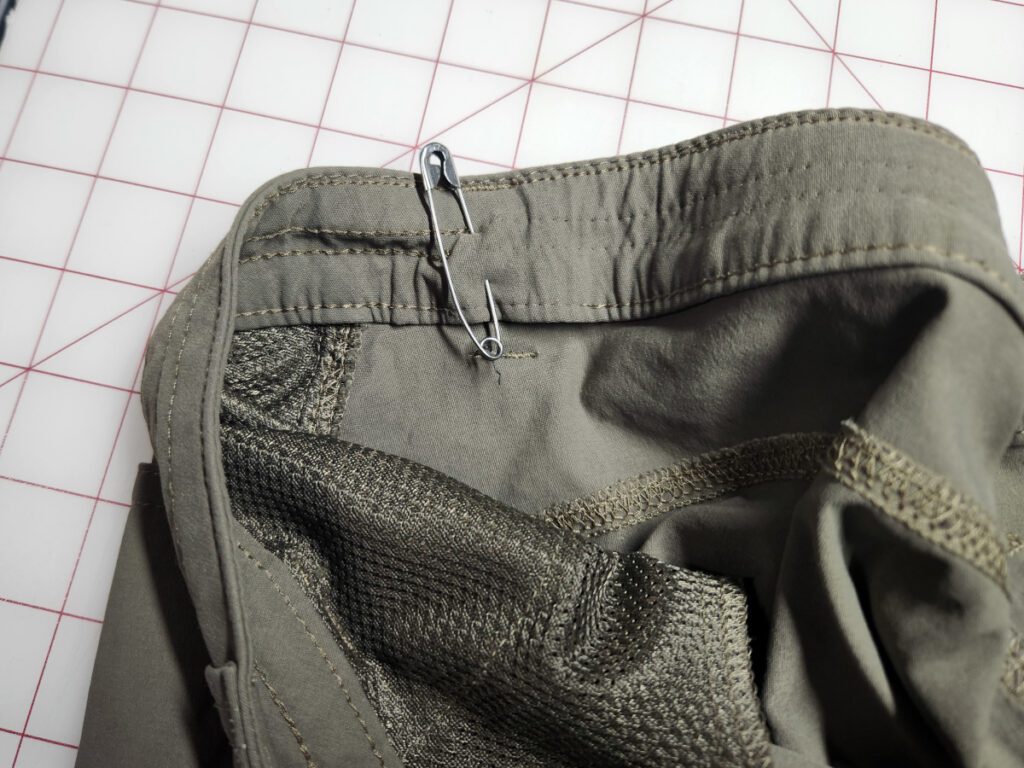
I trimmed off the other end of the elastic and pushed the end into the waistband just under the belt loop. Now it’s time to sew the elastic in place.
On each end, I sewed down and secured the elastic by trying to sew under the belt loop.
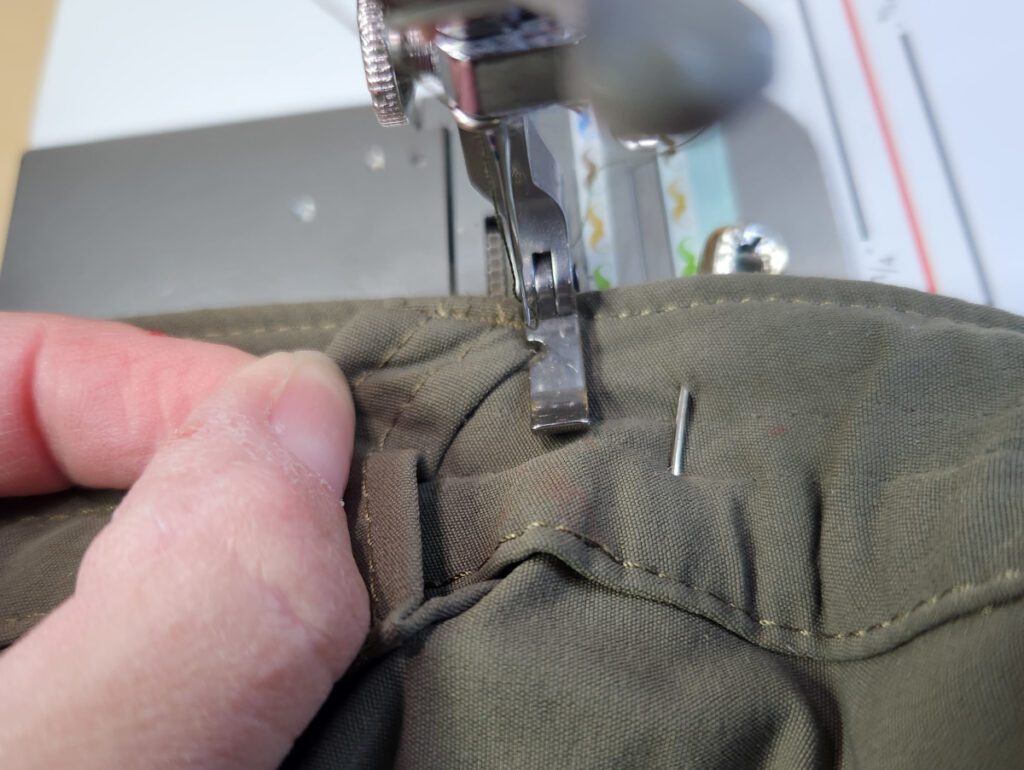
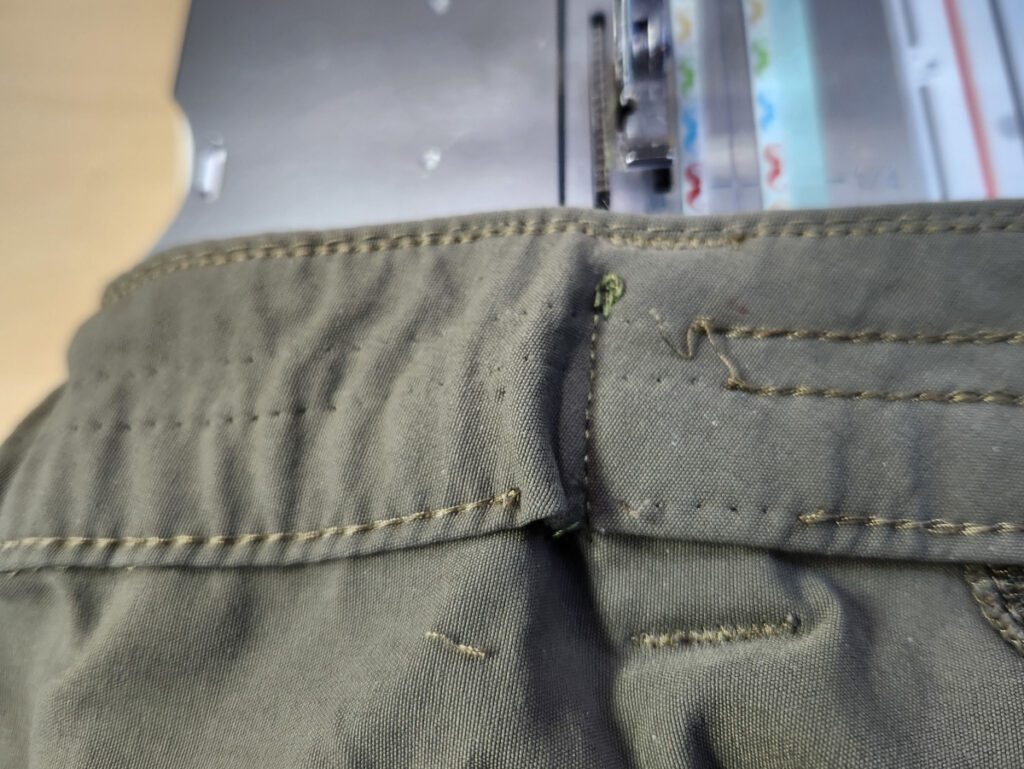
You can kind of see my stitching, but for the most part, the belt loop hides it.
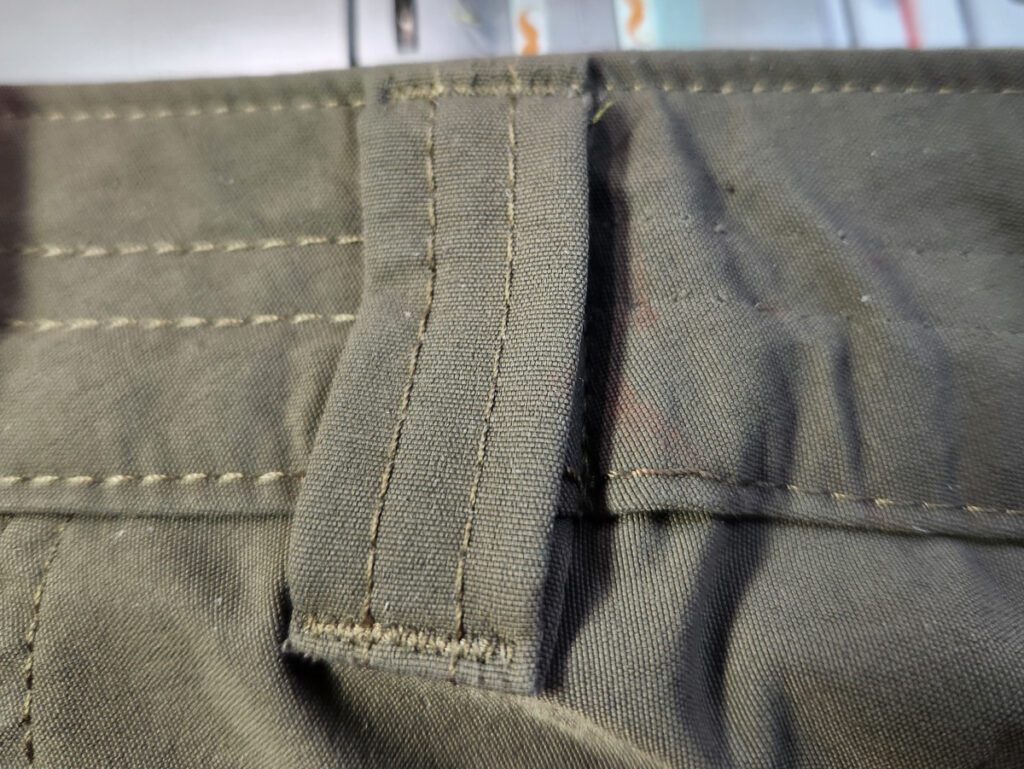
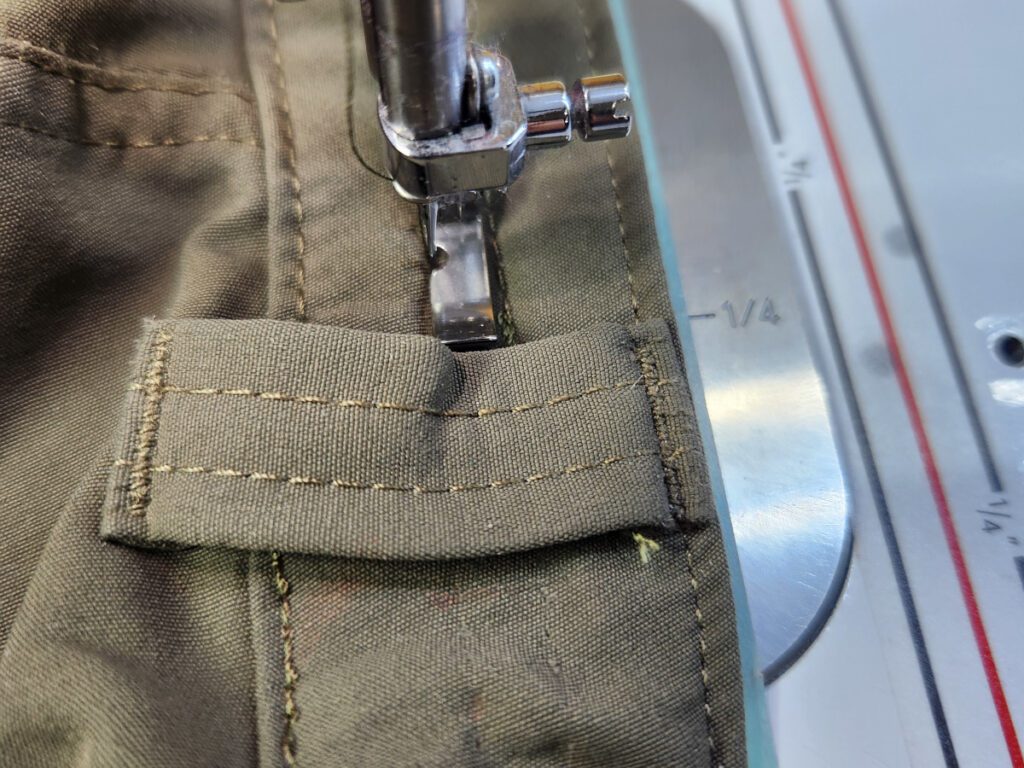
Next, I closed up the two openings that I had made at the bottom of the waistband.
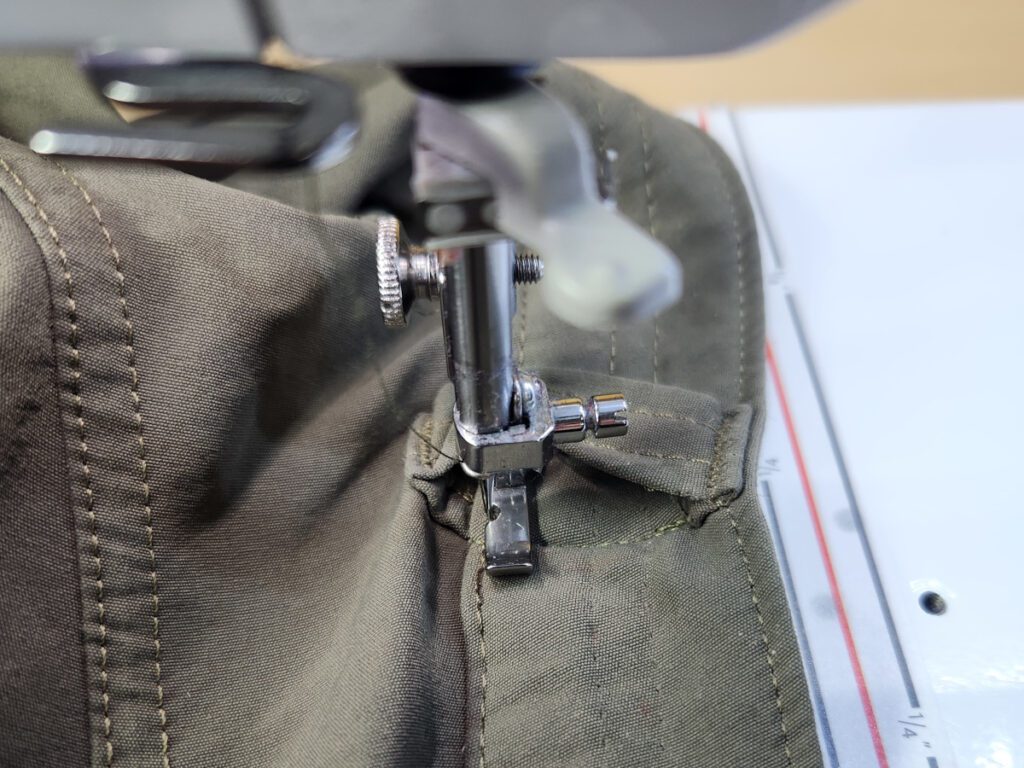
At this point, I had a decision to make. Do I restitch the topstitching or just leave it as is? I decided just to leave it because, let’s be honest, these pants are for going out and playing in the dirt, so no one is going to care. Also, I will most likely always have a shirt or jacket covering the waist.
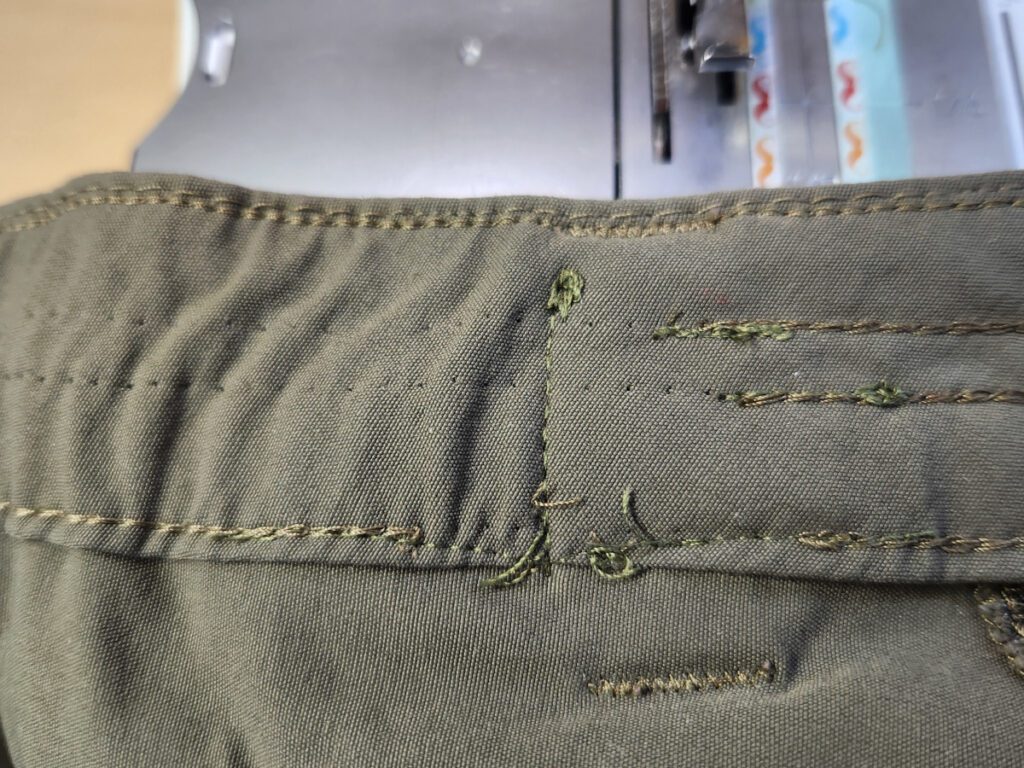
Even though I wasn’t going to top-stitch the entire waistband, I still needed to secure the remaining topstitching that I had cut to ensure it didn’t come loose.
I did this by simply doing a few stitches and back stitches at each end of the topstitching.
As you can see on the inside of the pants, it’s not pretty, but it gets the job done.
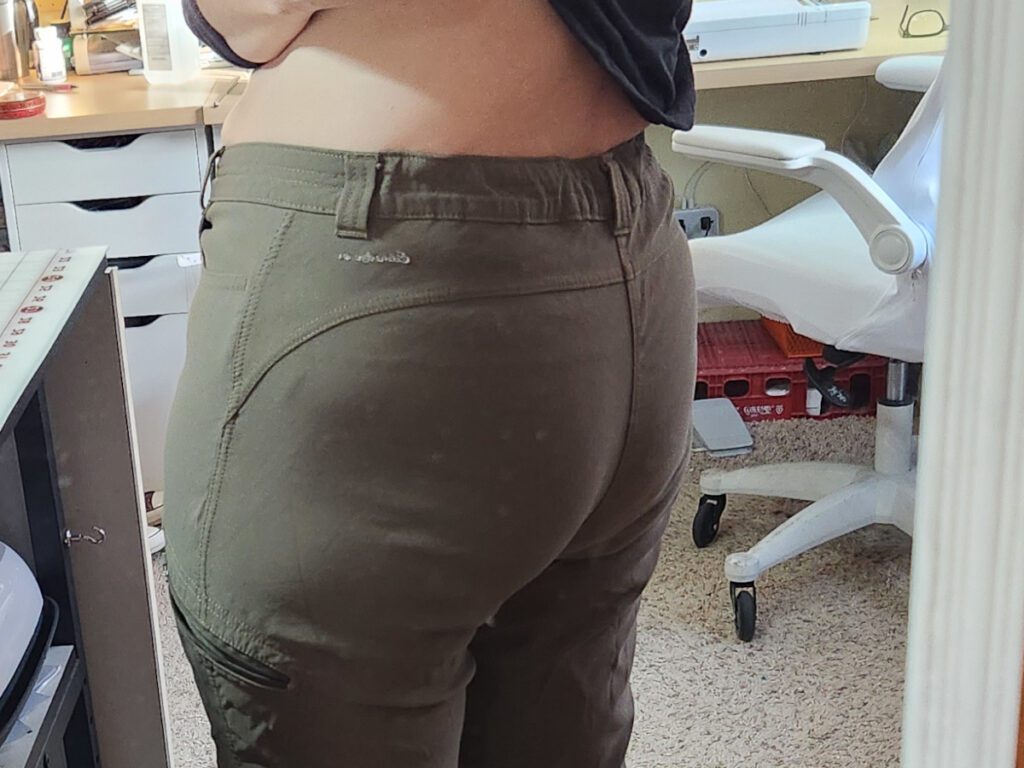
All Done! My hiking pants now have a partially elasticated waistband.
As you can see, the hemming made the pants hang better and look less sloppy.
The waistband fits great and is very comfortable.
I’m glad I finally tackled these alterations and breathed new life into these pants. I know I’ll get a lot more use out of them and I’ll be more likely to take them on vacation.
Thank you so much for coming on this journey with me!
Do you have some of your own pants that just need a few tweaks for you to wear them more often?
Do you have any alteration tips and tricks? Please leave them in the comments.
Happy Sewing!
Kelly

