5 Common Mistakes New Sewists Make
New sewists often encounter common mistakes that can lead to frustration, wasted materials, or less-than-perfect results. In this post, we’ll explore five frequent pitfalls that beginners face, from skipping essential prep steps like pre-washing fabric to missteps in fabric selection. Understanding and avoiding these errors will help you achieve professional-looking results and enjoy the creative process even more.
1. Not Pre-washing Fabric
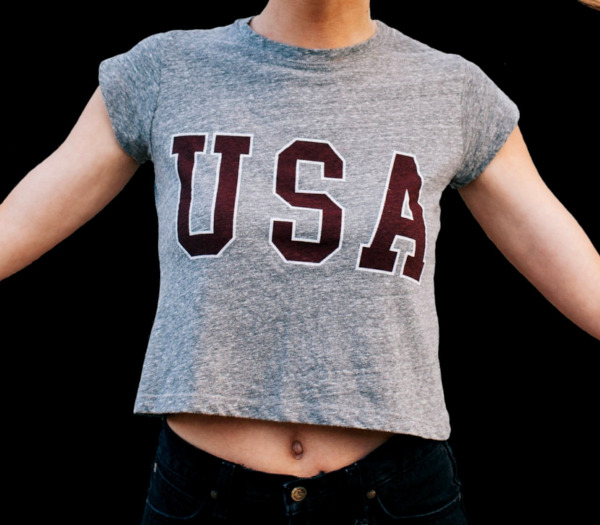
There is nothing worse than spending time and effort on a garment and achieving the perfect fit only to have everything change after a single wash. Or maybe you made a beautiful beach tote, and you washed it after the first outing, and now it’s misshapen and doesn’t hang right. Pre-washing fabric before sewing is an essential step that ensures your finished project looks professional, fits correctly, and lasts longer.
Why Pre-washing Fabric is Important:
Prevents Shrinkage After Sewing
Many fabrics shrink during the first wash. If you skip pre-washing, your finished garment or project may shrink unevenly, distort, or no longer fit properly.
Prevents Color Bleeding
Some fabrics may bleed dye during the first few washes. Pre-washing ensures excess dye is removed and prevents it from staining other fabrics during sewing or in future washes.
Improves Adhesion of Stabilizers and Interfacing
Some stabilizers, interfacings, or fusible materials adhere better to pre-washed fabric because residues from manufacturing can interfere with their bonding.
Tips for Pre-washing
Wash and dry the fabric using the same methods you plan to use after the garment or item is made. Be sure to separate colors; wash dark or bright colors separately to avoid transferring dye to lighter fabrics. Be sure to press the fabric after washing and before cutting to ensure precise pattern placement.
2. Using the Wrong Needle
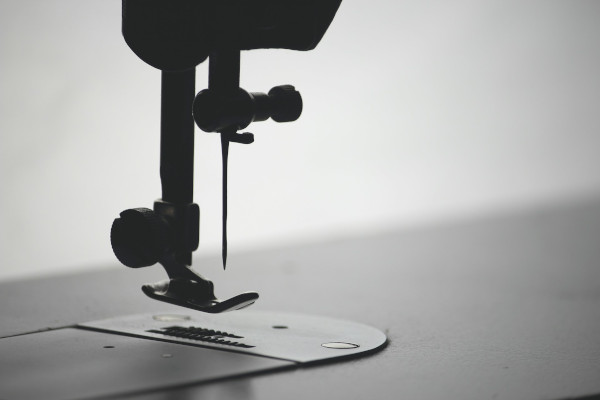
Using the wrong needle is one of the most common mistakes sewists make, and it can lead to a range of problems. The sewing machine needle plays a major role in the stitching process.
Why Using the Correct Needle Matters
Skipped Stitches
The wrong needle may fail to pick up the thread loop correctly, leading to skipped stitches. This results in weak seams and an unprofessional appearance.
Fabric Damage
A needle that is too thick or unsuitable for delicate fabrics can leave visible holes, cause puckering, or even tear the material.
On stretch fabrics, the wrong needle can snag threads or create runs.
Thread Breakage
If the needle’s eye is too small for the thread or the tip isn’t suited for the fabric, the thread can shred or break during sewing, disrupting your workflow.
Tips to Avoid Problems
It’s a good idea to have a variety of needles on hand. Keep a range of needle types and sizes so you’re always prepared for different projects. Refer to needle packaging when choosing a needle; many needle packs provide guidance on the fabrics they’re suitable for. Always test your needle, thread, and fabric combination on a scrap piece before starting your project.
If you know you have the correct needle but you are still having issues, it could be that the needle just needs to be replaced with a fresh needle.
3. Not Pressing Seams
Skipping the step of pressing seams as you sew is a common mistake, especially for beginners who may not realize its importance. Neglecting to press seams can lead to garments that look homemade, uneven, and bulky. Pressing helps the fabric lay flat and ensures seams are crisp and professional-looking. It also improves the accuracy of stitching, facilitates the shaping process, and makes the sewing experience smoother overall.

Why Not Pressing is a Problem
Lack of Precision and Fit Issues
Unpressed seams can distort your fabric pieces, leading to mismatched edges or puckering. Pressed seams shape the fabric better to the body, so skipping this step can result in garments that don’t fit as intended.
Unfinished Appearance
Seams that aren’t pressed can create an unpolished and wrinkled look, even in well-sewn garments.
Difficult Construction
Pressing helps to “set” stitches and open up seams, making subsequent steps like topstitching or hemming easier and more accurate.
Pressing Tips for Better Results
Use a good-quality steam iron and make sure you keep the sole plate clean and free of residue that could build up from pressing materials like fusible interfacing. Use a padded, heat-resustant surface, such as a pressing board. Use a pressing cloth to prevent shine or scorching on delicate fabrics. Consider investing in pressing tools such as a tailor’s ham, sleeve roll, and a clapper.
4. Choosing the Wrong Fabric for the Pattern
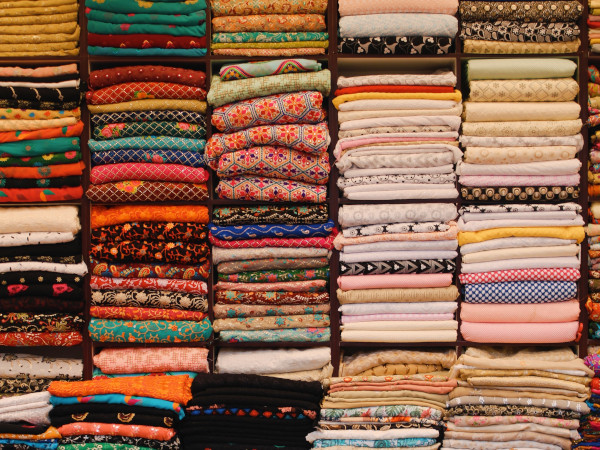
Fabric selection is one of the most critical decisions in sewing, yet it’s a common mistake for beginners to choose fabric that isn’t suited to their pattern. This can lead to garments that don’t drape, fit, or function as intended. The wrong fabric can also make sewing unnecessarily challenging, leading to frustration and subpar results.
Why Fabric Selection is Important
Affects Garment Fit and Shape
Different fabrics behave differently. Using a fabric with too much stretch, stiffness, or drape can drastically alter the final look and fit of a garment. Not all fabrics are suitable for all types of clothing. For example, lightweight fabrics may not withstand the wear and tear of structured garments, while heavy fabrics can make delicate designs look bulky.
Impacts Ease of Sewing
Some fabrics, like slippery silks or thick denim, require more advanced skills and specialized tools. Choosing an inappropriate fabric can make the project overwhelming for beginners.
Aligns with Design Details
Patterns are drafted with specific fabric characteristics in mind, such as stretch, weight, or drape. Ignoring these recommendations can lead to design elements, like pleats or gathers, not behaving as intended. Fabric choice impacts the overall style and appearance. For example, a formal dress pattern made with quilting cotton might look overly stiff and homemade.
Tips on Picking the Correct Fabric
Always check the pattern envelope or instructions for a list of suitable fabric types. Most sewing patterns specify recommended fabrics. Pay attention to terms like “lightweight,” “medium-weight,” or “heavyweight” and whether the pattern calls for woven or knit fabrics.
Patterns for fitted garments may require fabrics with a specific amount of stretch. Look for terms like “2-way stretch” or “4-way stretch” on fabric labels. Avoid using stretch fabrics for patterns drafted for non-stretch wovens, as they may sag or lose shape.
Consider the garment’s purpose. For example, breathable fabrics like linen are great for summer wear, while warm, insulating fabrics like wool are better for winter. Beginners should start with fabrics that are easier to sew, like cotton or linen blends, and avoid challenging fabrics like slippery silks, stretchy knits, or heavy wools.
5. Not Reading the Pattern Instructions Thoroughly
Reading sewing pattern instructions thoroughly before starting a project is a crucial step that can significantly impact your sewing experience and final results. Skipping or skimming the instructions may lead to mistakes, wasted materials, and frustration. Understanding the details in advance ensures a smoother process and a more professional-looking finished garment.

Why Reading the Sewing Pattern is Important
Understand the Construction Process
Sewing patterns outline the step-by-step assembly of the garment. These instructions often include techniques, sequence of construction, and special tips specific to the design.
Many patterns include symbols, such as notches, grainlines, and darts, which need to be understood before cutting and sewing.
Patterns often include troubleshooting tips or emphasize steps that are easy to overlook, such as stay-stitching or interfacing.
Misunderstanding the sequence of steps or skipping preparatory measures (e.g., stay-stitching, basting) can lead to errors that require ripping out stitches or recutting fabric.
A clear understanding of the steps allows for better planning and sequencing. For example, grouping similar tasks like pressing seams or attaching facings can streamline your workflow.
Reading through helps you visualize the process, avoiding surprises or confusion mid-project.
Identify Required Materials and Tools
Patterns specify fabric types, notions (e.g., zippers, buttons), and tools needed to complete the project. Reading ahead ensures you have everything on hand, avoiding delays.
Skipping this step might lead to incompatible fabric or missing materials that are essential to the pattern’s success.
Recognize Difficulty Level
Instructions can reveal whether the pattern aligns with your skill level. If advanced techniques or unfamiliar terms are present, you’ll know to research or practice before starting.
Many patterns include unique design elements, like pockets, topstitching, or linings. Reading thoroughly ensures you execute these features properly and enhance the garment’s overall look.
Patterns often introduce sewists to new skills, such as inserting invisible zippers, sewing pleats, or using bias tape.
This prevents discouragement or mistakes caused by jumping into a project beyond your experience.
Plan Ahead for Alterations or Adjustments
Instructions often indicate areas where adjustments, like lengthening or shortening, can be made.
Thorough reading helps you decide if and where customizations are needed for fit or style before cutting your fabric.
Tips for Reading Sewing Pattern Instructions
Do a quick read-through to understand the big picture before diving into details. Mark crucial steps or areas where you anticipate needing extra care. If a technique is new to you, practice it on scrap fabric before applying it to your project.
Make a note of seam allowances in any place in the pattern where the seam allowance may be different.
Knowing how to avoid these common errors can save you time, effort, and materials. Whether you’re a beginner or refreshing your skills, these tips will help you create garments and projects that you’re proud of.

