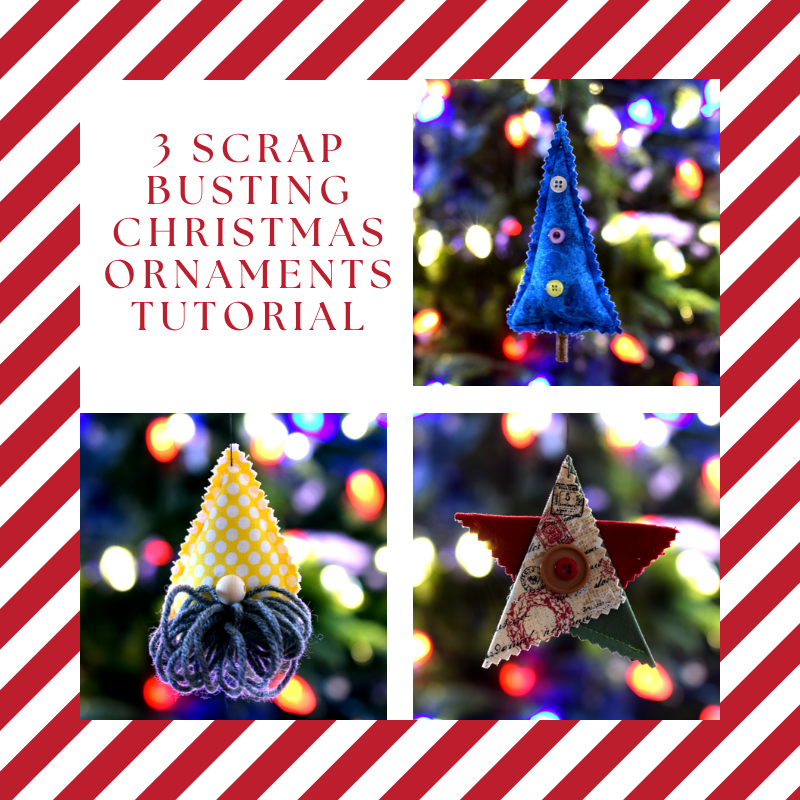
3 Easy Scrap Busting Christmas Ornaments – Tutorial
In this tutorial, I’ll show you how to make three quick and easy Christmas ornaments. These ornaments are a great way to use up scraps or upcycle old clothing.
You can download the pattern pieces for free here:
Download NowGnome

Materials:
- Fabric
- Thread
- Yarn
- Fiber Fill
- Bead or Button (for nose)
- Glue
- String or thread for hanging
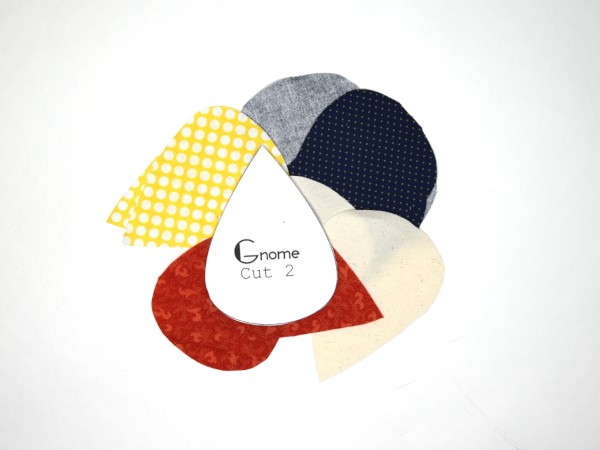
Using the Gnome pattern piece cut 2 pieces of fabric. A front and a back.
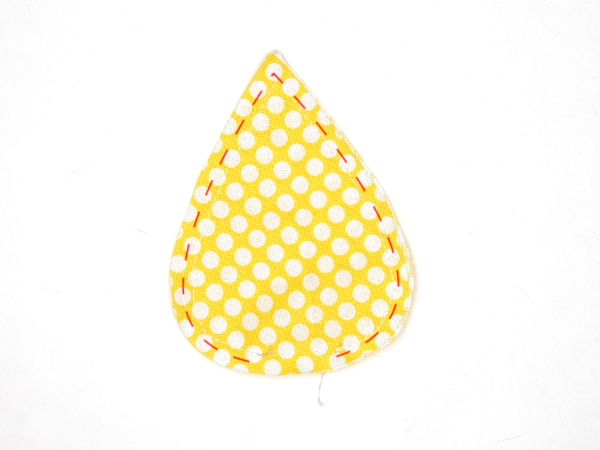
With wrong sides together stitch the pieces together using a 1/4″ seam allowance. Leaving about a 1″ opening in the bottom so you can add the stuffing later
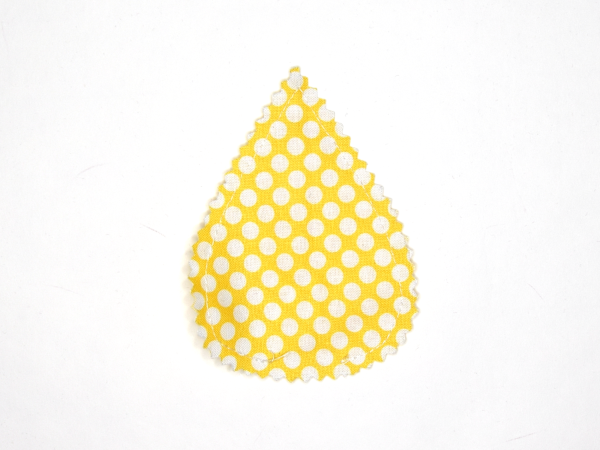
This is optional but I like to trim the seams with pinking shears.
Insert fiber fill or stuffing of choice using the opening you left at the bottom.
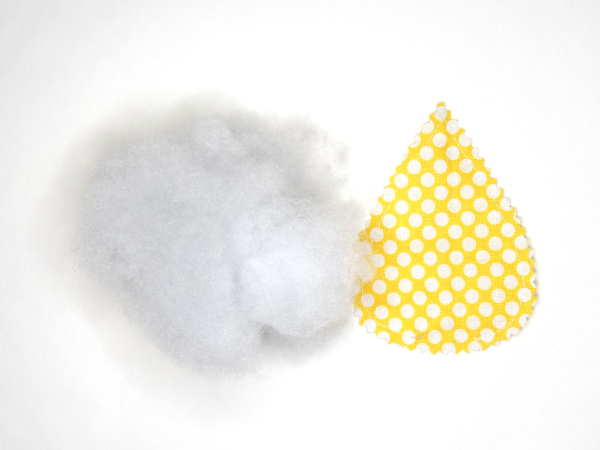
Once stuffed to your liking go ahead and sew the bottom closed
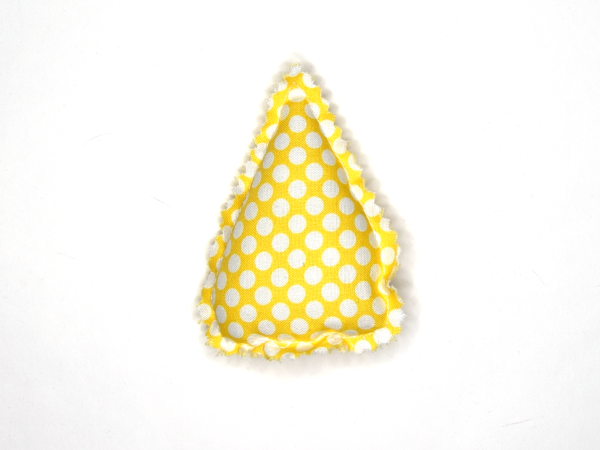
Now we are going to make the beard.
I simply wrap some yarn around my fingers several times. How much will depend on how full you want the gnome’s beard to be.
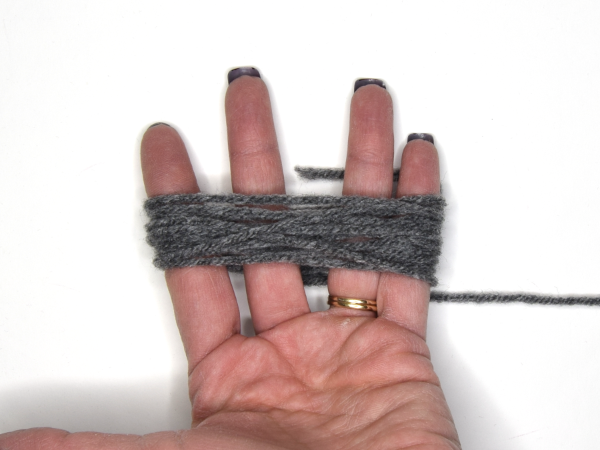
Once you’ve wrapped the yarn to your liking cut the end. Remove from your fingers and tie a string around the center.
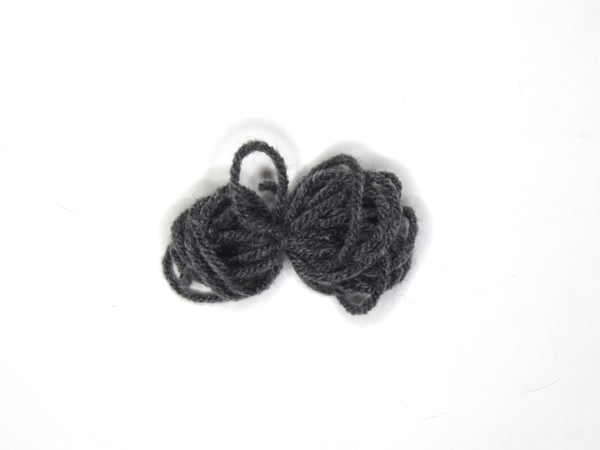
Glue the beard to the bottom of the gnome’s head.
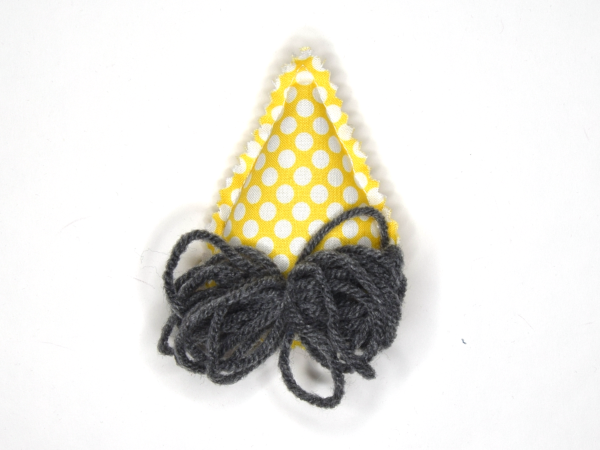
Now let’s give our gnome a nose.
Glue a bead or button above the beard at the center.
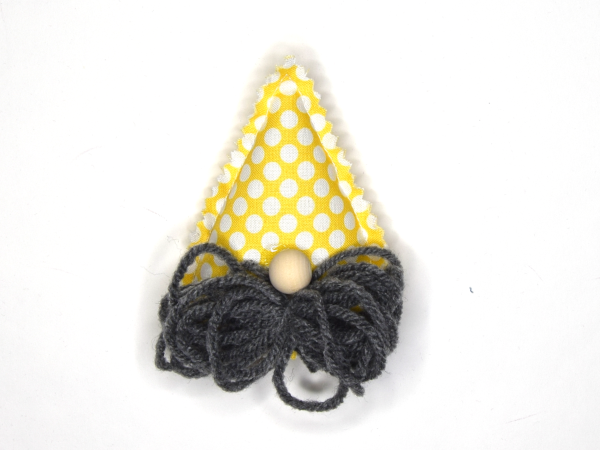
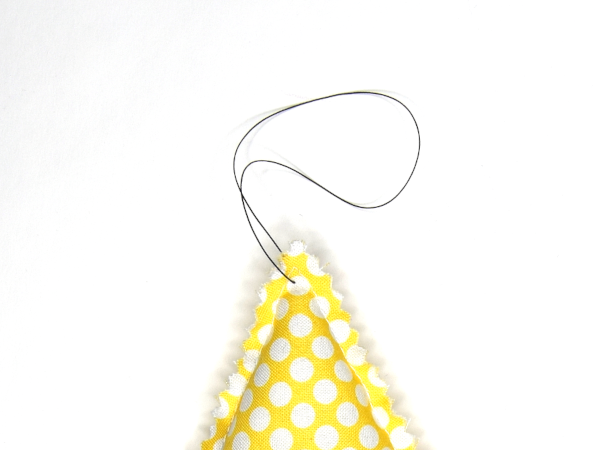
Last, sew or glue a string or some thread to the top for hanging.
Star

Materials:
- Fabric
- Thread
- Optional – Interfacing
- Yarn
- Buttons
- Glue String or thread for hanging
Using the Star pattern piece cut 3 pieces of fabric.
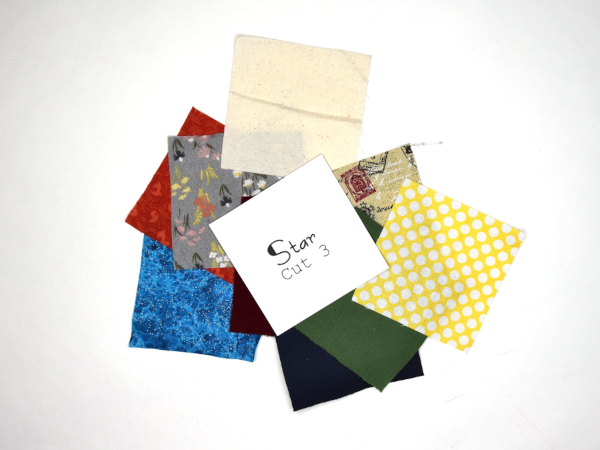
Optional: If you feel your pieces might be a little too flimsy you can use the Star Interfacing template and cut out some interfacing. The type of interfacing is up to you. I just pulled some out of my interfacing scrap pile.
If you would like more information about interfacing check my blog post Mastering Bag-Making Interfacing: Tips and Top Brands
Attach the interfacing to the back of the star squares as needed.
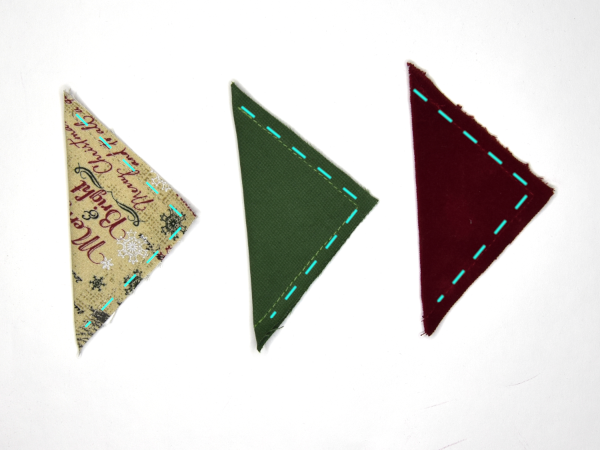
Fold the star squares in half diagonally, wrong sides together. Sew the raw, non-folded edges.
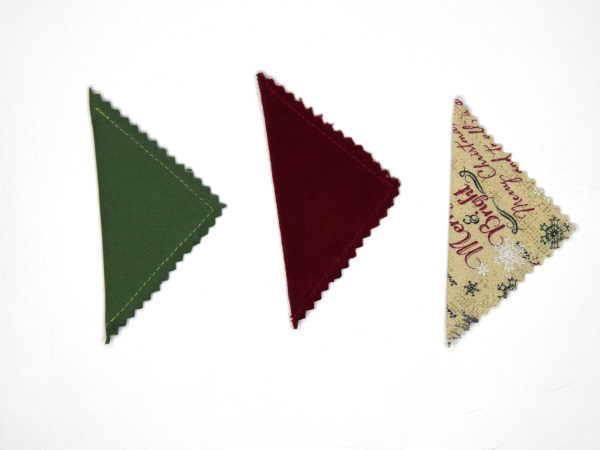
This is optional but I like to trim the seams with pinking shears
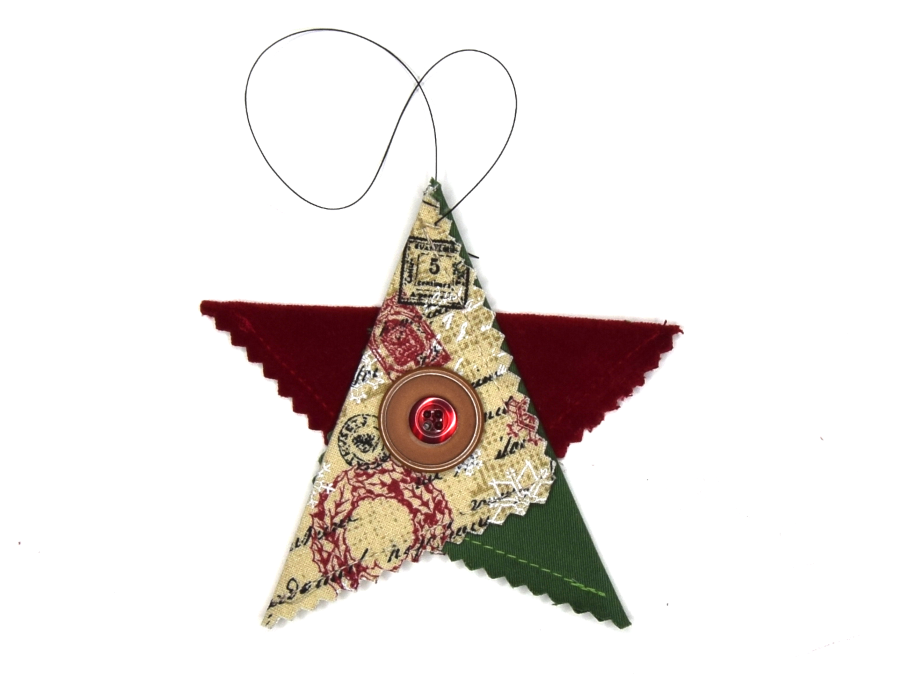
Lay two Star pieces on top of each other as shown here.
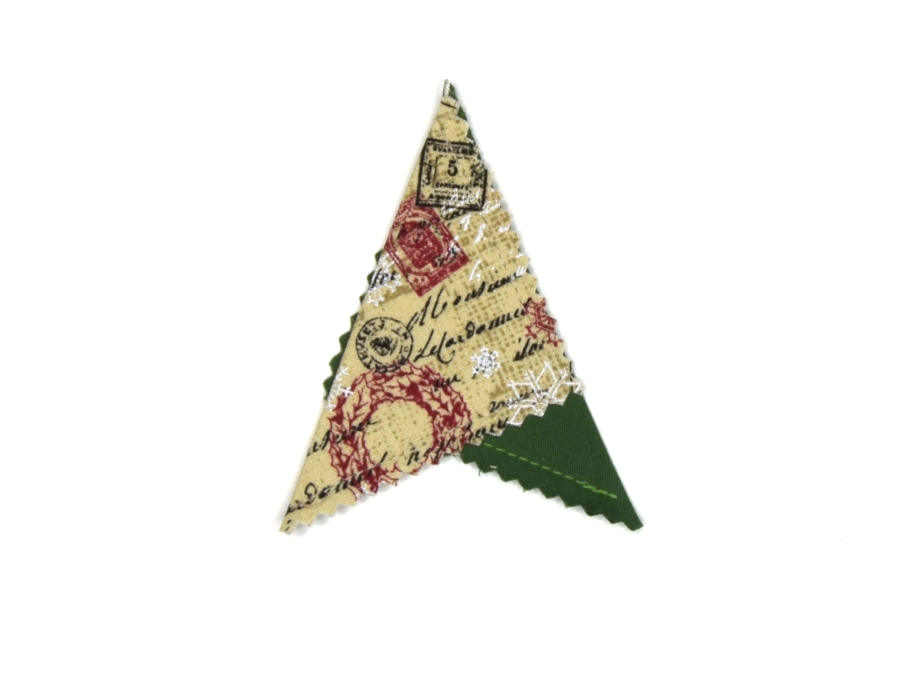
Glue together
Lay the third star piece on the back as shown here.
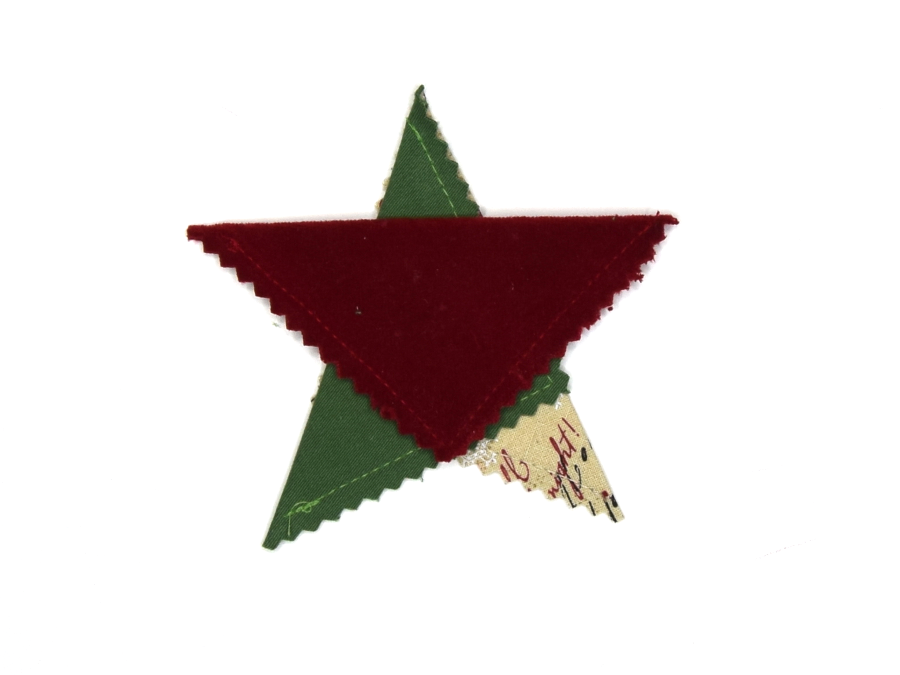
Glue together.
To add a decorative touch you can glue some buttons to the Star.

Last glue or sew a string or piece of thread to the top of the Star for hanging.
Tree

Materials:
- Fabric
- Thread
- Yarn
- Fiber Fill
- Buttons
- Glue
- Stick or Dowel
- String or thread for hanging
Using the Tree pattern piece cut 2 pieces of fabric. A front and a back.
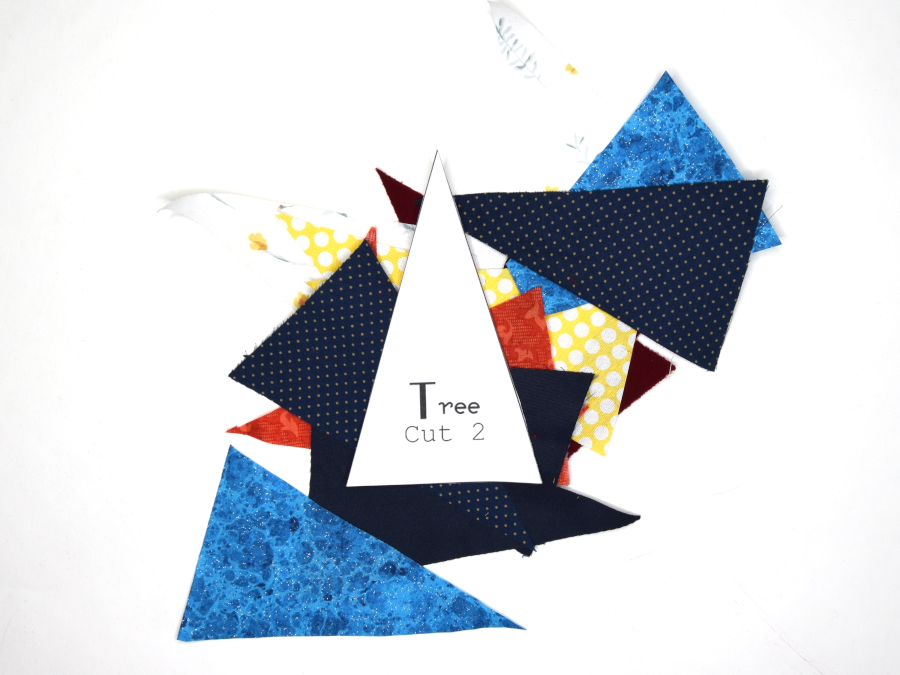
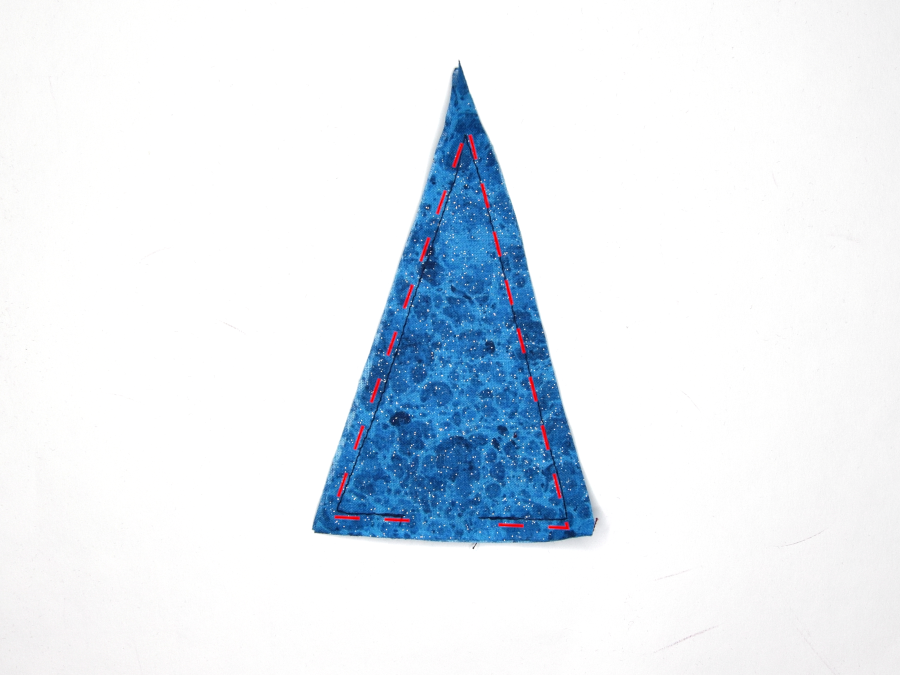
With wrong sides together stitch the pieces together using a 1/4″ seam allowance. Leaving about a 1″ opening in the bottom so you can add the stuffing and a stick later.
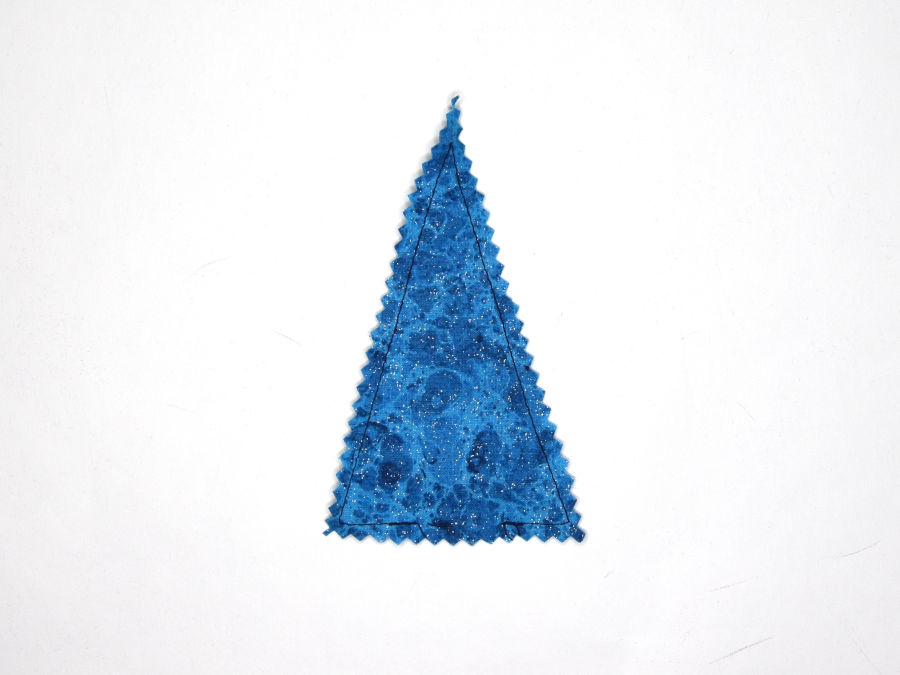
This is optional but I like to trim the seams with pinking shears
Insert a little bit of fiber fill or stuffing of choice using the opening you left at the bottom.
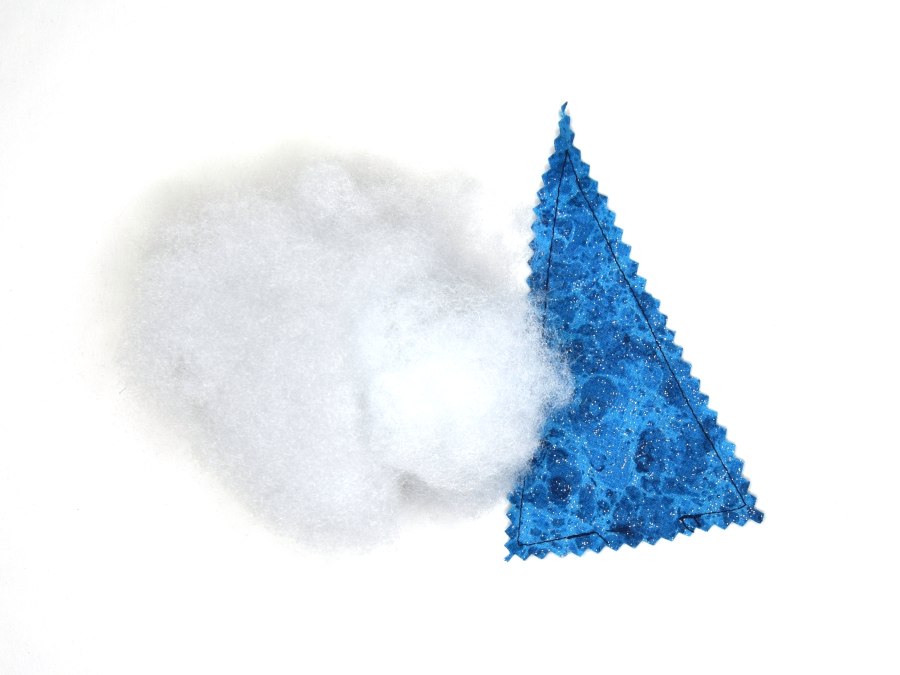
Once stuffed to your liking add some glue to the opening in the bottom, insert a small stick or dowel for the trunk and press closed. You might have to use some clips to hold it closed while the glue dries.
To decorate your tree, glue on some small colorful buttons or beads.
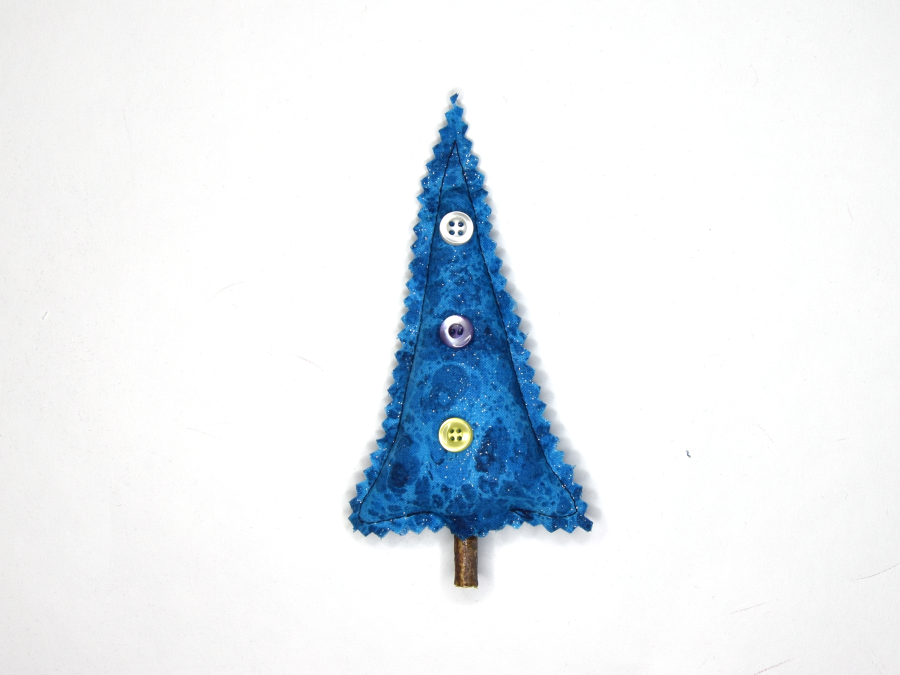
Last glue or sew a string or piece of thread to the top of the Star for hanging.
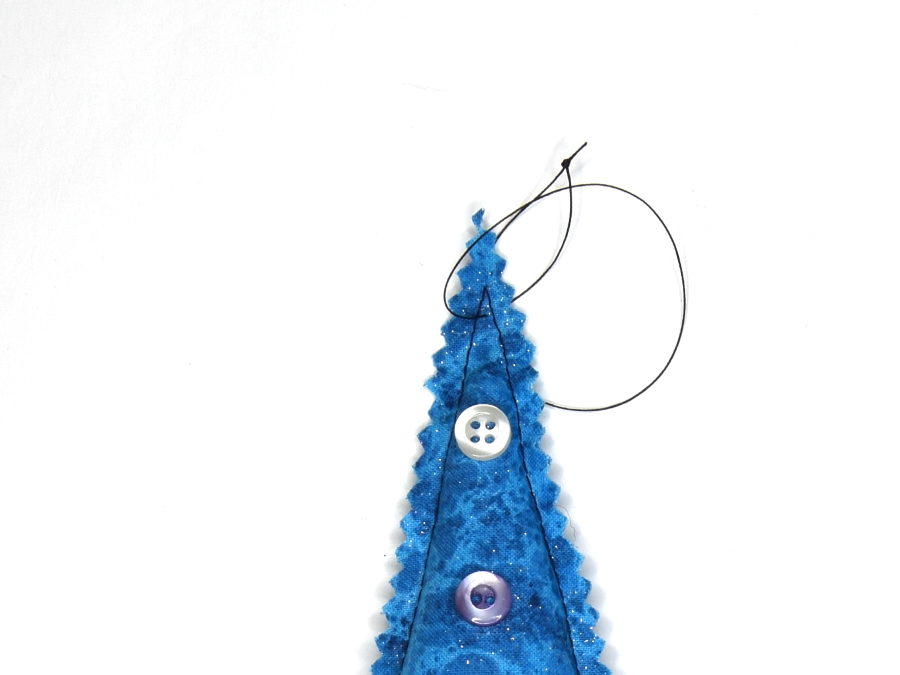
You are done!
I hope you enjoyed this tutorial.
Let me know if you made any of these ornaments.
What other scrap-busting ideas would you like to see?
What’s your favorite DIY Christmas decoration?
Merry Christmas and Happy Sewing!
Kelly
Click the download button to get a free download of the pattern pieces.
Download Now
